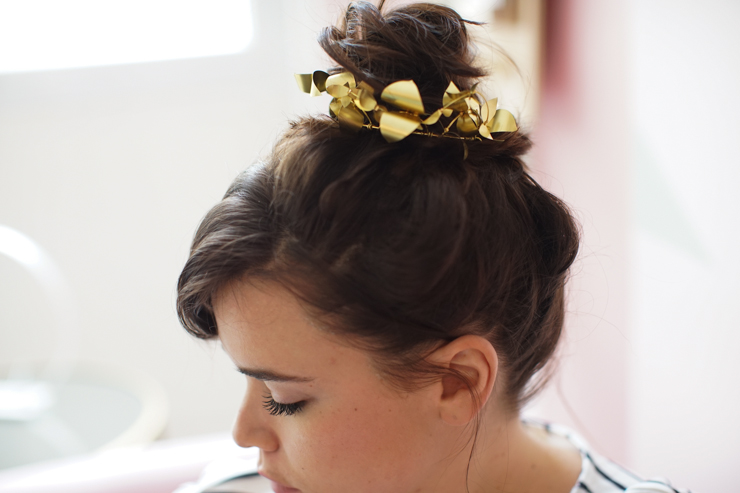
THE DIY OF CHIGNON JEWELRY

Happy Wednesday, darlings!
Well, today I'm back to present the do it yourself bun jewel! You can't stop progress, you might say... I'm a big fan of alternative jewelry, made of very fine metals and with a minimalist style, but at the same time I love old things that are loaded, chiselled and very well worked. I have to admit that at the moment I find myself drawing earrings and other jewelry on the corner of my notebooks, so it's quite possible that I miss drawing jewelry! I think there'll be some jewelry DIYs around here soon!
And more than anything, I love putting things in my hair... But I'm forced to admit that six days out of seven, I wear a bun high up on top of my head! So I'm going to wear a jewel bun! Get out your pliers and scissors, have fun and send us your photos!
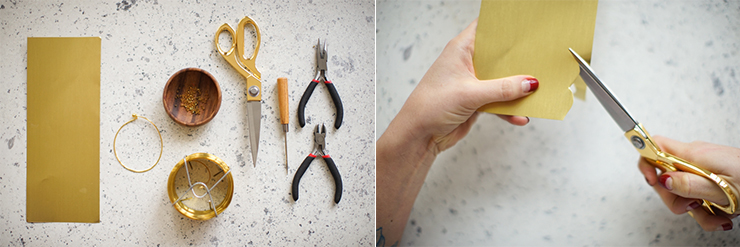
For this DIY you'll need:
- - some brass foil,
- - a gilded support rod (found at rougié & plé)
- - fairly stiff gold wire,
- - large-diameter crushable beads,
- - a pair of scissors,
- - a punch,
- - cutting pliers,
- - flat-nose pliers.
To start, cut out the leaves from the brass paper. You'll need to cut out all your leaves for the drawing, so imagine two leaves facing each other, like a reflection, leaving a 0.5cm gap between your two leaves.
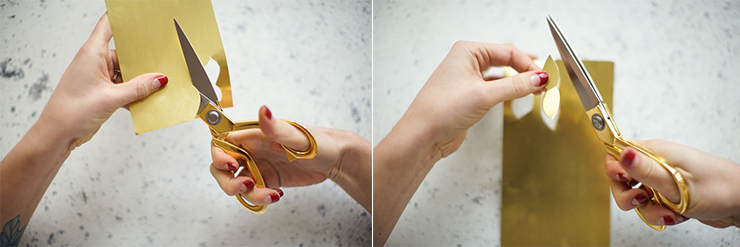
Continue and cut out around 30 of them, in all different sizes. We haven't provided you with a cutting pattern, as they don't need to be very regular or identical - variety is the name of the game, folks! At this point, you can imagine embossing the leaves with a wooden pencil, as if you were drawing their veins.
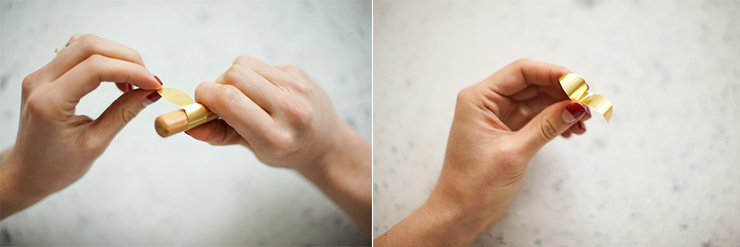
Now take the handle of your punch, or a pencil, and gently wrap the leaves around it to give them a nice curve.
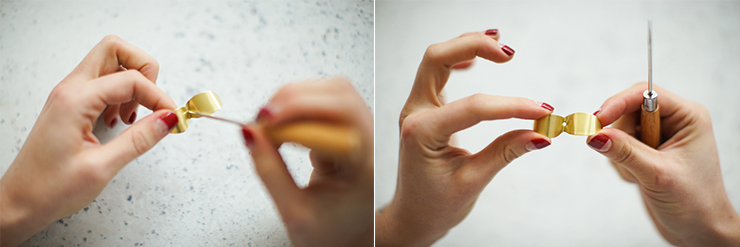
Using your punch, make a hole where the two leaves meet - not too big, but not too small either!
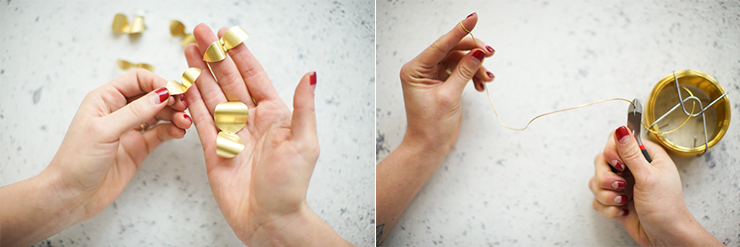
Do the same on all your leaves, so you'll need around thirty to make this jewel bun. Now grab your wire and cut out 35 cm.
Attach one end of the wire to the bracelet base, wrapping it tightly around it with your flat-nose pliers. Thread on the first bead to be crushed and secure it with the same pliers, about 2 cm from the wire attachment.

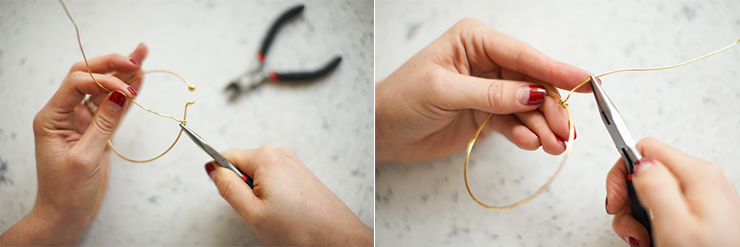
Thread your first leaf onto the wire, then a second squeeze bead, squeezing it to lock your leaves onto the wire.
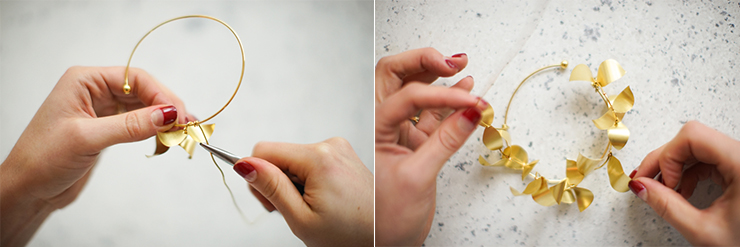
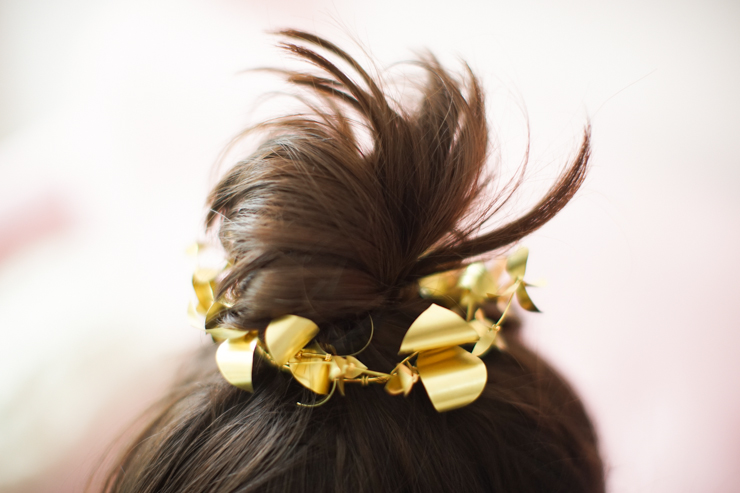
Continue in this way all along the base frame, forming little bridges every 3/4 cm as you wrap the wire around the base.
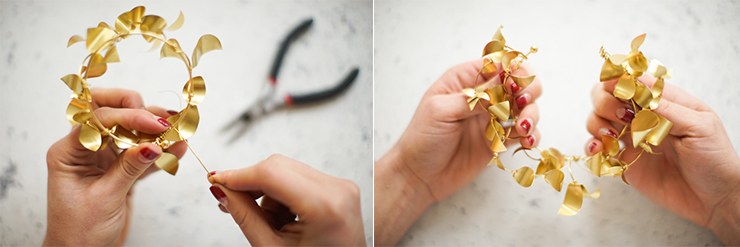
You can make several passes, using wires of different thicknesses, and imagine threading little golden pearls to create buds! Finish by winding the end tightly. And Ta-Da!