HOW TO SEW A GLORIA DRESS?
Happy back to school birds !
That's it, it's time, I can officially announce the release of Gloria ! For the simple reason that it's my best friend's wedding dress, and that she got married this weekend, and that it's now possible to share it all with you - no more secrets, no more ...
You loved the Lolita wedding dress so much, we thought it needed a little sister... I can't count the number of photos we've received of you in this dress at your weddings, it warms my heart so much! I sincerely hope it brings you more luck than it did me! On a more serious note, I wanted Laure and I to work on a new model that would be retro, chic and surprising! I remember making her a mood board: I wanted long but in the end we kept it short, I wanted a maxi décolleté but in the end we almost had a turtleneck (I know, it's not a turtleneck but you get the idea...). All this to say that you should never have too many fixed ideas about anything, especially when it comes to sewing...
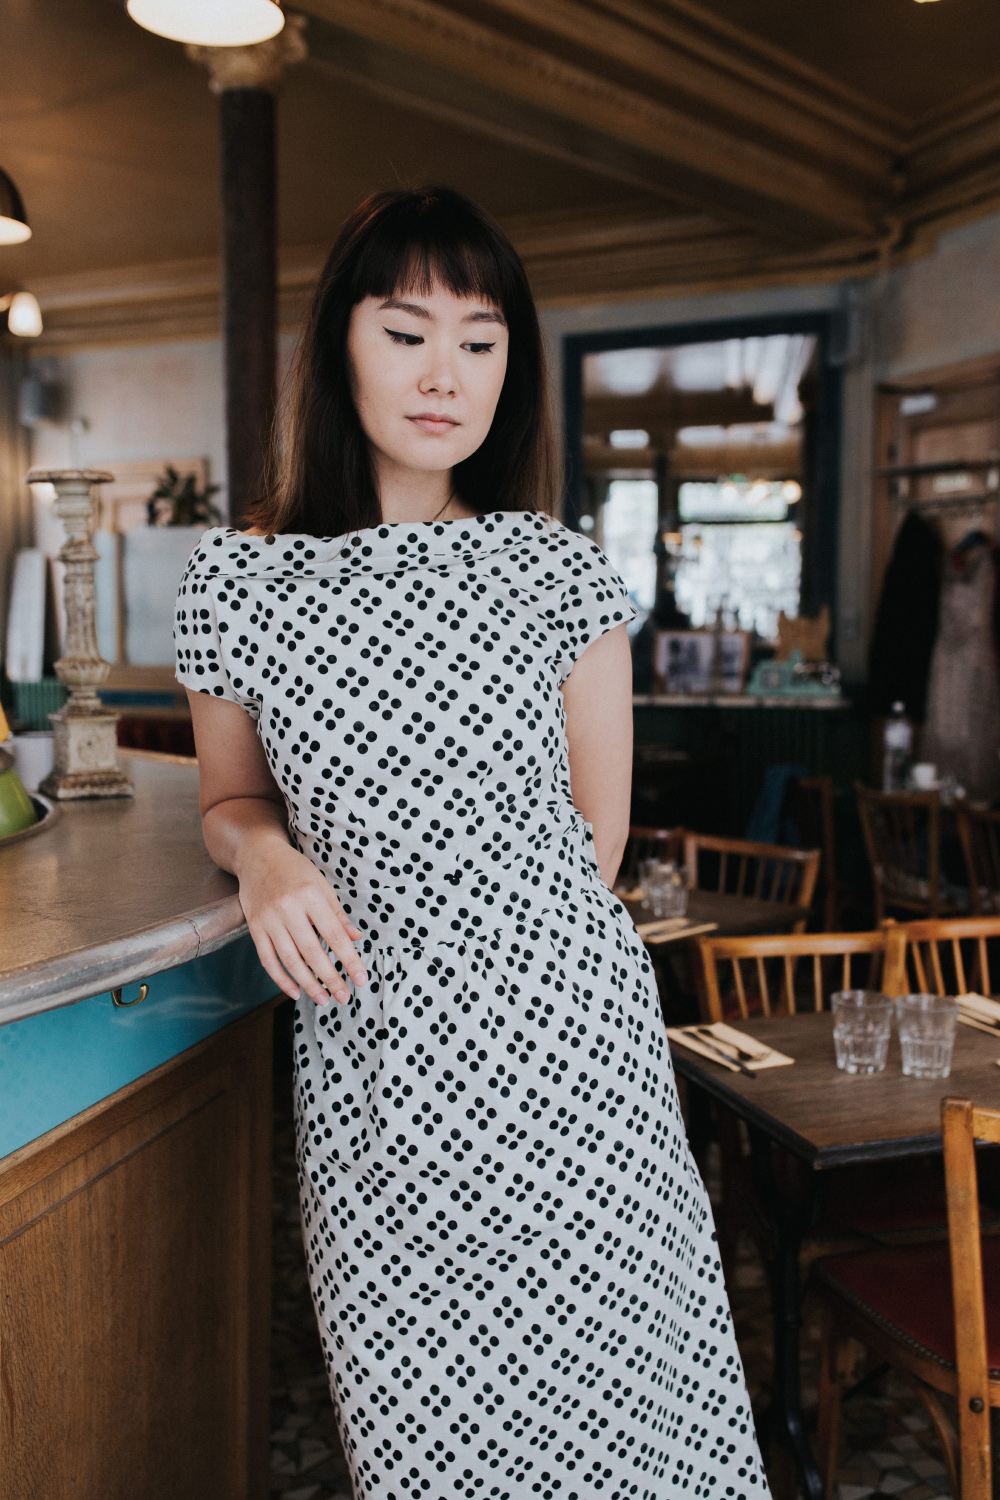
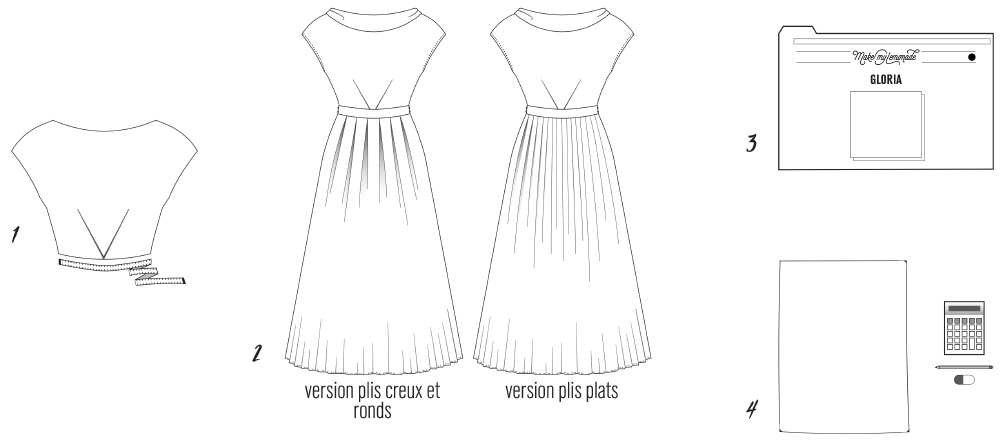
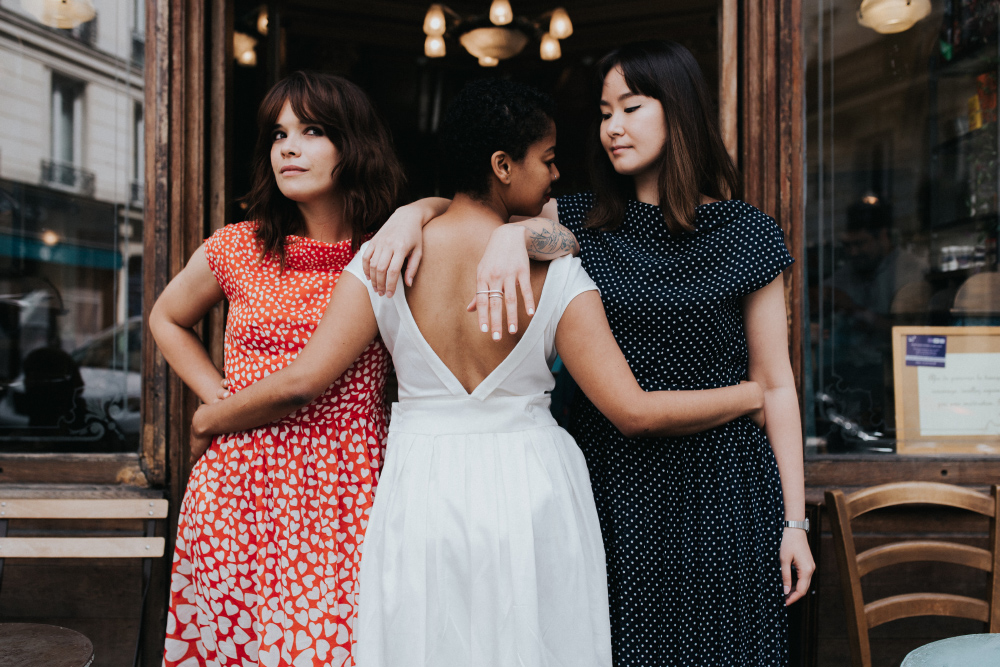
And to tell you the truth, at the time I'd just seen the episode of Girls where Marnie got married, and I was crazy about her dress! Laure and I made screenshots and researched. A sort of long wrap dress with lace cuffed sleeves... Laure redesigned, made a first canvas and then, I don't know, this hyper-deep neckline, it felt like a pain in the ass to get it to fall perfectly on all the different breasts. And like the feeling that there's something not quite like us. I asked Laure to cover the neckline with fabric, as the dress was sleeveless. And, by some inexplicable coincidence, Laure casually lays the fabric down to form a super-retro collar and Bim! I think we've got THE trick! Laure reworked, and we decided to make the neckline in the back and the skirt pleated. But you can choose the type of pleat that inspires you most: flat, hollow, round or even gathered. Laure has put together some super-clear instructions for you!

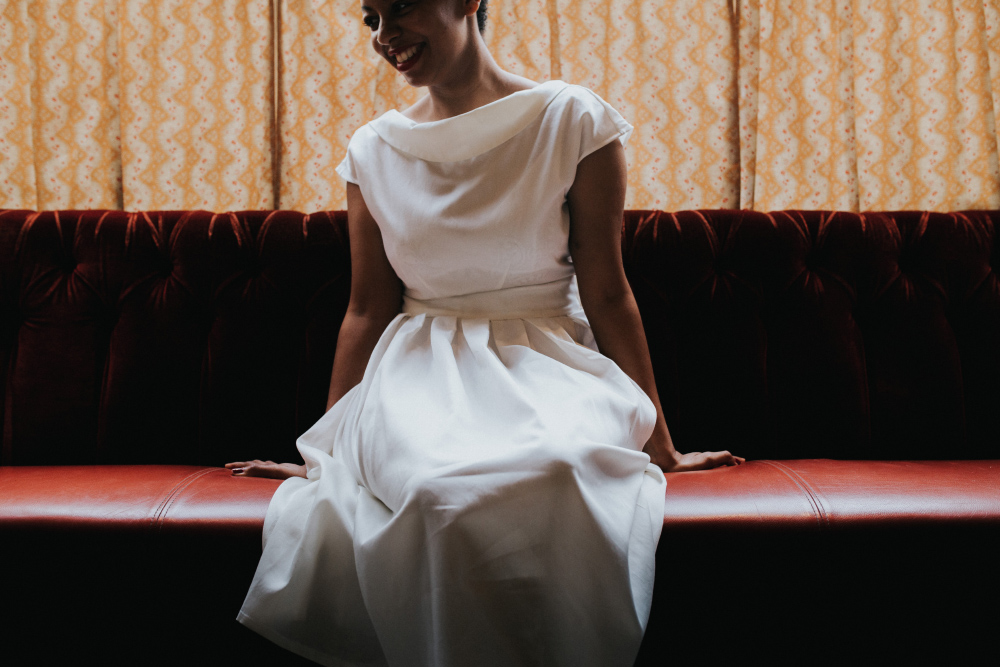
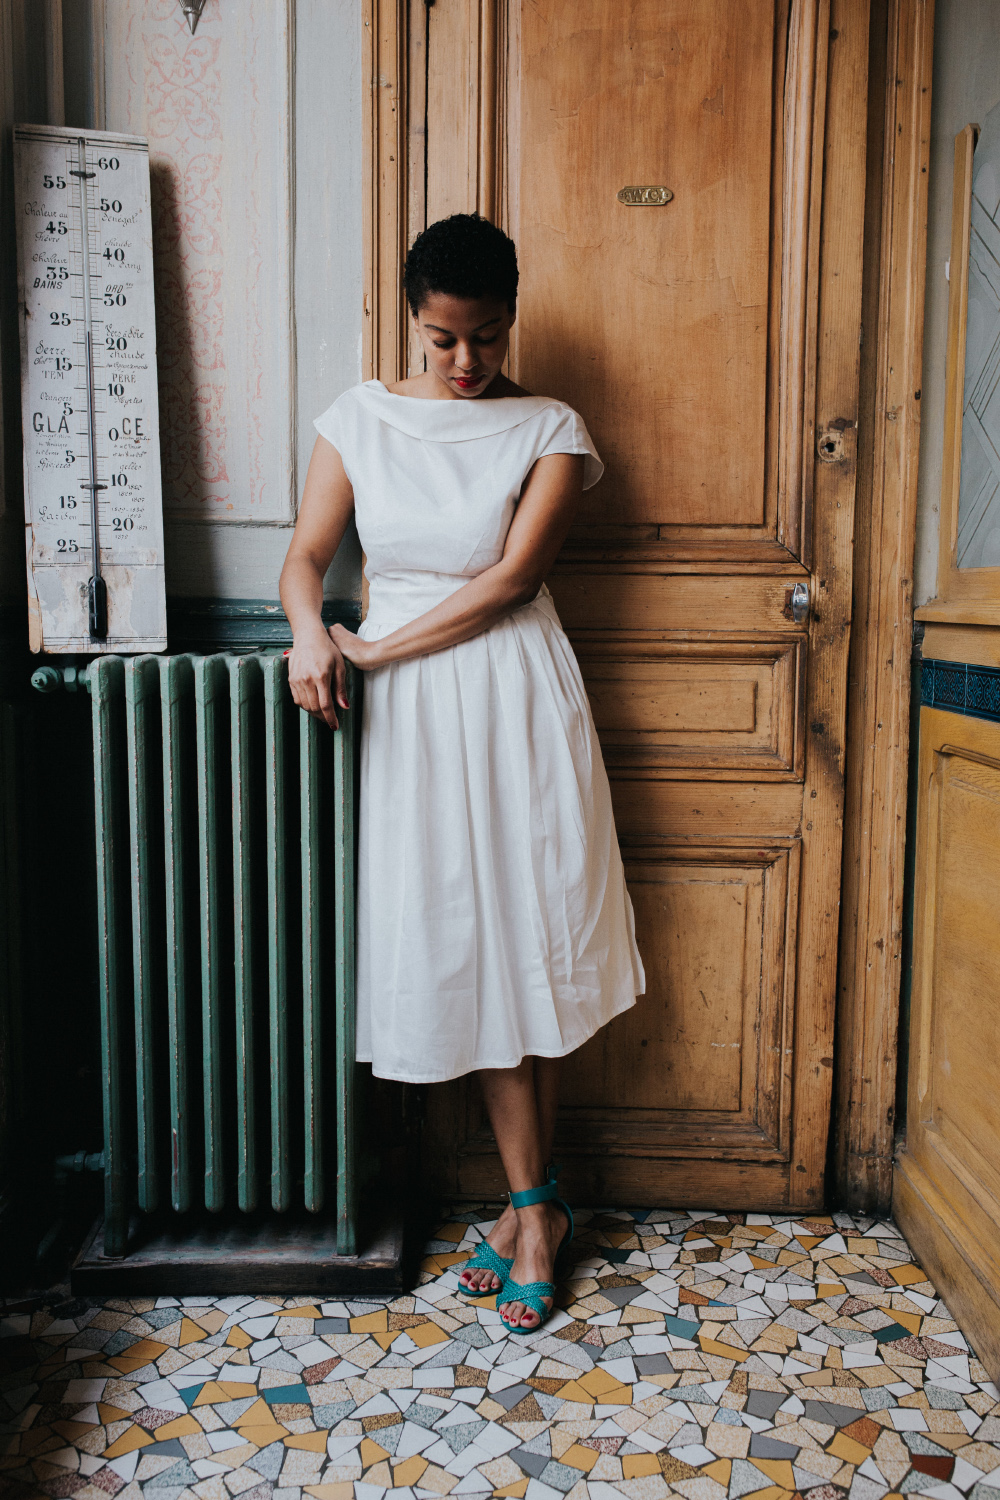
And then, in June, my sweet Justine came to Paris for a weekend to sew her wedding dress, or rather to hold the pin jar for me! And because I'm the most organized person in the world, I'd forgotten that it was the weekend of the Instagram salon at the carreau du temple (aka the temple microwave). I'm telling you this because it was a trying day with the heatwave and lack of air-conditioning in this listed Parisian monument... So my Justine spent part of the day with Laure cutting her dress and adjusting it to her measurements so that it was perfectly perfect... On Saturday evening, too happy to all be together, we decided to go out for just a little drink, to celebrate with our friend Alexandra... Promise we'll behave, we've got sewing to do the next day. Well, you get the idea... We got home and it was daylight. I'd been up for about 24 hours. Around noon, we emerged and put a little pressure on ourselves to move from my sofa to the studio. And finally, I threw myself behind the sewing machine to try and conjure up this beauty of Gloria in cotton satin. Well, you know what, I'm a much better seamstress when I'm hungover, much more focused on not making a mistake than I would normally be... (warning folks, this is not a good idea to drink before driving or sewing, nor to drink at all anyway, or else we do it in moderation.... ) I'm serious, it was fun, but I picked up all week... But Gloria was there, made with all my love and reminiscences of the dance floor the night before...
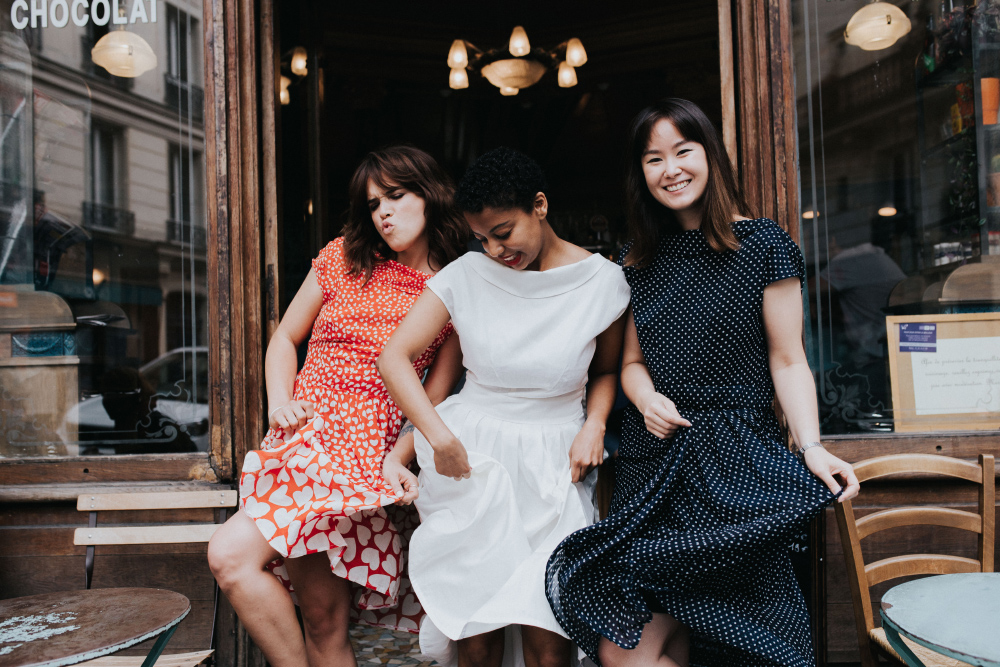
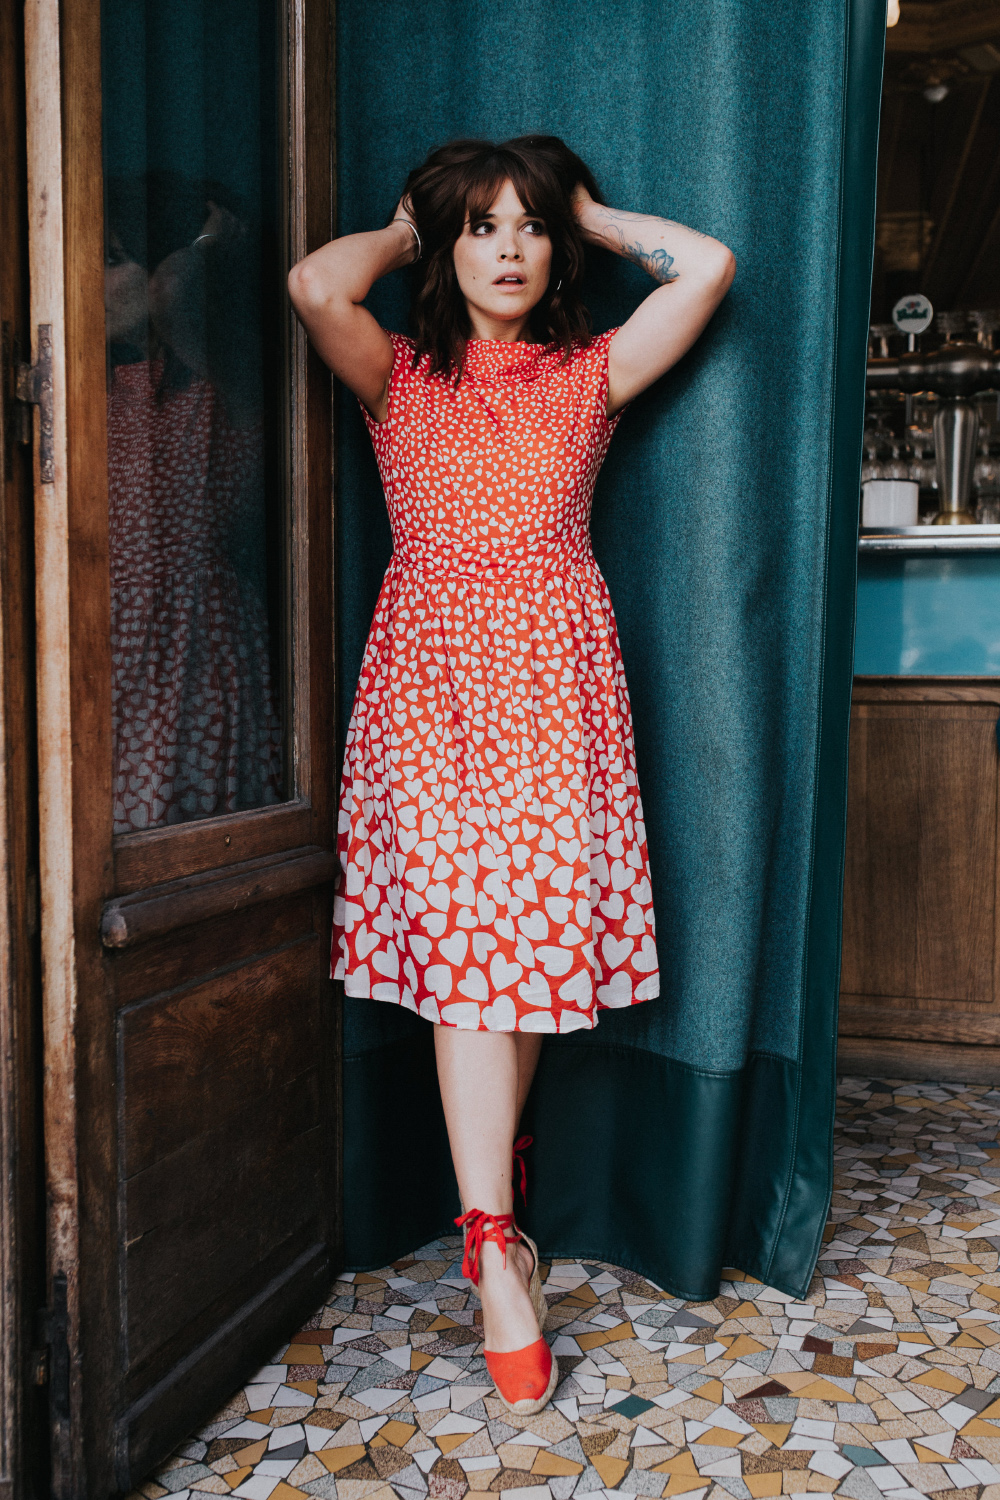
And I can tell you today that the bride was sublime, and at the studio we each have our own Gloria!

I'll leave you with Julie's explanatory video, the steps in the booklet were shot in a different fabric... Thanks to Laure and Anaëlle for taking the photos! And to Laurence for immortalizing these 3 Glorias! Another women's story!