


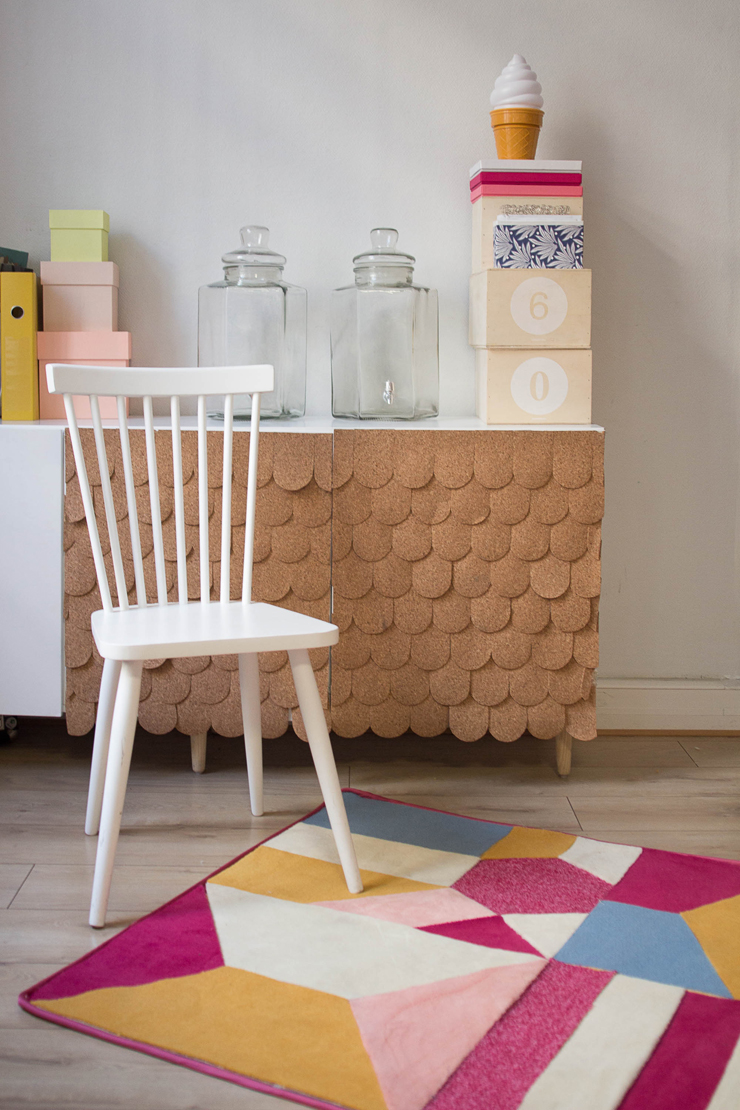
DO IT YOURSELF TAPIS
Hello my little cats!!!
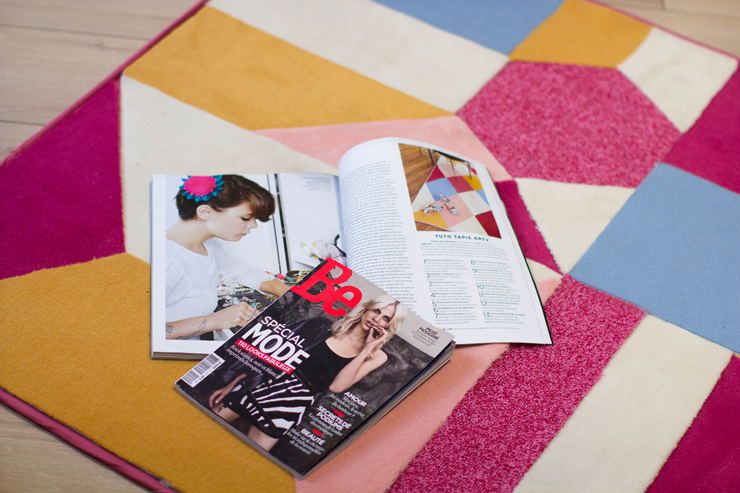
Ah! I'm excited, I have so many projects! Keep your fingers crossed for me but some gigantic news may be coming my way! I'm trying to stay calm but it's going to be crazy aahhh! Anyway, in other exciting news, if you buy Be magazine, a Fashion special, you'll find 6 pages about my interior, no, no, you're not dreaming, 6 pages, it's very strange to see yourself and read words like "Madonna of Origami", are we talking about me? It's very strange, I've had it in my bag since the morning and I waited until the end of the day to dare read it... A bit crazy this story, and you'll see, Frida is downright a rock star, quoted and photographed, she can't take it anymore, she's become obnoxious... But back to our sheep for the occasion, today I'm doing the Do it Yourself deco I proposed at the Be, with a variation just for you, more graphic and downright pop. See you tomorrow for a BIG surprise! It's back-to-school time, so I've decided to spoil you!
Time: Half a day
Cost: about €50
Difficulty: A little dexterity and you're on your way!
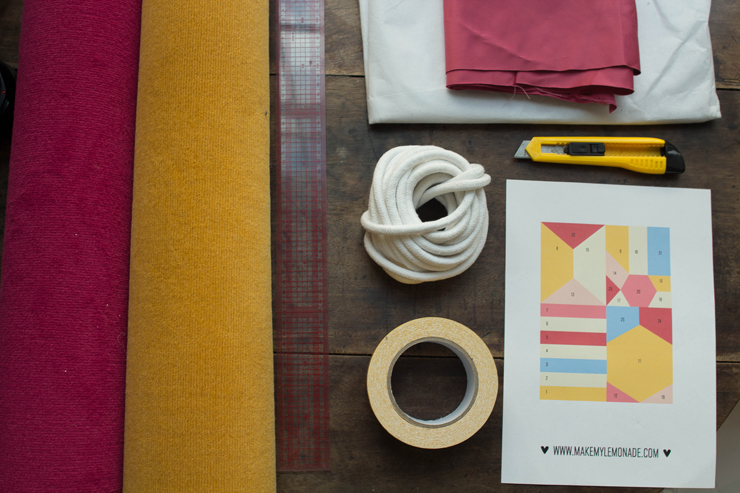
For this DIY you'll need :
- Downloadable patterns HERE and HERE
- Carpet scraps found here at Saint Maclou
- A pen
- A good cutter
- A large ruler
- White non-woven fabric
- Double-sided tape
- Bias fabric
- Rope (4 m 70 for this rug)
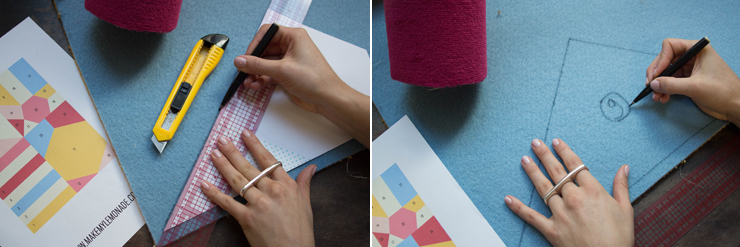
Download the patterns and trace your shapes on the back of the carpet. Don't forget to turn over your patterns for the mirror effect.
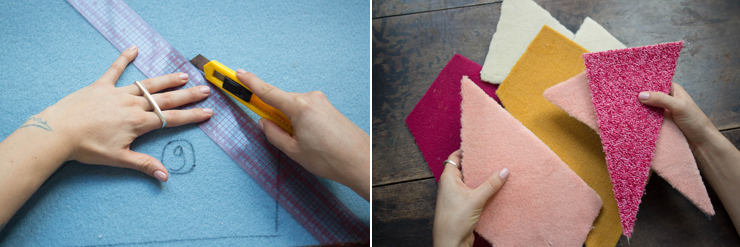
Then cut with a sharp cutter, using the large ruler (metal is best), and above all, for greater precision, keep your cutter blade perpendicular to the carpet, for greater clarity at junctions. Repeat the operation with the different carpet colors.
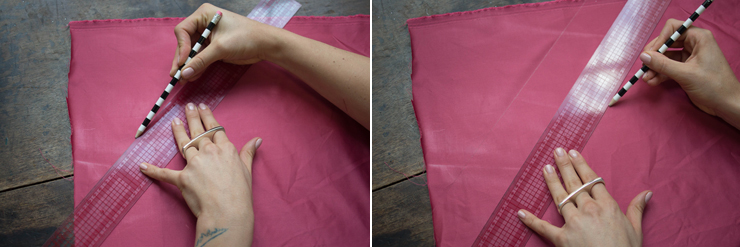
Tackle the finishing touches: cut strips of fabric on the bias (i.e. diagonally) to create a giant piping pattern. A passe-poile is a sort of finishing touch, like a little sausage trapped in a strip of bias.

Trace 10cm-wide strips in the bias. Cut and join the pieces end to end until you have a sufficient length (here 4m 70 to go around the carpet, with 10cm of rabe). Position the cord in the middle of the bias and fold the fabric in half around it.
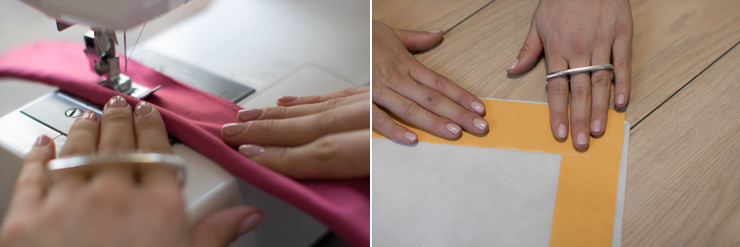
Sew a straight seam along the cord. Once your piping is ready, convert it for finishing around the rug. Cut a piece of non-woven fabric to form the base of your rug (here 100cm x 130cm).
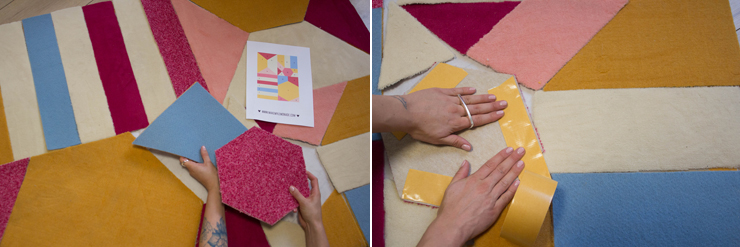
Position your pieces as desired on the non-woven, a bit like a puzzle but much simpler.
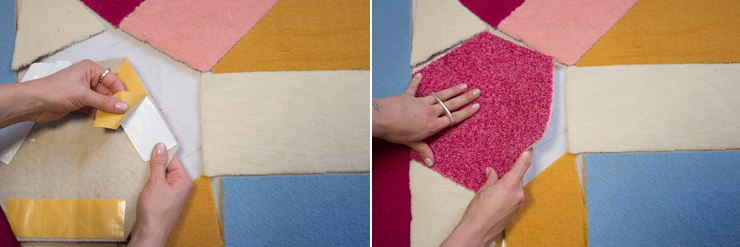
Cover the carpet pieces with double-sided tape, overlapping the ends to ensure a clean finish. Glue the carpet pieces to the non-woven as you go, trying to be as precise as possible.
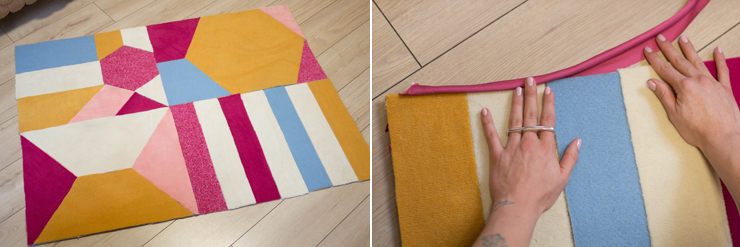
Now for the finishing touches, glue the bias seam allowance to the wrong side of the carpet with double-sided tape, so that the flange protrudes over the front. You can hide the bias seam allowance on the wrong side with a piece of white gaffer to even out the back.

and TADA!