DIY tote bag rhombus
Hello!
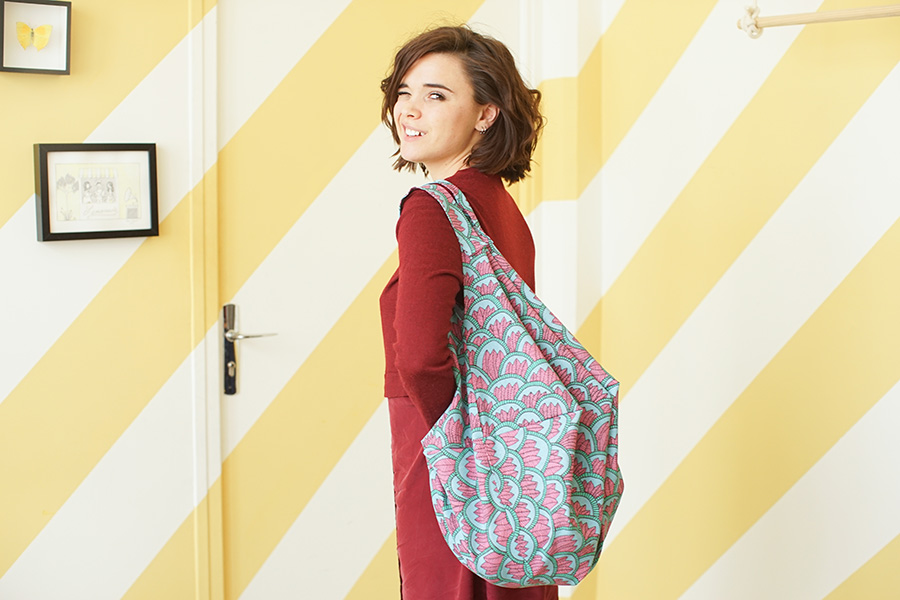
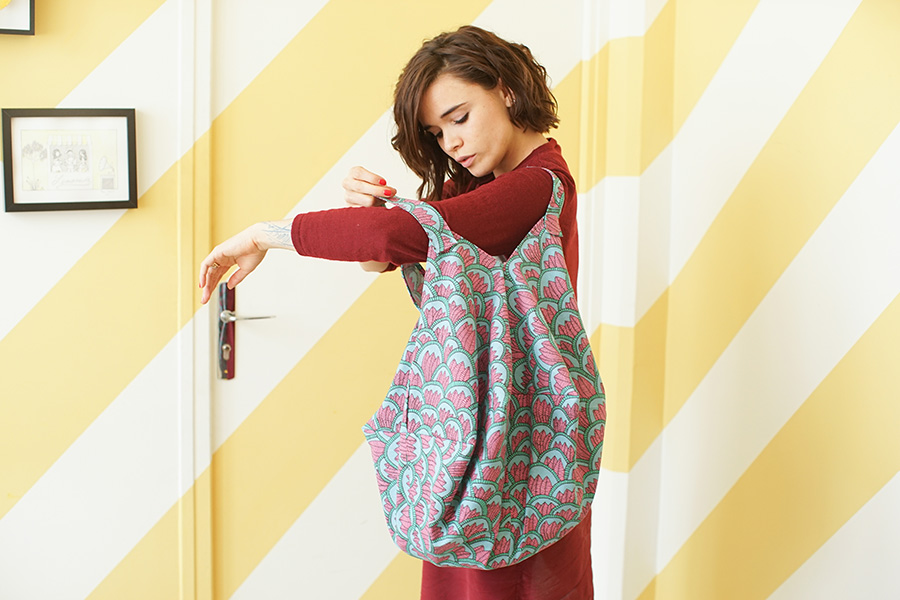
I'm starting this week with a DIY, because it's been so long! Today, get out your sewing machines, I'm letting you in on the secret of the rhombus tote bag! I could make this bag with my eyes closed, I've made so many in every color, I'll give you the do it yourself below! I don't know if you remember, this is also the pattern for the "bags of love", the operation we did with Mai a few years ago! In this bag, you can slip your sports gear, your whole life, but above all, see beyond the end of your screen, and imagine this bag in denim, leather, lined with a little print! The bag in the tuto was made from a crazy Ikea upholstery fabric! Speaking of Ikea, next Tuesday, for Parisian women, Ikea is organizing a pyjama party in one of their stores. The program includes 3 DIY workshops around the bedroom and bathroom, so if you'd like to try your luck at this evening of gifts, do it yourself, and Daim®, I invite you to leave us a little comment below this article and tell me what's still at the bottom of your bag!

For this DIY you'll need :
- 4 fabric squares 50x50cm, 2 rectangles 15x cm x 40cm.
- scissors,
- pins,
- ruler,
- sewing machine, thread and bobbin to match your fabric,
- an iron and, of course, a sewing machine.
To begin, lay out your 4 squares edge to edge and pin them 2 by 2.

Then machine-stitch your two huge rectangles, remembering to open your seams with an iron for a cleaner finish.

Then pin your two huge rectangles together over the entire height and machine-stitch.

As always, open your seams well, then take your ruler and mark 15cm into each corner of your large square.

This will form the opening of your bag.

Fold your large square in half, right sides together, then join the ends of your bag to make a large rectangle (stop at the 15cm marks), then for the other two seams, join the free edges that lie on the same line, starting in the middle and stopping at the 15cm mark.

Put everything under the machine and once again open your seams with your iron. Now you've got a square that looks like a paper casserole, I'll give you that.

Make a small notch at the end of your seam to mark the opening of the bag, then use the iron to fold a first 1cm crease to mark the opening of the bag.

Fold a second time, iron and pin to finish your hems. Do the same on each corner with a clean edge! Put them under the machine!

Moving on to the sewn corners of your large square, use a ruler to measure 15cm from the tip. Draw a perpendicular at this point.

Pin this straight line so that your two layers of fabric are superimposed, go under the machine, make a straight stitch, as well as a zig-zag stitch, and finally cut 1cm from your seams.

Your bag is now ready to be turned right side out, but remember to always iron it well.

Now take the two strips that will serve as handles, fold 1cm all around your strip, and fold it in half.

Mark the fold with your iron, and then stitch the ribbing to secure everything! (Of course, you can pin if you haven't tamed your sewing machine yet).

Pin your strips to your hemmed corners, taking care to place the ends on both corners, side by side and not diagonally, at the risk of not being able to put anything in your bag! And Ta-Da!