UN BEAU JOUR x MAKE MY LEMO
Happy Halloween!
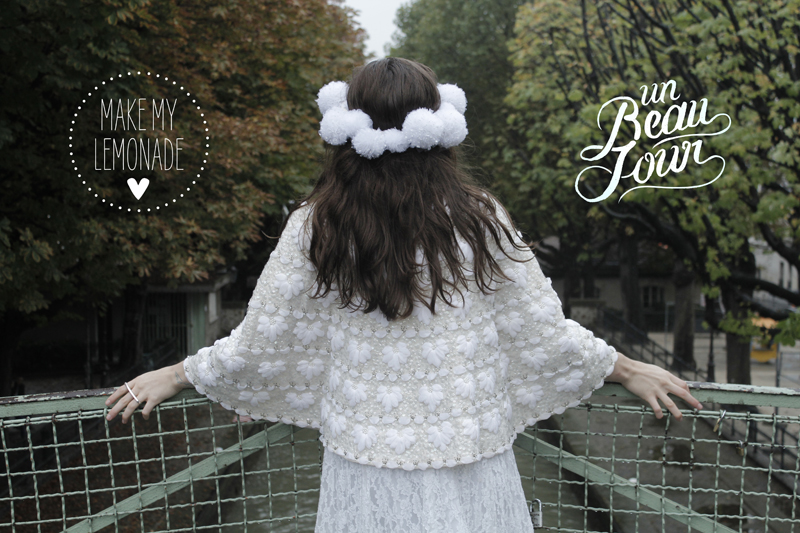
Funny coincidence that I’m doing this post on Halloween – you’ll understand why in a few lines time… Anyway a few months ago I met the adorable founders of un beau jour, Elodie and Anne Solange, two true creative geniuses! I could have spent hours and hours talking to them, a real tennis match of ideas! If you don’t already know their site (but why oh why don’t you?!) I strongly recommend you visit it – it’s a goldmine of inspiration for all those who are prepared to say the big I Do (or for anyone else with a pretty event on the horizon). The photos are sublime, the shopping ideas are inspired and the DIYs related to the D-day are pure gold dust, so go go go, get to it! And so just like that, with one thing leading to another, we decided we needed to do an easy but totally cool do it yourself, so why not a tulle pompom headband (in white of course)?... In fact it’s so easy you might find it a bit disconcerting…Grab this pair of scissors guys!
To make this headband, you need:
- - Some white tulle and/or organza (about 1m20)
- - 80 cm of fine chord
- - cardboard
- - a pair of scissors and a compass
It’s easy to make pompoms, but it’s even easier to make pompoms from tulle because it’s so much quicker! To start, trace two circles, one within the other, both with the same centre point. The first with a radius of 3.5cm and the second with a radius of 1.5cm. Cut the circles out, making a little notch so you can cut out the smaller circle. Do the same thing again to make a second circle, fig.1 Here I’ve used 2 different sized pompoms but it’s completely up to you whether you want them to all be the same size or you want smaller ones as well. Fold the tulle very neatly, then cut 2 strips lengthways. This is called a wad, fig.2 So there you go, you have all the strips you need to make the pompoms, fig.3. Now take the two cardboard circles, and wind the tulle around them, fig. 4&5. Once the cardboard circles are covered in several layers of tulle, using the scissors, cut the tulle through the gap between the two circles, moving all the way round the circle, fig.6. Once the whole pompom has been cut, fig.7 take a strip of tulle and slide it between the two cardboard discs in order to make a tie to finish off the pompom, fig. 8 – but make sure you don’t cut off the dangling ends of this strip!
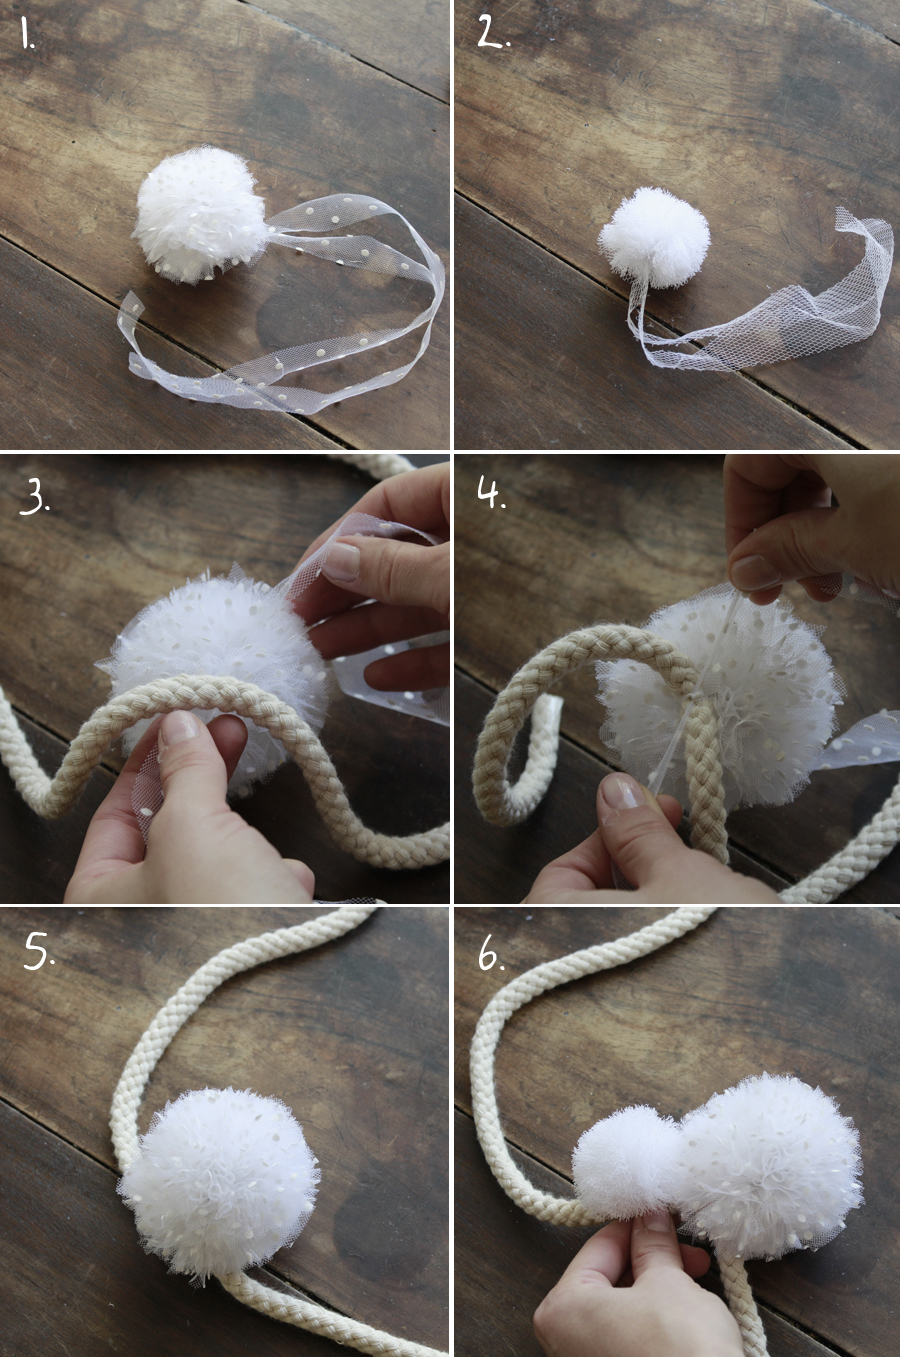
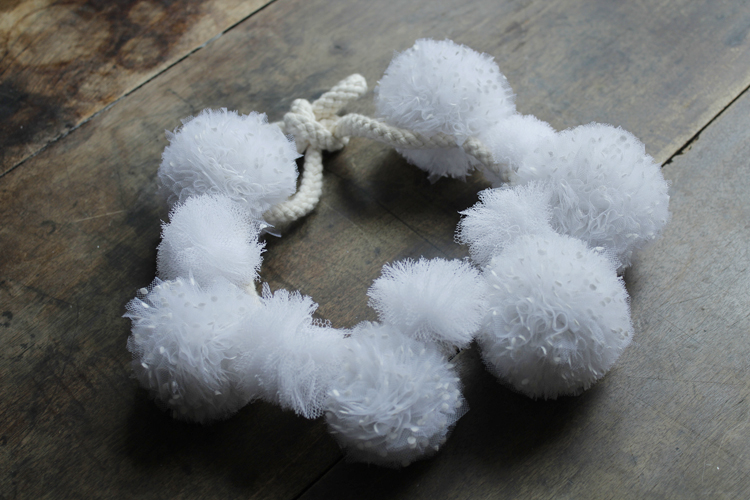
To finish off the pompom crown, take all the pompoms, fig.1&2 and attach them to the piece of chord by knotting them on using the dangling strips you attached to the pompom earlier, fig. 3&4, and TADA! You can alternate with one small pompom and then a big pompom and so on! It’s completely your choice, so play around and have fun with it! fig. 5&6!
It was actually really hard for me to take these photos because I am totally not a big marriage fan! I think those that jump into it, hand in hand, are super courageous and I admire them for it, but for me, today marriage has become a great excuse for a big party where we can dance ‘til dawn, wear a great dress and make incredible invitations. I don’t think any of these things are the true foundations for a marriage - until death do us part and all that. I have great respect for all of those promises, but I don’t really believe in them – or rather, they don’t really touch me or mean much to me. I prefer to imagine that if one day I get married, it will be a party to show that we are in love with each other, something I will want to share with my nearest and dearest, rather than “signing our names at the bottom of a piece of parchment”. Anyway, I digress – me getting married, wearing completely white, in the centre of a very rainy Paris…hard to believe huh….
But I’m coming back to the fact of sharing this joy with your closest and I have an idea for your big day. Slide everything they’ll need to make you a pompom into your witnesses’, your made of honors’ and your parents’ invitations…a sort of early present for the big day – a little part of them you can wear around your head! Just like a good luck halo or a little something to comfort and calm you!
[:]


