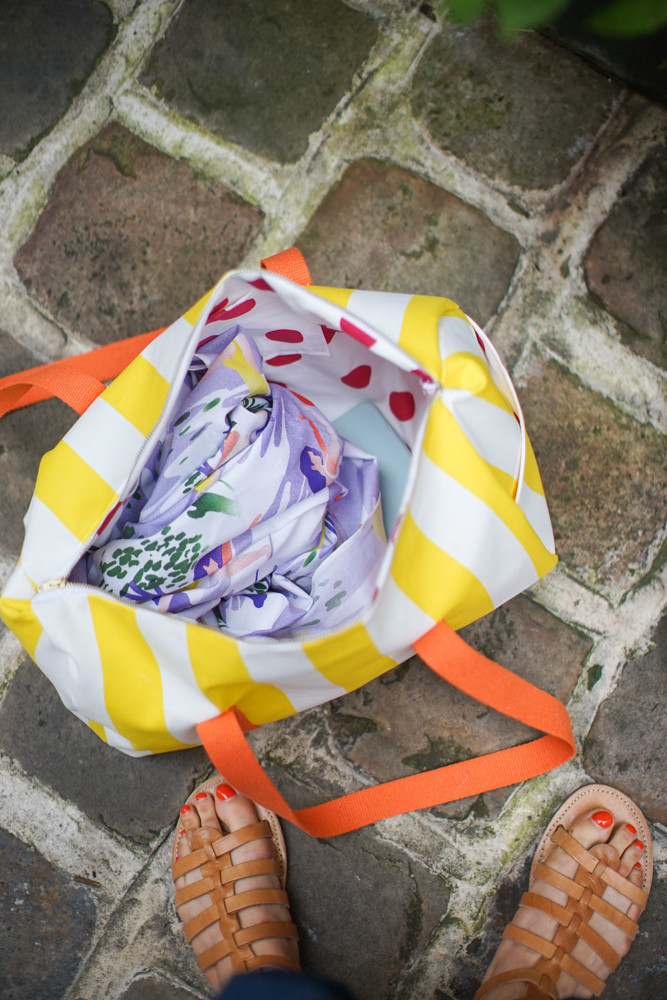
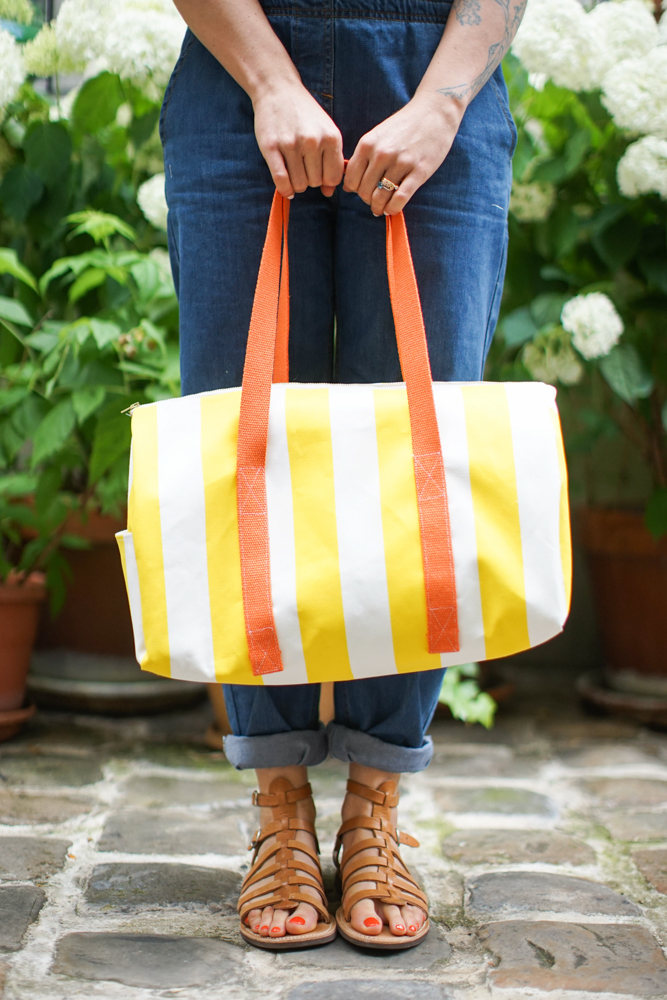
DIY BOWLING BAG[:]

Hello, hello!
Here are the stepbystep instructions to make the bowling bag we came up for our last workshop, just like we promised! Don’t panic, although it may not look like it, it’s really easy. If you’re patient, you can make it in an afternoon. You can even finish up the last step while watching your favorite TV show. You can make it however you like, with two inside pockets, shorten the handles, play around with different fabrics... have fun!
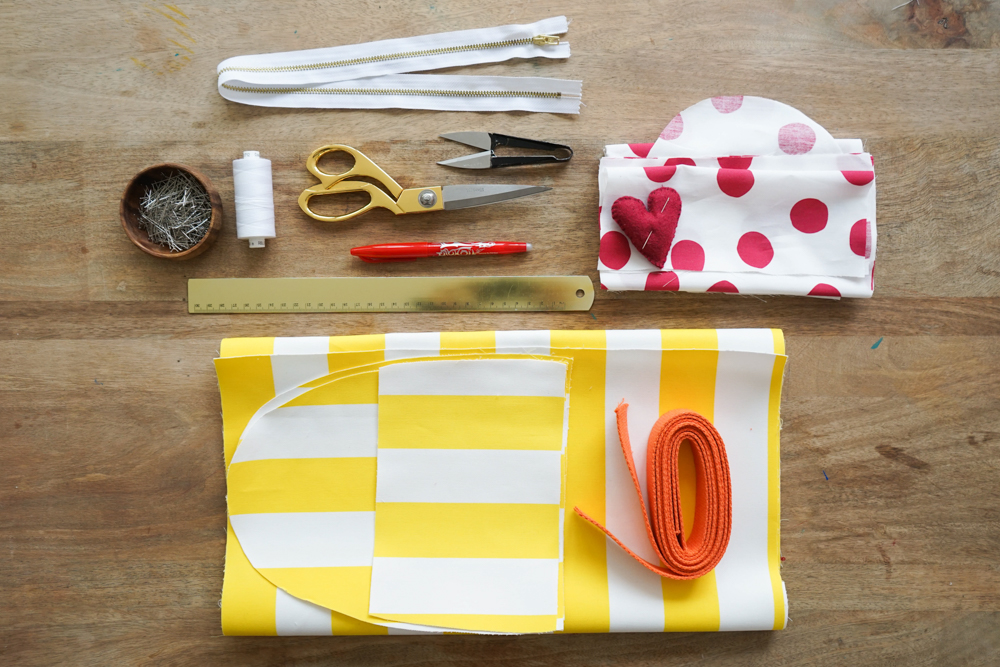
For this DIY you’ll need:
- The bag’s pattern that you can download here
- 1m of sturdy fabric
- 1m of lining
- 2x1m30 of a strip of cotton fabric 3cm wide, for the handles (you can use grosgrain)
- A 45 cm zipper, but you can use a longer one too
- Scissors or thread cutters,
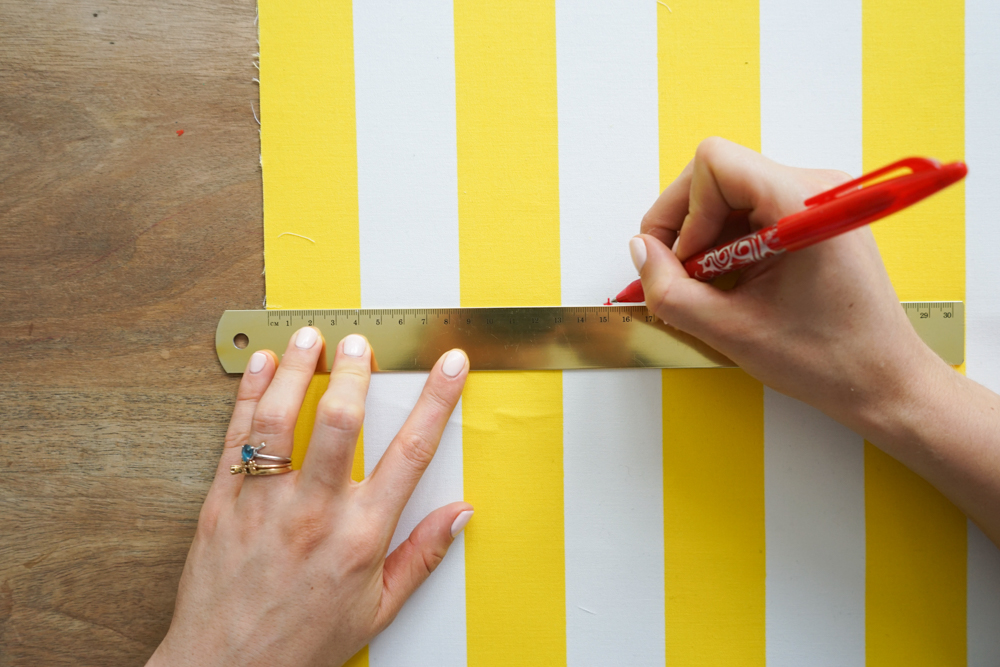
- A pencil or erasable pen
- Thread and a needle
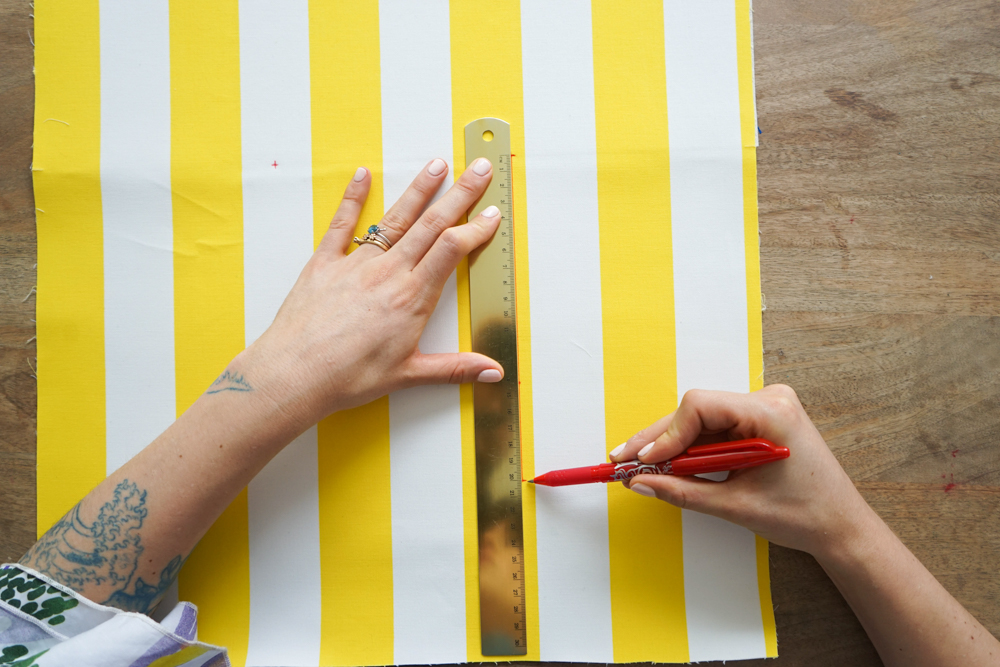
Let’s start with the bag’s main section (piece 1). We’re going to attach the handles. You may follow the notches that are already marked or shorten them if you want them to be shorter.
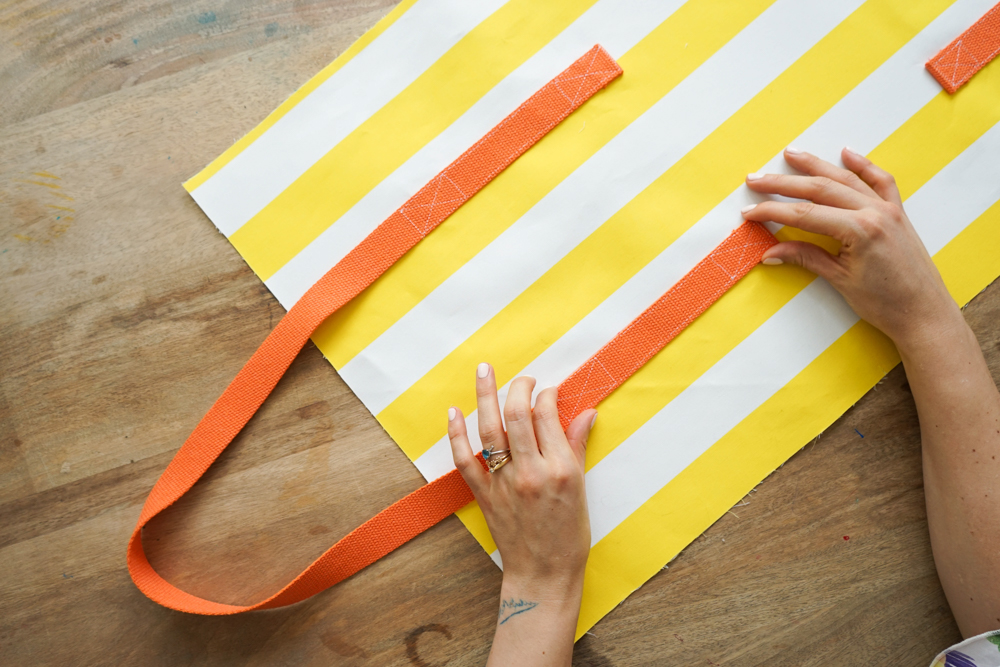
Do the same thing on the other side. Lay the handles in place and pin them while folding inwards the rough edge by 1 cm.
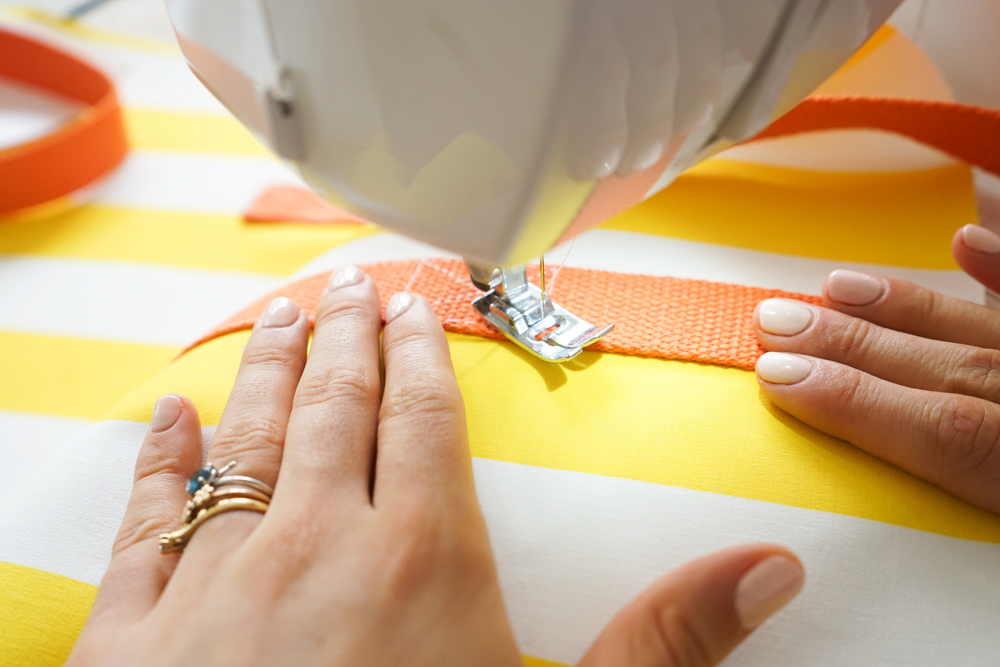
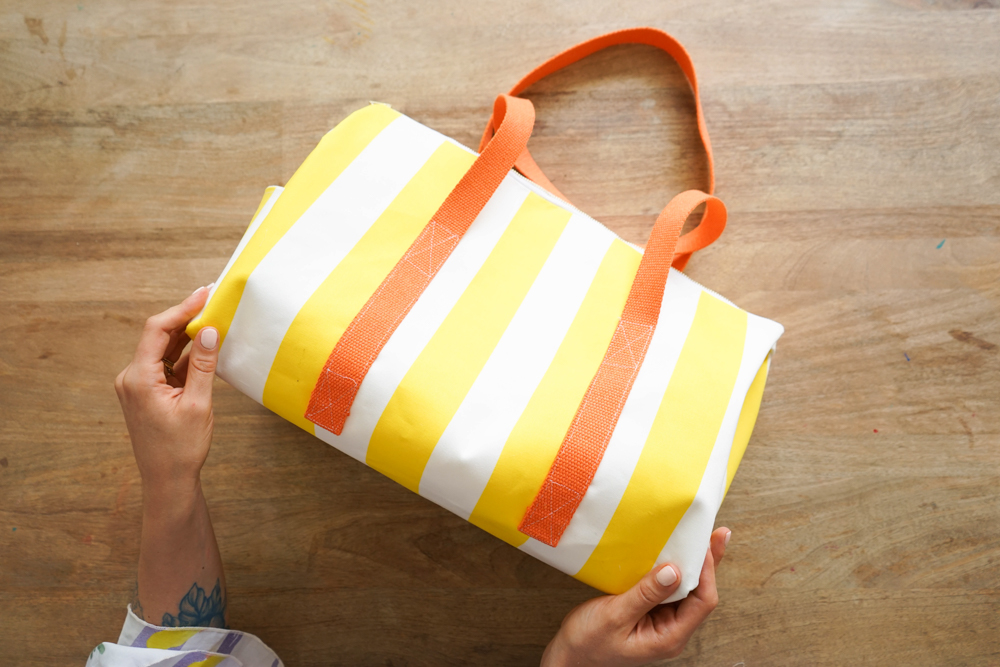
Stitch in a cross pattern to hold it in place. So that it’s prettier, but most of all sturdier, you can make a second cross a little bit higher near the stitch closest to the edge.
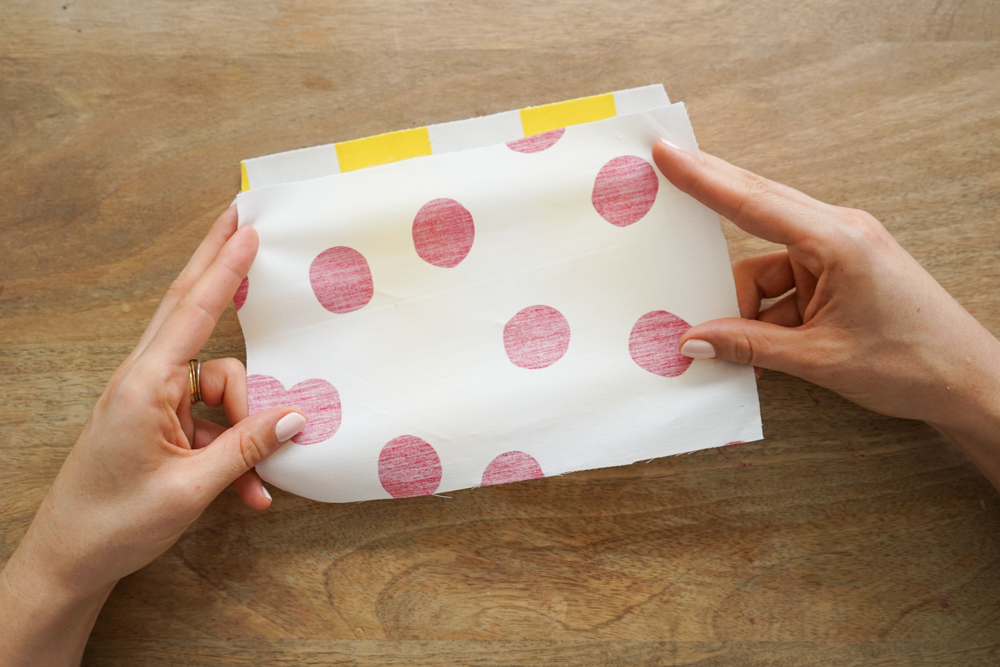
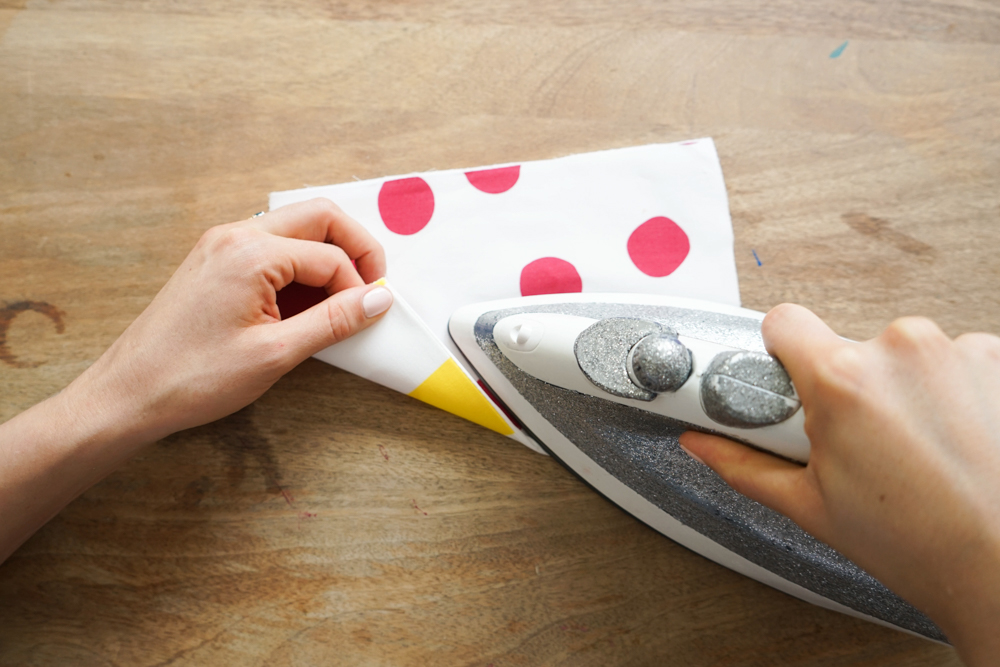
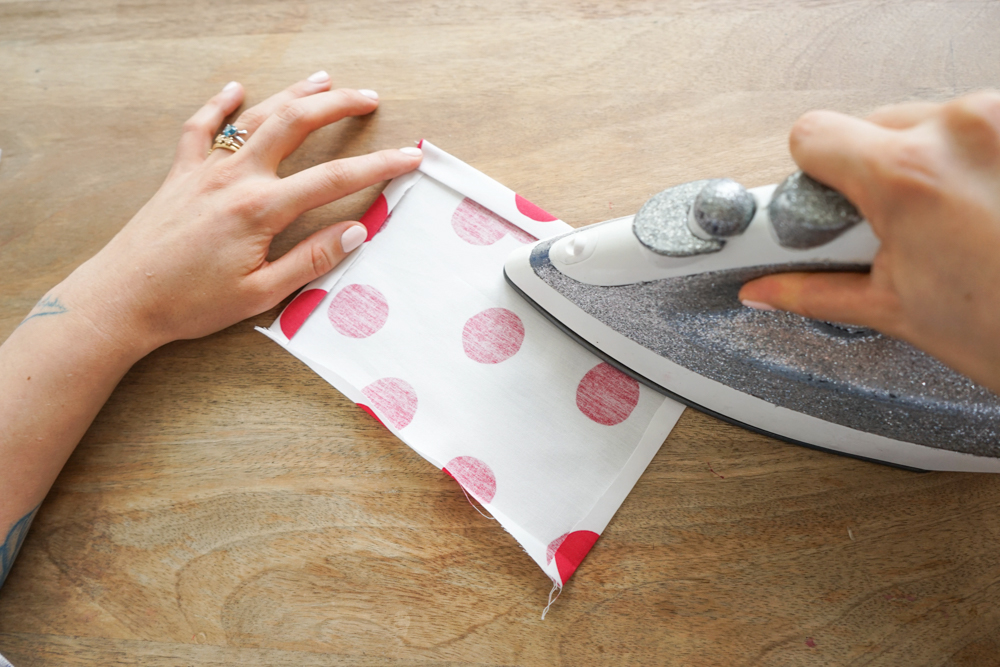
Let’s move on to the side pocket. You can make one or two depending on what you want. Use piece 3, cut out of the fabric and of the lining. Lay the lining on the fabric, right sides together, and stitch the top at 1 cm. Turn over and iron.
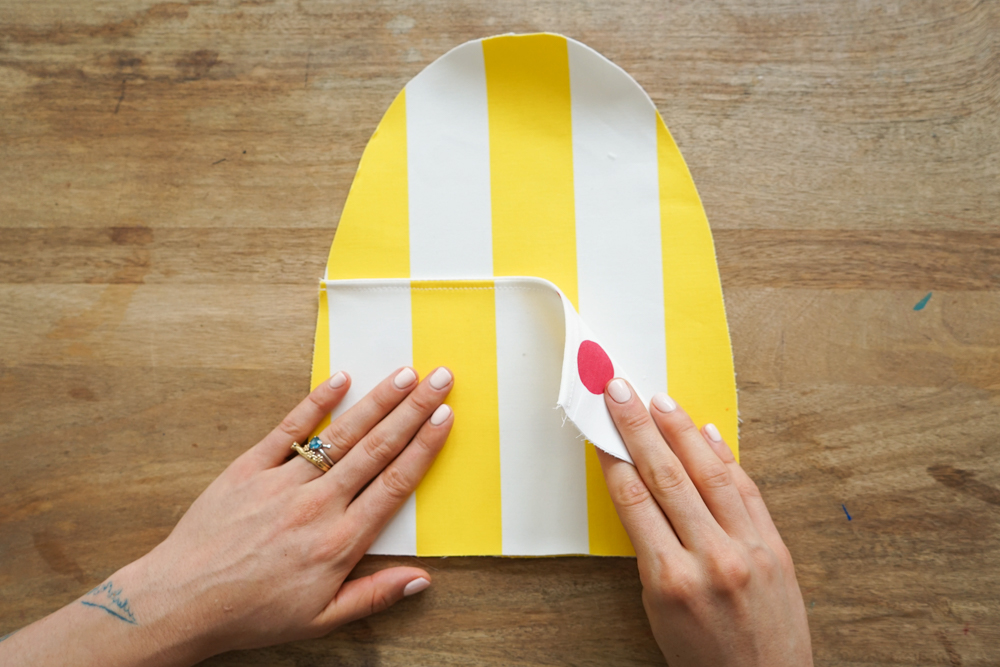
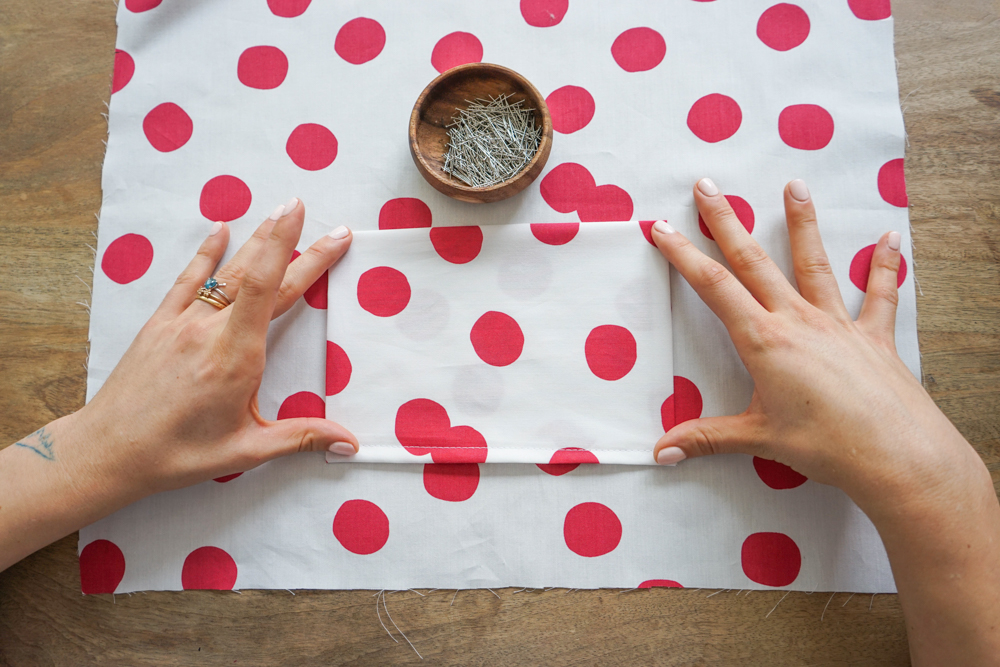
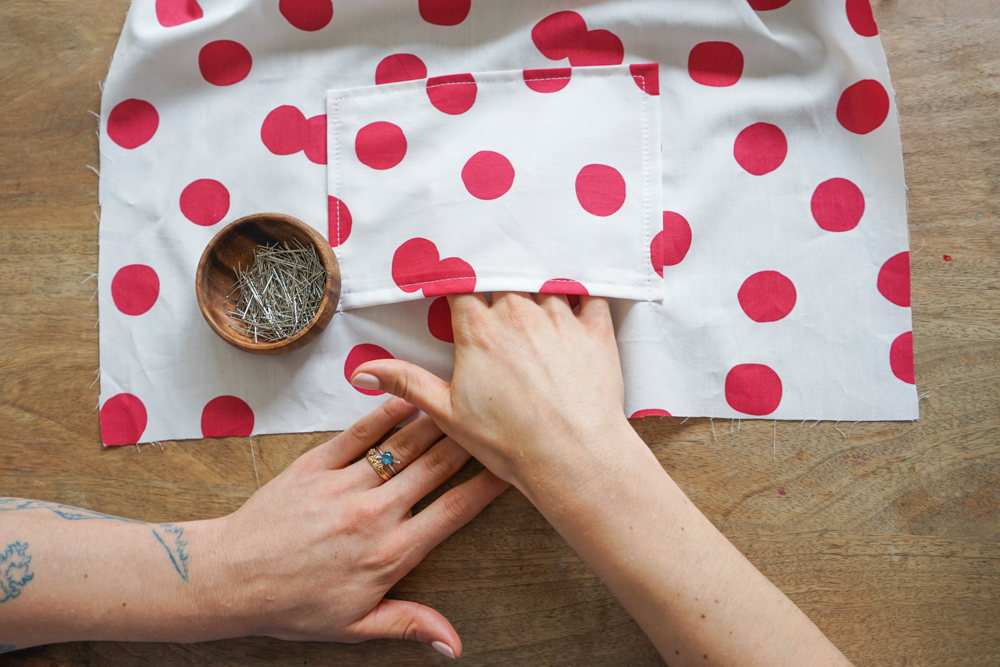
Lay the pocket on the side of the bag (piece 2) cut out of the fabric. The lines should match up. Stitch at 0,5 cm all around it except at the opening, so that the two pieces stay together.
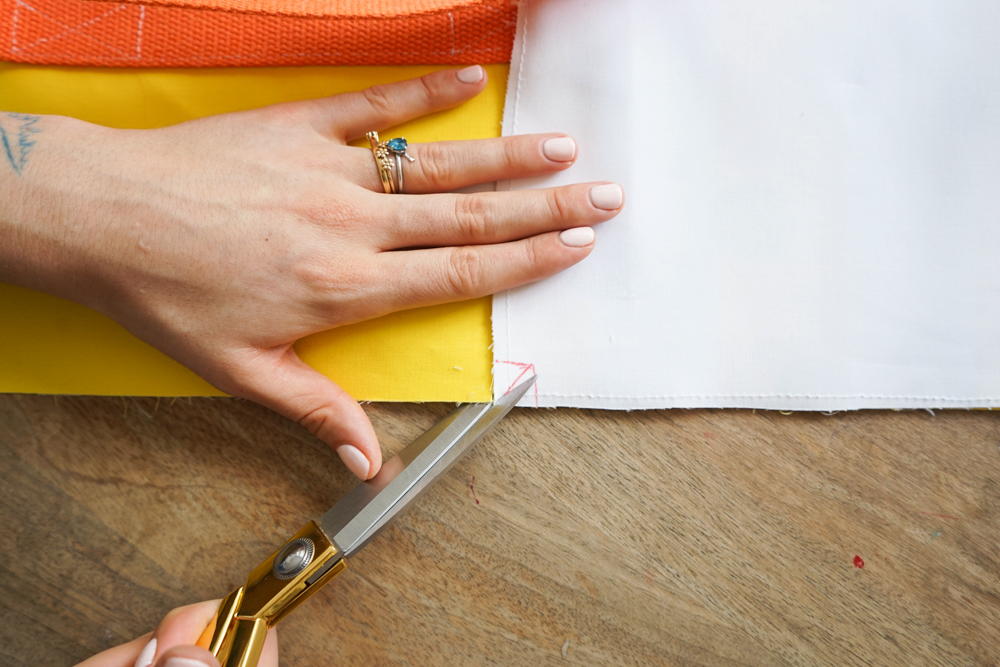
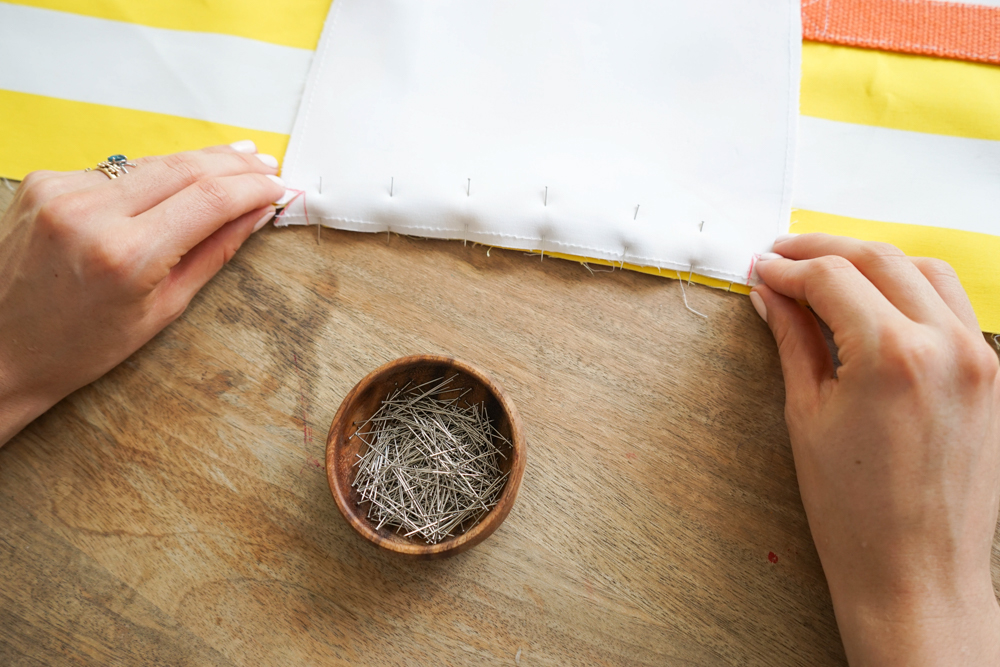
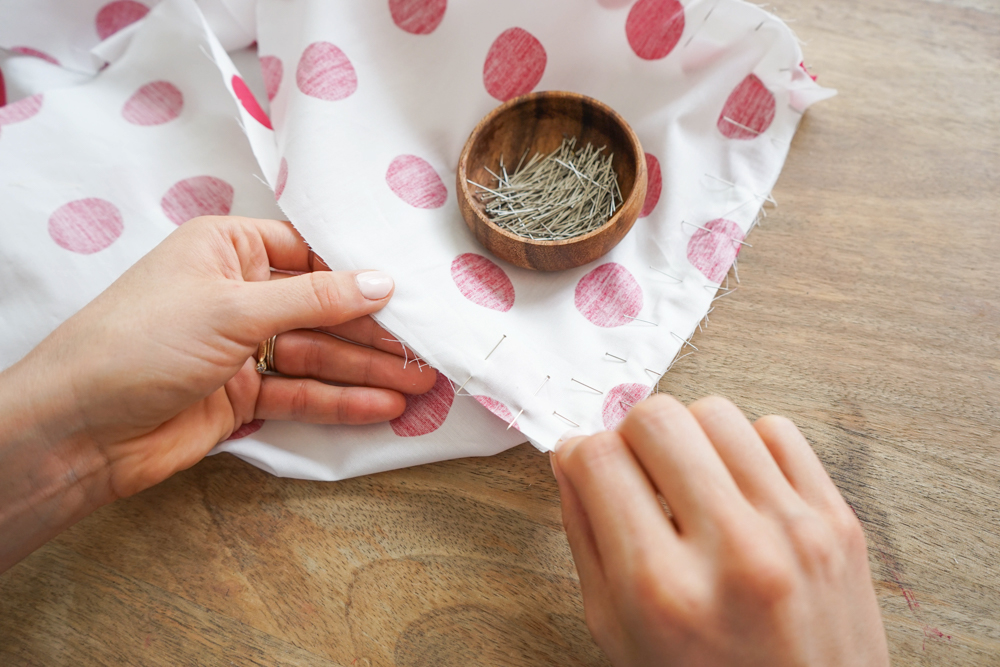
Lay the side on piece 1, paying attention to the notches. Cut diagonally on the corner as shown in the picture, a little less than 1 cm. Pin.
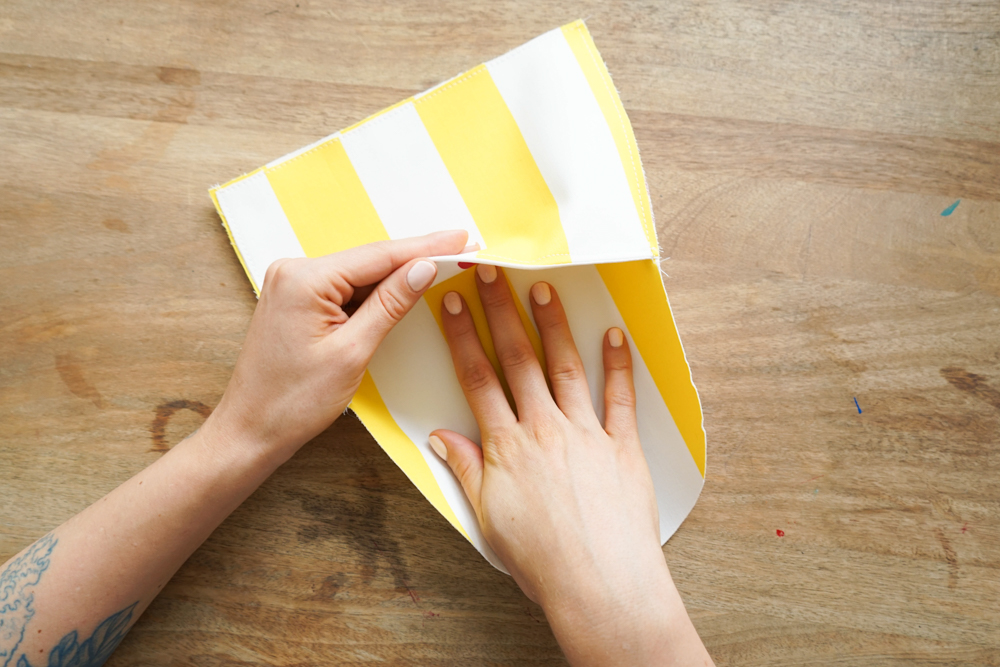
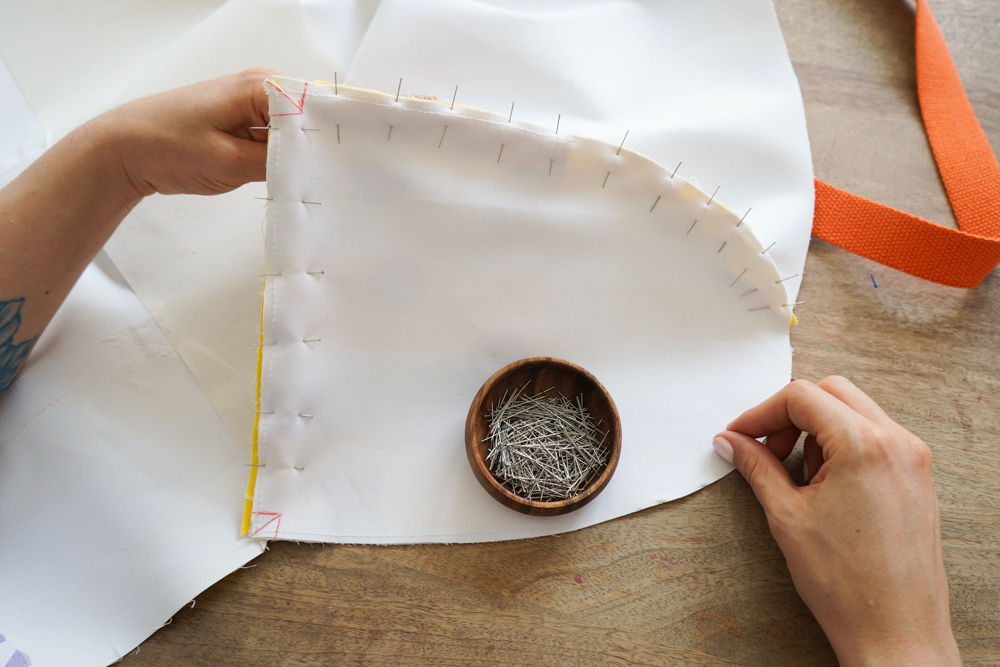
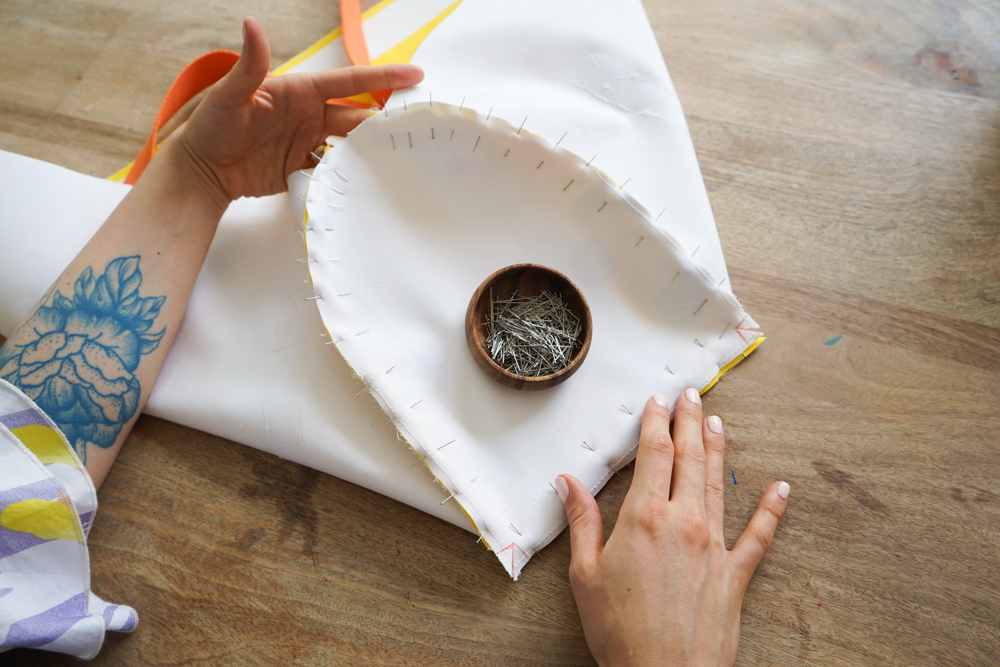
Pin the side’s curves with the lines of the main section (piece 1). Here’s what it should look like. Stitch at 1 cm all around the edges to hold together.
Your bag should start to take shape! Let’s move on to the lining. Grab piece 4. Fold 2 x 1 cm on top and 1 x 1 cm on the sides with an iron. Stitch the top at 0.75 cm or 0.5 cm.
Position the pocket on the piece 1’s lining however you like. Stitch at 0.5 cm the edge of the pocket except for the opening.
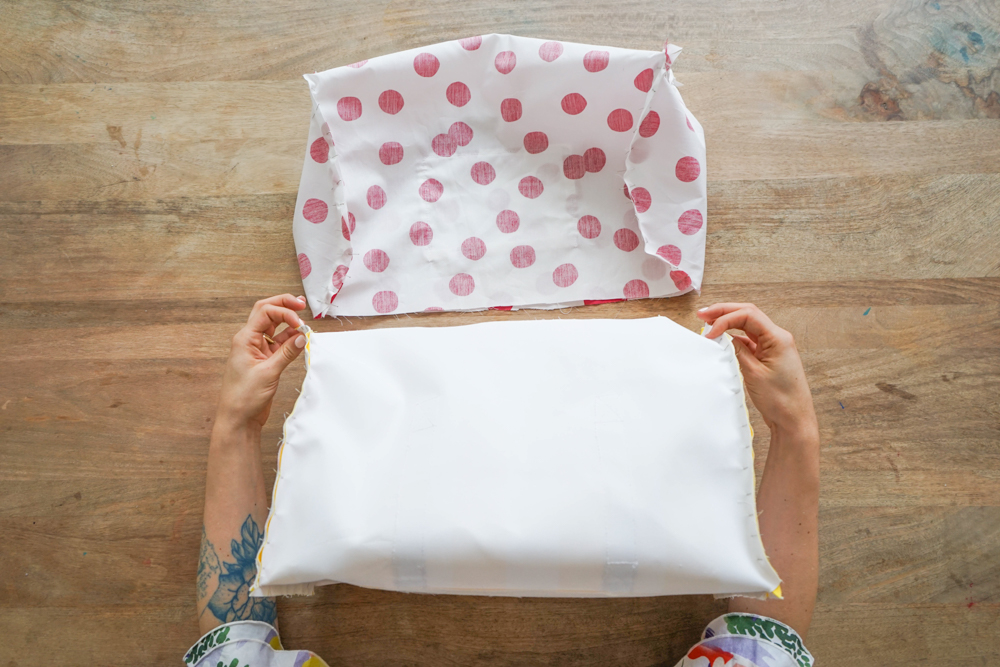
Pin the 2 pieces cut out of the lining to piece 1 also cut out of the lining. This step should remind you of something! Stitch at 1 cm. Now your lining and the bag’s “body” is finished.
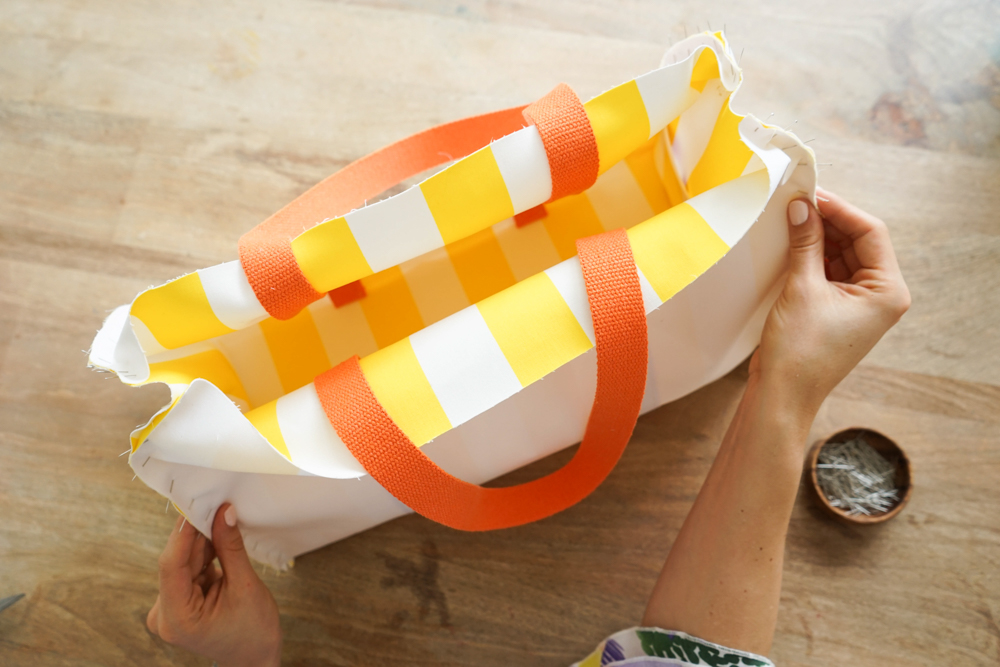
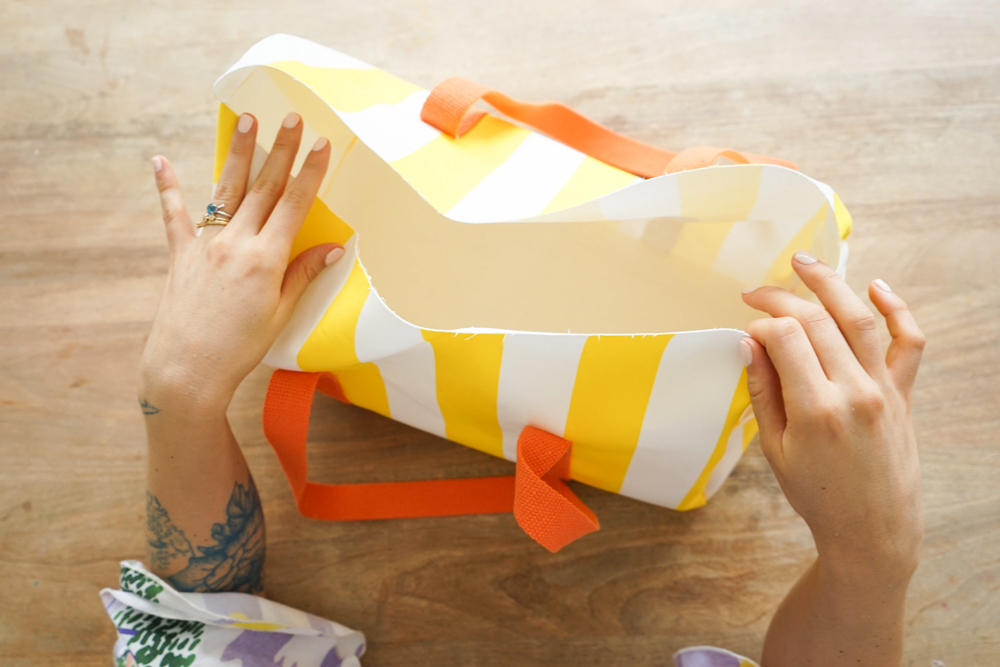
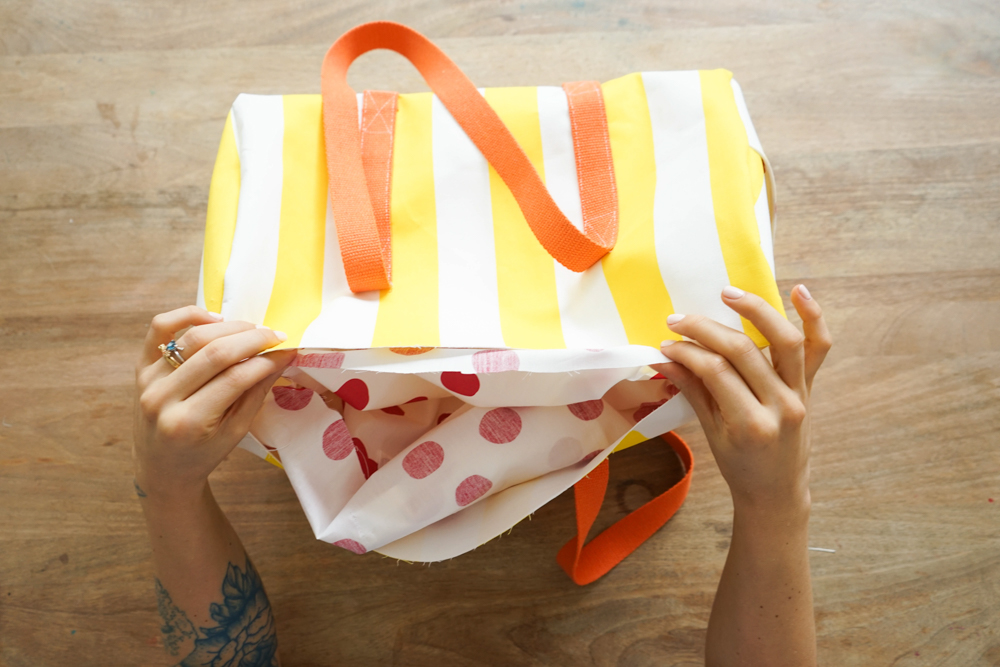
Turn the bag rightsideout. Put the lining inside so you can get a better idea of what comes next.
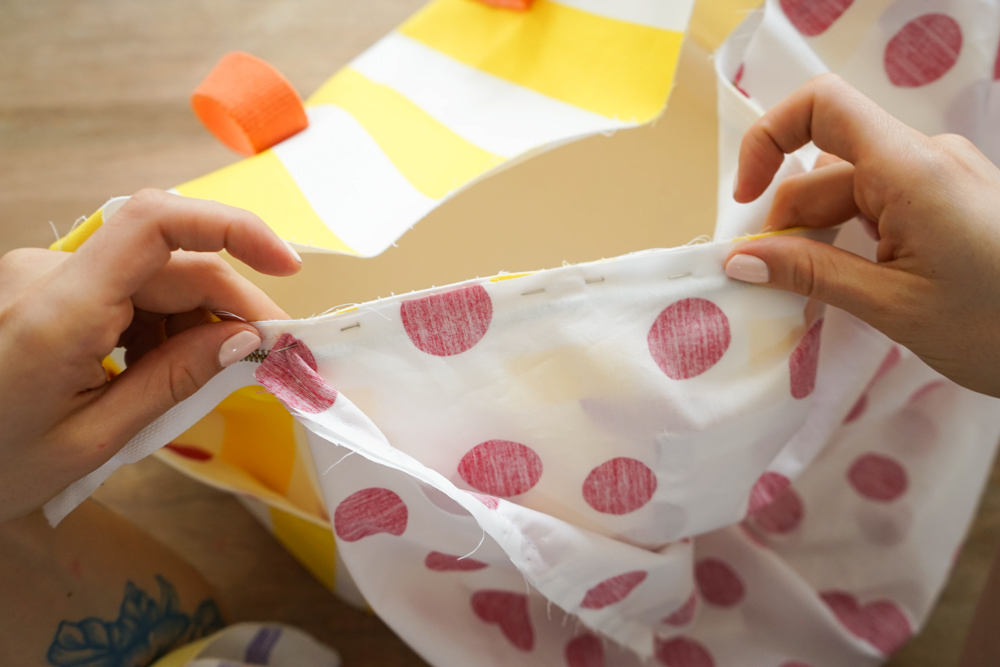
Pin one side of the zipper to the bag’s opening, right sides together. Pin on top again, the edge of the lining should line up with zipper’s fabric part. Stitch as close as possible to the zipper’s teeth. Turn over.
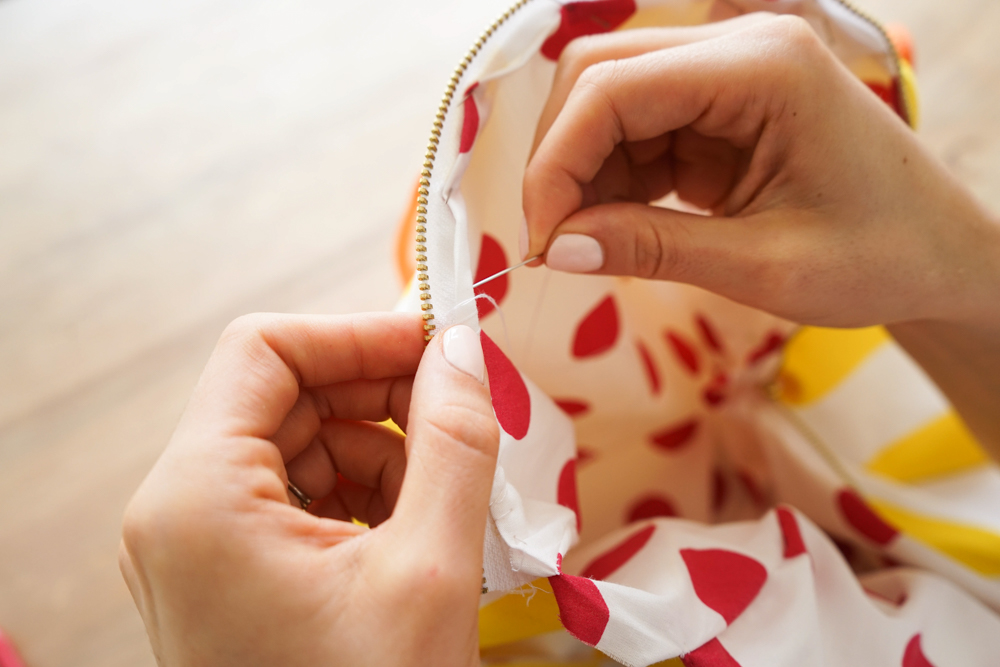
On the other side, you can pin the zipper’s fabric part to the bag and stitch on a sewing machine, but we suggest attaching the other side of the lining by hand. And TADA! Your carryall bowling bag is ready to be your best friend!
 Translated by Whitney Bolin[:]


