MILK BAG
My little cats !!!!
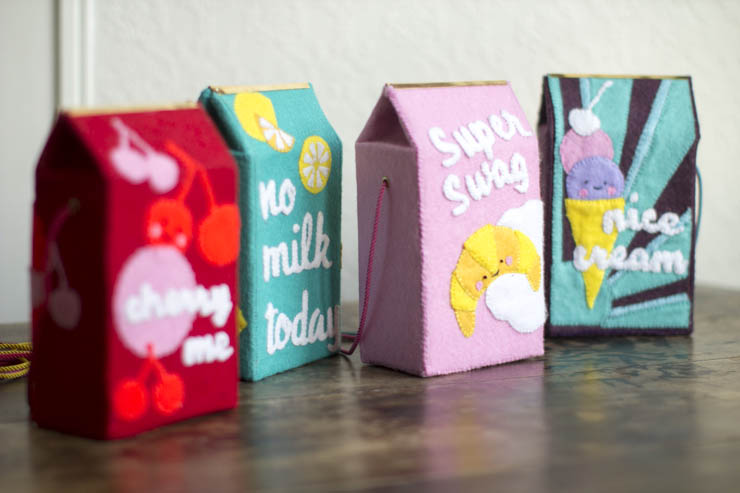
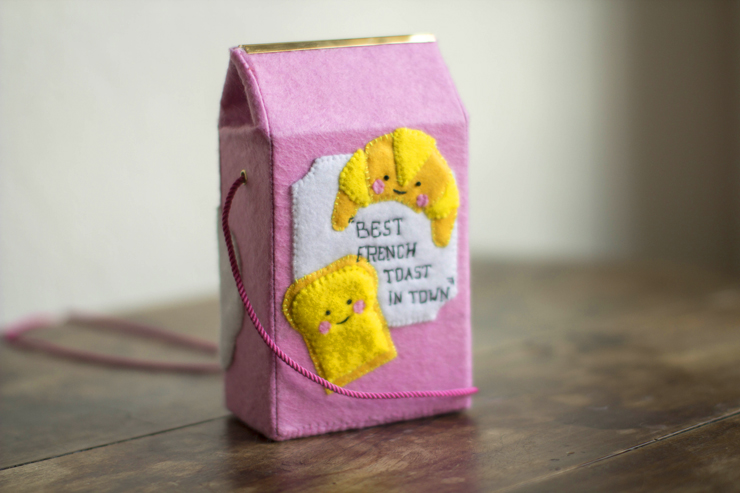
Today it’s DIY! I’ve been making this one for a while! And the reason is that I truly love it. A few months ago, or should I say a few years now, I fell in love with the Olympia Le Tan milk bag clutches. So adorable but so unaffordable for a clutch in which you can put absolutely nothing. And the day before yesterday, the Chanel show shook up the whole fashion world with it’s grocery store, I even took a picture of a COCO carton of milk, it was a sign, today I post my little love Milk bags… And to thank you for being such golden readers, you can win two of these lovely bags! Rendez-vous at the end of the article to read about the details of the contest!!! Je vous embrasse bien fort!
And by the way… If you haven’t subscribe to the Make My Lemonade newsletter yet, you should do it now… Just saying…
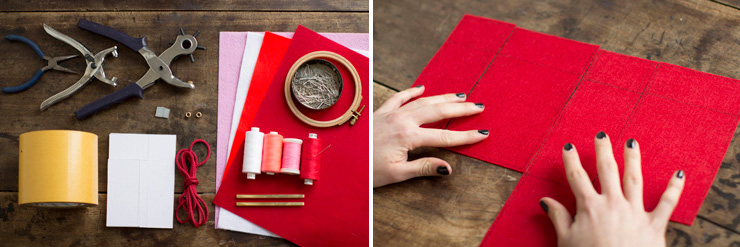
Materials:
- baize (4 different colors)
- thread (color-coordinated to the baize)
- good double-faced tape
- flat-nose pliers
- eyelet pliers
- hole puncher
- card
- two small magnets
- two bag completions found at Gérard Diffusion, 31 rue Yves Toudic, 75010
- embroidery hoop
- cord for the bag’s handle, here it’s Shindo (FYI if you go to the shop from me you’ll have 20% discount, 2 rue Aboukir)
First of all, cut the downloadable base of the bag
no milk today: Version 1
cherry me: Version 2
nice cream: Version 3
super swag: Version 4
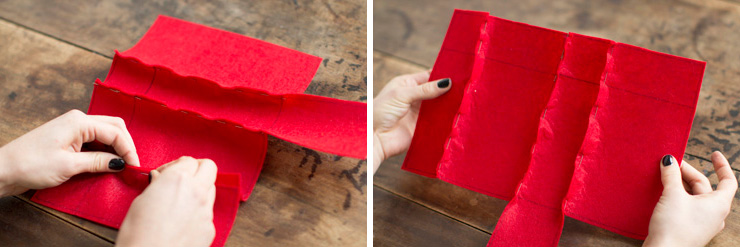
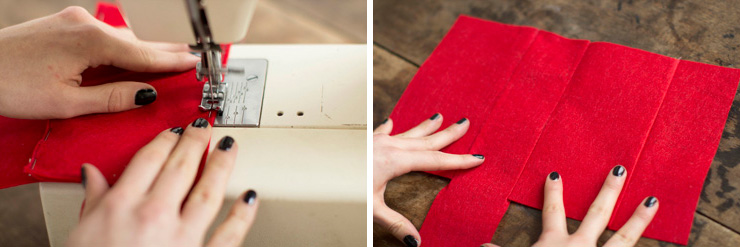
Then pin the 4 parts of your bag altogether on the wrong side (the side of the drawing).
Then with your machine, sew along the drawings and here you are with the base of your bag made in baize.
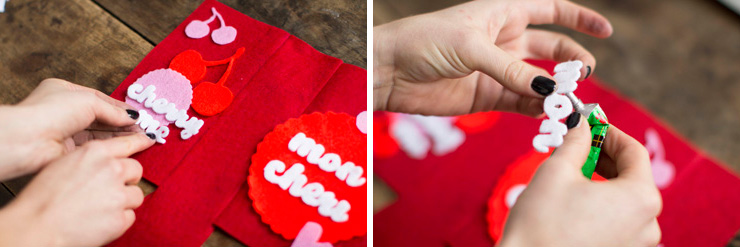
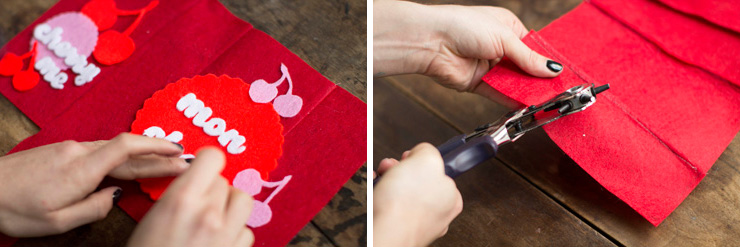
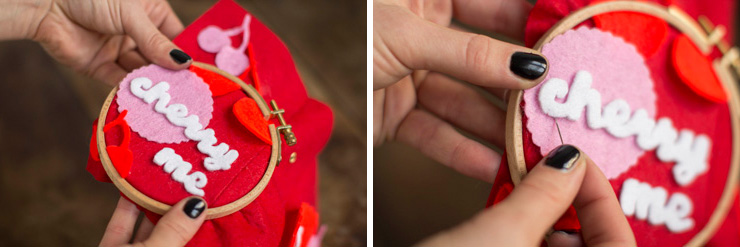
You can then put the previously cut in the baize patterns. Before starting the cutting I’d advise to starch the baize, it cille help a lot with the cutting and embroidering… Slightly glue the different patterns to embroider on your base.
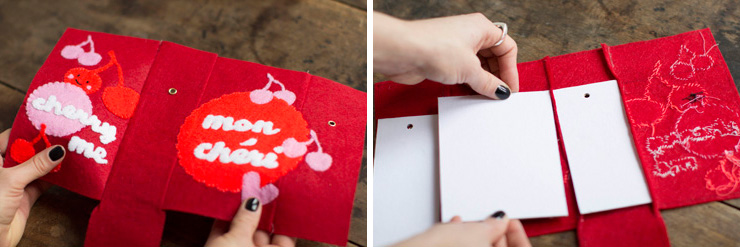
Then take the hole puncher and make holes into the baize on the side of the bag, these holes will be used for the handle (you’ll find the right position of the holes on the template of the bag).
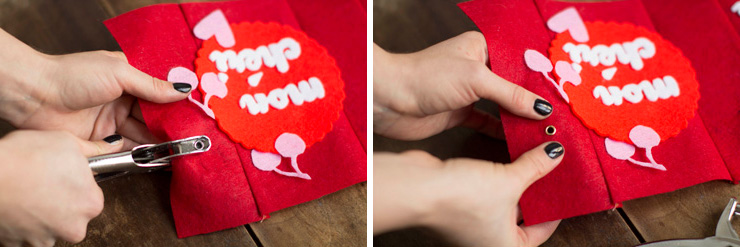
Then put the eyelets, with the right pliers, and please be gentle…
You can now get to the embroidering part and use that time to watch one or two good movies… It takes a long time but I assure you that you get caught quickly. To embroider you simple have to make hand stitches, even when visible I think they bring an authentic « hand-made » touch that I like a lot.
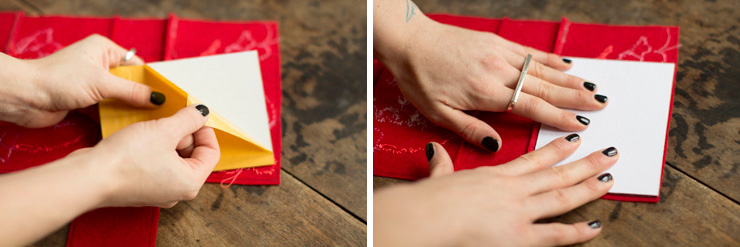
Bravo, you’ve made the hardest part ! You can now put the previously cut card plates in order to strengthen the base of you carton of milk. Don’t forget to make holes into your plates at the same location as the eyelets.
Thanks to your great double-faced tape (mine comes from ruban de normandie, it’s 10 cm wide, so good) you are now going to stick the plates, being very careful not to stick them on the seams but against them (in order to avoid getting a disgraceful bulge).
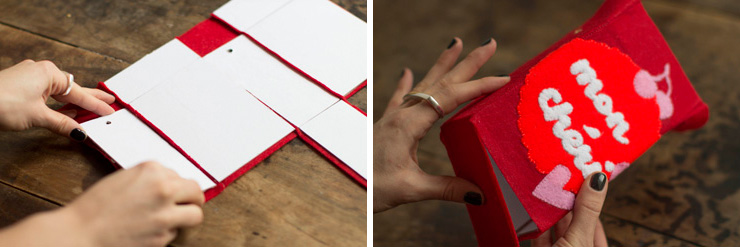
You can now fold your bow and start admiring the result for a few seconds (it’s almost done!)
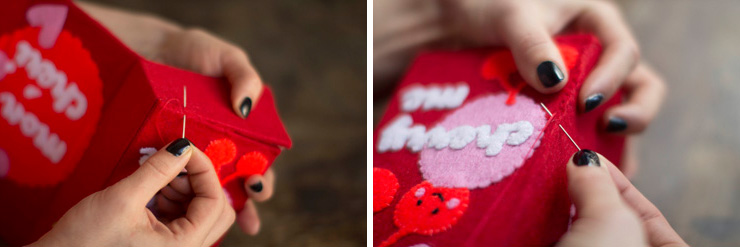
It is now time to focus: sew the sides of your box in order to close it. Put the plates edge to edge and fold the hem width on the inside to get the perfect finish.
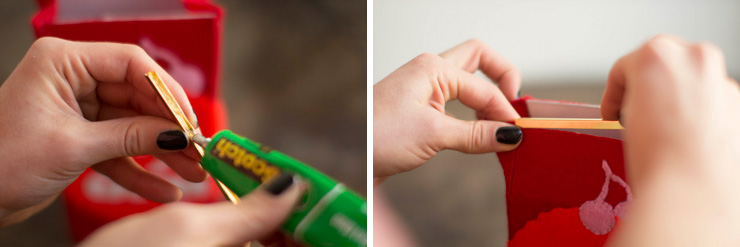
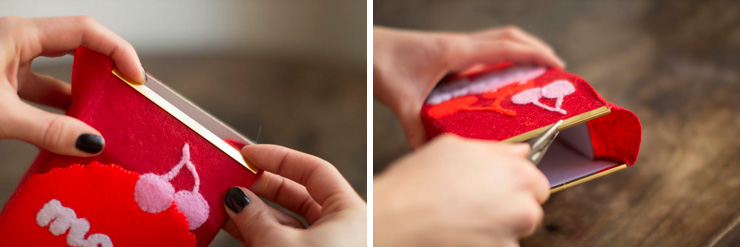
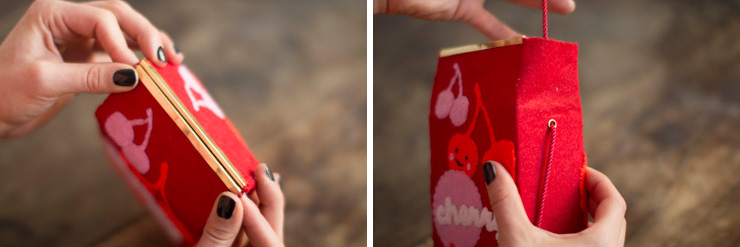
Take the bag completions’ rod, put a light dash of glue before sliding them on the top of the bag. Be careful to take all the layers (card + baize).
Slightly crush the rods with flat-nose pliers to make sure they will stay.
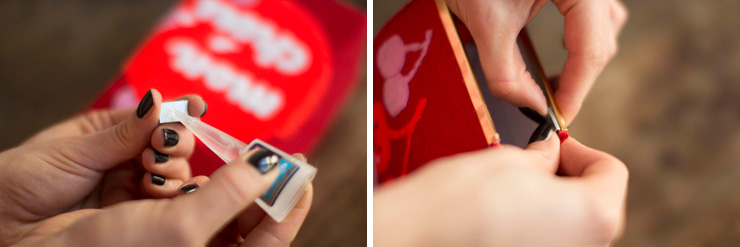
With superglue, glue the magnets on the rods (on one side only, on the right for the recto and on the left for the verso, each magnet will be attracted by the opposite rod).
Finish with sliding your word into the eyelets, choose the length and make a knot. And TA-DA!
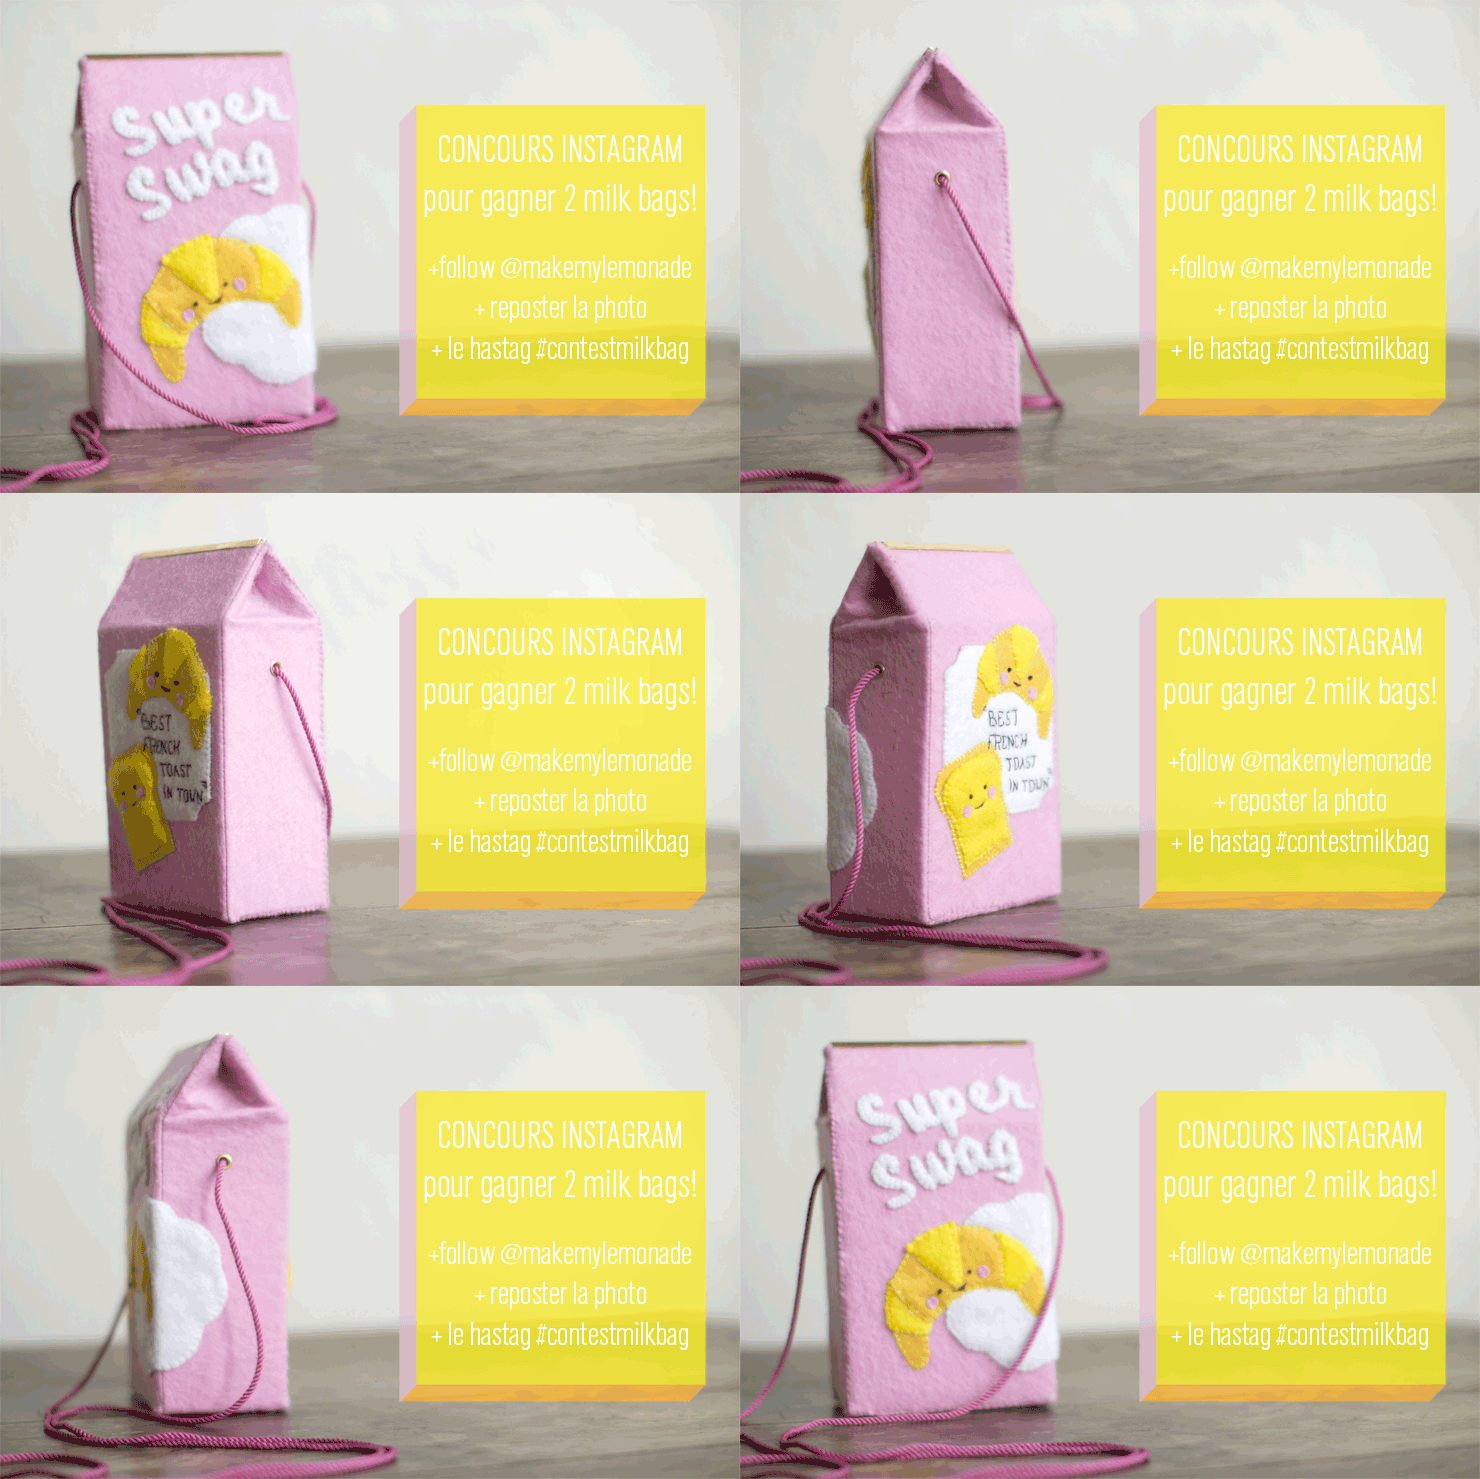
Rendez-vous on the instagram account of Make My Lemonade, follow it, repost the picture of your favorite bag (I’m going to post the 4 of them). To do so, simply take a screenshot and add a caption with a word and the #contestmilkbag hashtag! I’ll draw 2 winners on monday! Sweet kisses and thanks for everything!
[:]


