BIG EFFECT LOW BUDGET[:]
Hello my little kitties!
As Charlotte told you yesterday, we found lots of ideas to make you tones of gifts DIYs! However, gifts we make ourselves are often looking at those children are creating at school on Mother’s Day. I am not criticizing the wonderful French teachers (sister I love you) but I already experienced the gift preparation with cheese boxes and other detergent barrels for years. It is not really a good idea.
Then two conclusions came to me: the first one is that I have to forget about recycling when it comes to quality presents. The second one is that we have to focus on simple and noble materials. For example, it is always better to use Canson paper a bit heavier than usual. Instead of choosing a basic grey and unisex sweater it is sometimes better to find more fitted cuts from Zara for example, a bit more expensive I know but you will not need to make a loan either…
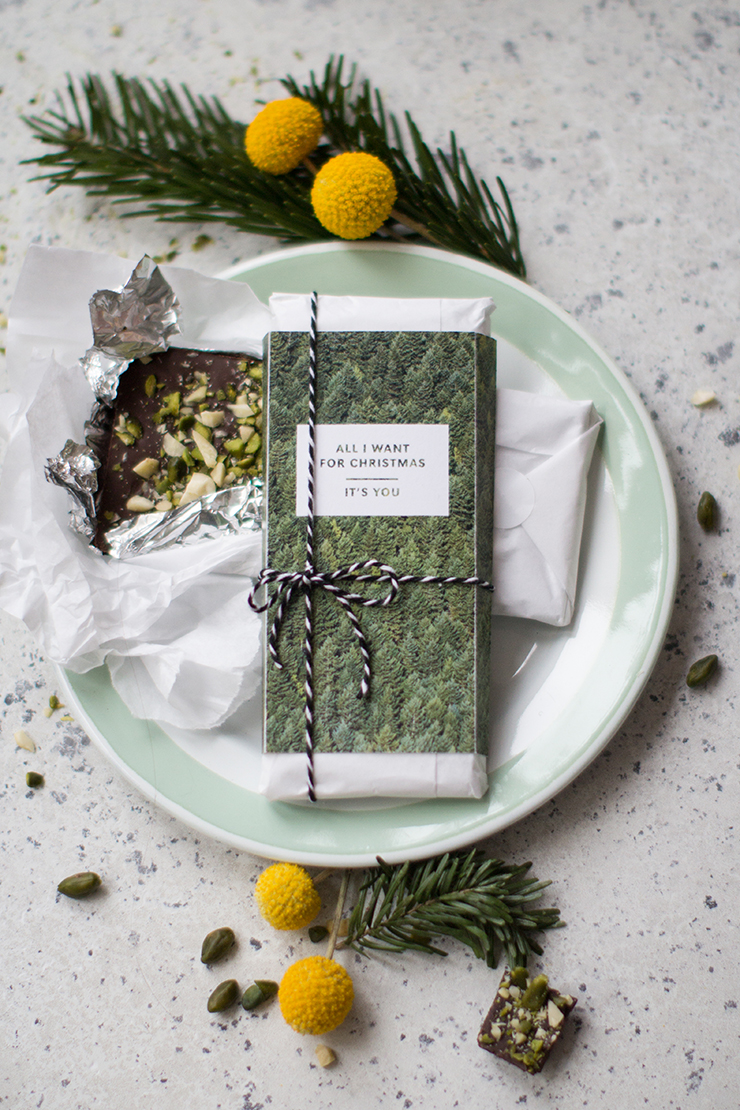
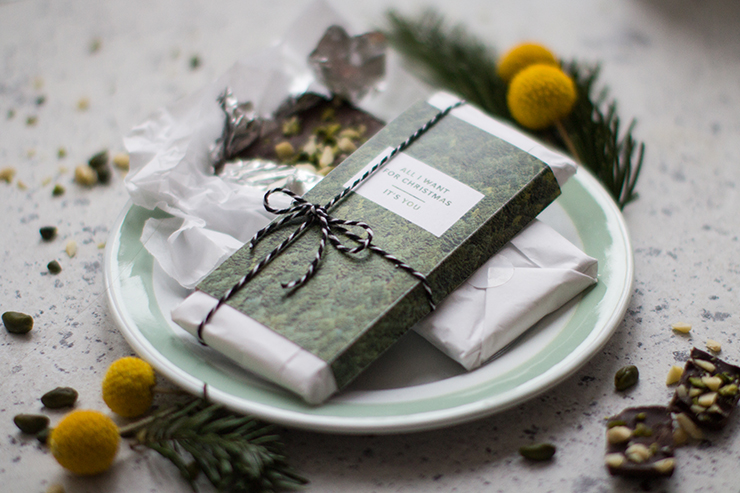
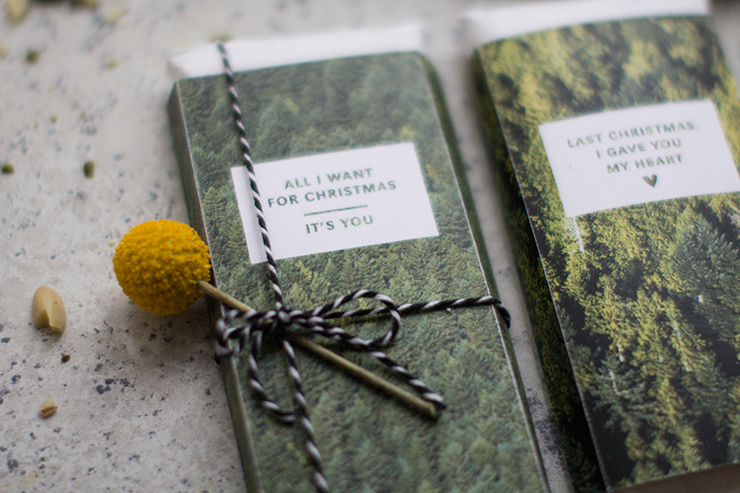
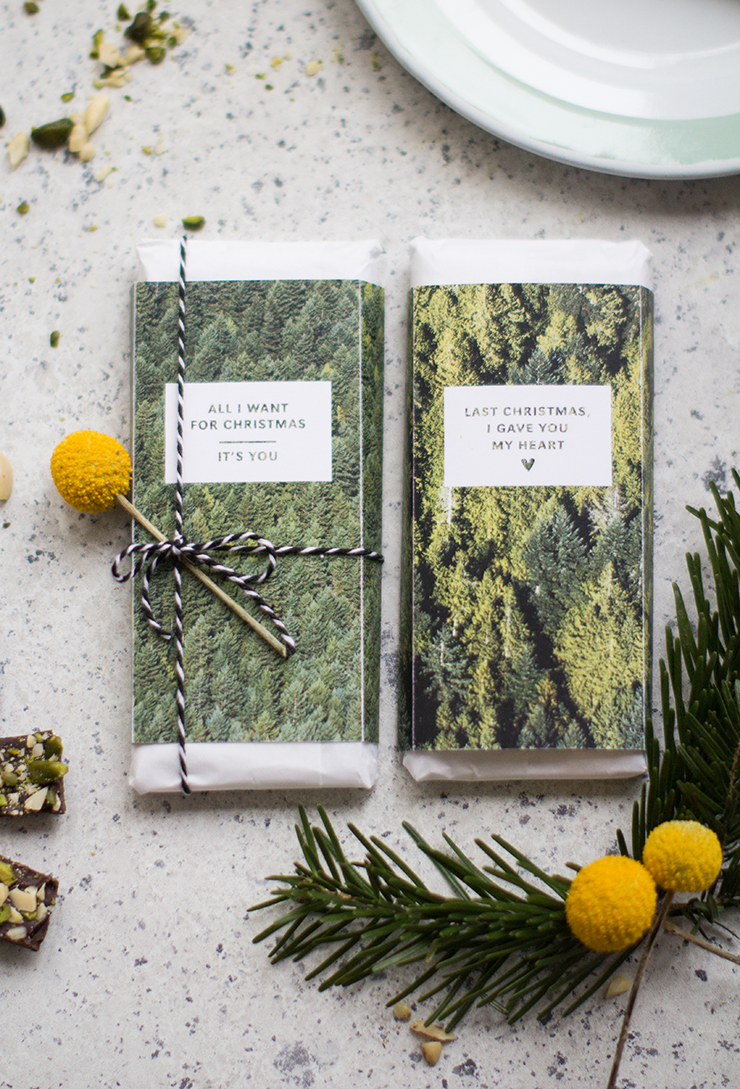
This DIY is super easy to make and can be offered to everyone as goodies. The idea is to make your own chocolate bars. You can find nice recipes here. If you want to have a more delicate result, you can use smaller molds. I tell you this because it can be a good idea to make lots of bars and put them in each plate before dinner! Maybe you will recognize my Canadian pictures of the trees forests!
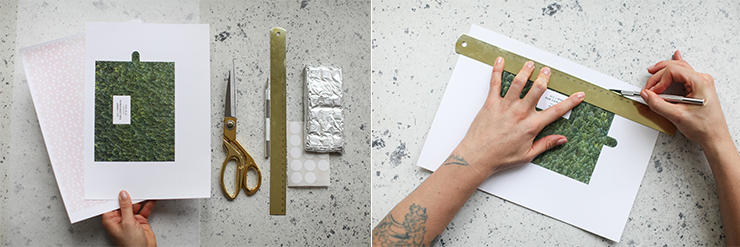
For this DIY you need:
- - The packaging patterns to download here,
- - Scissors,
- - Scalpel,
- - Ruler,
- - Stickers,
- - Chocolate bars,
- - Tissue paper.
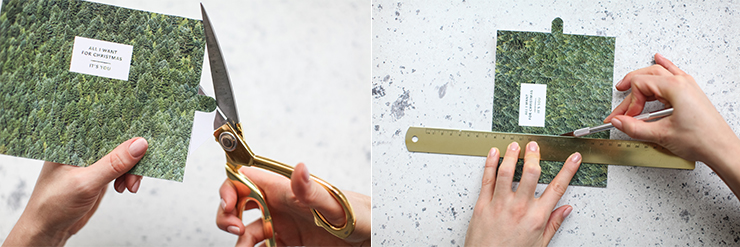
Start to download and print the packaging patterns of the bar. Choose the option “do not put on scale” in the printed options. Print the polka dots pattern on one side and the trees ones on the others. You can also find a blank pattern so that you can customize it yourself! Once everything printed, cut the paper with a ruler and a scalpel.
For the notch that is going to help you close the packaging, use scissors to make it rounded, you will see it is easier than with a scalpel! Now using a scalpel, draw the lines (following the doted lines) so that the folding will be easier. Do not forget to cut a little hole so that you can put the notch in and then close the packaging.
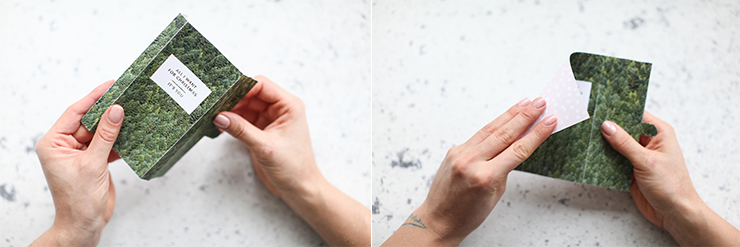
Preform the packaging thanks to the lines. The inside is with polka dots and the outside with trees or the pattern you want!
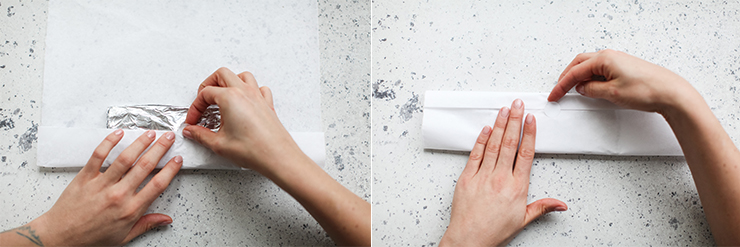
Now take a tissue paper sheet and wrap the chocolate bars up.
Cut the paper surplus, fold as if it was a present and fix the both sides with stickers.
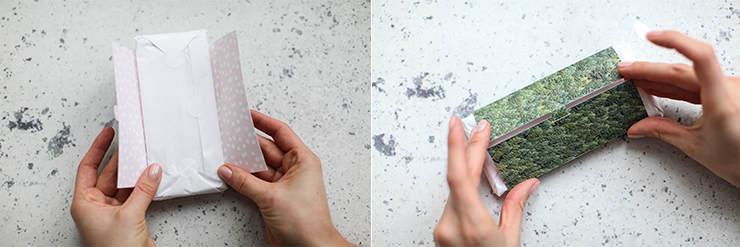
Put your wrapped chocolate bar inside, close the back of the packaging with the notch.
Make sure the notch is well fixed or use a sticker if you want. Here we are!!
Translated by Coralie Clair
Pour lire ce post en français, cliquez ici !


