


TA-DA!

First of all, I need to tell LOTS of thank you... Thank you Charlotte for your time and work, Claire for your flowers and work, Morgan for your patience and work (a double thank you actually), Jean-Philippe from the Coq Sportif for your welcome and this terrace, Capucine for your golden hands and your work. And without any particular order a huge THANK YOU to Rémy, Morgan, Antonin, Rémi and a special thank you to Théophile...
Voilà, a chapter is closing, it’s been a long time since I wanted to thank you for the thunderous welcome you made for Make my party, it now keeps living its life with you... I am now thinking of the sequel, maybe a tome II about fashion and deco. Or maybe something else before getting to another big project... We’ll see what the future holds.
THANK YOU for being so faithful and always more numerous it is completely crazy when I look back it makes me dizzy. And this sunday I am all love, you’re going to say that is often the case when I come here. I’m about to meet a few of you today with the first workshop... The second session will be online in the week, I can’t exactly tell you which day because I have to make my schedule but stay in touch it will be there fast.
Sweet kisses
Doityourselfly yours, Lisa.
To finish you Make my party, you will need:
- One Make my party,
- To download the Chapter 6 (by clicking on the link) and to print it on mat paper,
- Linen thread and a thick needle,
- A steel rule and a cutter.

As you probably already noticed there are little holes all the way down the pages of your last chapter, it will help you for the binding. With the needle, pierce all these little holes.

Once they are all pierced, gather all the pages and don’t hesitate to clip them together with large tongs, it will considerably help you. Then, with the large needle, re-enter each holes and don’t hesitate to enlarge them by making small circles with the needle.

Start threading the needle into the second hole from the bottom (from the back of the chapter to the front). Then go through the same hole to fix the edge. Generally you(ll have to go through the holes twice. If you happen to be panicking, I’ll advise you to have a look to these instructions, it was my salvation making this Japanese binding.

I’m giving you this link with a technique that looks a little barbaric but is actually not you’ll see, just follow the numbers and it will be very clear... You can also bind this chapter by putting the thread into each of the five holes and making five little knots.

Here we are with a bound chapter. Well done... It is beautiful isn’t it? It’s now time to have an auto-satisfaction break...

Then grab your «Make my Party» and let’s meet at the end of it. With the steel ruler and the cutter, cut along the dotted lines in the 4 corners of the page (please protect your back cover). Then slip your last chapter into the slits.

And TA-DA! Thank you for all your love!
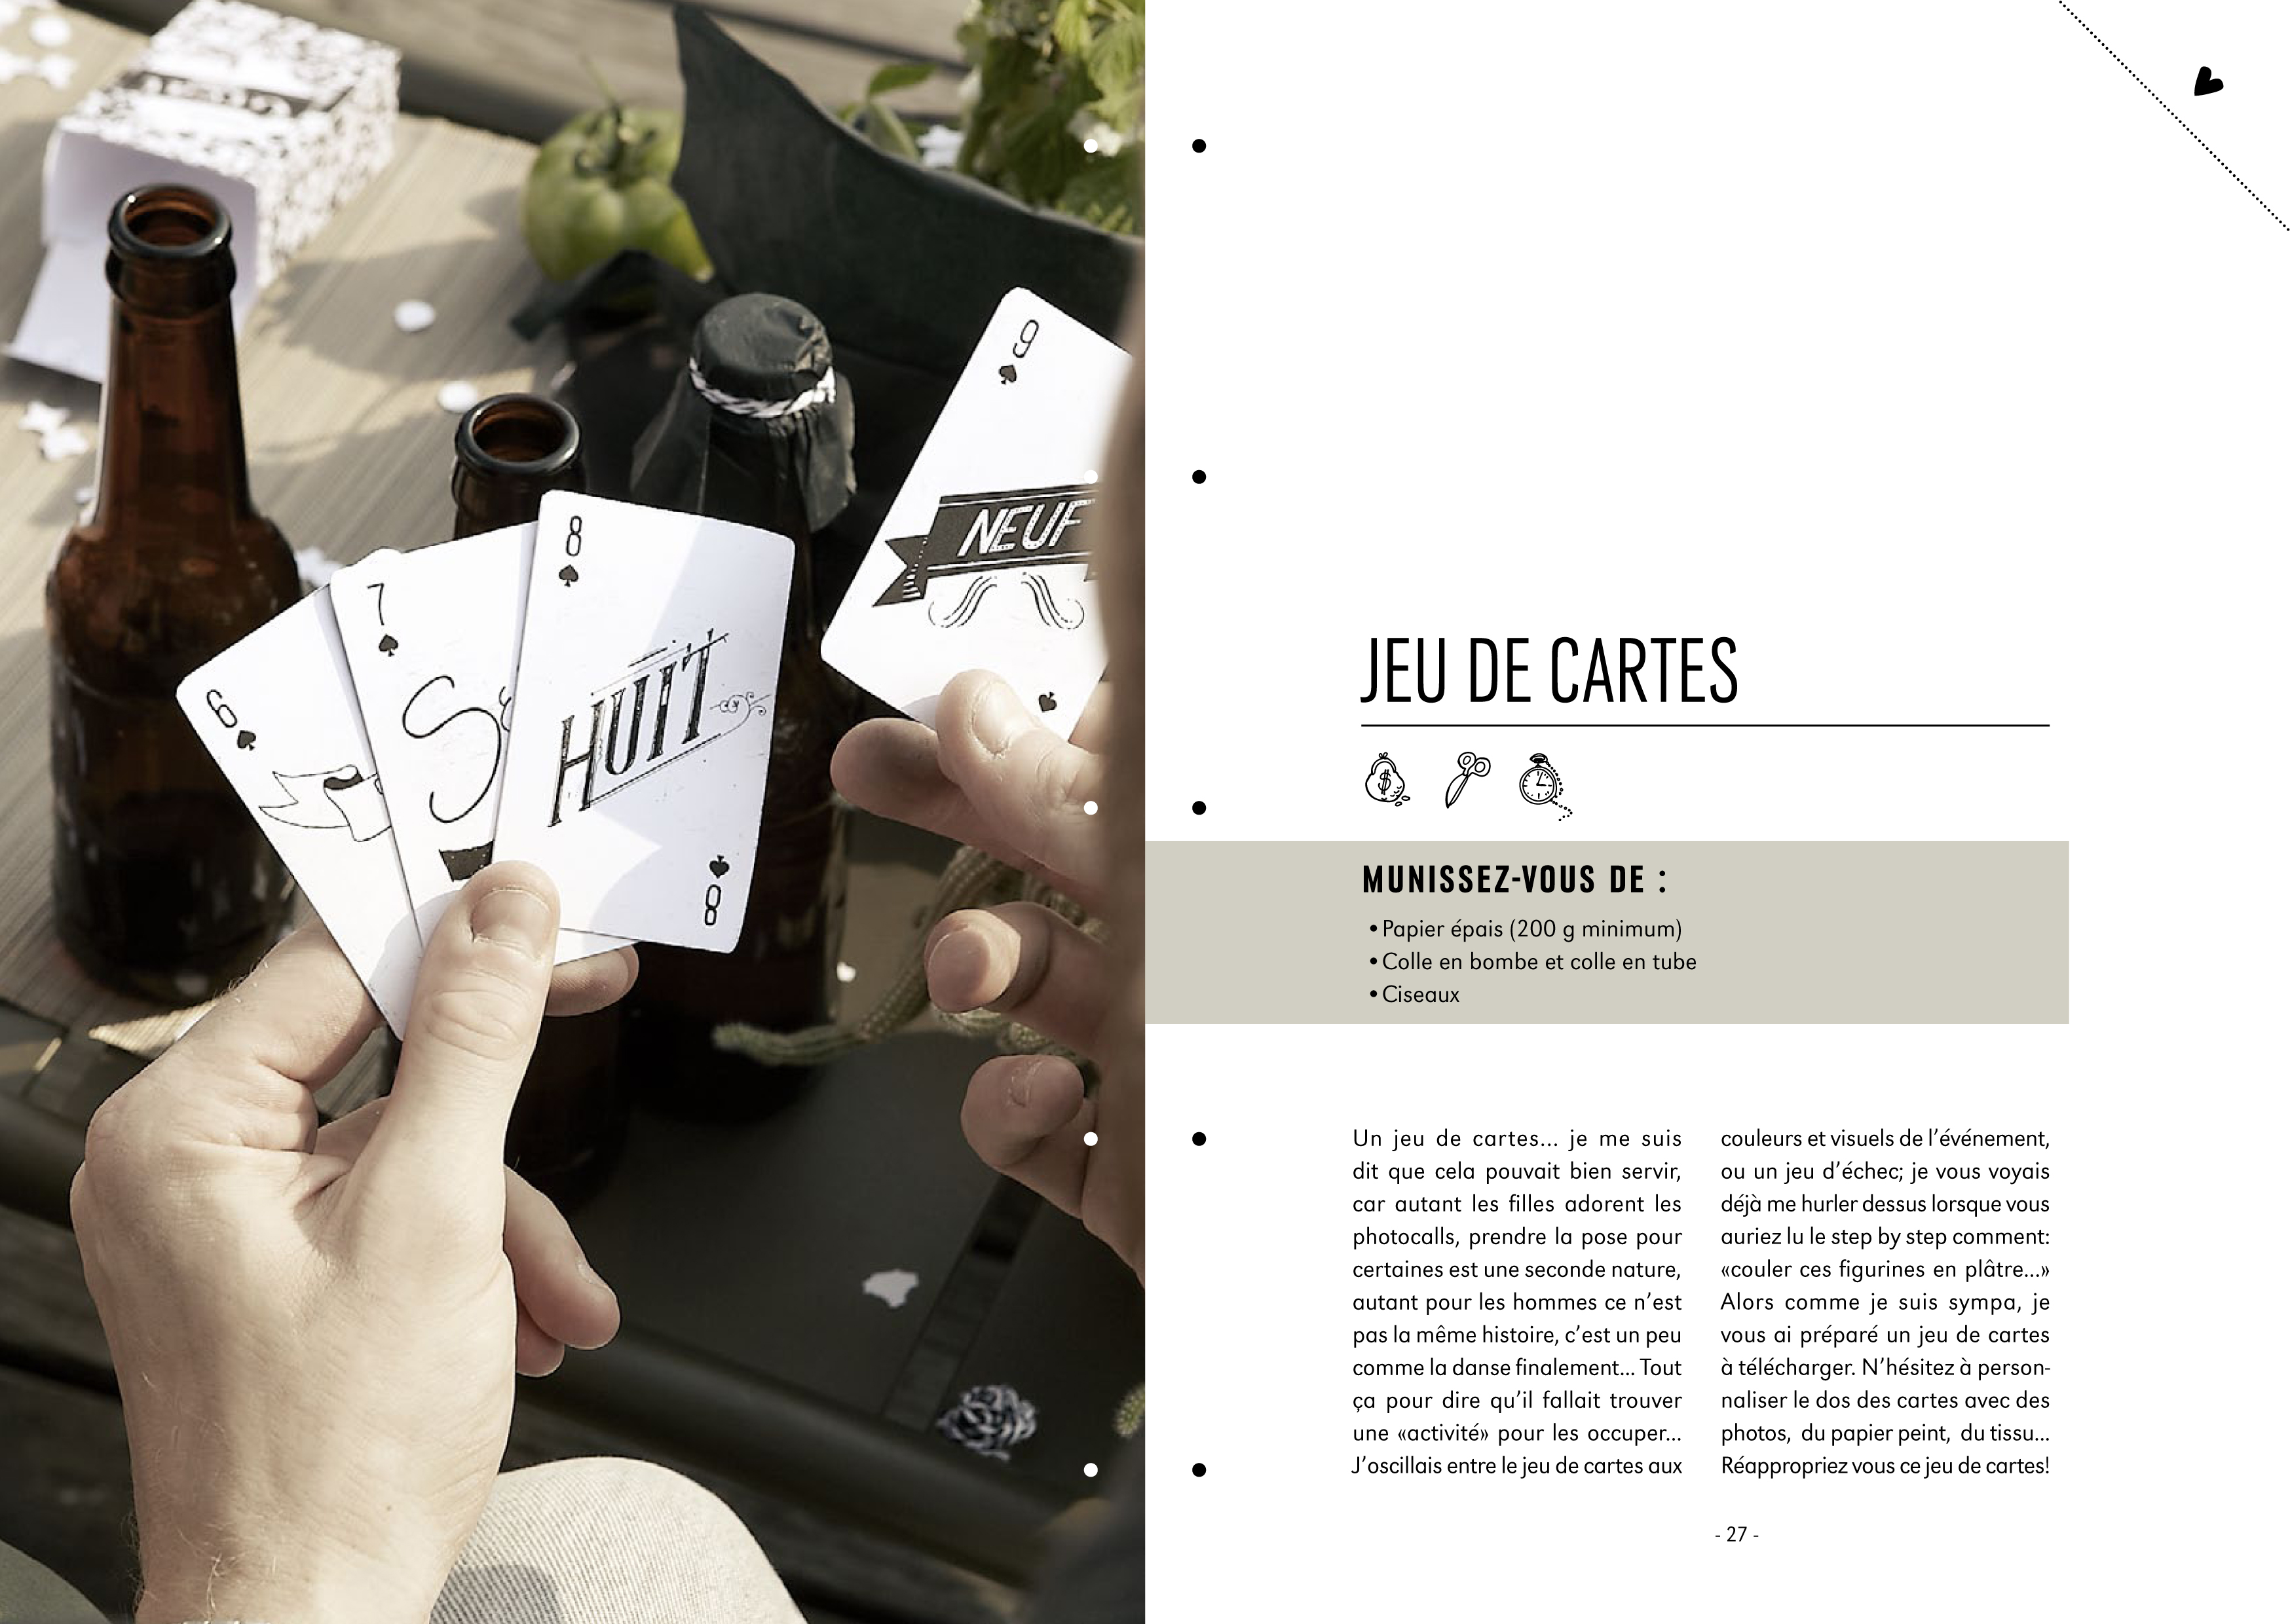
Click here to download the templates of the playing cards' box and of the playing cards.
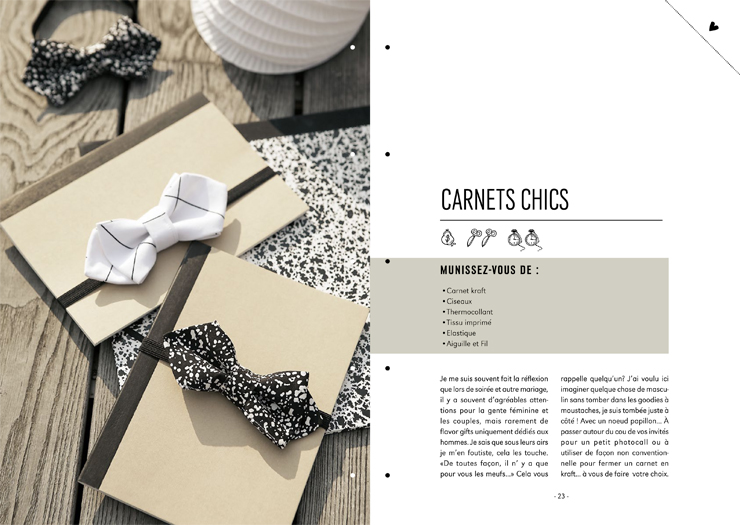
Click on the link to download the template of the carnets chics' bow tie.
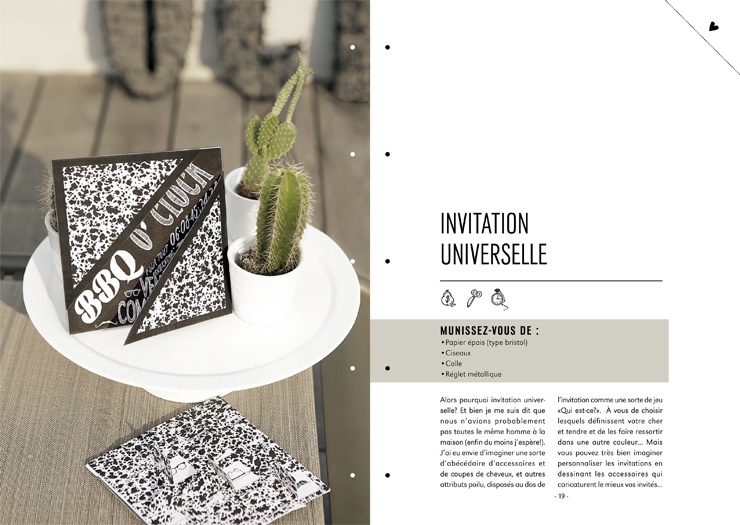 Click here to download the template of the universal invitation.
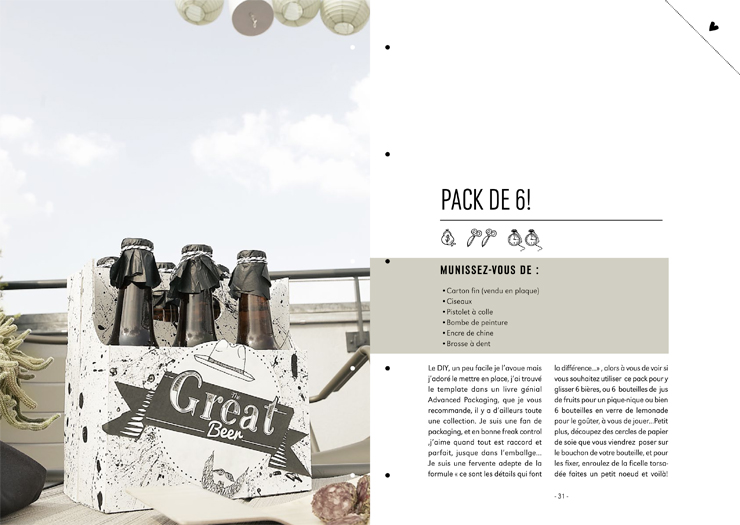
Click on the link to download the 6 pack template.