CATCH THE BUTTERFLY
Hello my darlings!
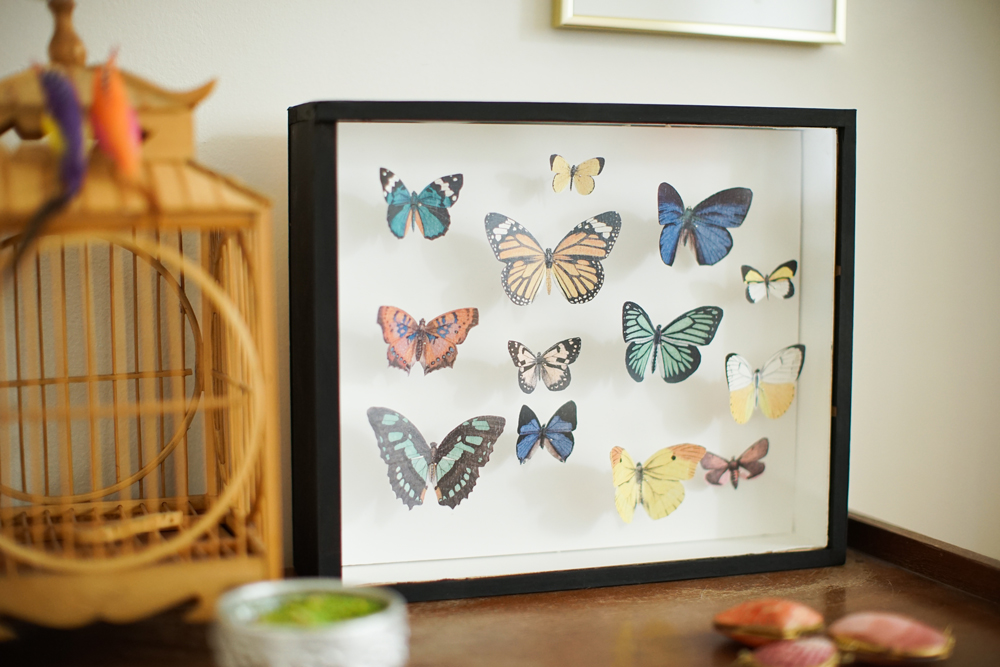
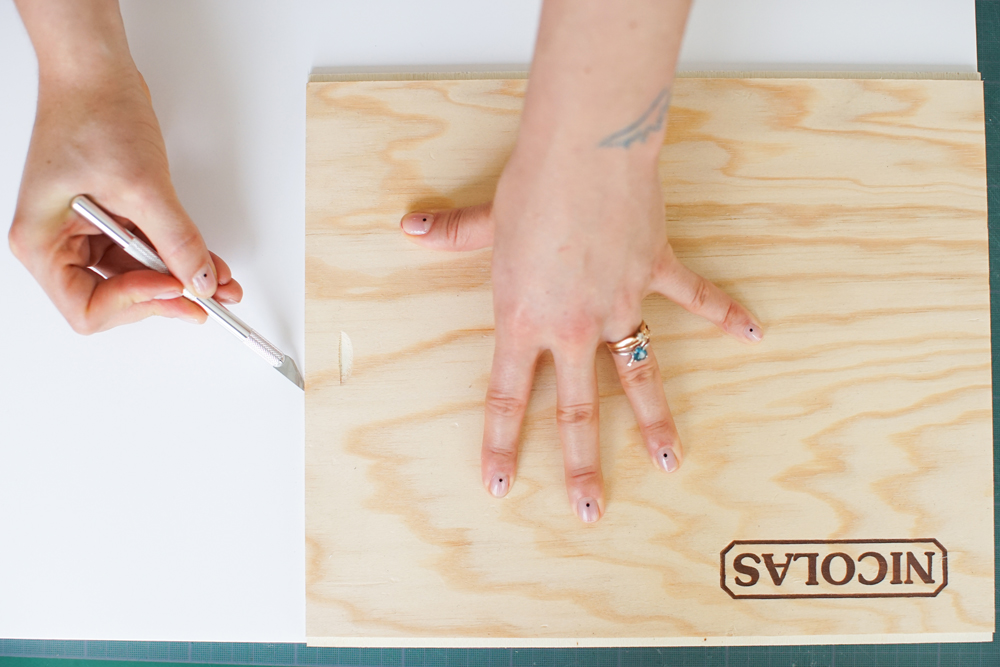
I hope that you’re well and that you’re ready to have fun! Here we go, it’s time for an amazing DIY! I say amazing because I love it! The planets have aligned! This butterfly box is nothing other than a wine bottle box! To make it you’ll need a wooden wine case with a sliding cover, this is very important, otherwise this DIY is not doable. When I went to the famous wine store ‘Nicolas’ (haha this is not a sponsored post) to ask if they had any wine cases to spare, I found out that they sell lots of different sizes. HAPPY HAPPY JOY JOY. The good news is that they aren’t very expensive and it’s perfect for making a thousand amazing DIYs (I’m making up a light box for you very soon!). I’m off to the Lemonade Studio to make a butterfly box without having to catch a single lepidoptera (thank you Wikipedia...)!
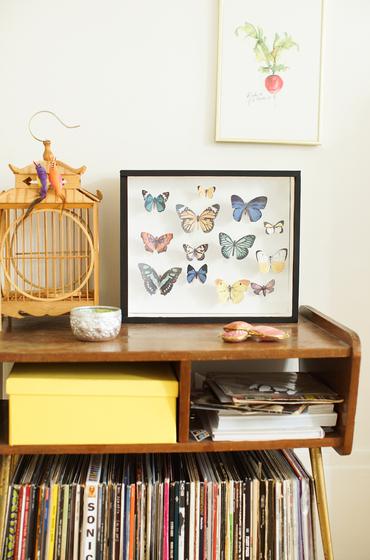
You’ll see, this DIY isn’t complicated. With a little bit of patience and precision, everything will go smoothly. This butterfly box is perfect for decking the walls of your curiosity cabinet or quite simply your living room!
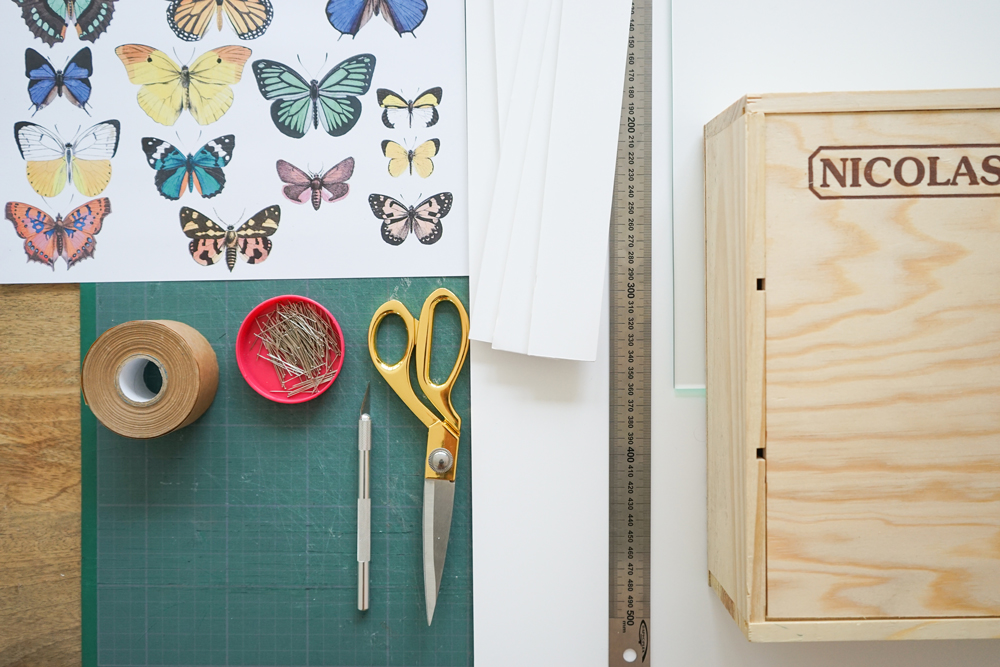 For this DIY here, you’ll need:
- A wine case with a sliding cover, this one here is for three bottles!
- Cardboard (a 50x65 cm sheet will be just fine) for the background and four rectangles to lift up the back
- Offwhite paper, such as Canson©
- Pins
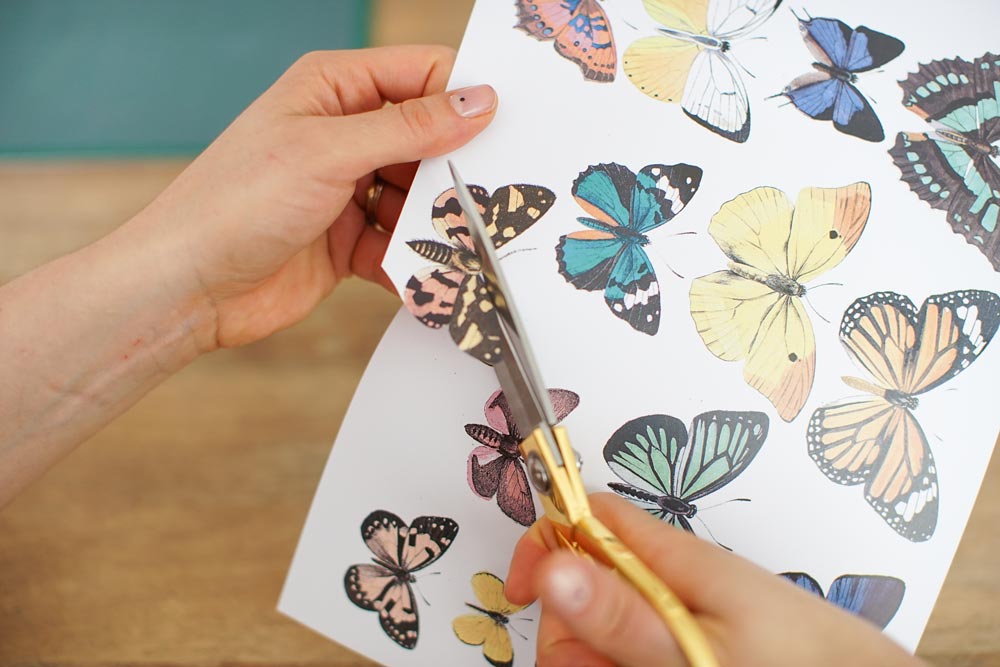
- Butterflies you can download here, these are illustrations from the book‘Papillons d’Europe et du Monde’ (Butterflies of Europe and the World) from the Place des Victoires publisher
- A metal ruler and a scalpel,
- Glue from a green tube,
- Black paint and a brush,
- Gummed Kraft paper tape and masking tape, or painter’s tape.
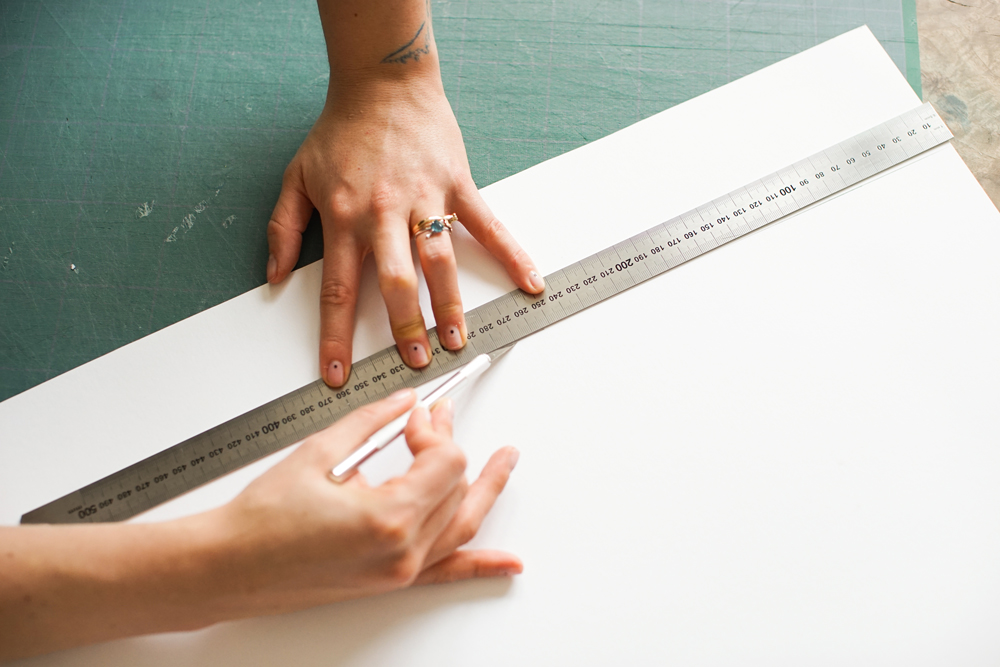
Start by cutting the back of the box out of cardboard. Mark the measurements using the cover minus the centimeters corresponding to the parts that are in the cover’s groove once the box is closed, count approximately 1,5 cm less lengthwise.
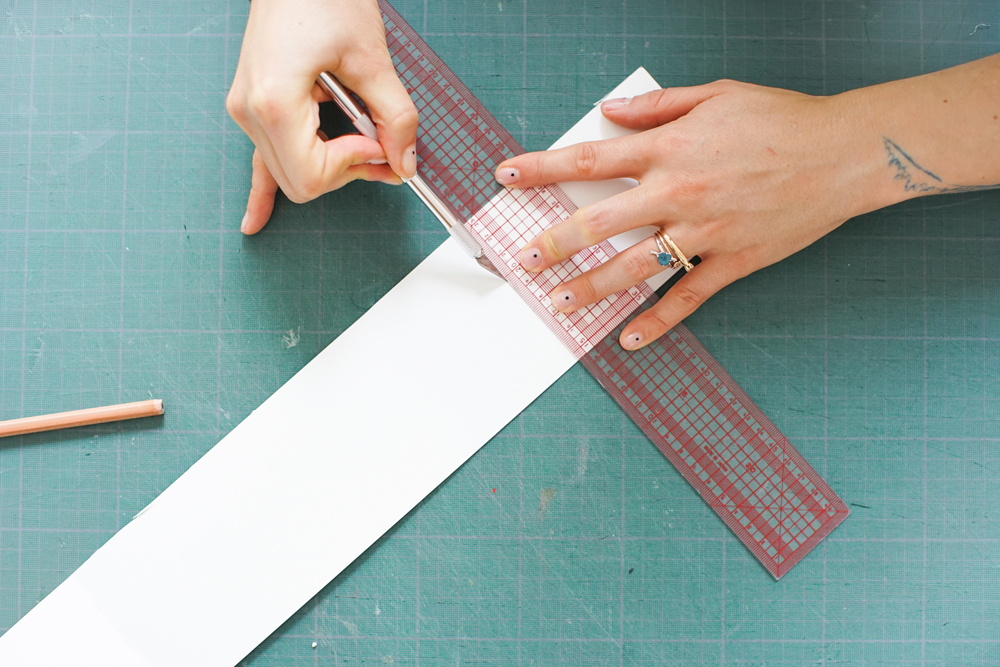
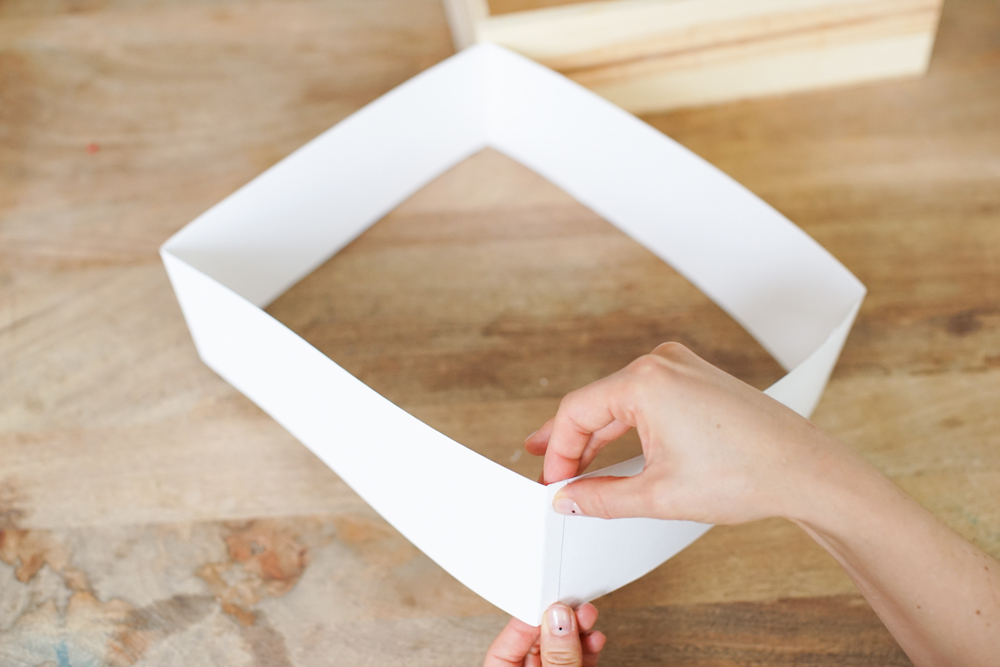
Out of the Canson©, cut out four rectangles corresponding to the inside contour of the box, for the height, measure the back of your box up to the groove and lengthwise, add 1cm that will make the tab to bring together all the contours.
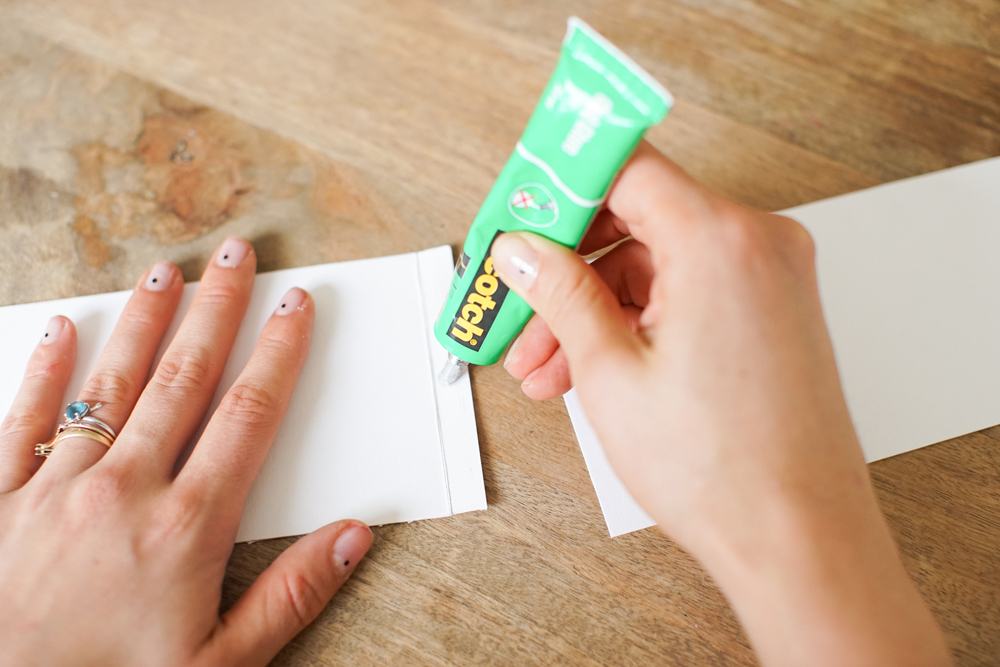
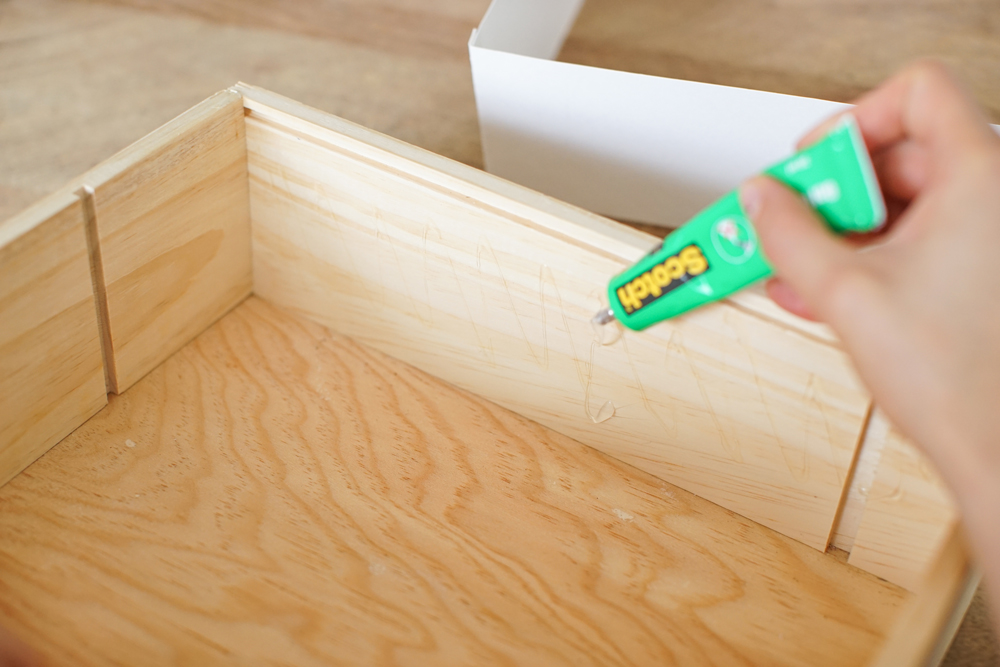
Prefold the tabs, marking the fold with the scalpel. Glue the inside up to the groove and insert the white box contours.
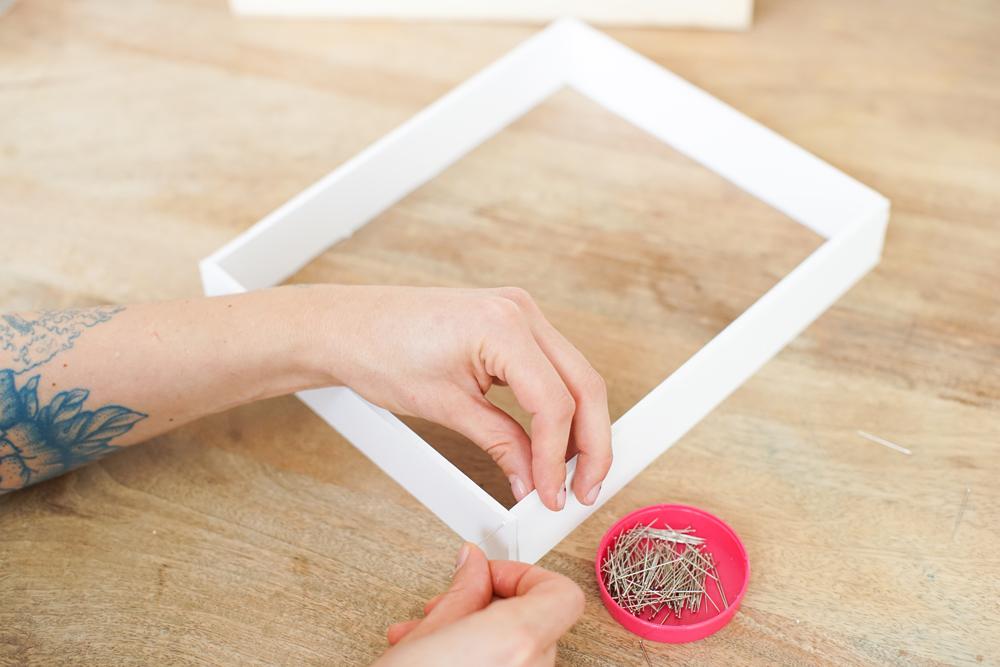
Cut out the four rectangles out of the cardboard, 4 cm high. Put them together in a closed form with the help of pins, pinning them to the edge of the cardboard. Whatever the final dimensions are of the rectangle, this one is just there in order to lift up the back of your box, without it your butterflies might get lost.
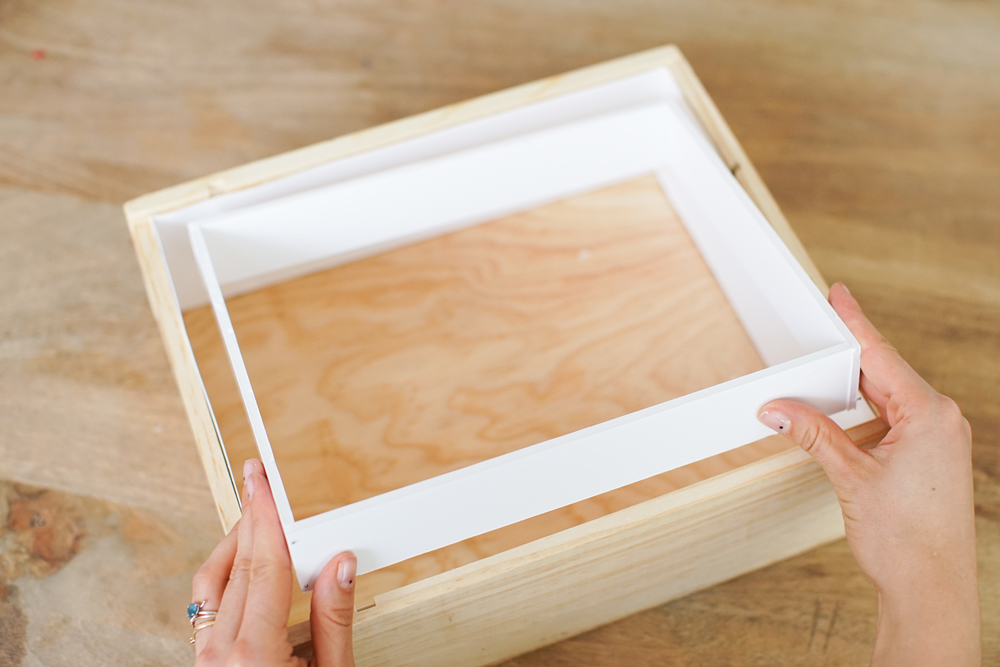
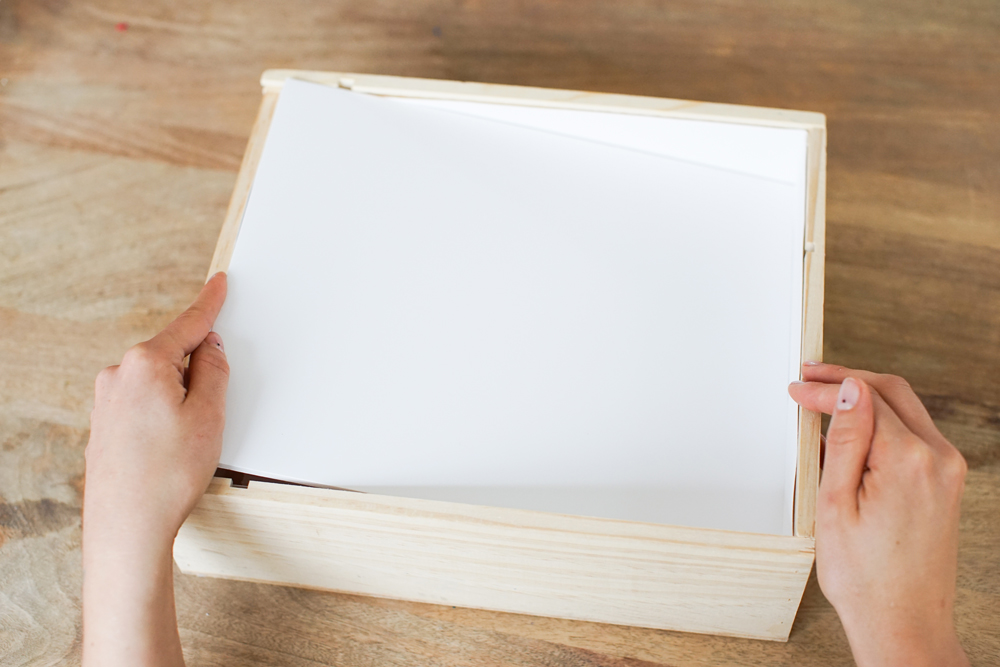
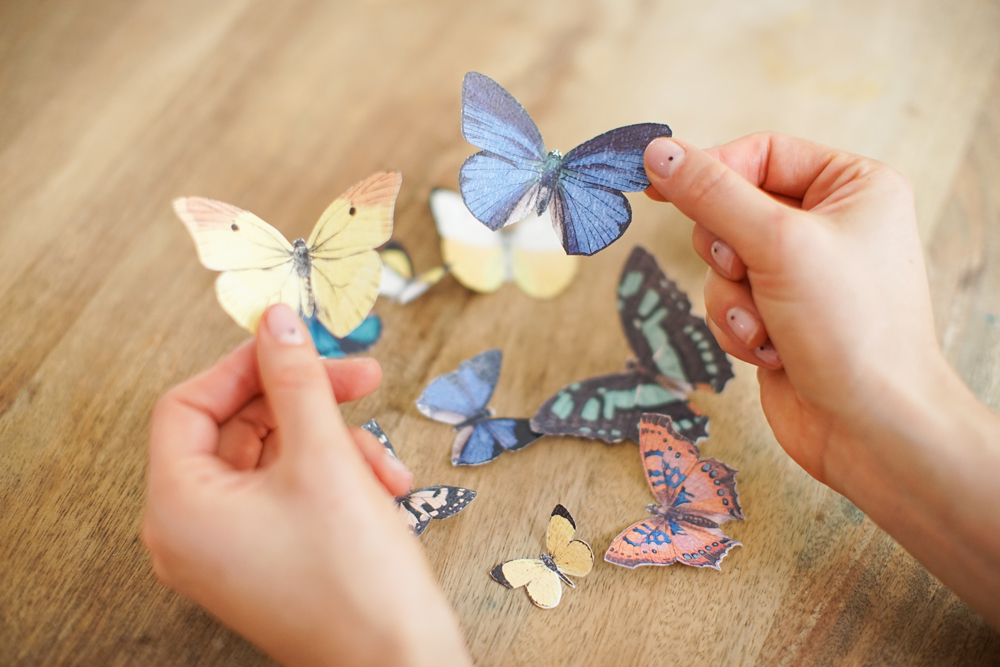
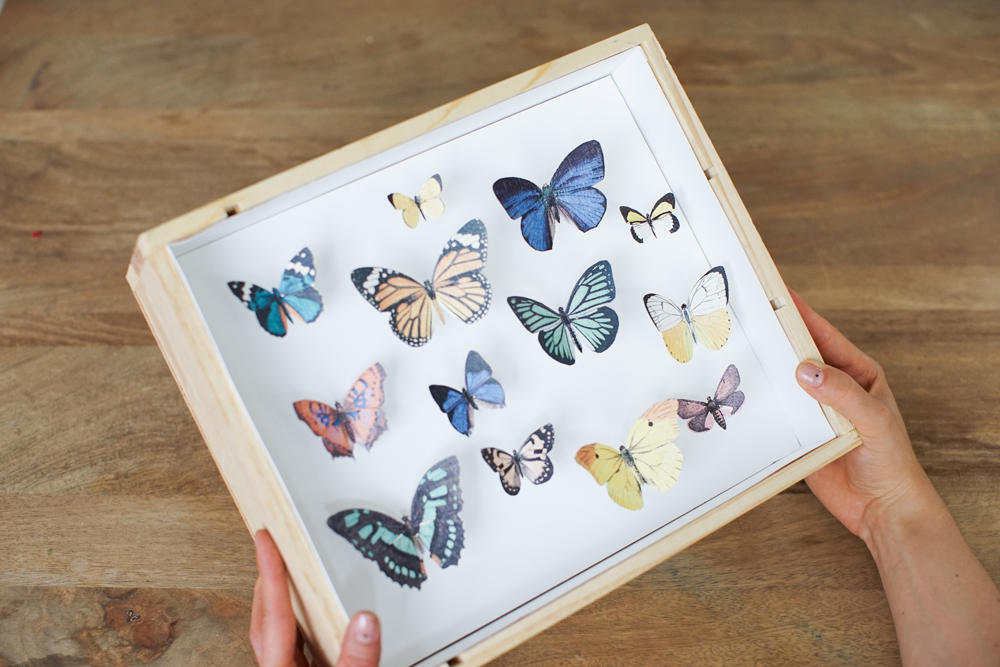
Put the rectangle that lifts everything up in the back of the wooden box and put it on the white cardboard backing. Start to cut out your butterflies before hand, printed on Canson© paper.
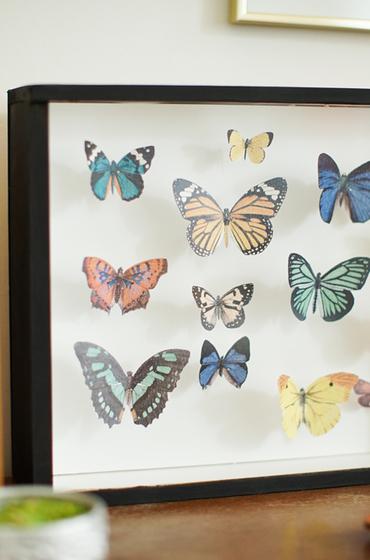
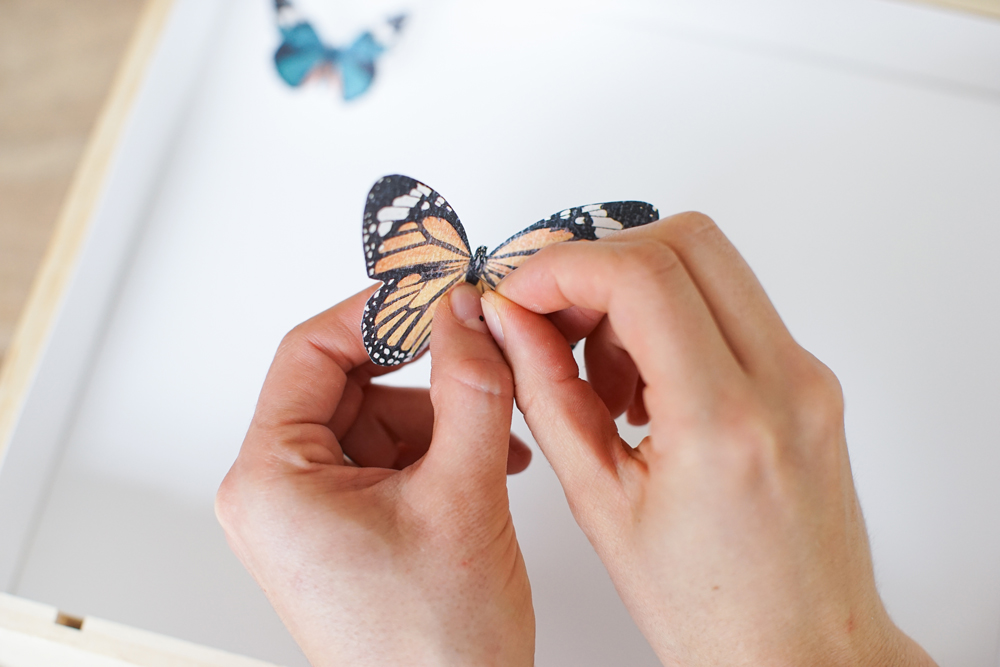
So beautiful! This is a nobrainer, but be precise while cutting out the butterflies, this way they look more realistic! Pin the center of your butterflies and go ahead and put a dot of glue on them to keep the butterfly in place, otherwise they’ll spin around.
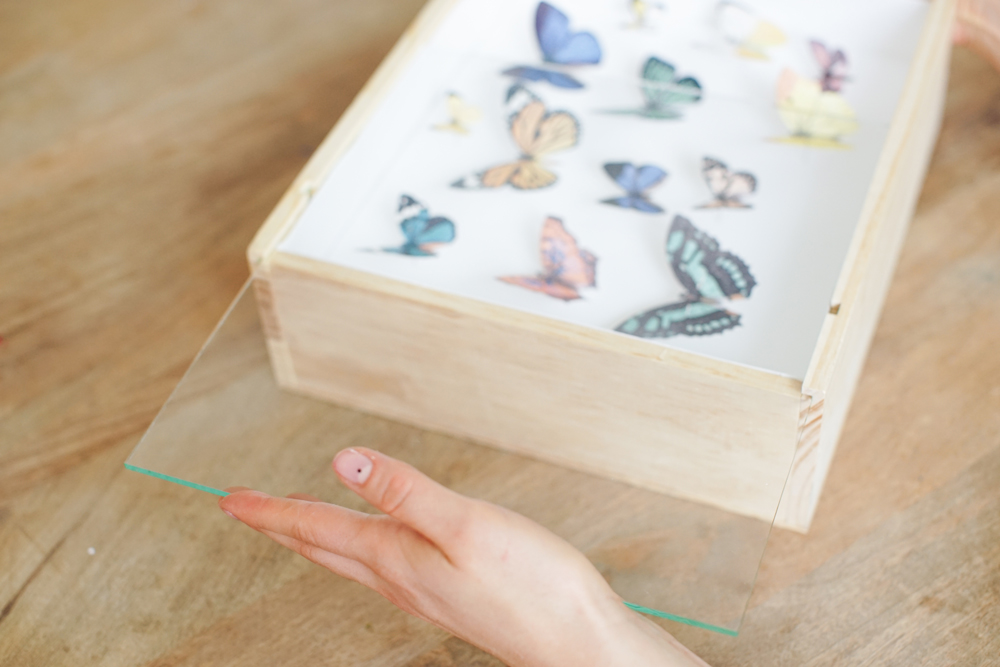
VOILA, slide on the window! Not too shabby, right? It doesn’t look so much like a wine case anymore, but the little notches and the wood still are kind of reminiscent of one.
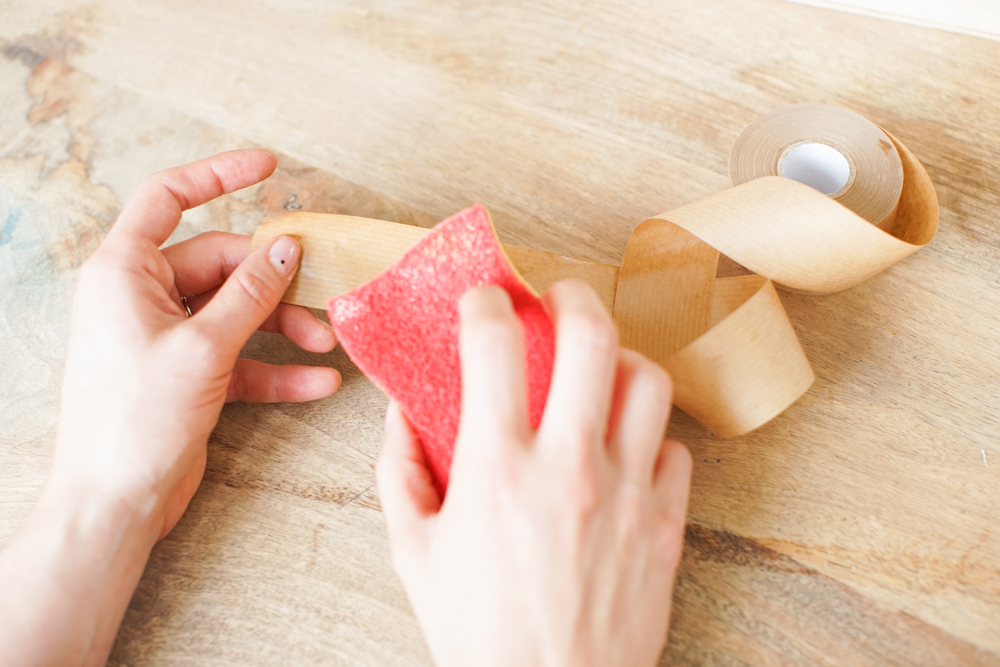
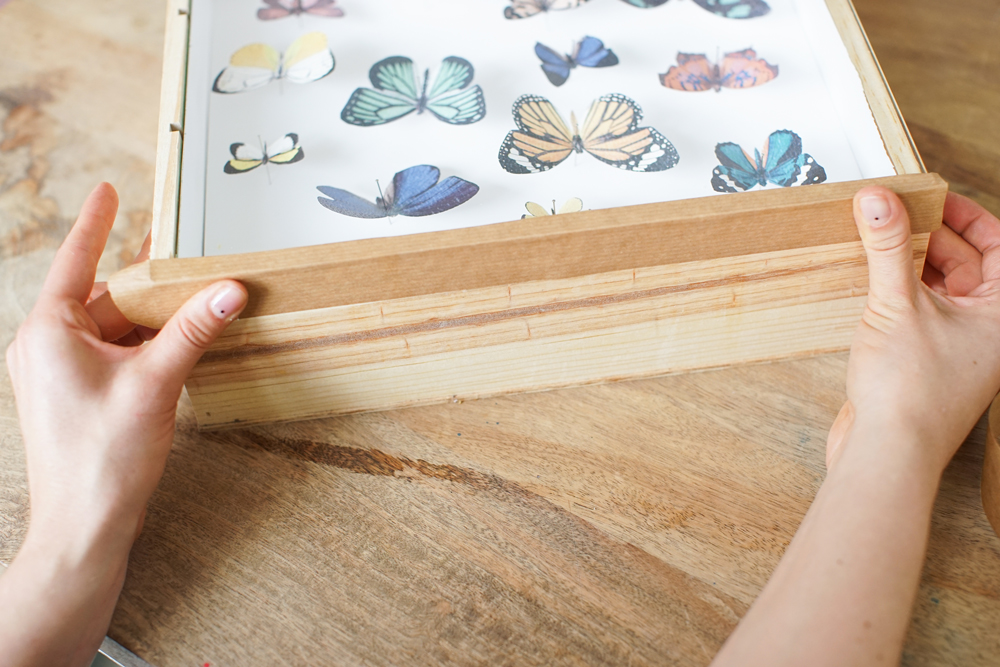
Take the gummed Kraft tape and wet it all over using a sponge and glue it on the edge of the box, hiding the little notches. Do the same on the four other sides.
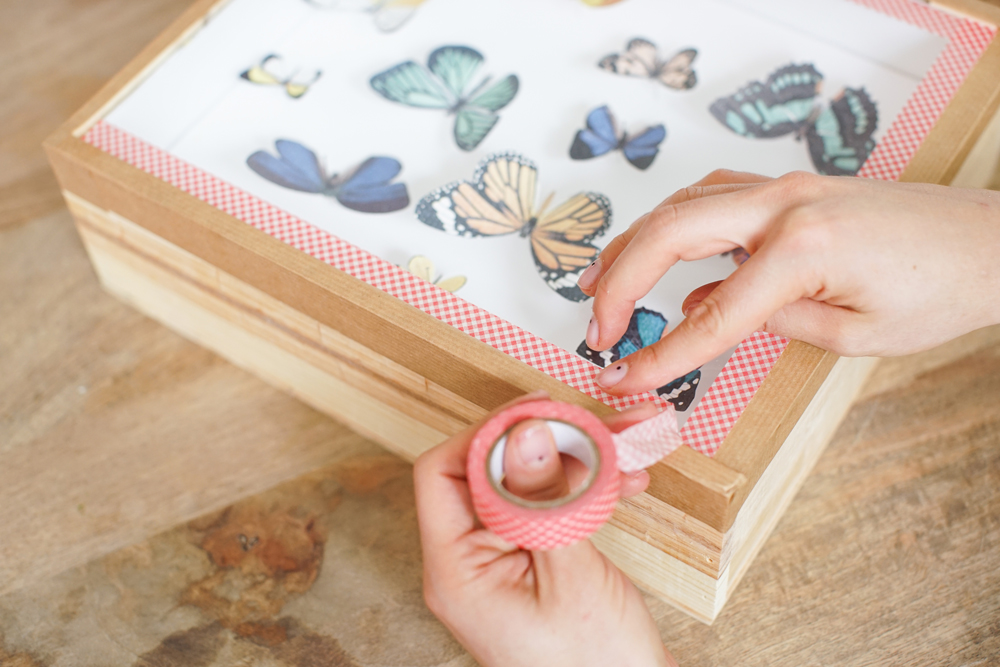
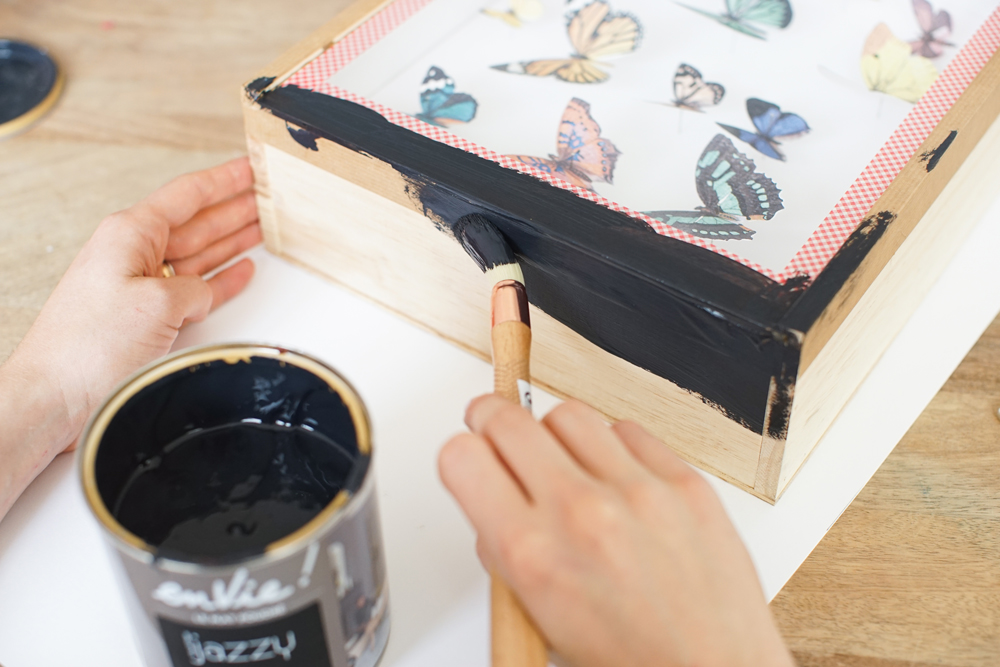
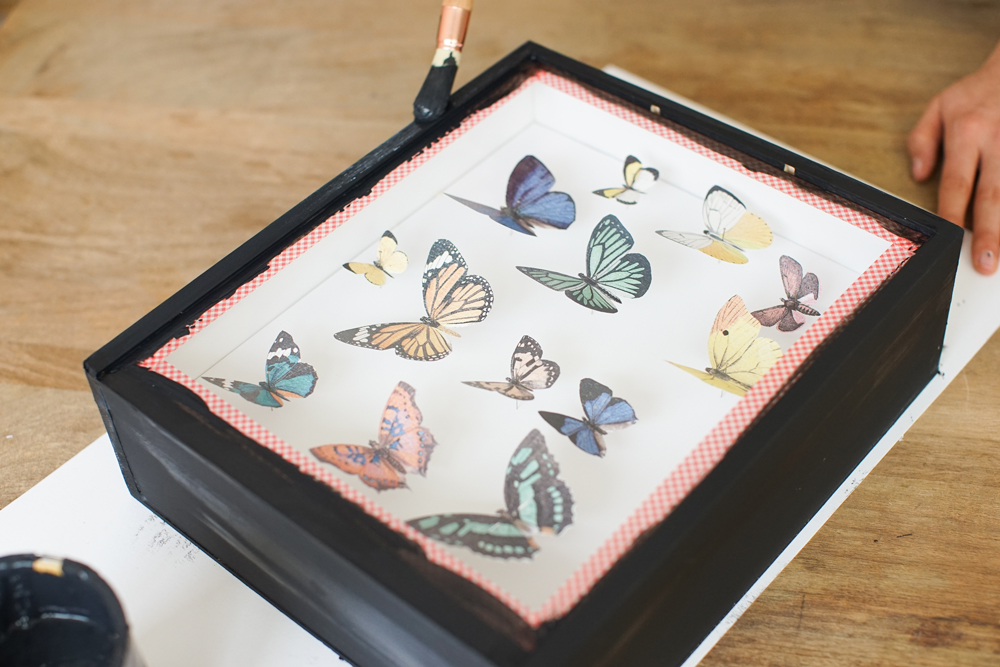
With the help of masking or painter’s tape, protect the glass by taping around it with gummed Kraft tape. Start painting the box in black!
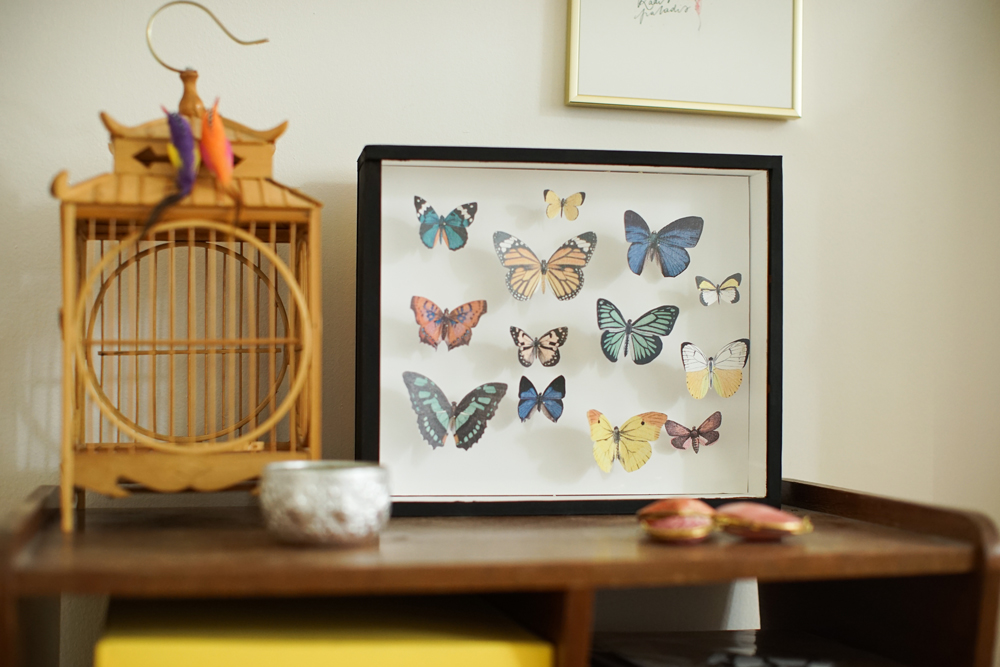
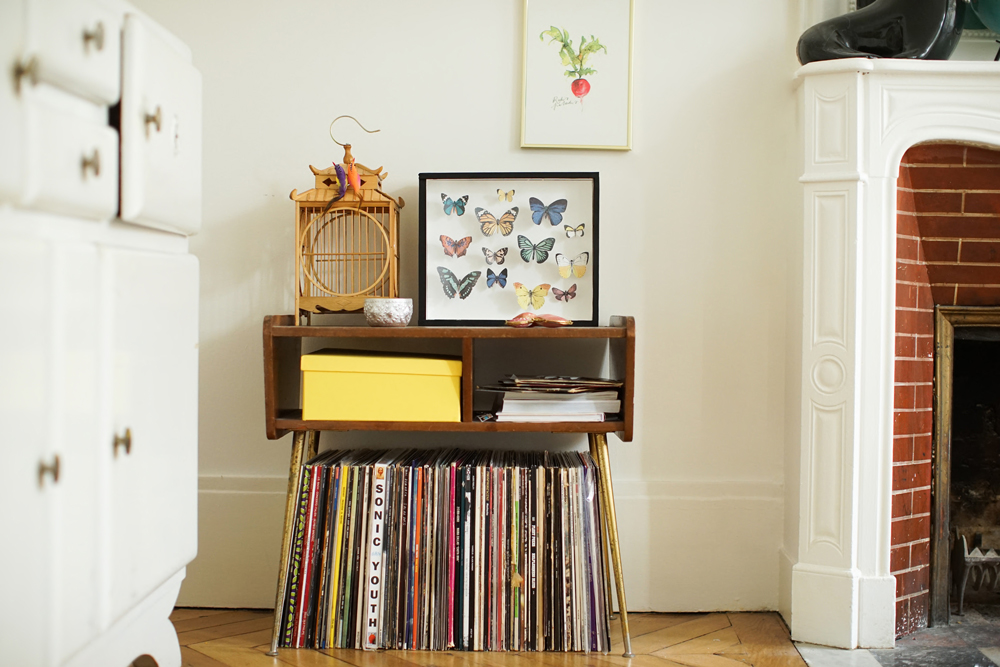
TADA! I love it! I can’t wait to see yours!


