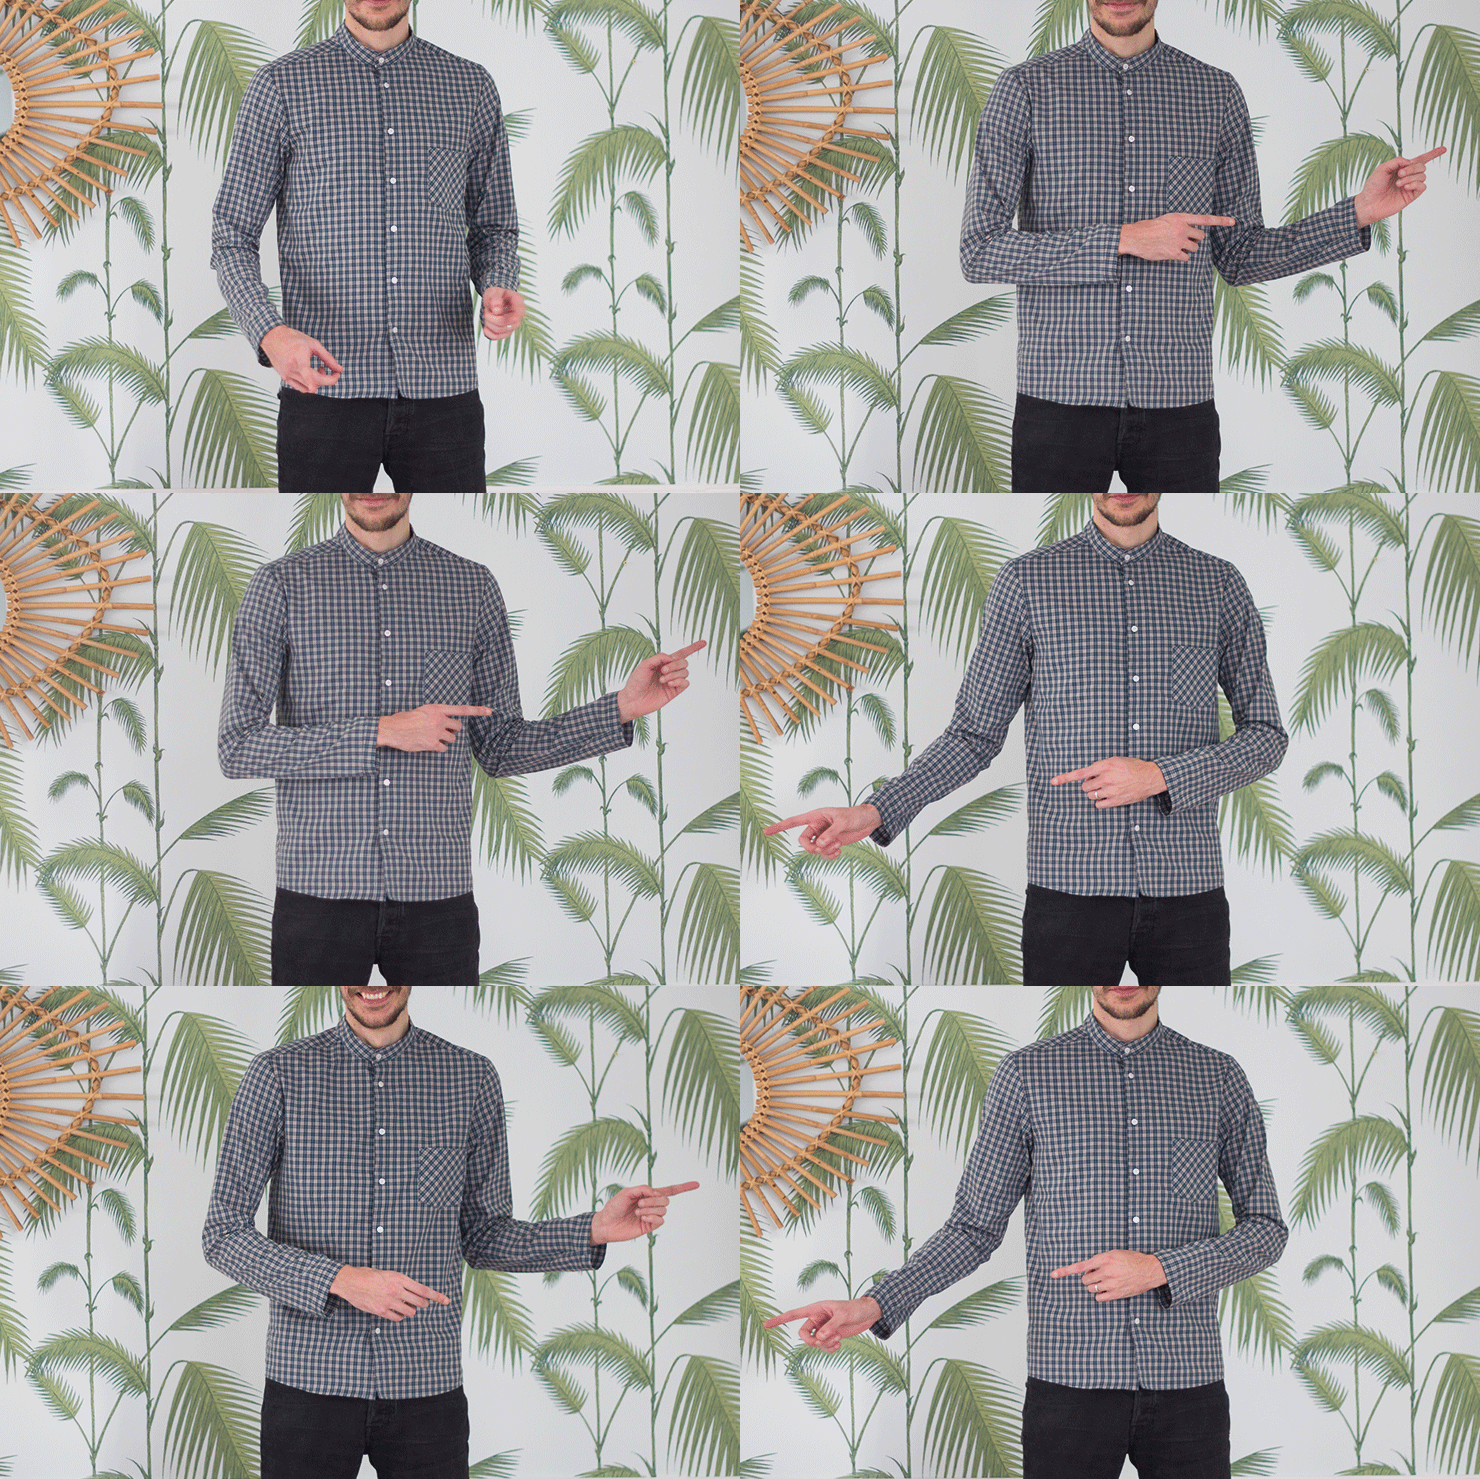
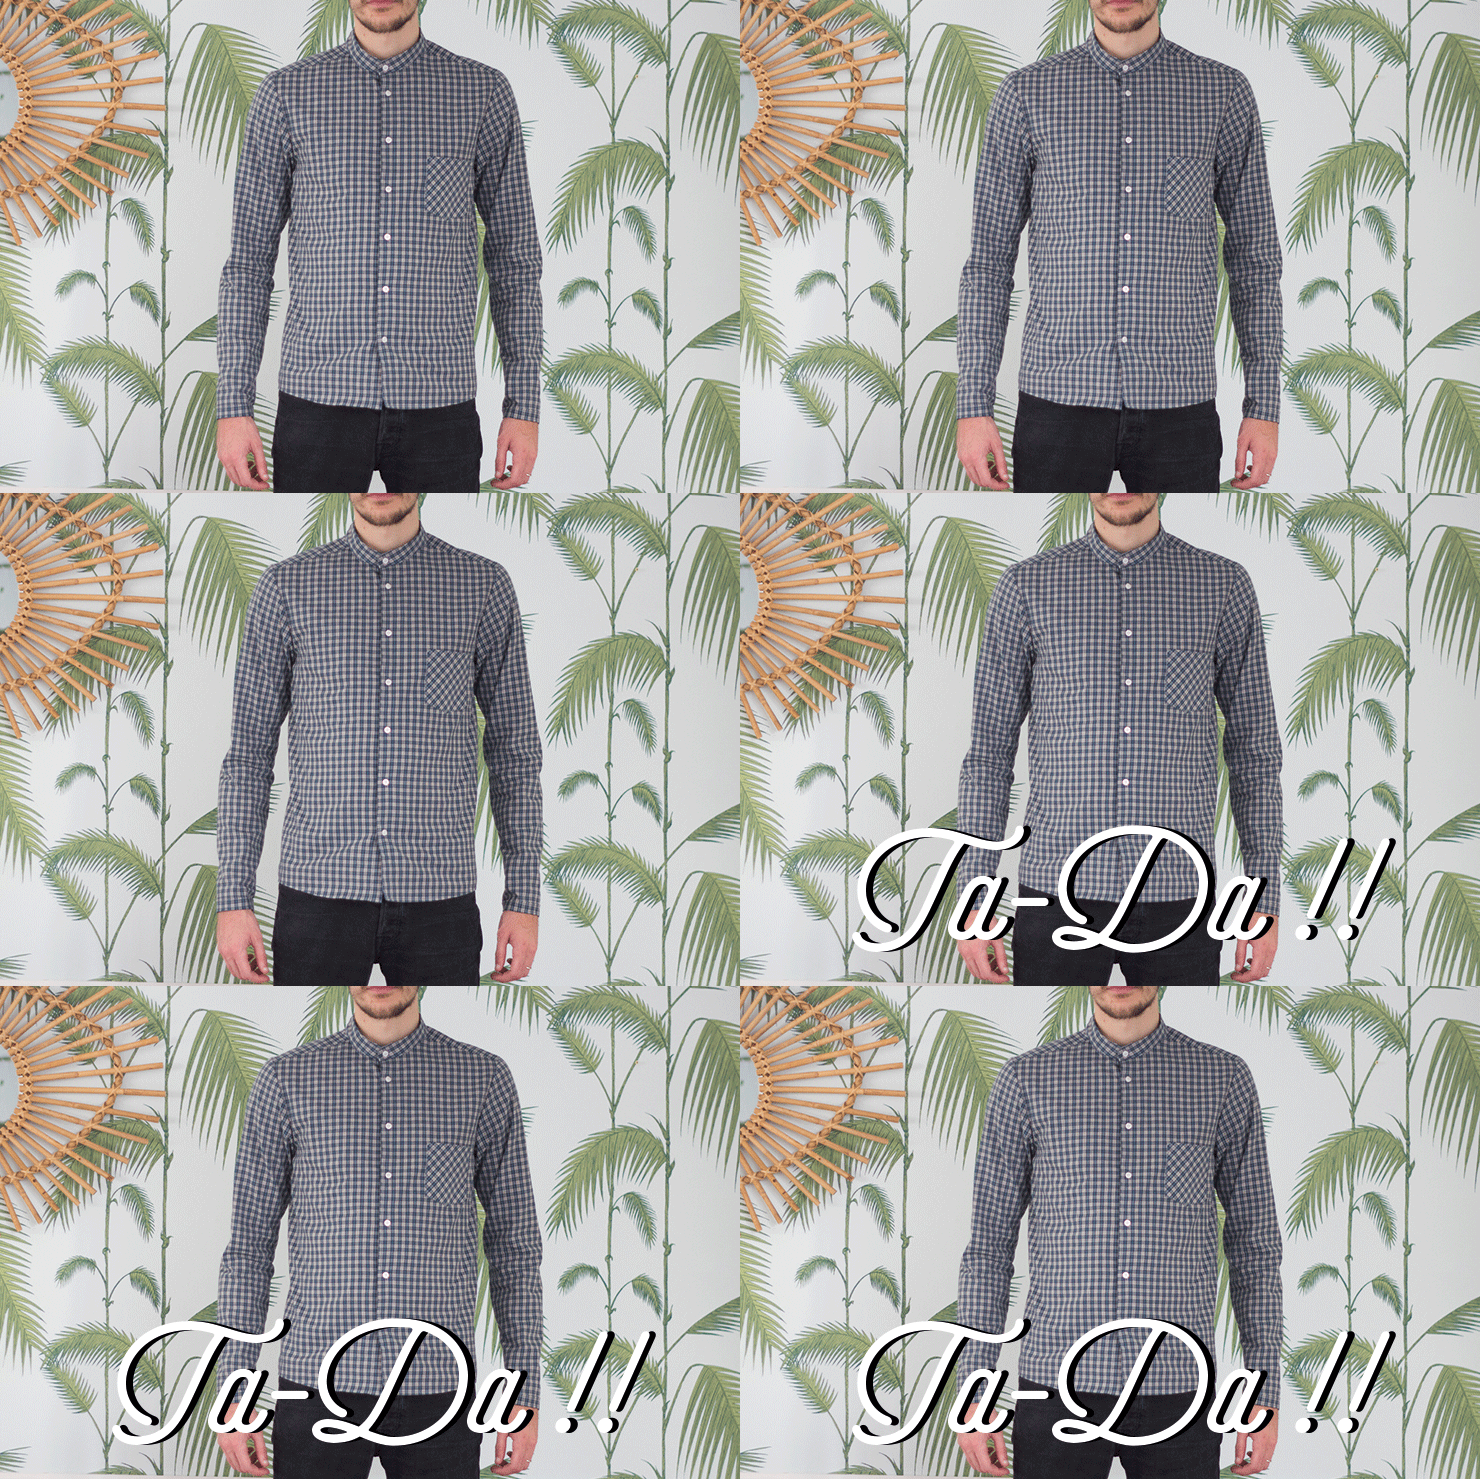
DIY MEN SHIRT[:]
Hello my chestnuts,
I am writing this post right from the airport because I am going to Hong Kong! I am so excited to go there but I cannot tell you more about this trip right now. I am preparing you a nice project for the 4th year anniversary of the blog in 2016. You know me, I am not patient at all but I will try to keep the secret as long as I can!
Anyway, just to say that December is really busy but I did not forget you: today we are showing you the men shirt DIY, in case you did not find a present yet for your dad, lover or even banker (if you like him)… You probably think that a shirt is really complicated to make but do not worry, Laure tried to simplify everything for you.
Now it is time for me to get in the plane. Do not hesitate to follow my trip on Instagram, I send you big kisses!!
All you need to know:
- - You will need 1.80m of fabric (1.45m of width). We advise you to choose nice cotton or chambray. You will also need 7 small buttons (10mm) and some bonding tape.
- - Download the free pattern here and to put the sheets together click here.
- - It is not that complicated you will see. For those who are more experimented, you can do it in one afternoon. For the beginners, it will probably take a whole weekend! Do not hesitate to contact Laure if you have issues: [email protected]
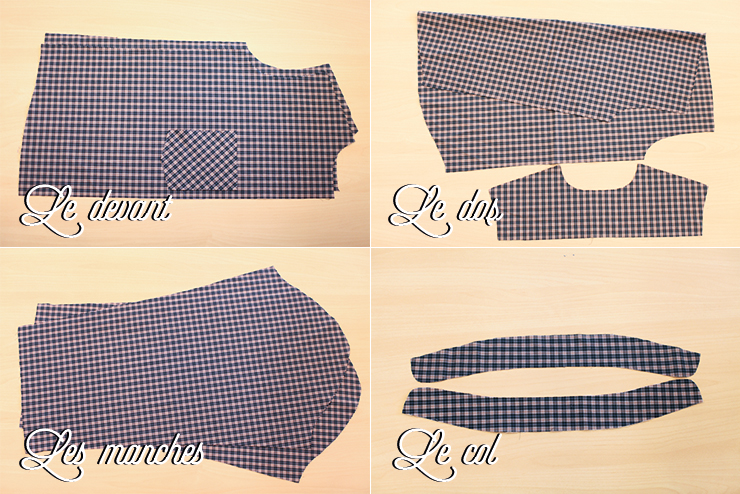
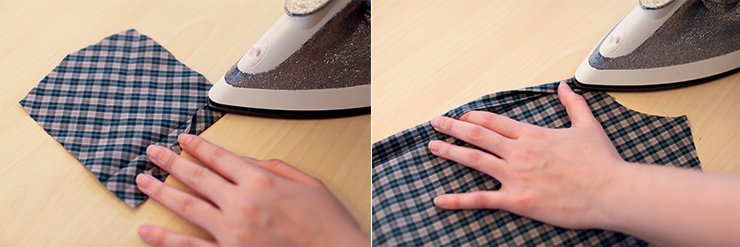
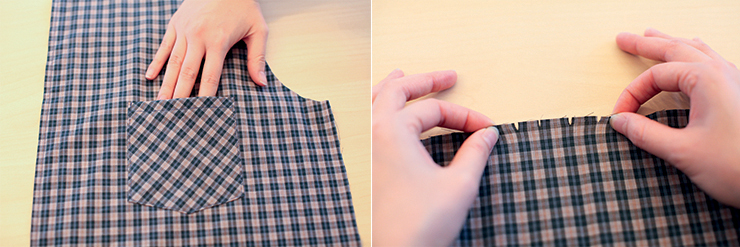
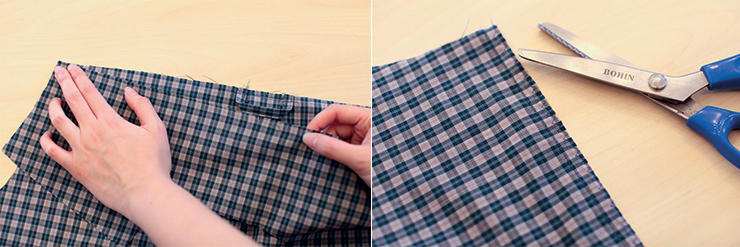
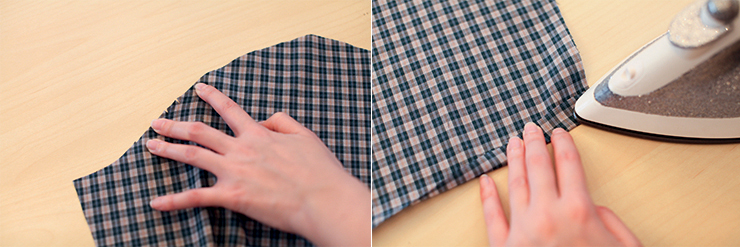
Start to preform hems and folds. For the pocket it will be 2x1.5cm for the left and right fronts, you can use the pattern lines to help you. Iron the folds.
Start with the front. On the right side of the fabric, sew the button part twice: once at 0.75 from the edge and once at 2cm. Do the same on the other side.
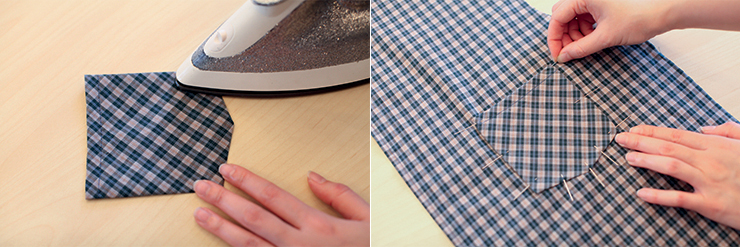
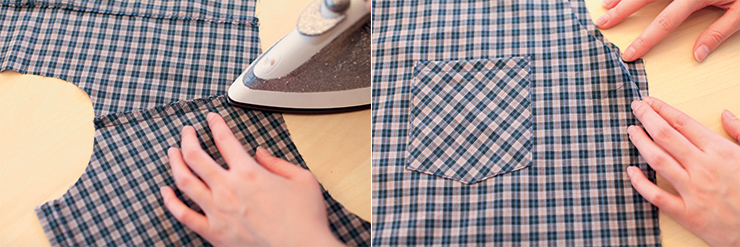
Sew the top of the pocket (0.75cm) to maintain the hem. Preform the other edges with the iron including the seam allowance. Place the pocket on the front of the shirt using the lines.
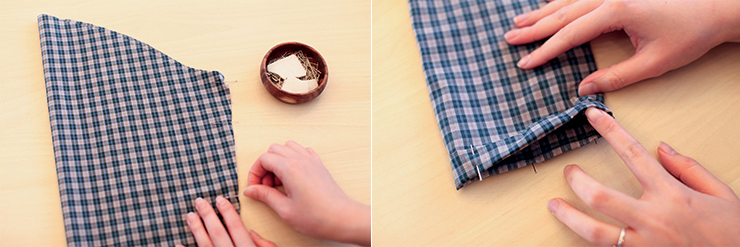
Sew (0.5cm) to maintain the pocket. In the back, look for the 5 small notches that you will find in the middle.
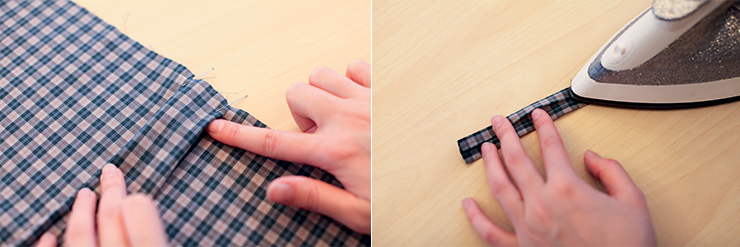
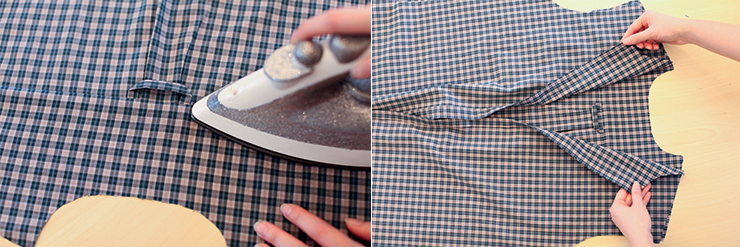
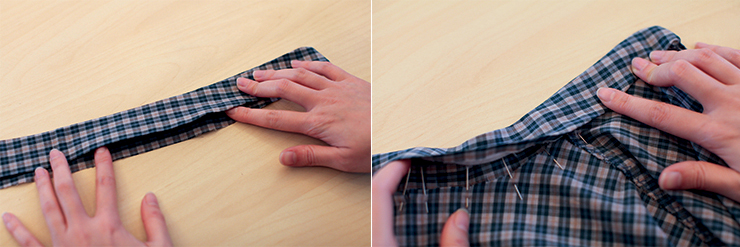
Fold the fabric while stacking the notches in order to create a rounded fold. Maintain the folds with a seam, 0.5cm from the edge. Prepare the bar folding it in two.
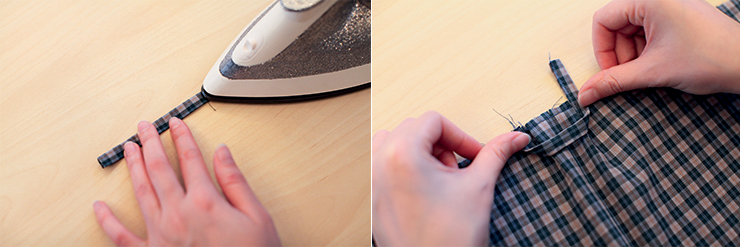
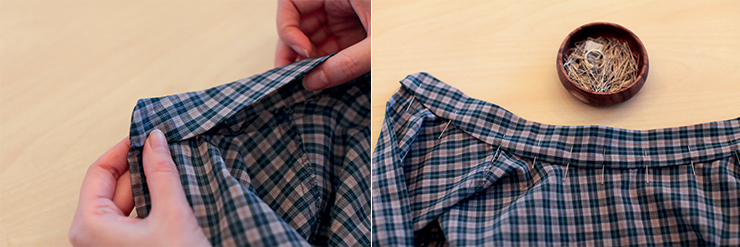
Fold it again twice. Sew the edge of the bar. Place the bar on the back while folding it (second picture).
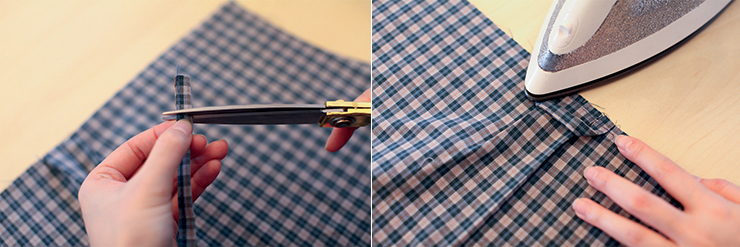
If it is a bit too long, it is normal. Shorten it. Sew it at the top of the back and iron.
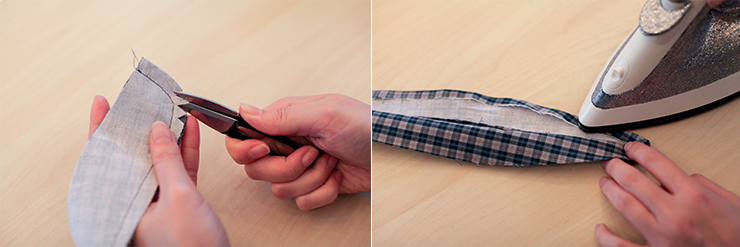
Take the piece of the back and place it on the front right sides together. Sew at 1cm. You can make a zigzag or an overcasting stitch but new tip: you can cut the seam allowance with serrated scissors!
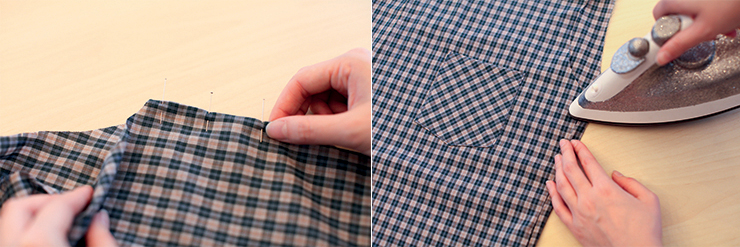
Iron the seam upward. You can sew at 0.5cm if you want to maintain it. Place the two front sides on the back one, right sides together.
Sew, whip and iron the shoulders. Turn the fabric inside out (on the reverse sides) and stack the sidelines. Sew at 0.5cm (we are going to make a French seam).
Turn the fabric again (right sides together) and sew again the sideline at 0.75cm. Iron.
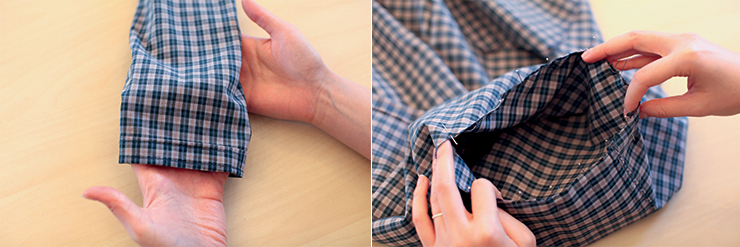
For the sleeves, find the right front side thanks to the two notches. Fold the hem at the bottom of the sleeves with the iron (2x1.5cm outward).
Fold the sleeve in two, on the reverse side and make a French seam. Fold the hem (it will be easy now because you already preformed it with the iron) and sew once at 0.5cm and once at 1.75cm from the edge.
The sleeve is now done! Pin it, right sides together, to the shirt armhole. Sew at 1cm and then whip again.
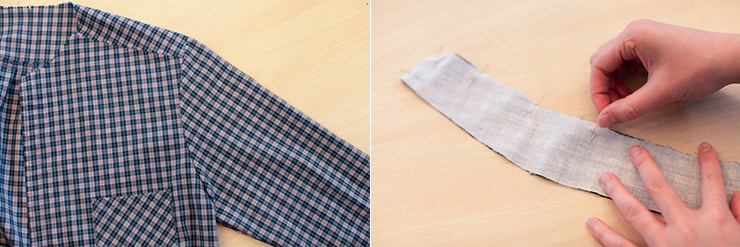
Now for the neckline, use bonding tape on one side. Right sides together, stack them and pin. Sew at 1cm for the smaller sides and the top following the curves. Leave the bottom of the neckline open.
Use the serrated scissors for the corners, turn the fabric inside out and iron. Fold again the seam allowance on one of the necklines.
Pin the edge of the neckline that has not been fold again, on the right side of the shirt. Sew at 1cm.
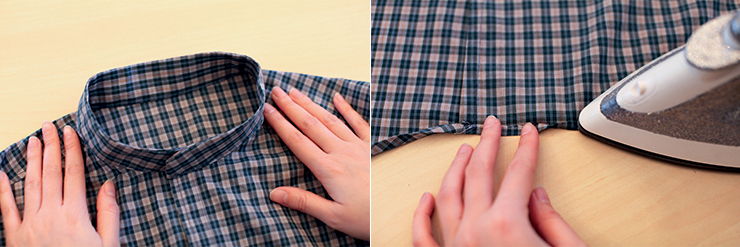
Turn down the neckline on the seam you just made. Pin and sew on the right side at 0.2cm.
It is almost done! Fold again 2x0.75cm the bottom hem of the shirt. Sew at 0.5cm. Place the buttons and create the buttonholes (we advise you to make them by hand or to ask for the help of a tailor). Here we are!
Translated by Coralie Clair
Pour lire ce post en français, cliquez ici !


