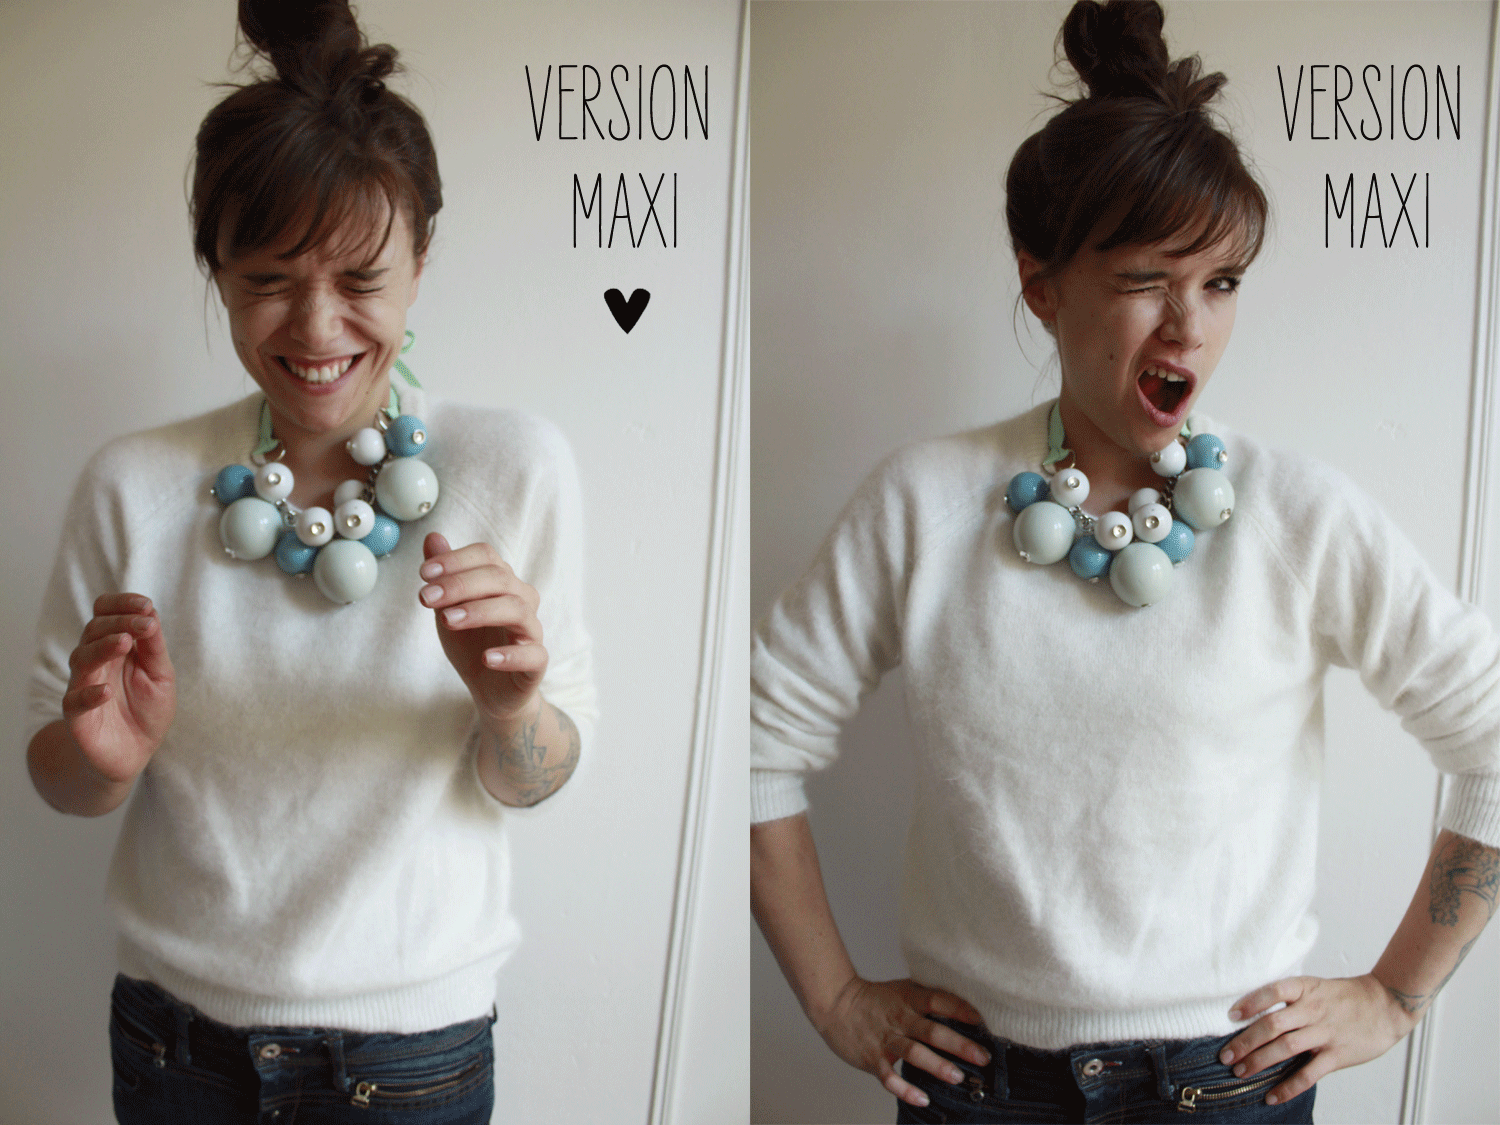
NECKLACE CHOCO BALLS
I'm laughing to myself as I write the title, I was looking for something catchy and then I decided to continue my trend of messing up names, I don't remember if it was my brother or my friends who first said this expression but it's entered my lexical field of "annoyance", imagine the context: "AH! I've just spun the tights I bought 2 hours ago, I've got the CHOCO balls" in short. That said, this necklace is very easy to make... I like it, I admit it, and I thought of you, who may not be as crazy about atomic necklaces as I am, so I've made a second mini version for you (too nice...). I apologize for making yet another DIY necklace, but there are so many possibilities! But that's because my sewing machine went away for summer training and still hasn't come back (really: it's broken, I'm sick of it, it's as if someone had ripped out my heart or my iPhone... without it, I'm naked...). Still, when she gets back, I've got BIG plans for you... Yes, like "sewing class" videos to help you progress in your DIY, from the little dress to the crazy tote bag... I'll stop telling you my life story and start making "choco-boules" necklaces.
First of all, to make this necklace in its Maxi version, you'll need..:
- Ceramic beads (3 sizes), which you'll find at Perles d'or for very little money (I'll give you the address at the end of the article),
- long metal rods,
- rings,
- hats (to prevent beads getting loose on the rod),
- A bit of chain, about 20cm,
- 2 leather goods rings (optional),
- 1 meter of ribbon or grosgrain,
- flat-nose pliers and round-nose pliers,

Attach the two large rings to the ends of the chain (this is optional - you can skip this step, but I find these rings finish the necklace better) Fig.1. Take the ribbon, cut it in 2 (i.e.: 50cm x2) and double it to make sliding knots on each side of the necklace Fig.2 &3. Now let's get down to business: using the flat pliers and small rings, hook the pearls onto the chain. I recommend that you first insert the ring into the chain and then slide the pearl through, as this will make it easier. Fig.4 & 5. Hang all the larger beads first Fig.6, then the medium-sized beads alternately Fig.7 , and finally the smaller beads Fig.8. and TADA!
And for the Mini version of this necklace, you'll need..:
- A large ceramic bead,
- a rhinestone bead (from the drugstore),
- 90cm of small-link chain ( not too small... ),
- a ring and flat pliers.
To begin, thread the large ceramic bead onto the chain Fig.2, then the rhinestone ball Fig.3. Using the flat pliers, open the ring and insert one of the chain links, then close the ring Fig.5 and Tadam a minute sautoir necklace!
To find all this material, you can go to Perles D'or 64 rue de Turbigo Paris 3e métro République (I confess I was quite happy to find the ceramic beads!), where you'll find lots of other things, but I'll tell you about them again very soon (for this DIY, you'll find the rings, the rods, the rods and the little chain). And for the rest of the material, go to Fil 2000 at 65 Rue Réaumur 75002 Paris (the ribbon, the big chain and the big rings)... Have fun!
[:]


