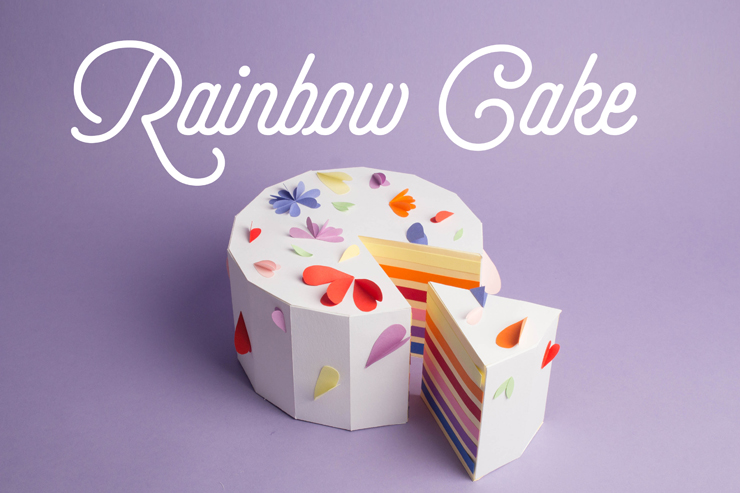
DIY RAINBOW CAKE
Hello my little cats!
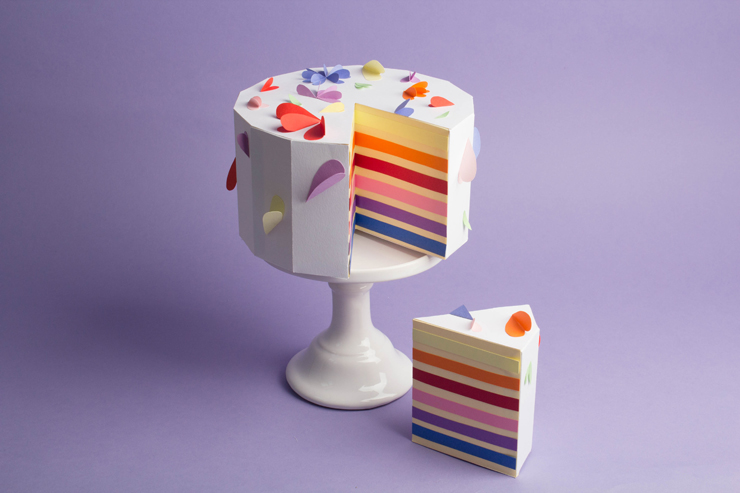
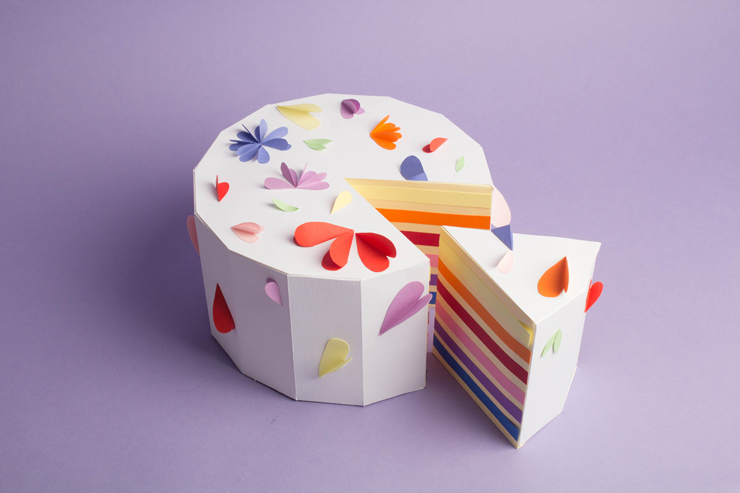
I hope you are doing well! Here's the DIY for our favorite cake from the 2015 calendar! You asked us for it, so here are the steps to making it yourself! Don't hesitate to let us know if you want others! It was such a pleasure to come up with these cakes, and a real feeling of satisfaction when every thing just falls into place in the end! I felt like I was a geometry genius in Space, no less, yes, a genius... If you only knew how I took a long shot in math, so much so that I am so pleased with my bit of technical prowess! There you have it, I give you our Do It Yourself paper cake: now you can play shopkeeper, or decorate your kitchen, or put the finishing touches on your costume for Carnaval...Oh yeah, could you picture this pastry atop a head-band?!
- - Time needed : No more than an hour
- - Difficulty level : Simple and super efficient
- - Cost : A few Euros for paper
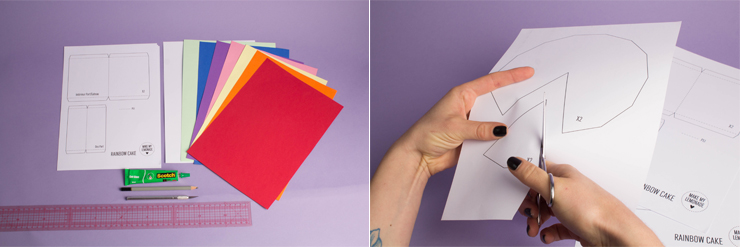
For this DIY, you will need :
- the cake templates , download them here,
- some white and yellow ''Genoese'' thick paper , about 250g
- other paper of all the colors of the rainbow, here is the palette sold at Clairefontaine
- a blunt scalpel,
- a small ruler,
- a pencil,
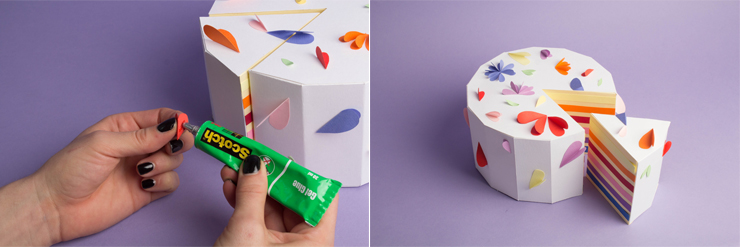
- some glue.
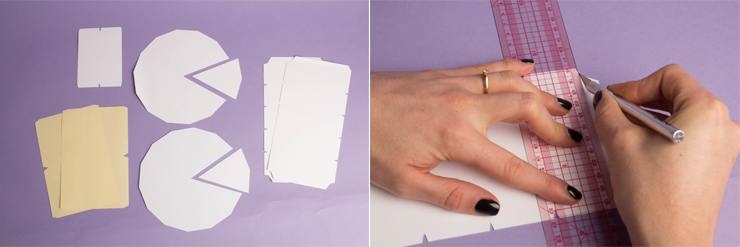
Download the templates and print them out. You can print them out directly onto the yellow and white paper, but make sure your hands are clean so you don't leave any ink marks when cutting and folding.
Trace the various pieces of the template and cut them out (if you didn't already print them out directly onto the paper).
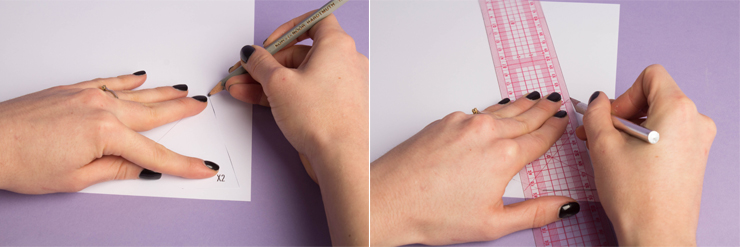
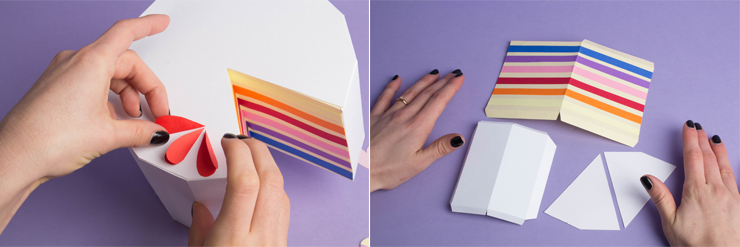
Cut out all your pieces in the corresponding papers. Using your scalpel and ruler, trace the folding lines of each piece (indicated by the dotted lines on the template) and fold them.
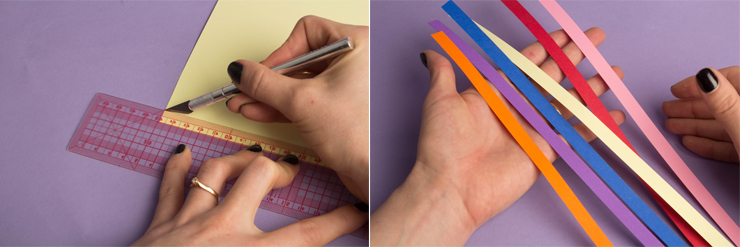
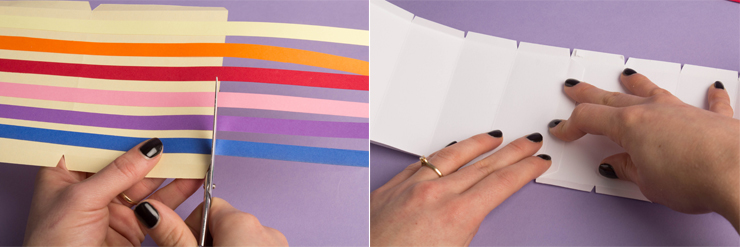
Take your rainbow-colored papers and cut out strips of 1 cm high. Glue them onto the yellow pieces on the inside of the cake and on the part that will be used to make your slice of cake (leave about 0.7 cm between each strip).
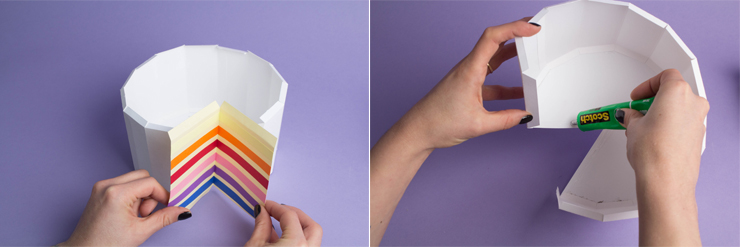
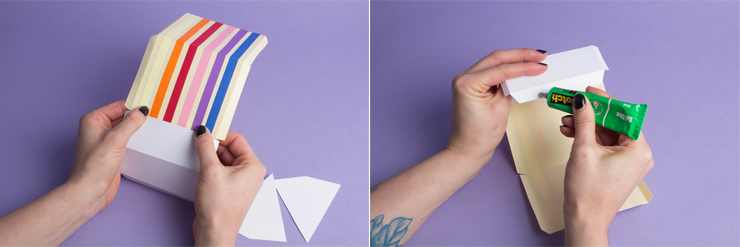
Trim the strips down to the right size once you've glued them on. Now let's start building the cake with its base, pre-fold each flap if you haven't already done so.
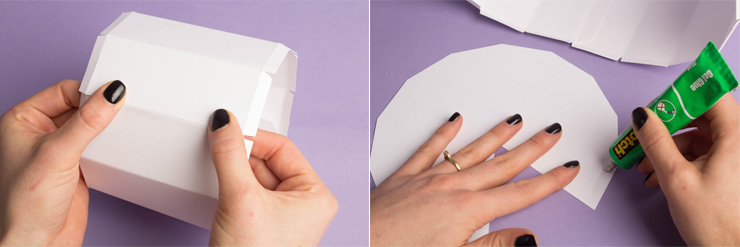
Fold it all together and glue the flaps to the base, one by one.
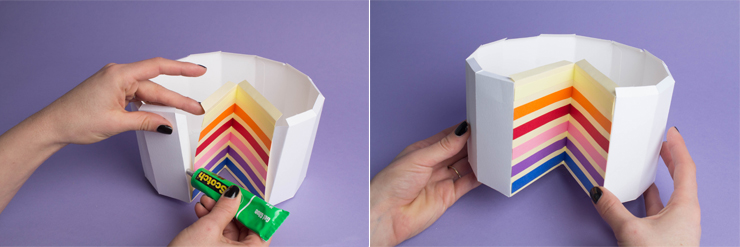
Now insert the yellow piece from the inside of the cake and set it in place using the flaps.
Take the time to glue the piece once, and then again, to make it as precise as possible to have a neat, clean slice.
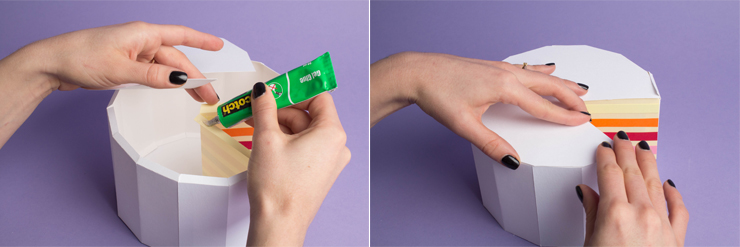
All that's left to do now is glue the top of the cake: first TA-DA!
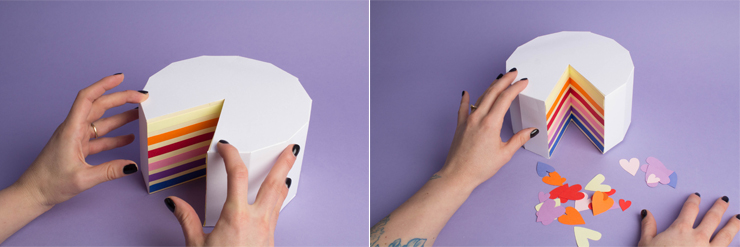
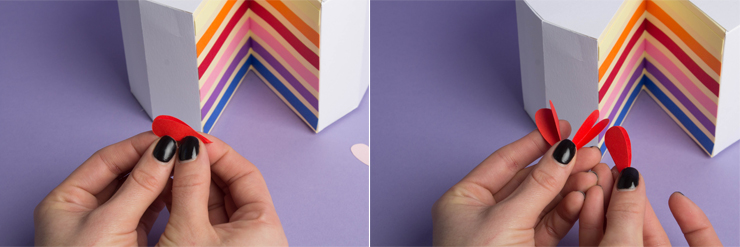
Now moving on to decorating : Cut out a bunch of little hearts and leaves of various colors.
Fold the hearts in two to form little petals.
Glue all over the cake. And now let's take care of our slice of cake!
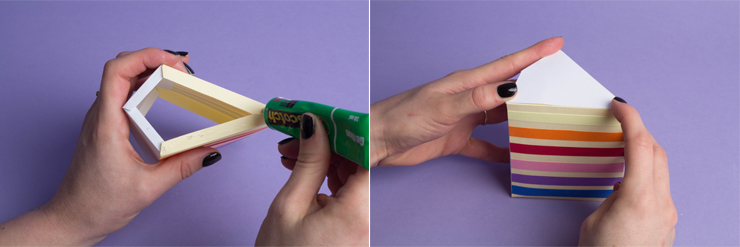
Put glue on the yellow part, then place it on the white part on the other end using the flaps, then do the same on the other side.
Glue the top on and the top of the slice!
Don't forget to decorate your slice with hearts and flowers!
and TA-DA , you'll have kids saying " you're my idol " !
Translated by Ida Driscoll
[:]


