DIY SPECKLED CROCKERY

Hello my little cats!
I see that you are inspired by the previous article, you are too funny, I feel less alone with my hair adventures! So here's one of the do-it-yourself projects we made during the Ikea workshop workshop last week. I racked my brains for a nice speckled effect, and found that the plastic pipette was the best way to create an irregular and really visible pattern (much more than just spraying with a brush)... I hope you like all this and that it helps you find inspiration for your Christmas gifts. last-minute gifts A set of crockery for 2, to spice up a romantic brunch.
A big kiss and see you tomorrow for the ultimate advent calendar competition!

For this DIY you'll need :
- - dishes,
- - plastic gloves to protect your hands,
- - ceramic paint, available from Pébéo and Faber Castell.
- - a toothbrush,
- - a food pipettes,
- - stencil brush.
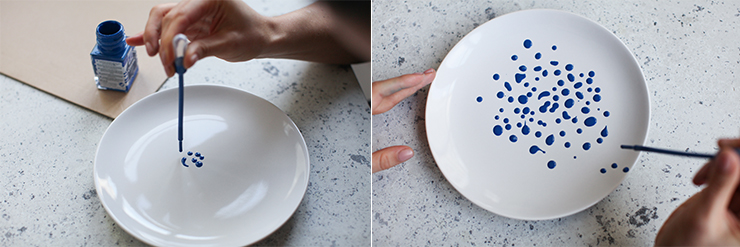
Let's start with the pipette technique! Dip the tip of your pipette into the paint and press down to fill it.

Now press lightly to squeeze out a little paint and make stains on the plate (if you're afraid of messing up, you can practice on paper beforehand).

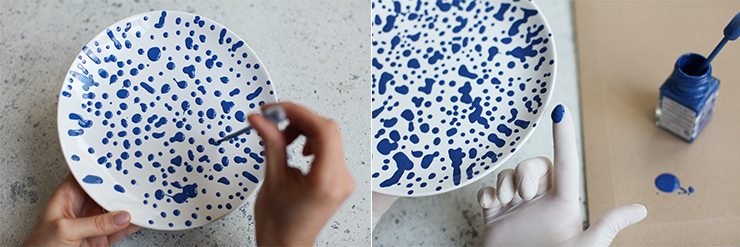
Continue in this way all over the plate! Now put on your gloves to make the border on the plate. Pour a little paint onto a palette and dip your finger in.

Gently run your finger around the edge of the plate, returning to it several times if necessary. Now we'll move on to the toothbrush or paintbrush, but during the Workshop we realized that you preferred the toothbrush! So put some paint on it!

Now you need to rub the bristles of the toothbrush to make small projections on the plate. And TA-DA!
Depending on the paint you've used, you'll need to let it air-dry, or bake it in the oven to set the paint. Be sure to read the instructions on the bottle, and of course these dishes are hand-washable, not dishwasher-safe!


