HOW TO SEW PYJAMA PANTS?
My little cats,
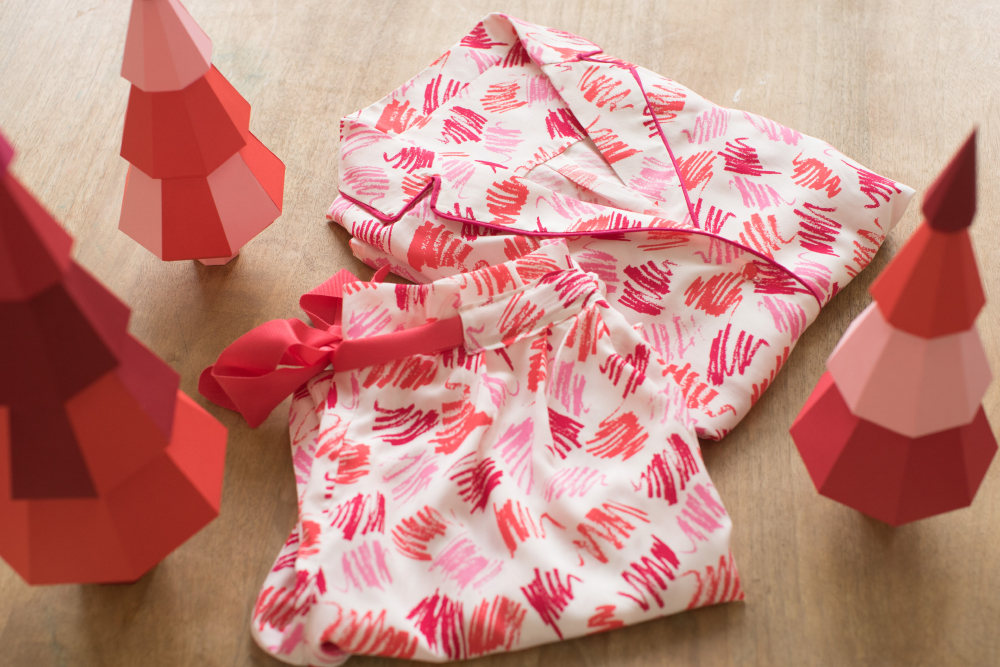
As promised, today I'm giving you the step-by-step instructions for the bottom of these beloved pajamas! I'm so proud to have been able to put it together, because the team worked so hard to deliver this last pattern on time...
And I'm even happier to be posting this article today, because to tell you the truth, this year's hectic activities are making us run a bit slowly at the moment, but we had our hearts set on posting these pyjamas just before Christmas!
When we received the pattern, I have to admit that we were all a little apprehensive about the level of complexity, especially around the waistband. To avoid any holiday meltdowns, we've simplified the whole thing a bit, and the final look remains the same, except you won't be tearing your hair out! We promise!
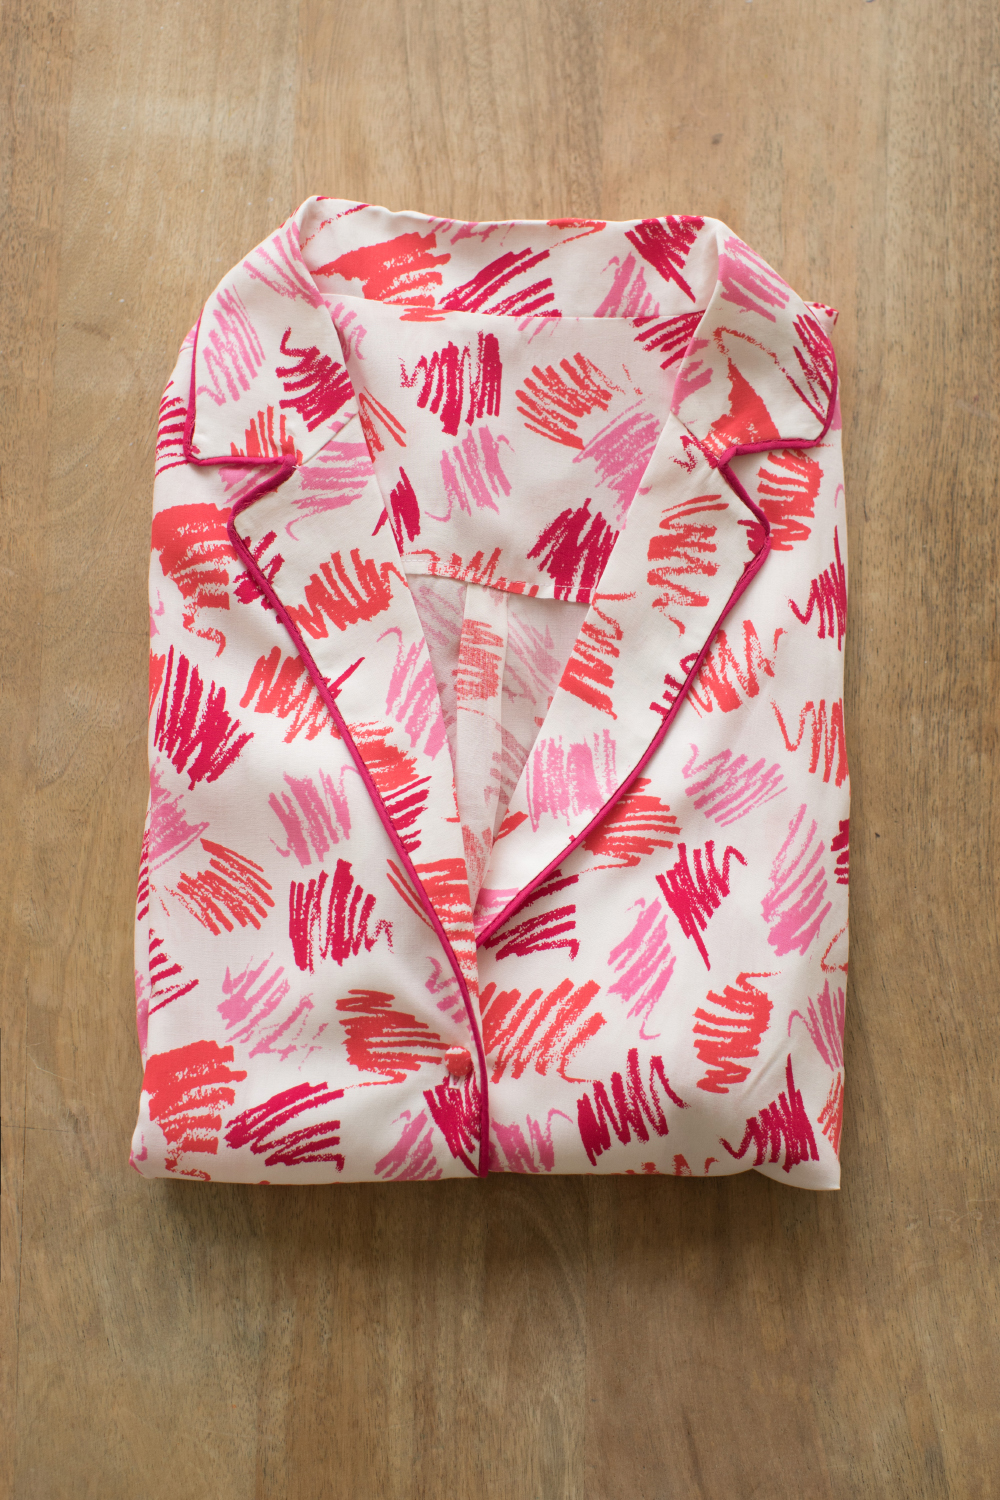
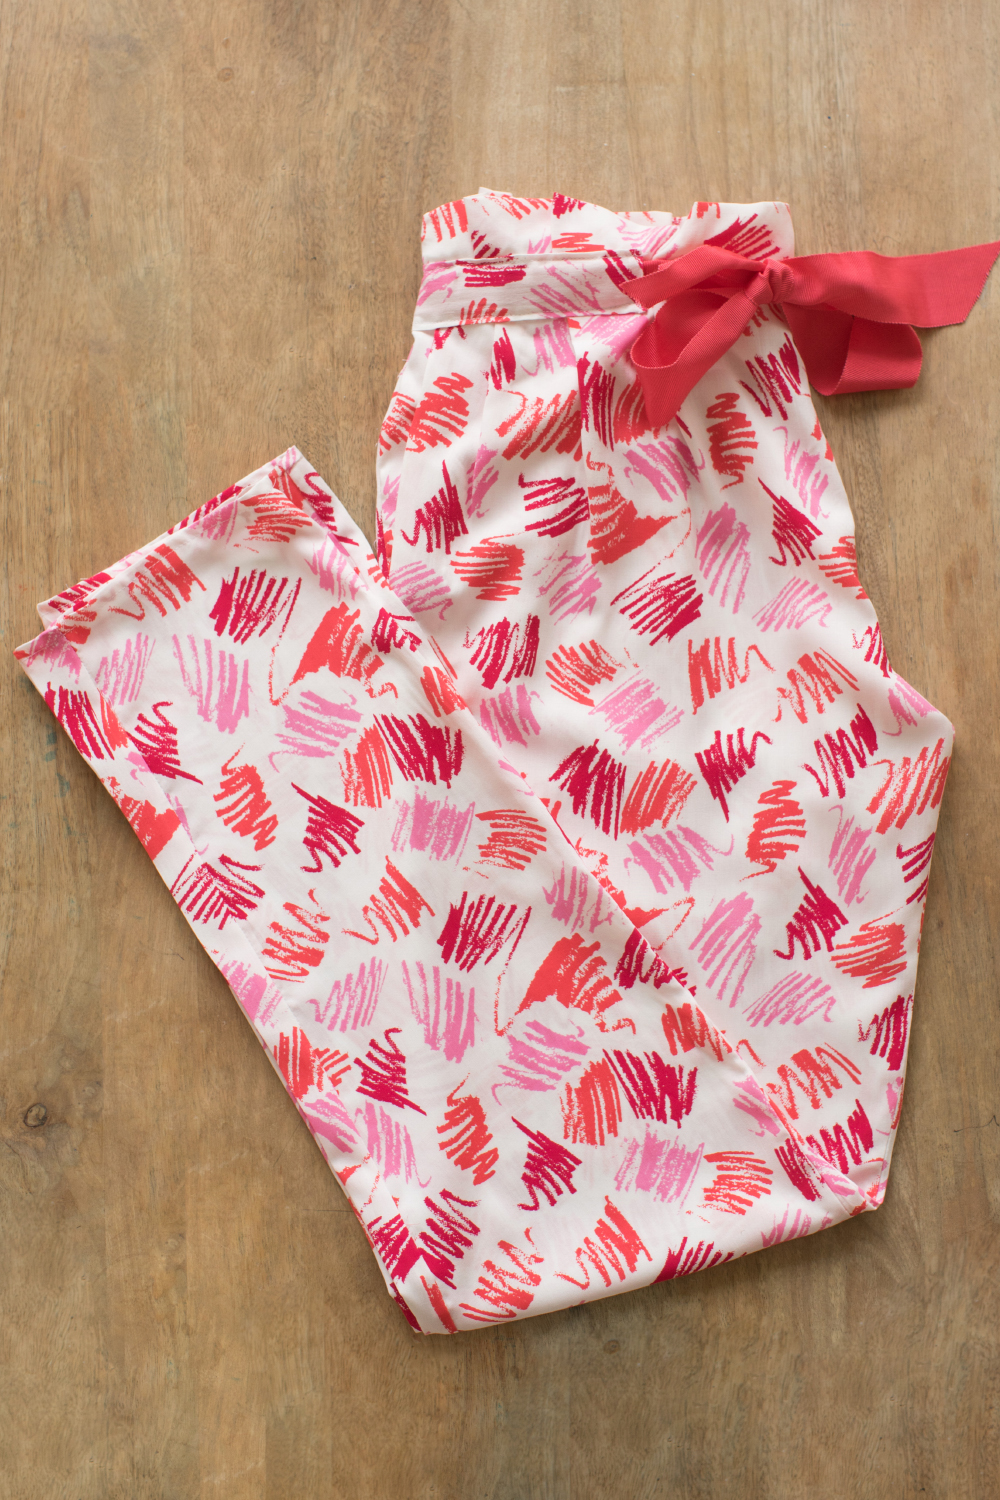
All this to say that I loved making this piece as much as the jacket. In fact, this jacket got me back into sewing for pleasure (and not tutorial sewing... I like that, but it's not always very fluid to sew and have your picture taken and filmed at the same time!), and it was such a pleasure to make it that I made a second one last weekend in a Hawaiian-patterned viscose. So beautiful! I can't wait to make the stocking too, it's already on the program for the Christmas/New Year break... Well, like Princesse Tam Tam x Wear Lemonade, I'm not sure I'll be wearing it during the day! I'll leave it to you to discover my tropical version on this instagram post. Without further ado, here's the video of the pajama pants, and the download link for the pants (you'll also find it in the "my patterns" section of your pdf subscription).
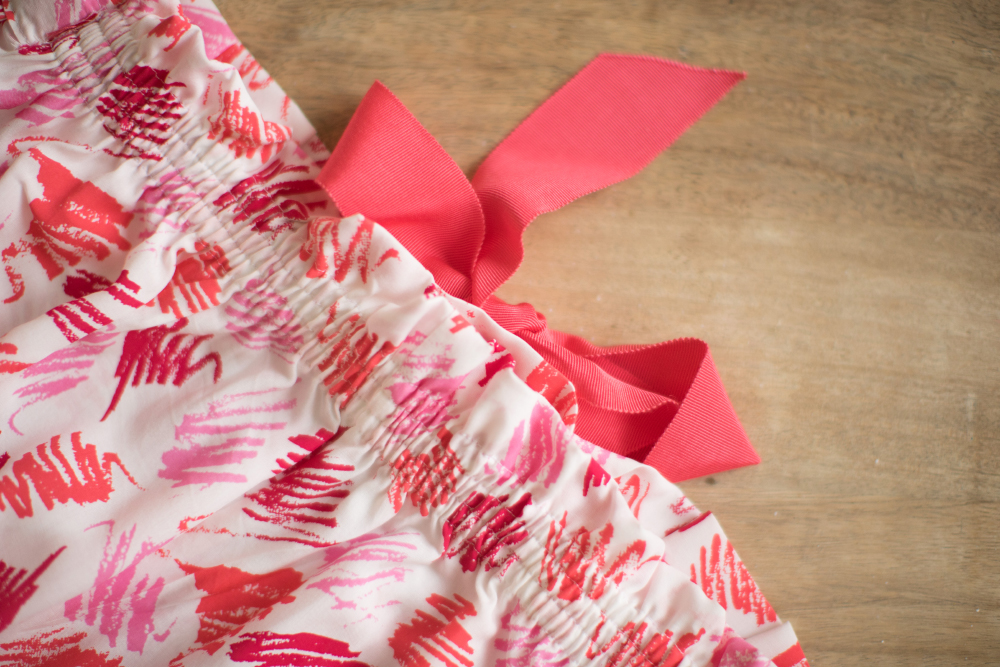
So, what we changed on these pajamas was the waistband, especially the front part because there were so many pieces. The detail I love is the elasticated back. When I first saw it and realized we were going to make it ourselves, I was a little freaked out, especially by the smocked waistband, which looked so complicated. But after modifications, this pattern is a pant minute!
What you need to know for this Julio pants tutorial:
-you'll need 1m50 of fabric (we chose to make it in our viscose to feel like a little cocoon),
-0.75cm wide elastic band (99cm for size 36, 105cm for size 38, 111cm for size 40 and 117cm for size 42, to be cut in 3 pieces each),
-grosgrain (approx. 130cm, to be cut in 2),
-and free pattern download here or in your personal space if you are a pdf subscriber.
We wish you all the best for the festive season!


