DIY Muppet
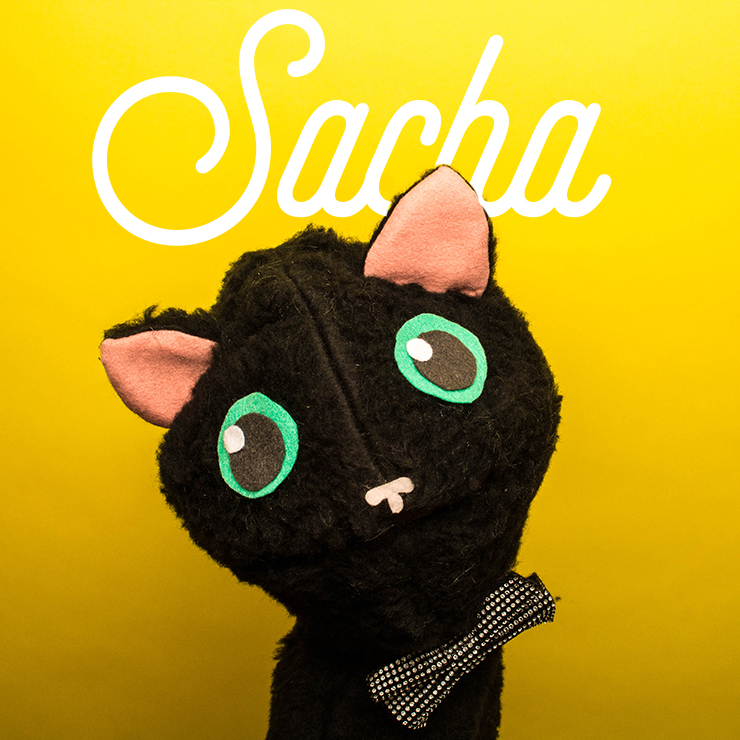
Happy Wednesday, my little ones!
Today, a Do it Yourself, anti-depression, a little crazy I admit, but which will be perfect to become the idol of the under 6s and will be the perfect activity to introduce the little ones to sewing. I'm thinking of you too, dear parents, and what you'll be able to do during this rainy weekend...

Well, the starting point for this post is our office mates! Radioooootheir website is now online and working like a charm! Remember, it's an online radio that lets you travel back in time! Yes, you can. Choose the decade, the country and launch the player and you'll discover the crème de la crème of music from around the world, selected by the expert ears of dj's, musicologists and lovers of forgotten musical nuggets. And the icing on the cake is that you too can create your own account and submit your own unlikely musical discoveries to share the sweetness of good vibes.
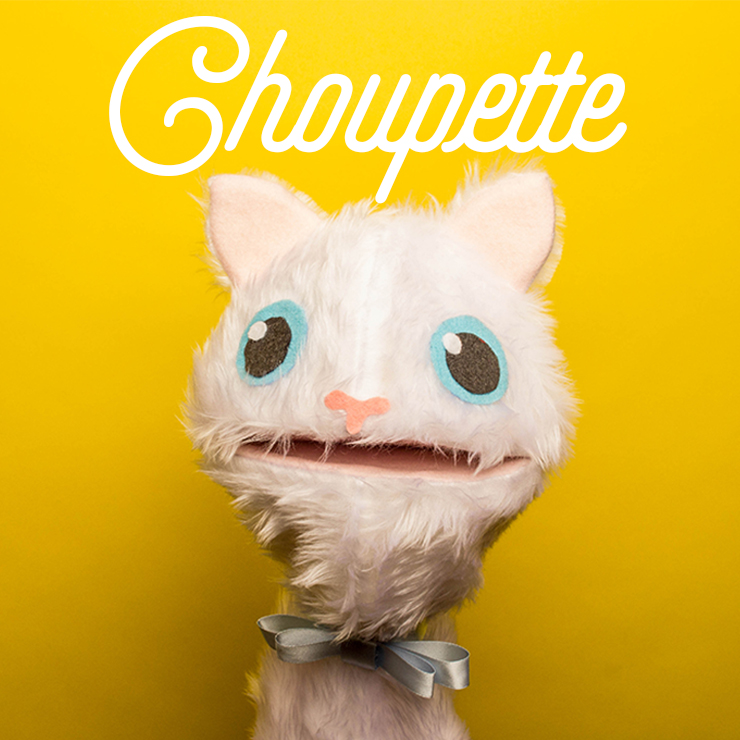
So why are our roommates the starting point for these muppets? Well, because they're crazy, capable of cutting up paper for days on end to make stop-motion videos, each one crazier than the last, making a 3 x 4 metre map of the world out of cut-out paper, and making muppets is also part of their area of expertise to promote their site. So, of course, we fell in love with them. And between our lemonade stand, our lobster panties and our mountains of fabric, in this pretty mess (sorry, no other words) it all works. One thing's for sure, when we move, we're going to miss them...

When it comes to making these muppets, I'm sure you'll be laughing out loud, saying "oooooooh but it's so cute", and having panic attacks trying to figure out how to stick the eyes on your puppets... But really, you'll see, it's infinite: a wig, glasses, bunny ears... Have fun, my little cats!
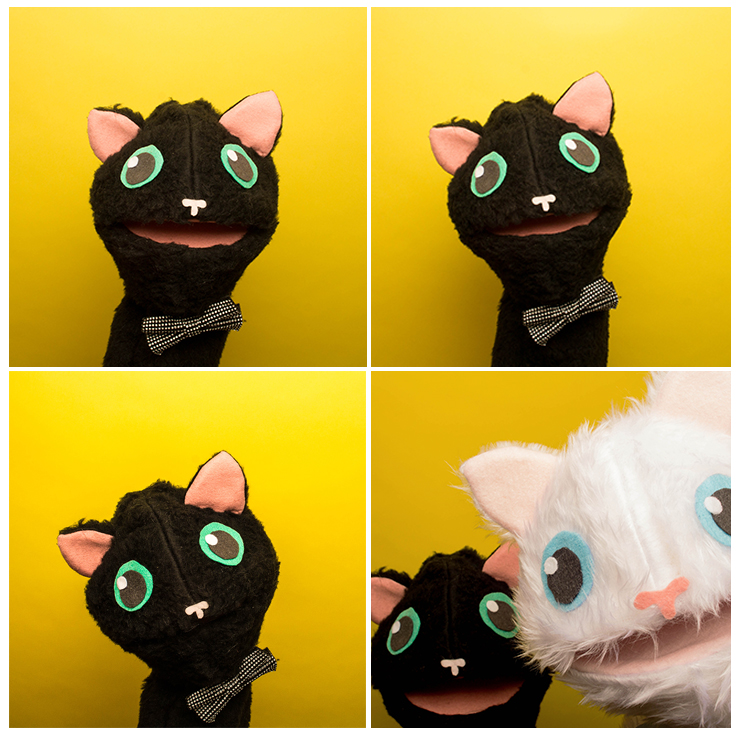
Always trying to steal the show, this choupette....
Time : 1h
Difficulty: medium to easy!
Cost: less than €20
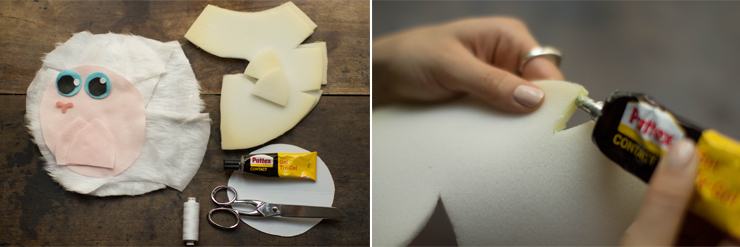
For this DIY you'll need :
- - foam,
- - faux fur,
- - pink felt,
- - patterns for the various parts, here, here, here and here
- - Neoprene glue,
- - scissors,
- - lightweight cardboard.
To get started, download the patterns for the various parts and cut them out of the foam and fabric.
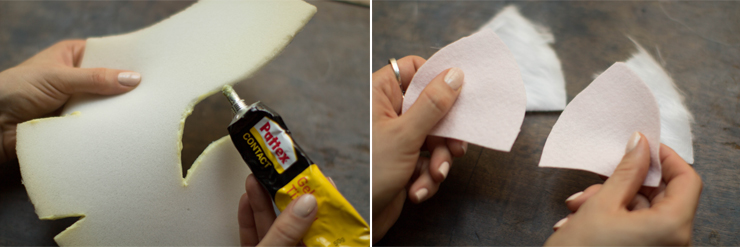
Apply neoprene glue to the parts to be assembled, and leave for 10 minutes (yes, that's how neoprene glue works). During this break, you can start working on the ears!
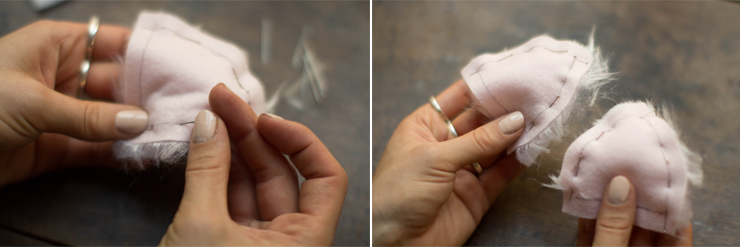
Pin the felt and fur right sides together, and sew, leaving the base of the ear open.
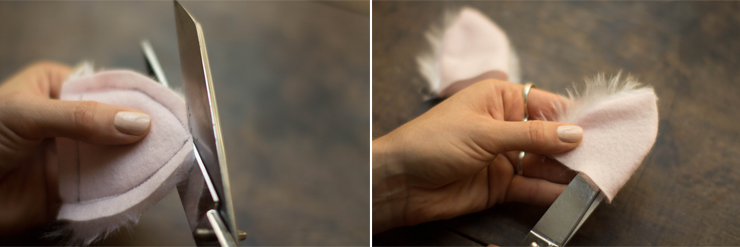
Clear the corners and notch, then turn your ear inside out. Use your scissors to push in as far as possible.
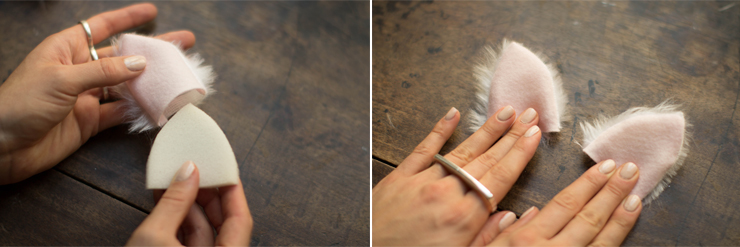
Insert the foam and let out a squeak of satisfaction.
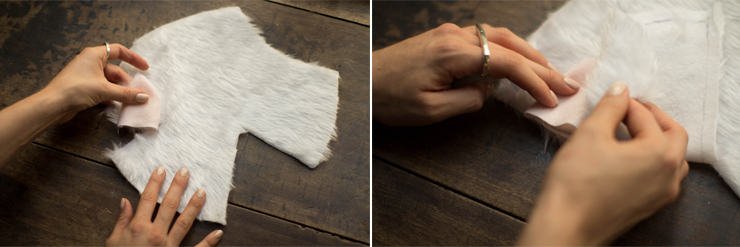
Then place the ear in the small clip/slot of the large fur part.
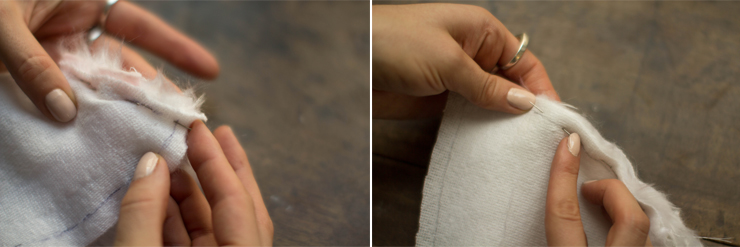
Pin and sew all the way through. Do the same for the second part and the second ear.
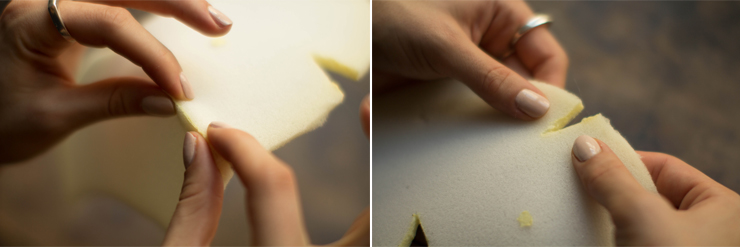
Now that you've waited while making your ears, glue your foam parts, holding for a few moments.
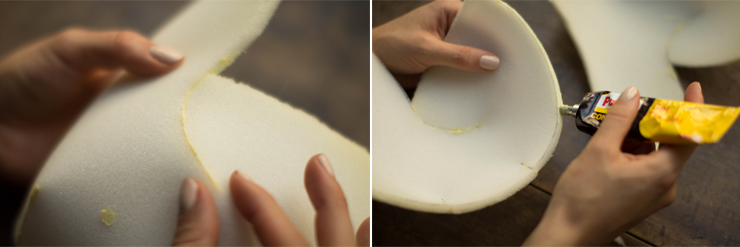
Now glue the right and left edges of your foam head and wait another 10 minutes.
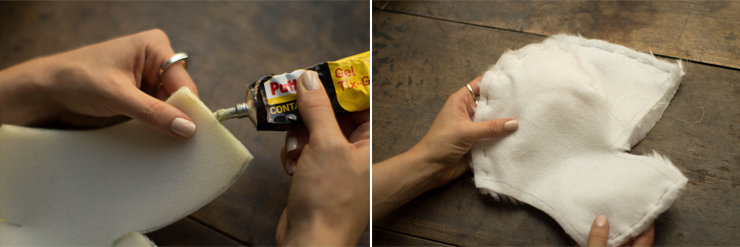
Meanwhile, assemble the two large pieces of fur that now have their ears. Pin and sew, but don't pin your cat's mouth.

Patient enough, glue the foam, assemble the two parts of your cat's head.
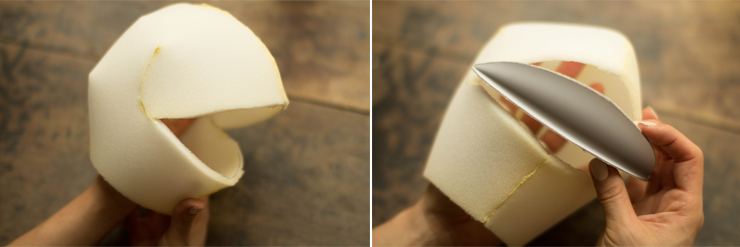
Now take the piece of cardboard that will act as the mouth, which you've folded in half beforehand.
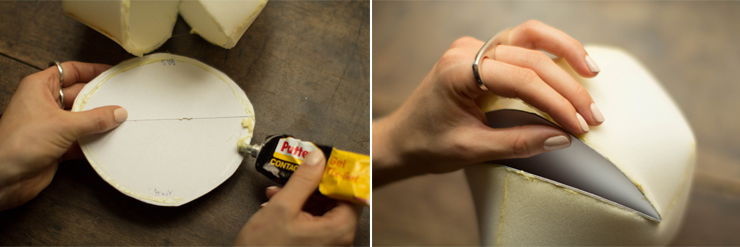
Glue the neoprene glue all around the cardboard and your cat's mouth, wait 10 minutes (yes, always...) and then glue the cardboard to the foam.
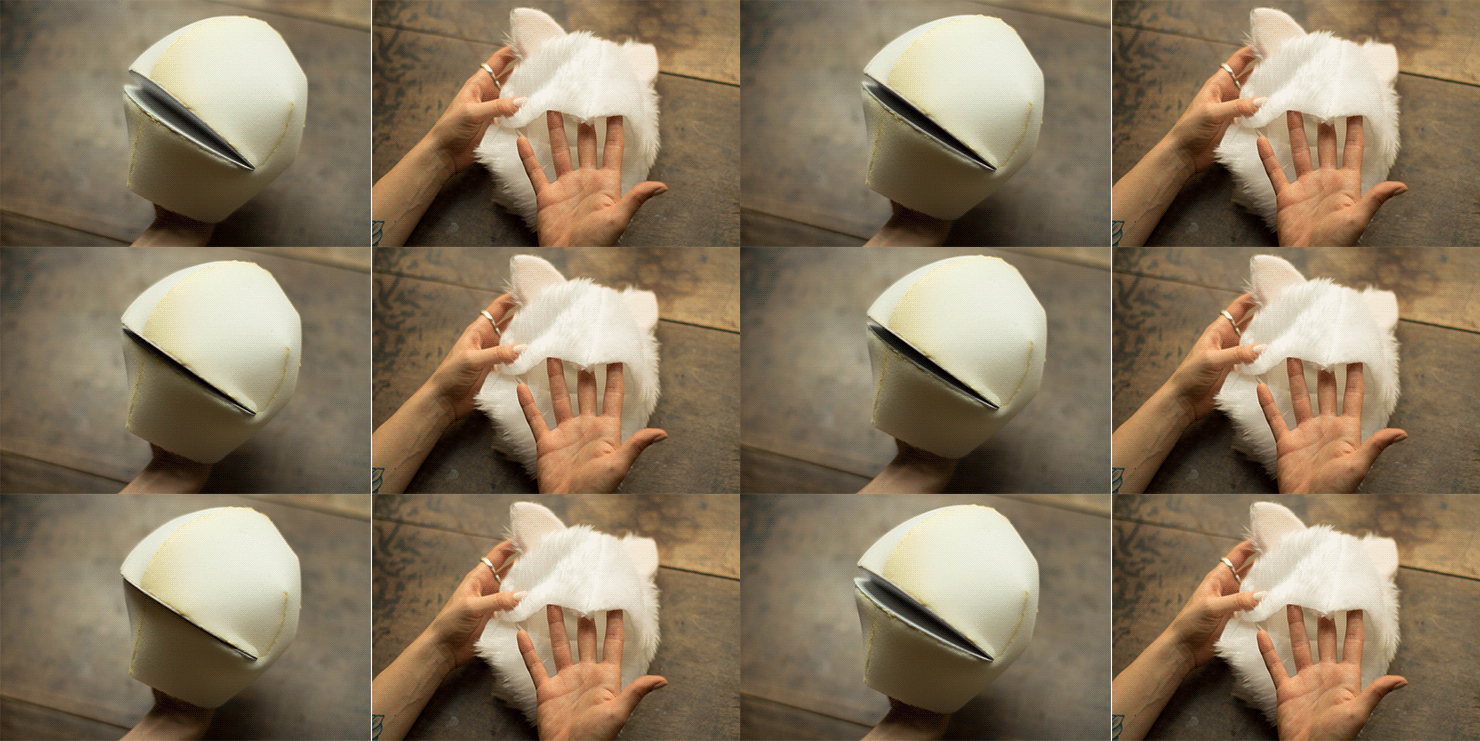
Now let's move on to the fur, and the placement of the felt mouth.
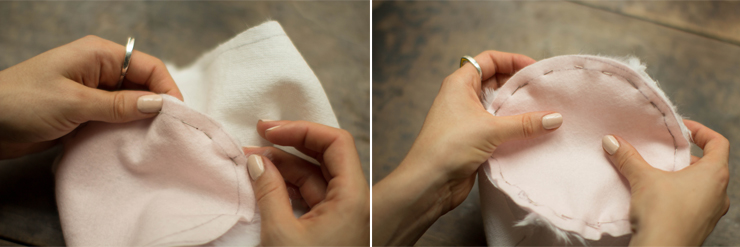
Pin the felt to the faux fur, being precise at this point, and take care to join the top to the top and the bottom to the bottom. Machine stitch.
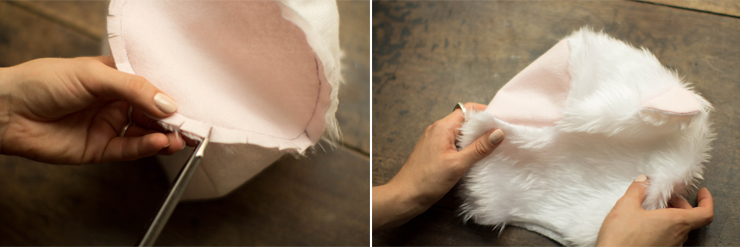
Clip the entire mouth, then turn the fur right side out.
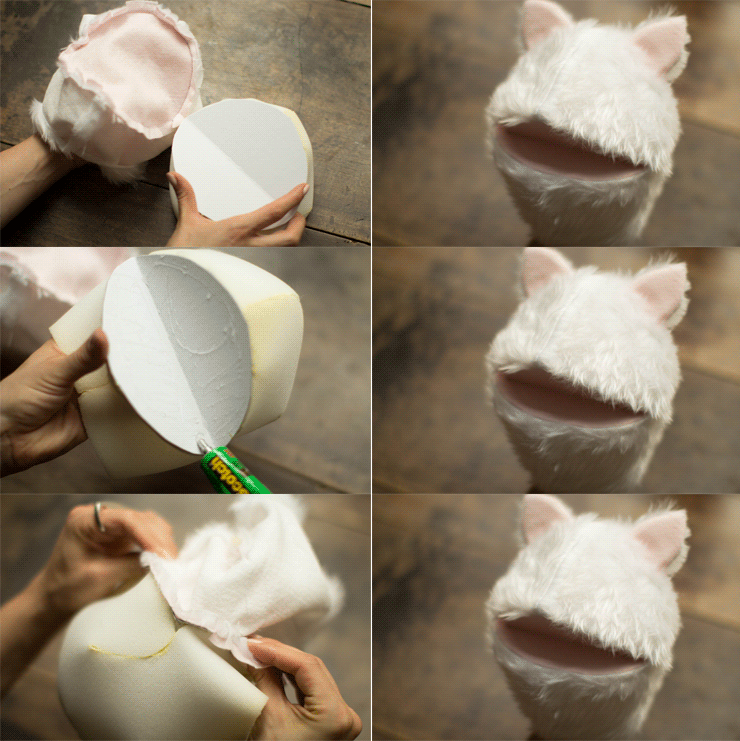
Now that your moss has a mouth and so does your fur, you can assemble the whole thing. Glue the cardboard mouth (you can continue to use Neoprene glue, but we were too impatient to see the result). Then open wide and glue the back of the felt mouth to the cardboard. Turn over quickly and "marouflez" the felt well so that it's taut.

From this point on, you're bound to waste 5 minutes playing with it and showing off your muppet to the whole world. Once you've finished, you can move on to the finishing touches. Pin and join the two parts that make up the animal's body.
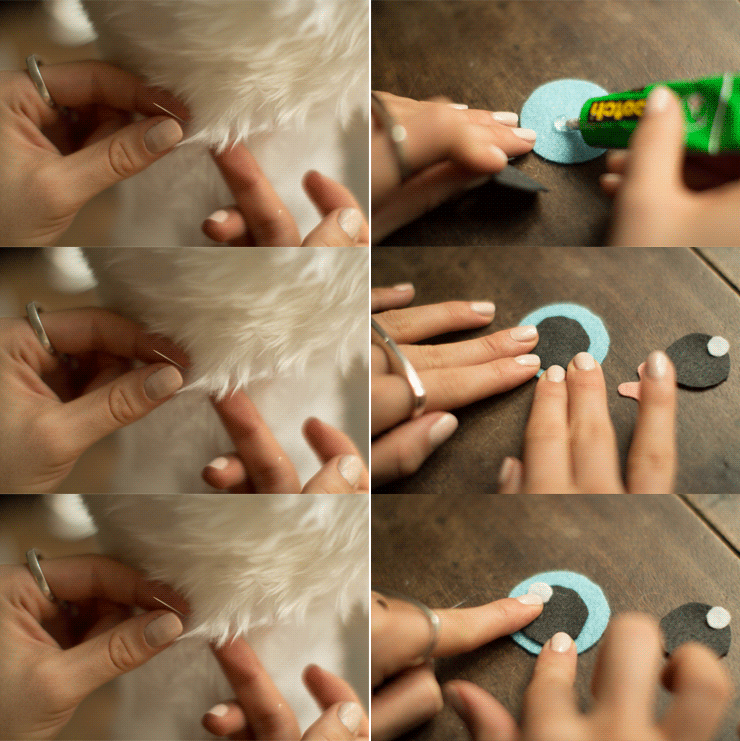
Then sew the body to the head (by hand - don't worry, it's quick enough). You can use a water bottle to thread your muppet onto, to make sewing easier. Then take the pieces of felt for the eyes and glue them together!
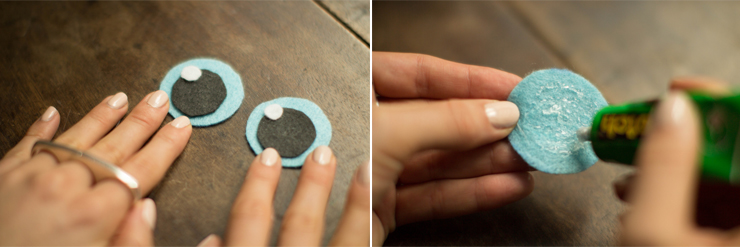
Glue the back of the eye.
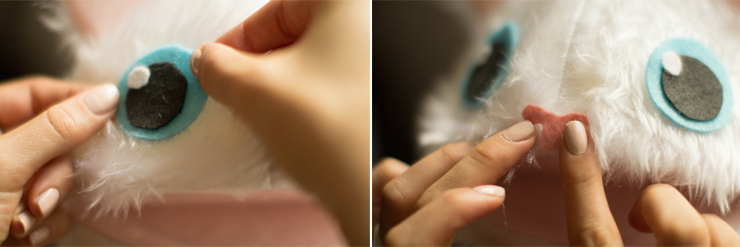
Glue the eyes to the fur, cut a truffle out of the pink felt and glue it in place.
and TA-DA! Now you can dress your muppet...


