DIY DIAMOND SHAPED TOTE BAG[:]
Hello my little darlings!
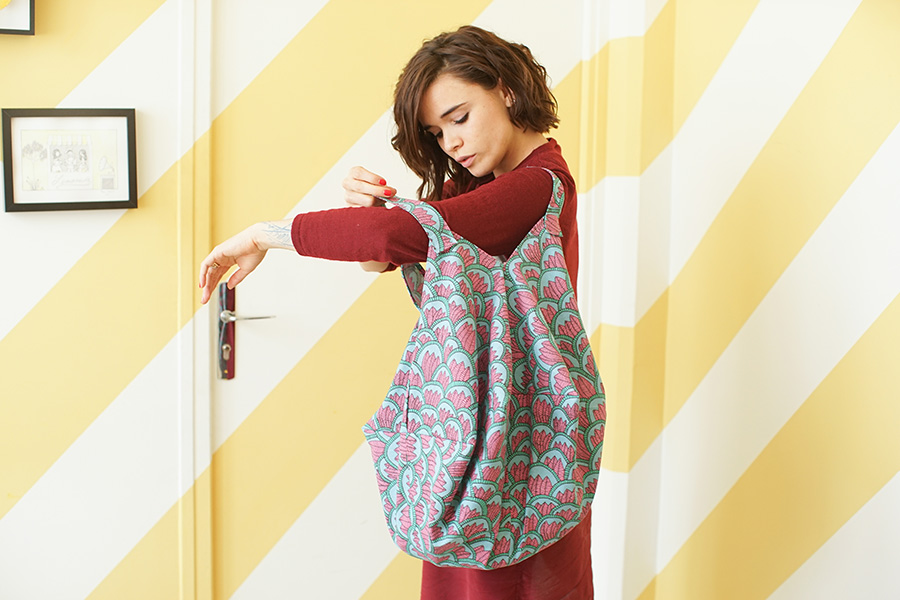
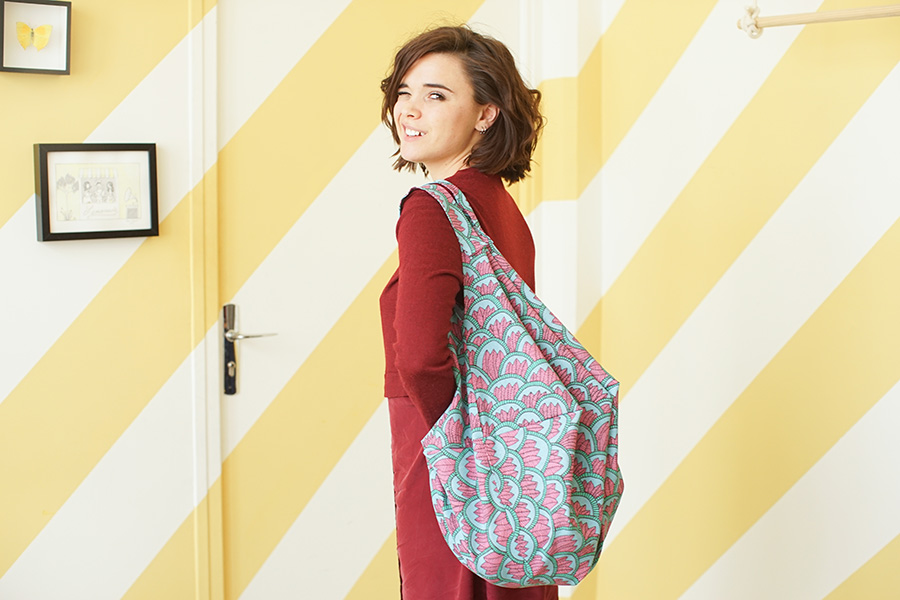
I'm starting this week off with a DIY since it's been a while! Today, get out your sewing machines, I'm about to unveil the secret of the diamond shaped tote bag! I could make this bag blindfolded, I've made so many in all sorts of colors and for all sorts of the women in my life. I don't know if you remember it, it's also from a "bags of love" pattern, the project we did with Mai a few years ago! You can put your gym stuff in this bag or your entire life but think out of the box, imagine this bag in denim, leather, with a printed motif as a lining! The tutorial bag was made with a neat Ikea furniture fabric! Speaking of Ikea, next Tuesday, for all Parisians, Ikea is having a pajama party in one of their stores. On the agenda are three DIY workshops on the bedroom and bathroom, so if you'd like to enter to win a spot for evening of giveaways, doityourself, and Daim®, please leave us a comment on this article below telling me what's always in your bag!
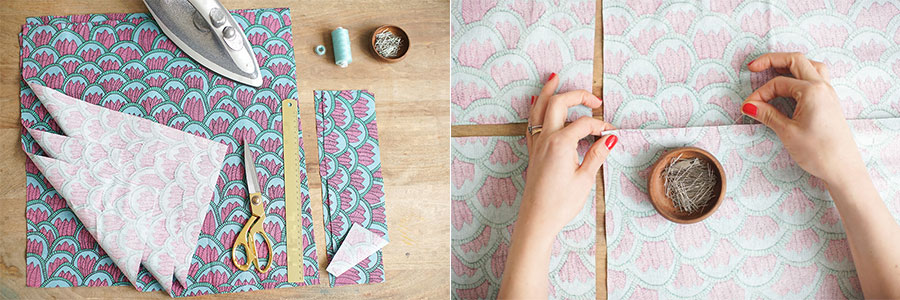
For this DIY you'll need:
- 4 squares of 50x50cm fabric, 2 rectangles of 15 x 40cm fabric,
- scissors,
- pins,
- a ruler,
- a sewing machine, thread, and a bobbin that matches your fabric,
- an iron and obviously a sewing machine.
To begin, layout your 4 squares edge to edge and pin them 2 by 2.
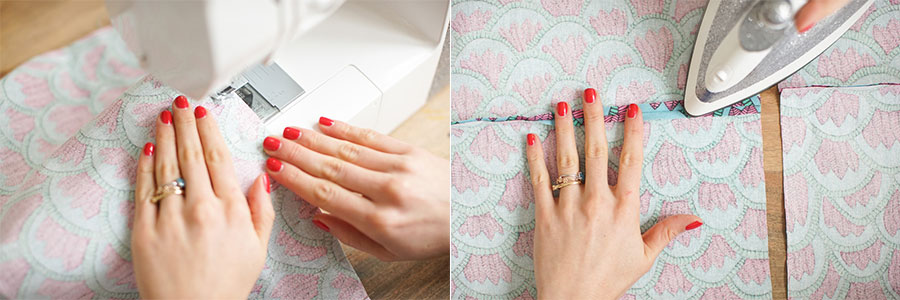
Next, stitch your two huge rectangles using the machine, remember to open your seams with the help of an iron for a cleaner finished product.
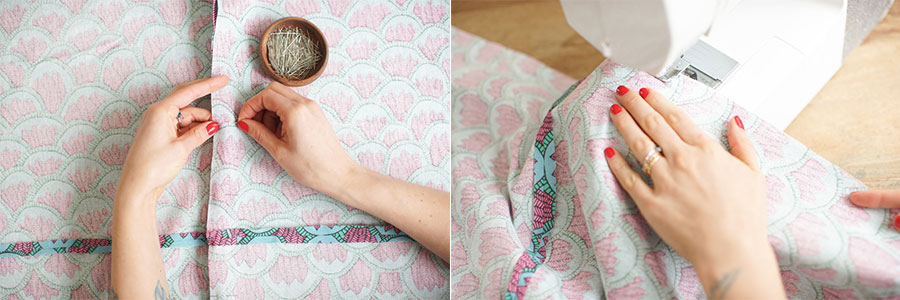
Then, pin your two huge rectangles length wise and stitch on the machine.
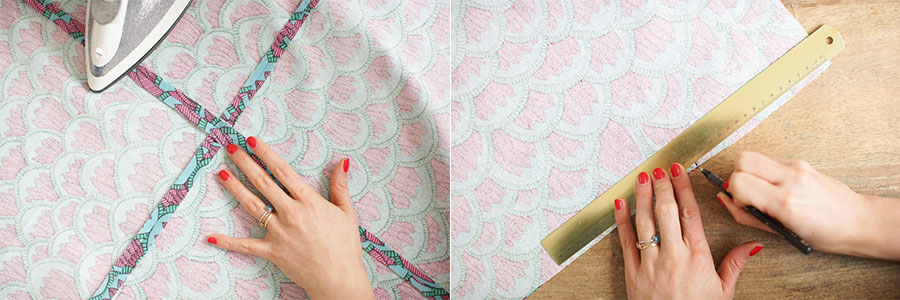
As always, open the seams wide, now take your ruler and make a mark at 15 cm in each corner of your big square.
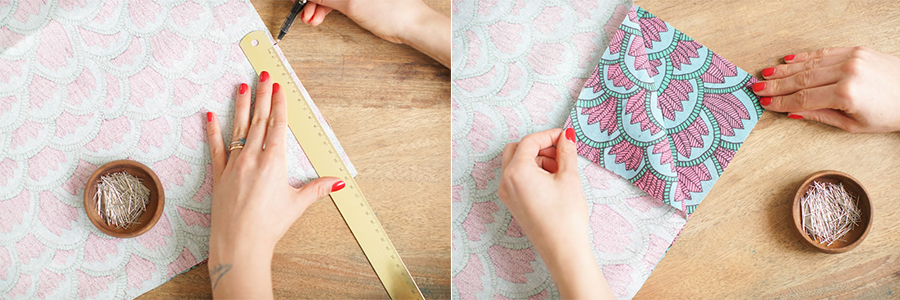
This will make the opening of your bag.
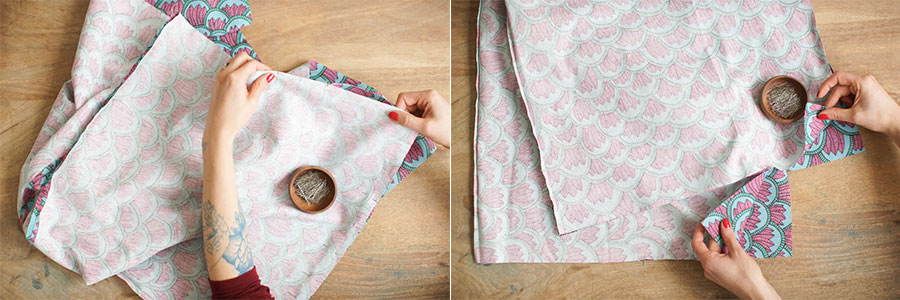
Fold your big square in half, and line up the ends of your bag in order to make a large rectangle (stop at the 15cm marks), then for the two other seams, assemble the raw edges that are on the same line, starting in the middle and stopping at the 15cm mark.
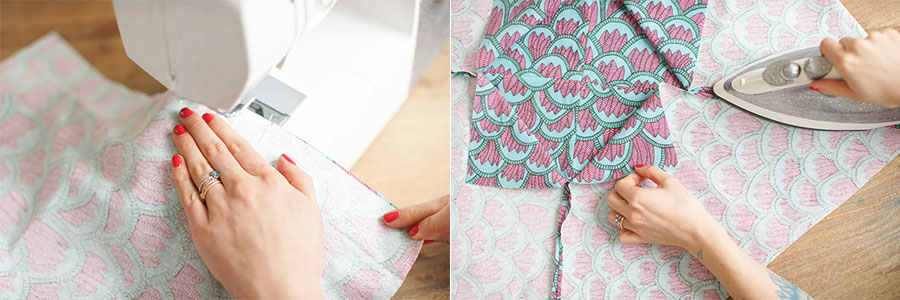
Run it all through the machine and once again open wide your seams with the help of an iron. Here you should have a square that looks a little like a casserole dish.
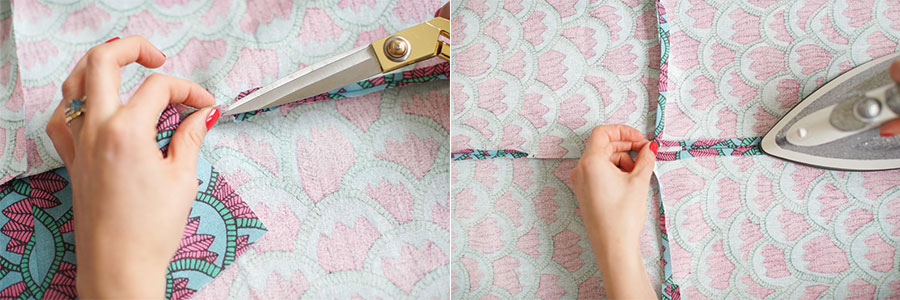
Make a small notch at the end of your seam at the opening of your bag, then fold with the help of your iron, the first fold should be about 1cm to designate the opening of the bag.
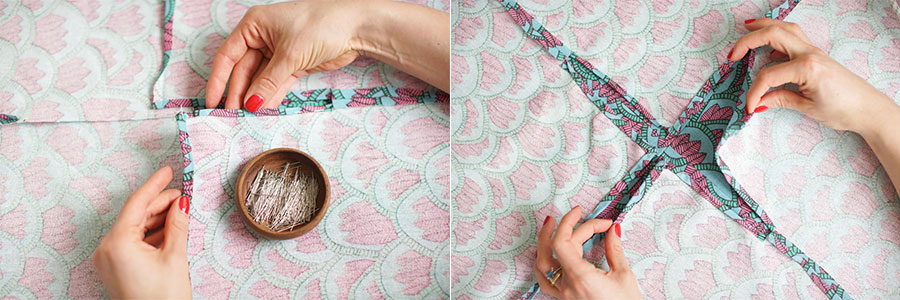
Fold a second time, iron, and pin to finish off the hems. Do the same to every corner with a raw edge! Run it through the machine.
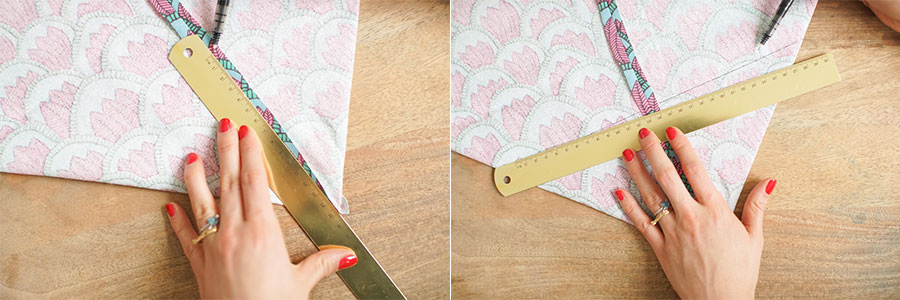
Let's now move onto the previously sewn corners of your big square, and with the help of a ruler, measure 15cm starting at the point. Draw a perpendicular line here.
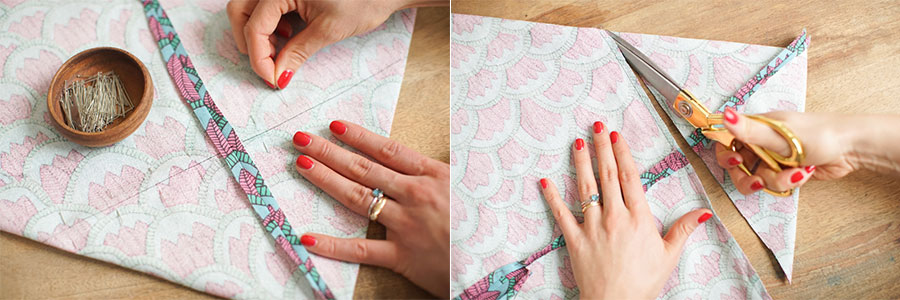
Pin this right angle well so that your two layers of fabric are overlapped, run it through the machine, make a straight stitch, as well as a zigzag stitch, and finally cut it 1cm from your seams.
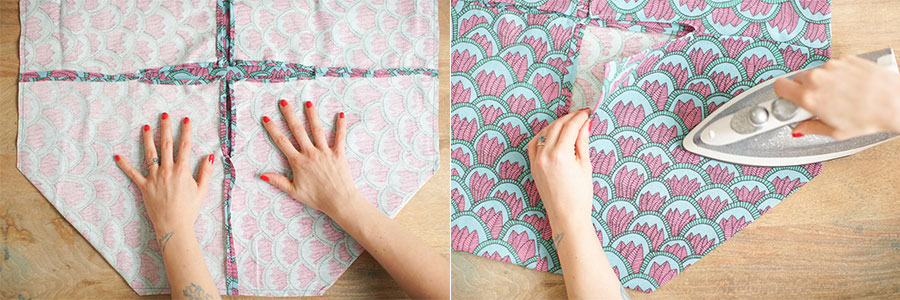
Your bag is now ready to be turned right side out, remember to iron everything out.
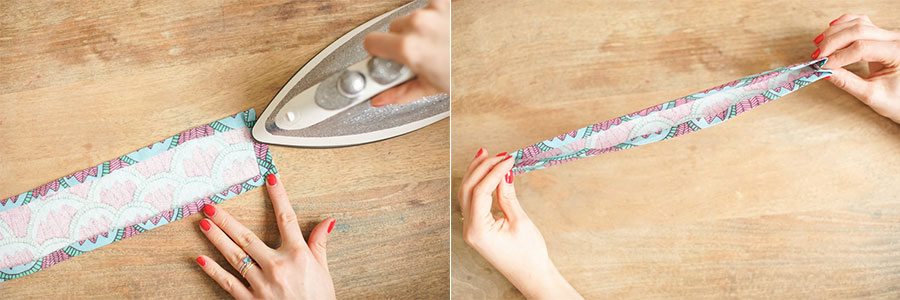
Now take the two bands that will be your handles, fold them 1cm around your band, and fold it in half.
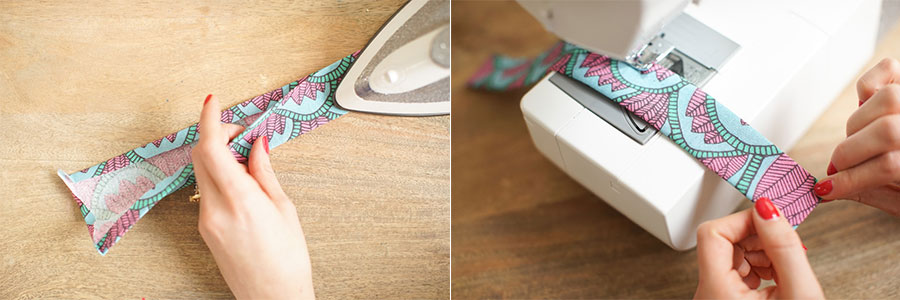
Fold the pleat with your iron and then make an edge stitch to hold everything together! (Of course, you can pin it if you haven't yet completely mastered the sewing machine).
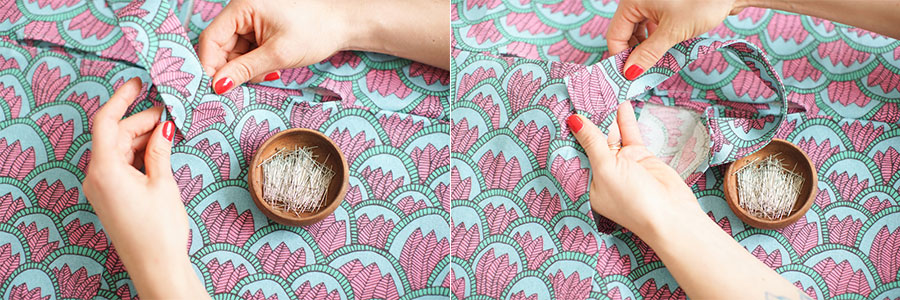
Pin your bands on the hemmed corners, be careful to place the extremities on the two corners, sidetoside and not in a diagonal, otherwise you won't be able to put things in your bag! And tada!
Translated by Whitney Bolin
[:]


