Wordpress blog EN
A DIFFERENT WAY TO BRUNCH[:]
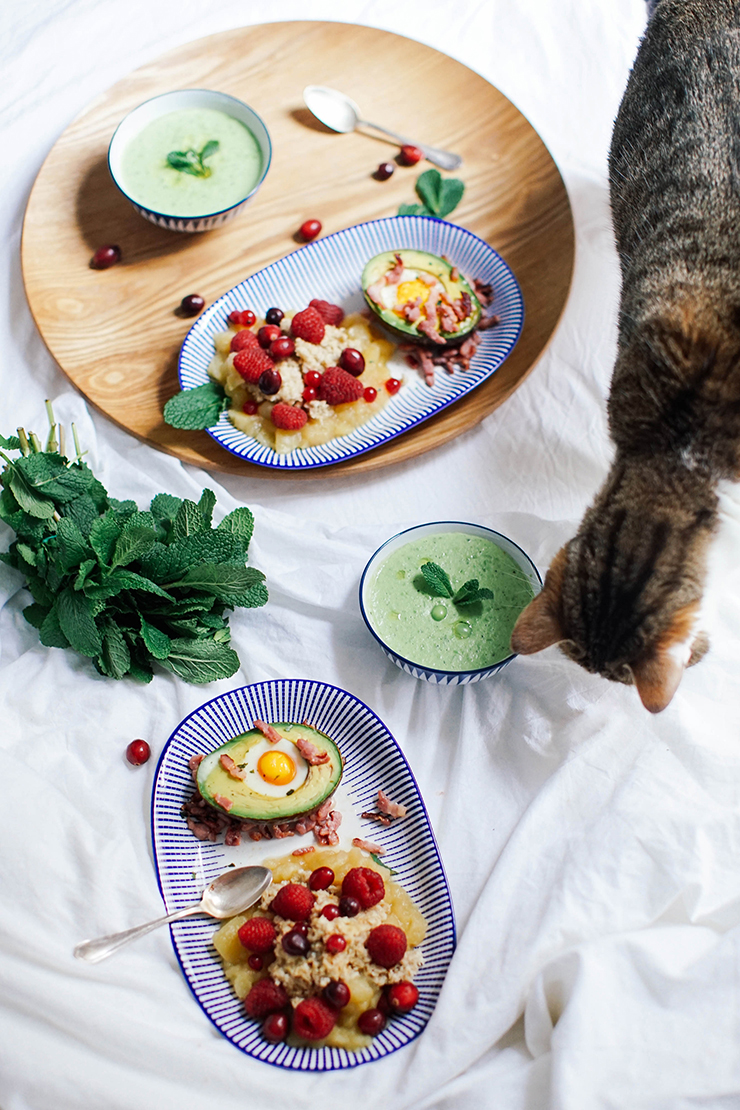
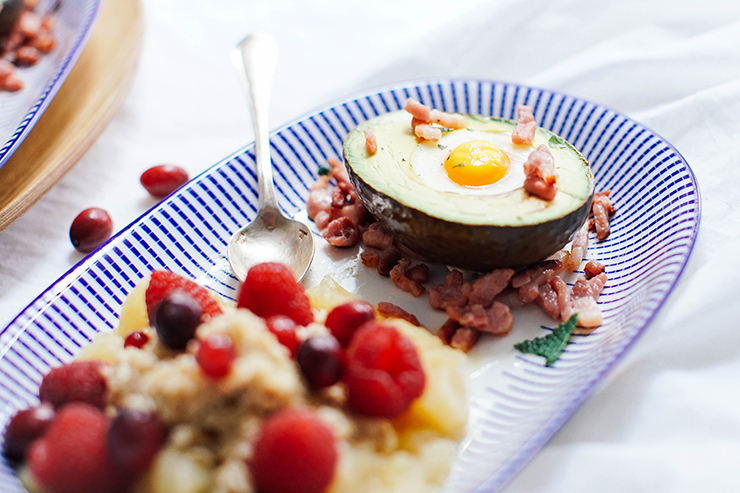 The egg in the avocado, for 2 people, you need:
- 1 avocado, not too ripe
- Lemon juice
- 2eggs
- 100g ham or bacon bits
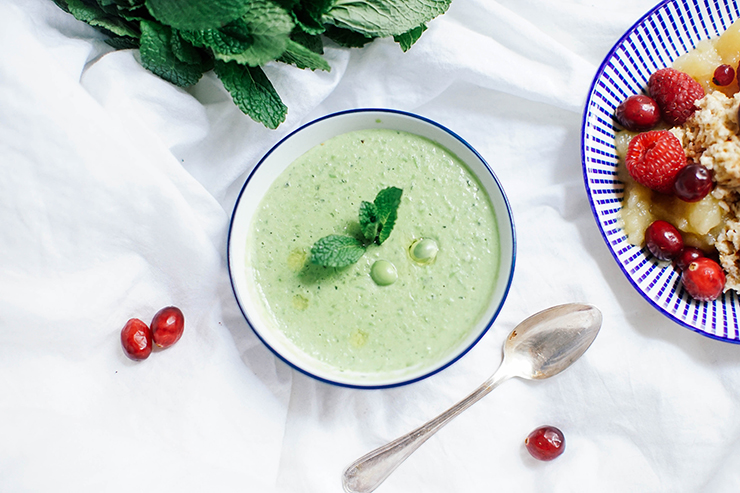 Pea and Coconut Milk Soup, for two people, you'll need:
- 250g of fresh peas, or 750g of peas in their shells
- 1 half onion, finely chopped
- 1 garlic clove
- 12 fresh mint leaves
- 250 ml of vegetable broth
- 150ml coconut milk
- Salt and pepper as well as olive oil
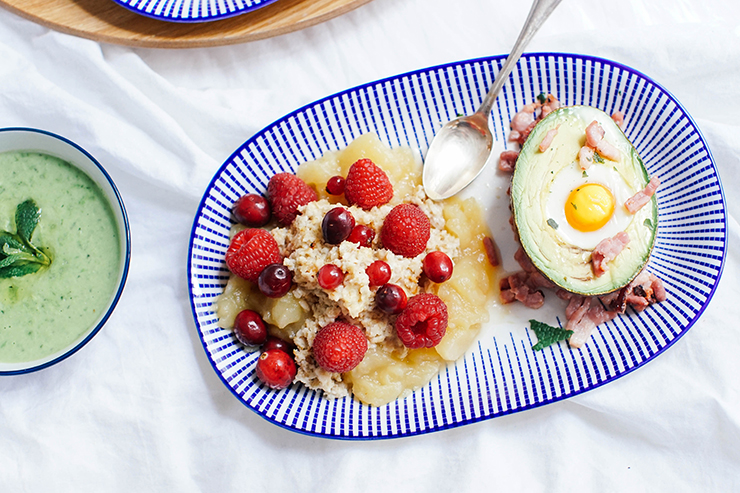
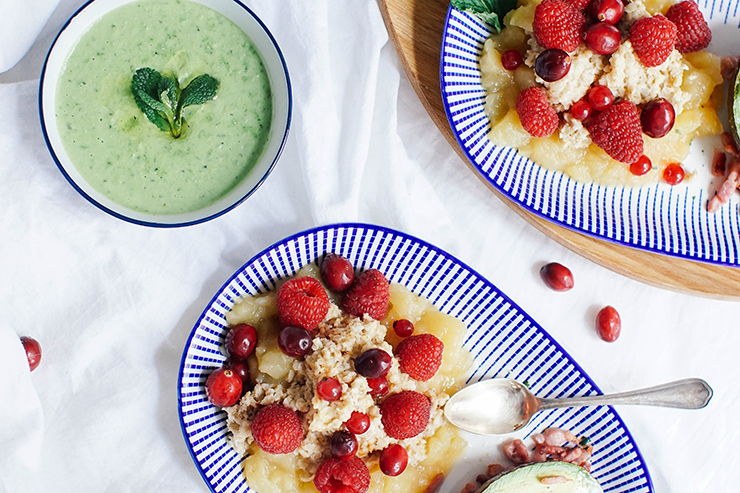
- 65g of oatmeal
- 250ml of almond milk
- Fruit
- Homemade applesauce
 Translated by Whitney Bolin[:]
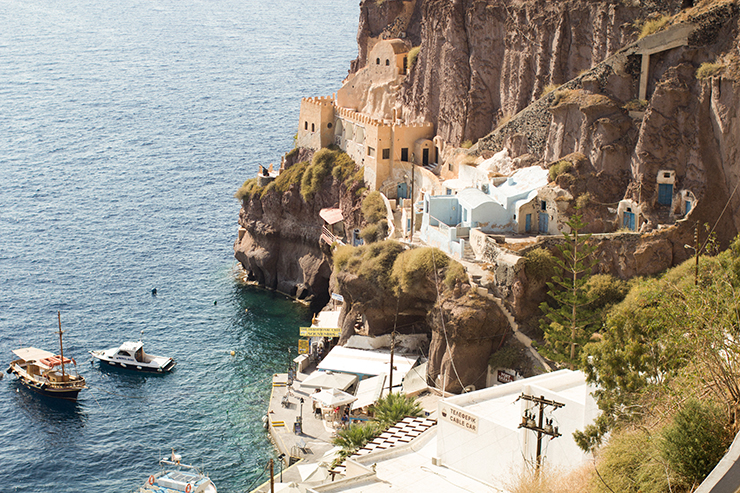
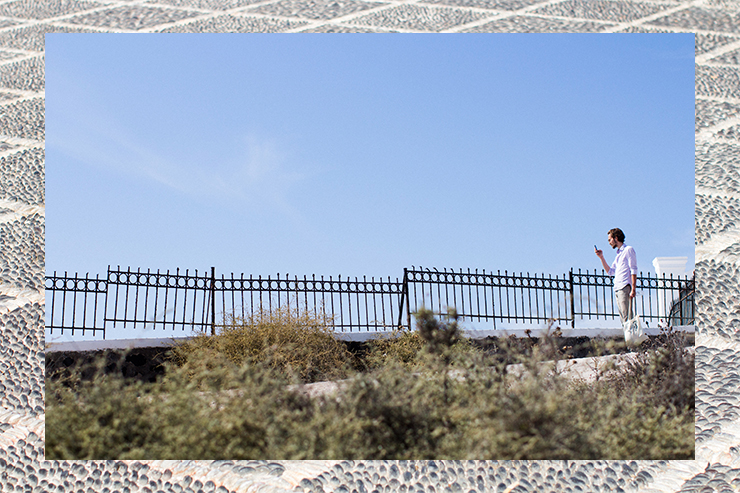
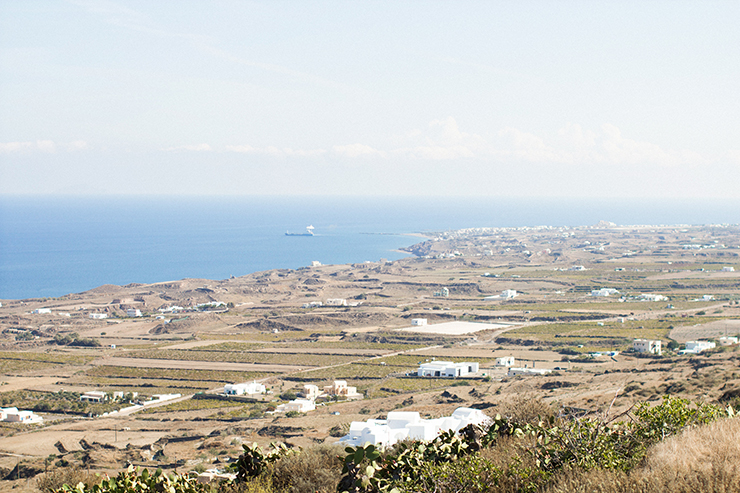
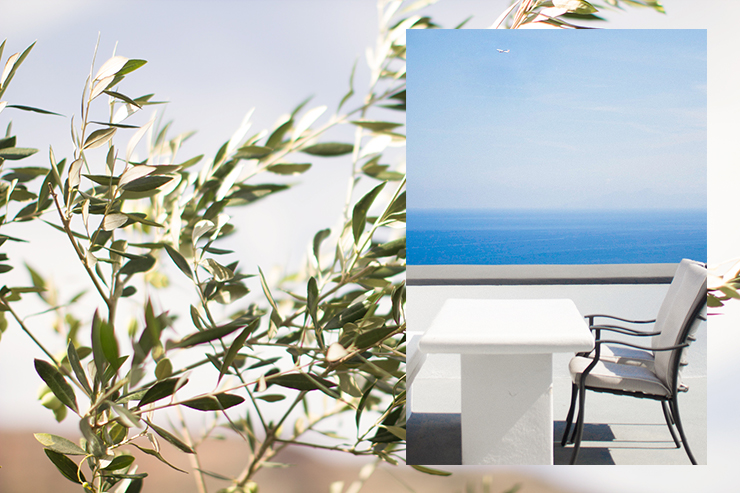
SANTORINI[:]



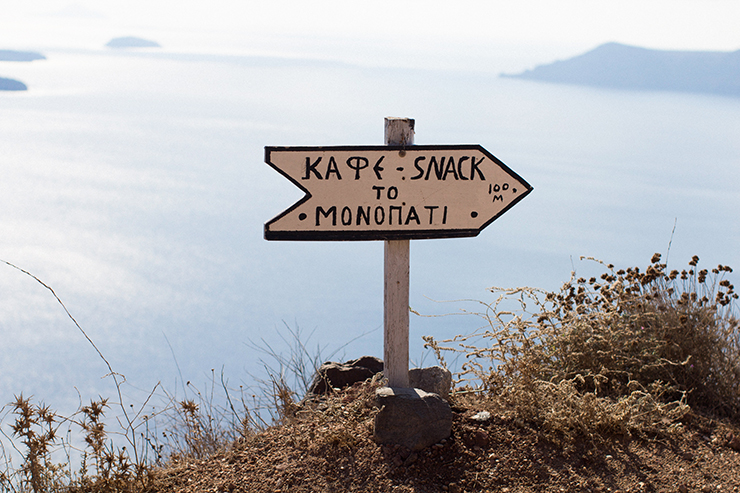

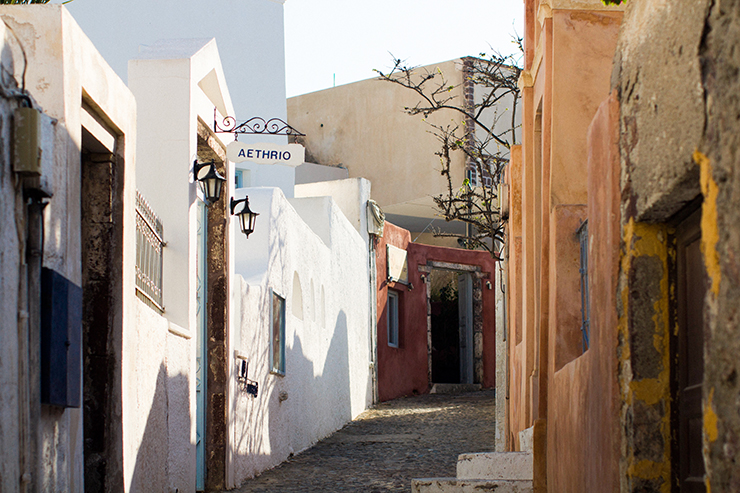
- - Franco's at Pyrgos
- - Santo Wines at Pyrgos
- - Lolita Gelato at Oia
- - Meltini at Oia
- - Kandouni at Oia
- - Drakos Taverna at Oia
- - 1779 at Oia
- - Metaxi mas at Exo Gonia
- - to be continued...
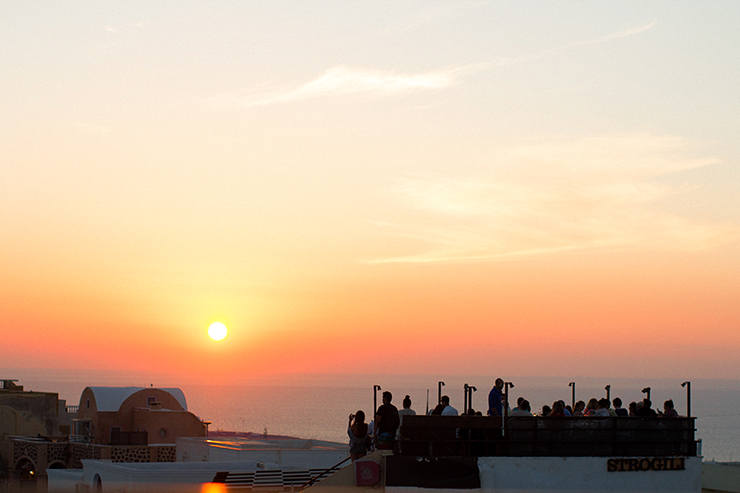
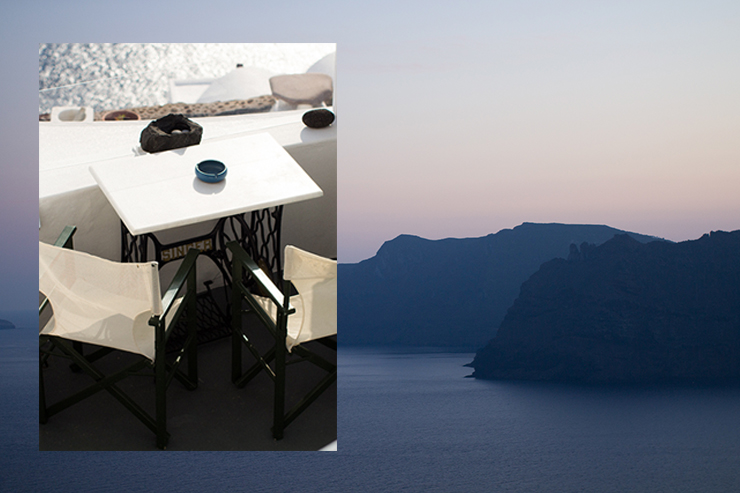 Things to see and do at Santorini:
- The hike between Fira and Oia,
- The walk down to Fira's old port,
- the volcanic black sand beach and archeological ruins
- the collapsed Caldera
- Eros Beach
 Translated by Whitney Bolin[:]
DIY MOTIVATING FLAGS[:]
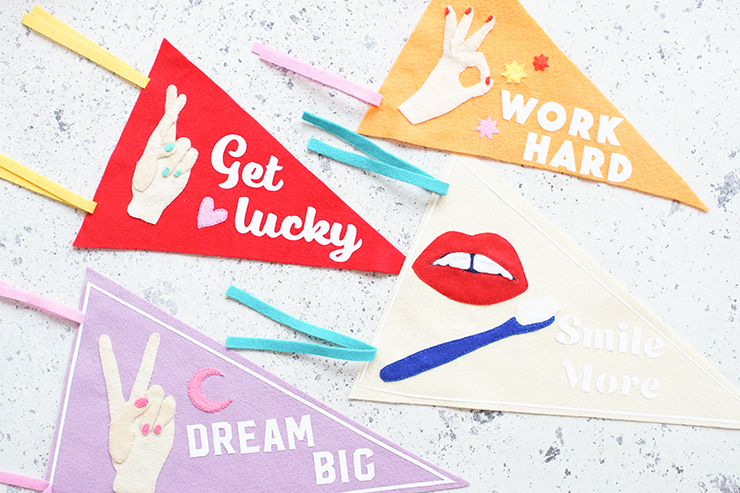
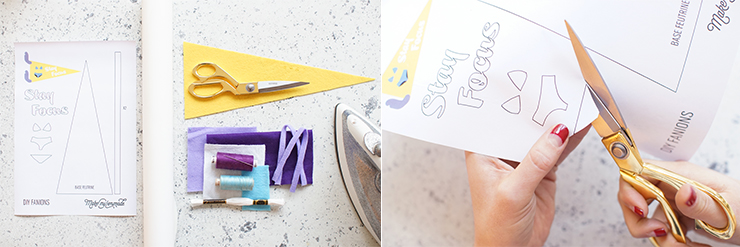 For this DIY, you'll need :
- The files to download and print here,
- Different colored felt,
- Different colored thread bobbins,
- White flocking paper or white felt or galley flocking paper...
- Scissors,
- Glue,
- A needle,
- Embroidery thread.
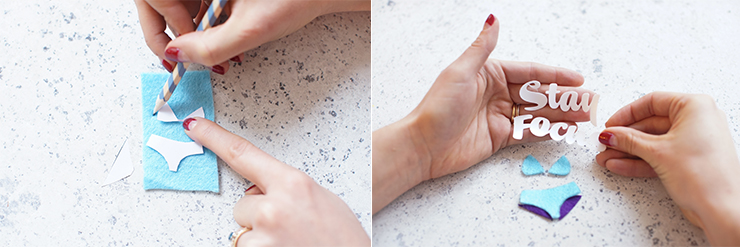
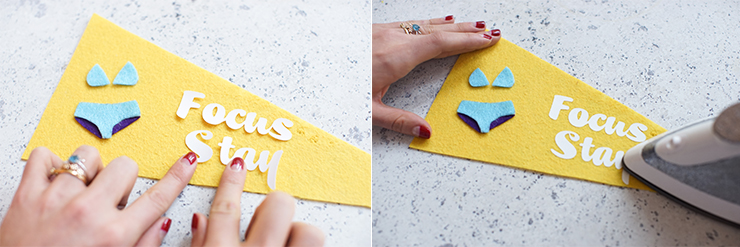
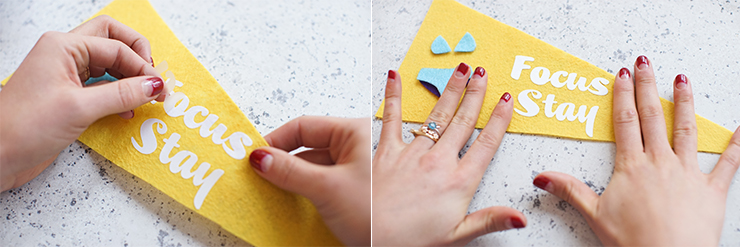
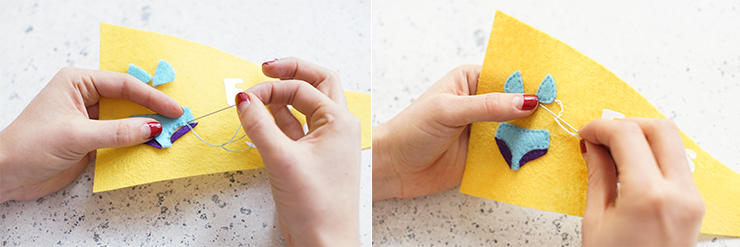
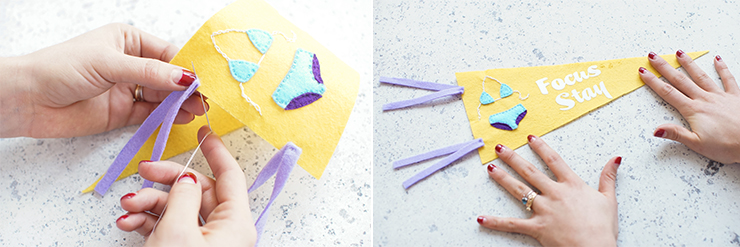
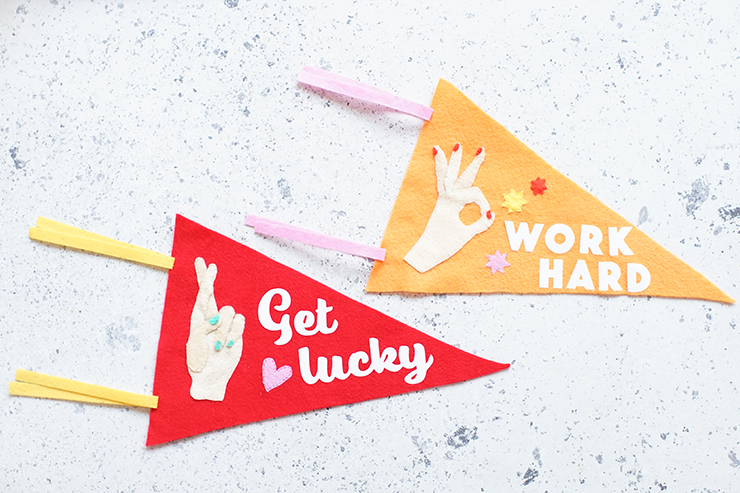 Translated by Whitney Bolin[:]
THE BEST RESOLUTIONS[:]
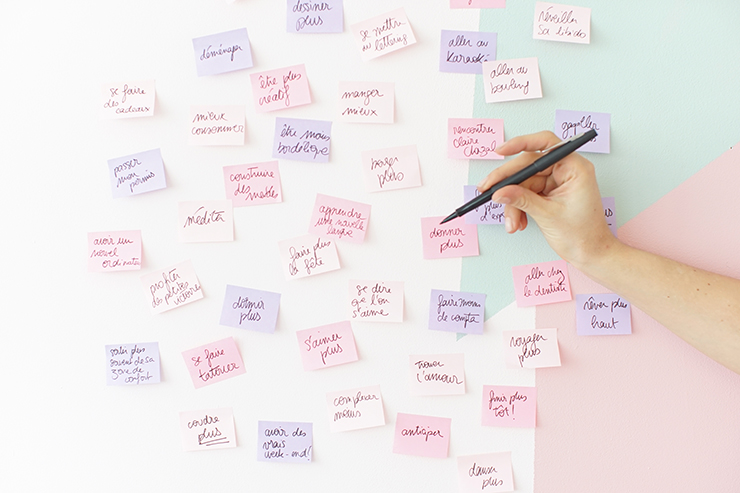
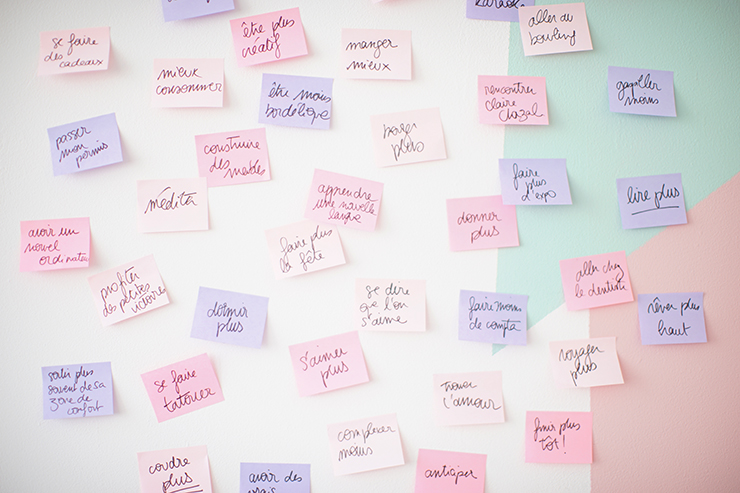
- give more
- waste less
- recycle more
- eat better
- tell loved ones that they are loved more often
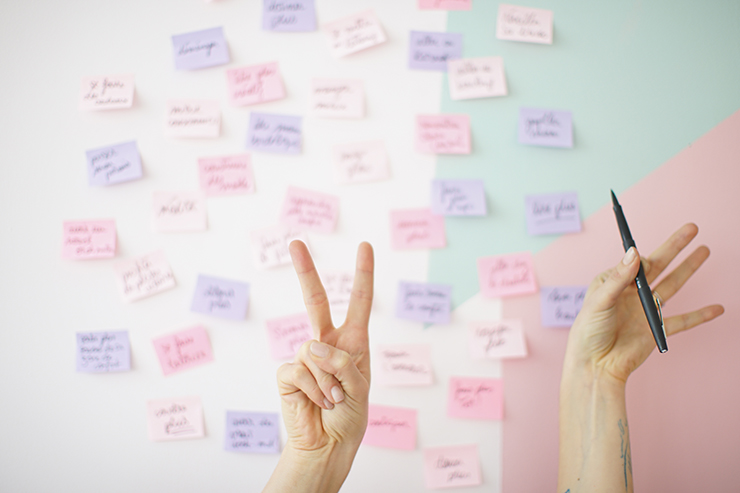 All of this goes to show that I think more and more about taking care of myself this year, something that isn't really a difficult task, but the idea of paying attention to everything around us is the best of resolutions. I'm kind of sad it's taken 27 Januaries to realize it but I'm ready to fix it in 2016!
Hugs and kisses, wishing you a great year full of happiness to you and your loved ones...
Translated by Whitney Bolin[:]
IN A SUMMARY MOOD[:]
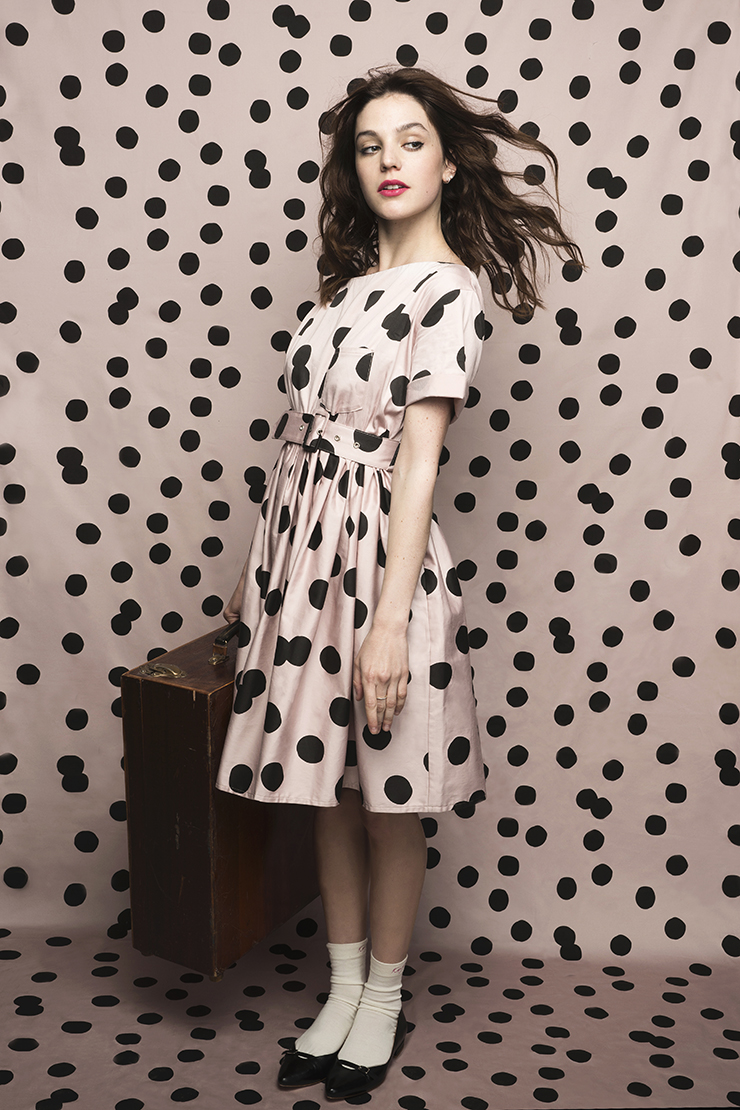
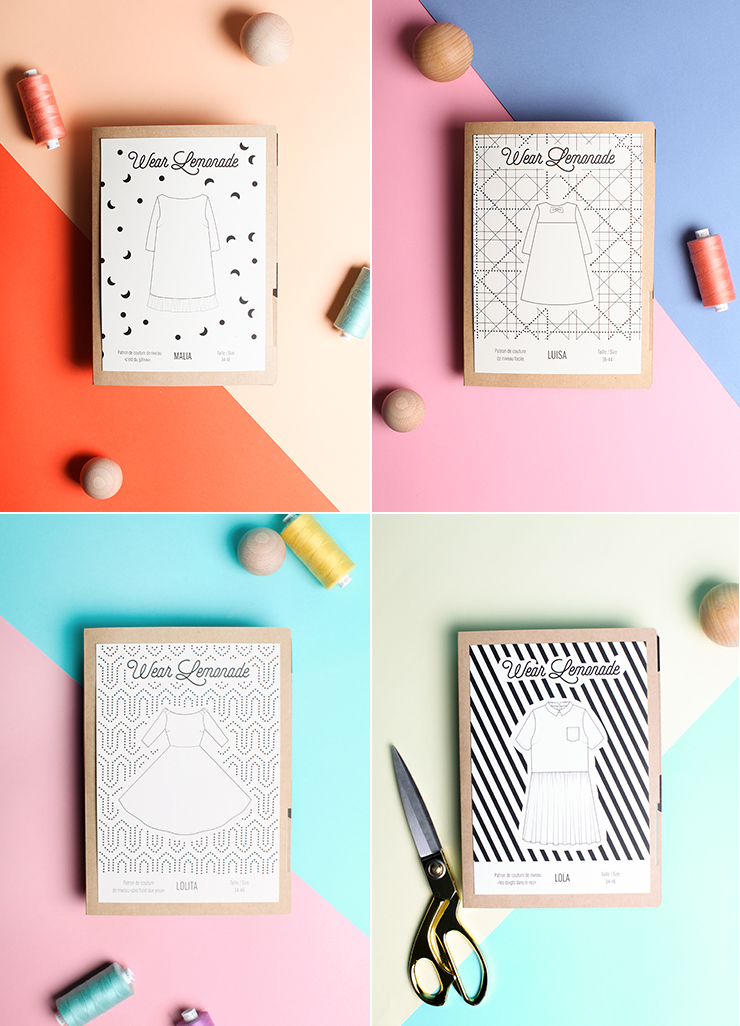
- launching the Wear Lemonade patterns
- launching the Wear Lemonade clothing line!
- designing eye glasses with Jimmy Fairly
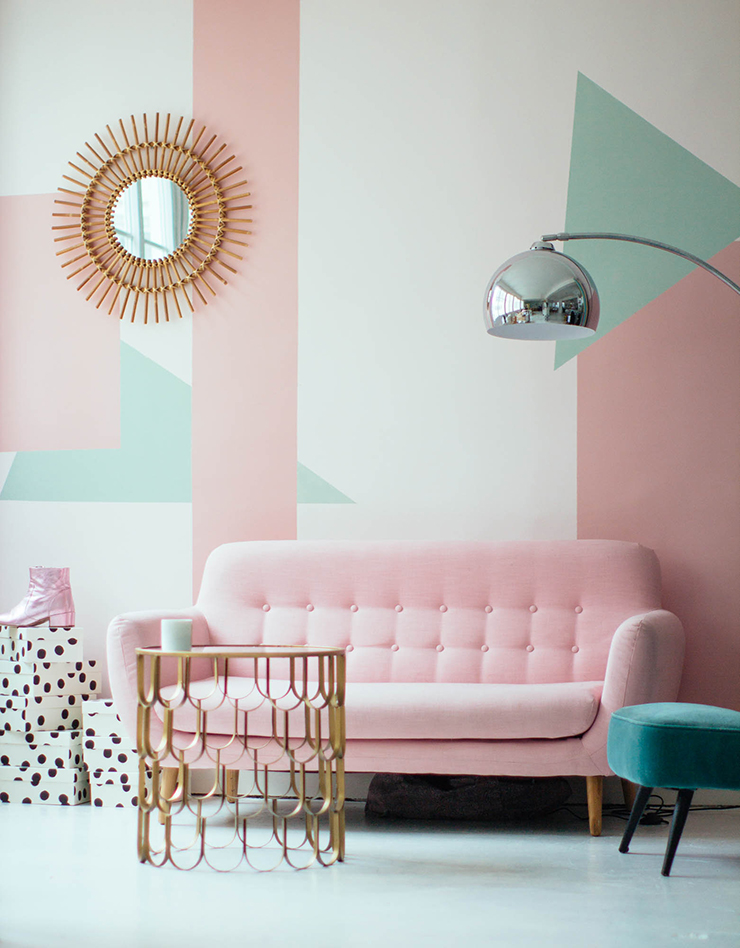
- moving into our own offices, where we can welcome you into Lemonade Studio
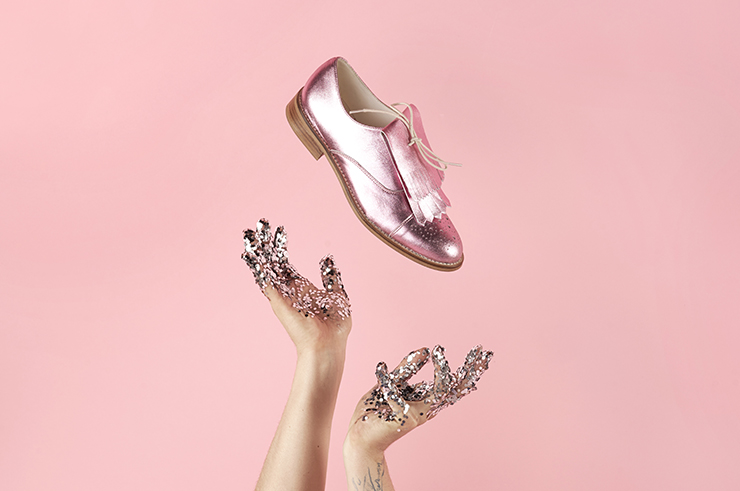
- designing a line of incredible shoes with Jonak
 And as for myself, I traveled to amazing places, I met and reconnected with extraordinary people that I work with everyday, and most importantly, I got married...
I'm smiling because when I think about it, that's at the end of my list, but really he's everywhere, at the beginning, middle and end. The other night while with some friends I was talking about the fact that I feel like I've grown up and that my life no longer revolves around love, that it's a mix of freedom, creativity, and of course, love, but it isn't my only reason to live. And a friend opened my eyes and said I was being ridiculous. Ever since he's known me I've been in relationships. That hasn't changed, but what has changed is that I've found THE ONE who loves me, all of me, and doesn't try to change a thing.
 And it made me realize that if I'm doing this today, feeling free, it's all thanks to him. I'm so happy to have found someone who loves me enough to give me the space I need to achieve. So there's my secret to accomplishing so many things, in addition to having a fantastic team, it's Love. And that's what I wish you in 2016... to find it, or if it's already the case, to have even more of it in your life!
 Translated by Whitney Bolin[:]
DIY SPECKLED CROCKERY
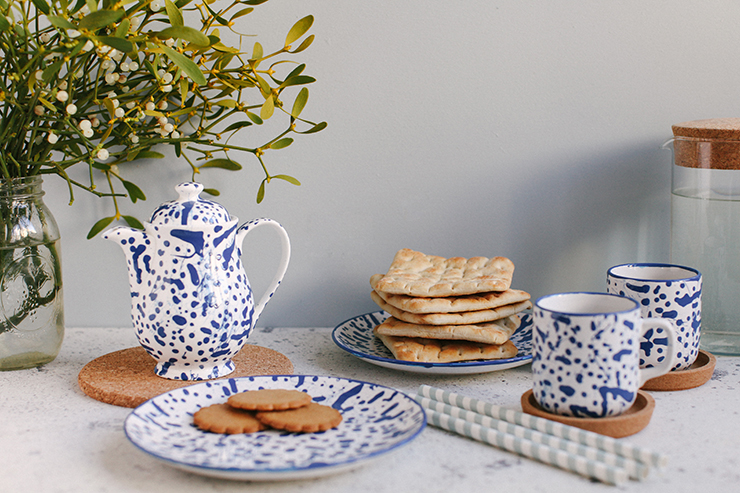 Hello my darlings!
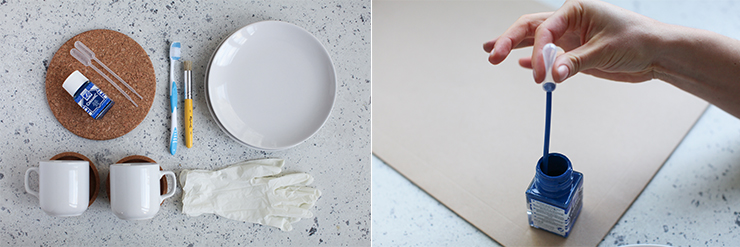
- dishes
- plastic gloves to protect your lovely hands
- ceramic paint, you can find this at Pébéo and Faber Castell
- a toothbrush
- plastic pipettes
- a stencil brush

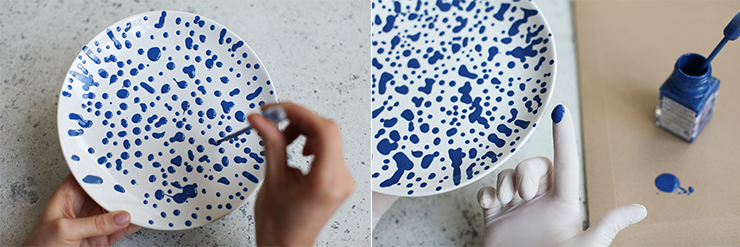
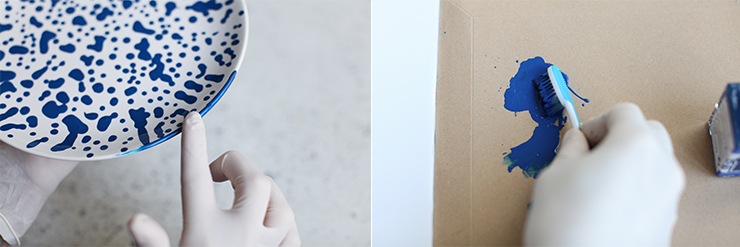
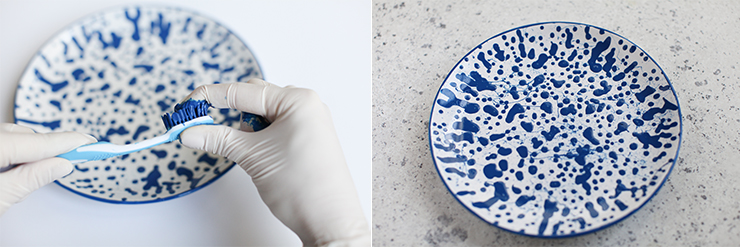
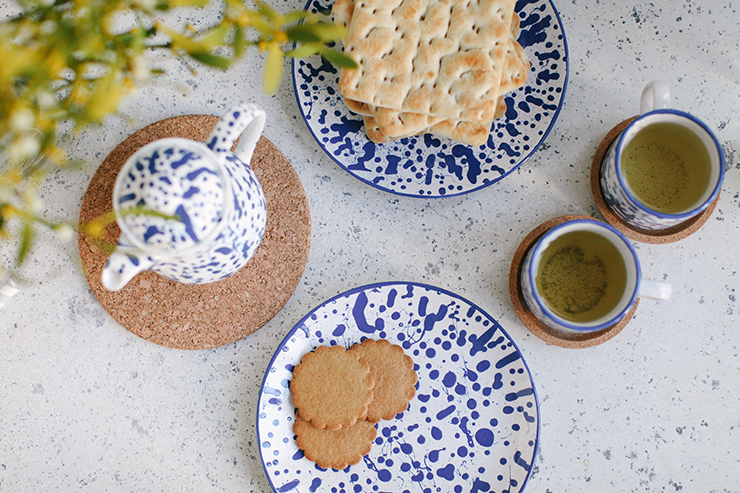 Translated by Whitney Bolin[:]
MAKE MY IKEA
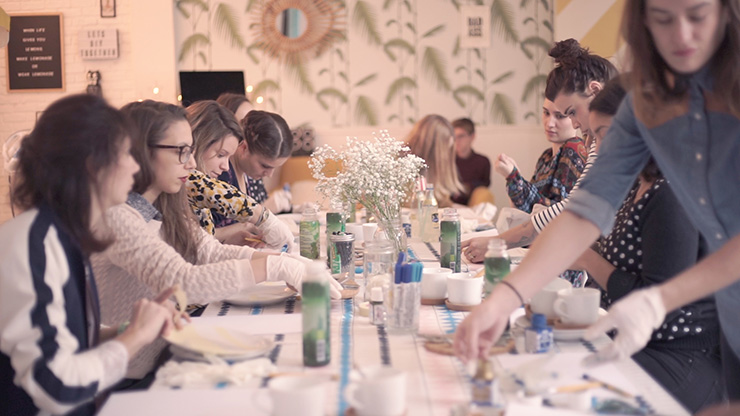
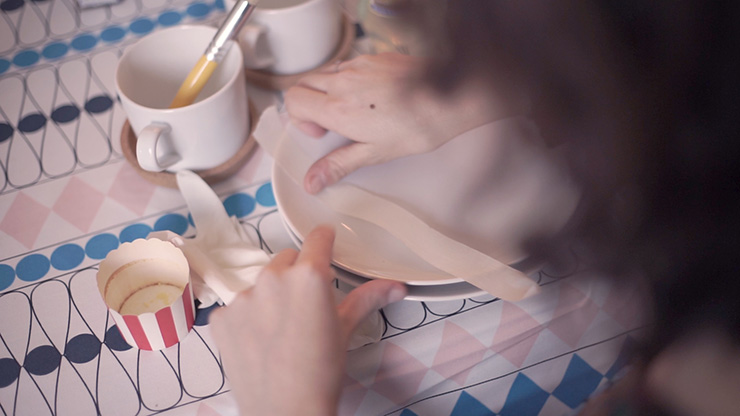
 [:]
[:]
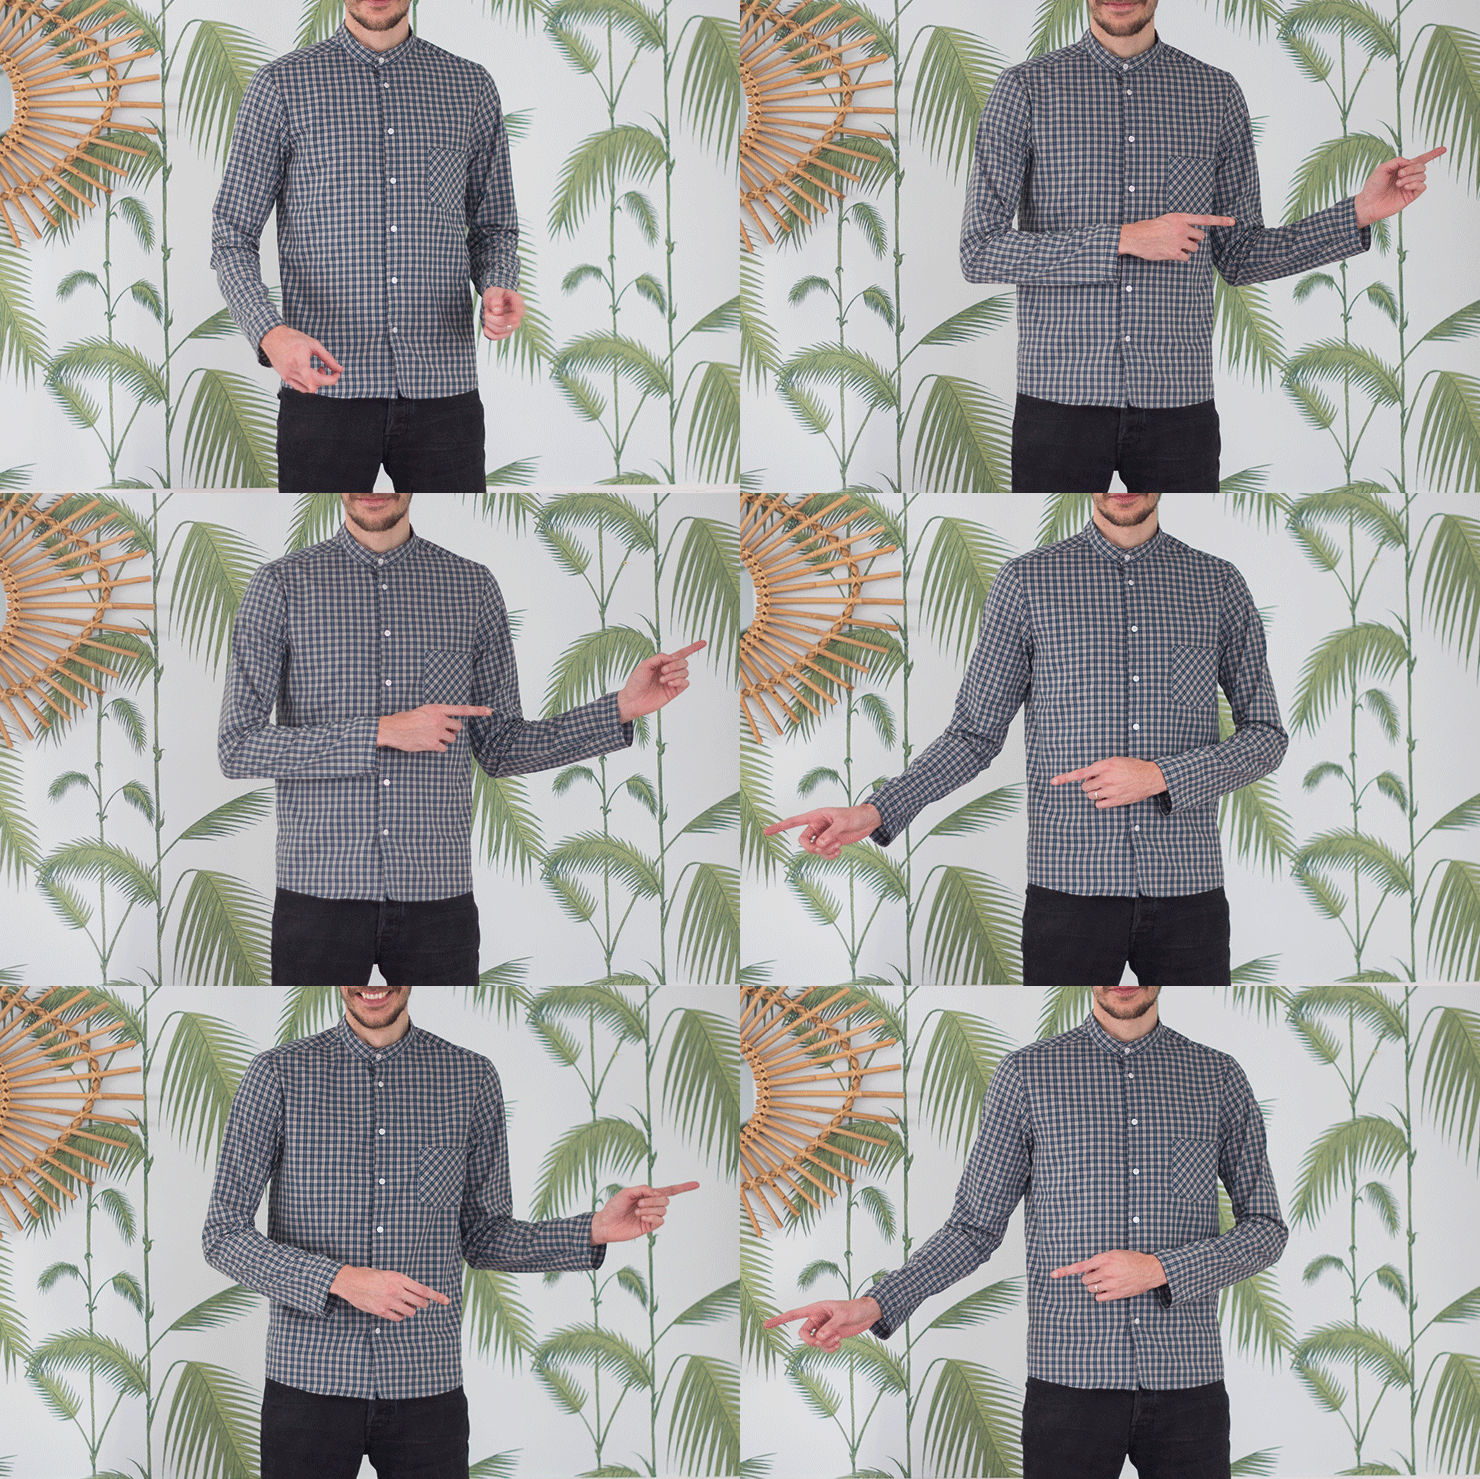
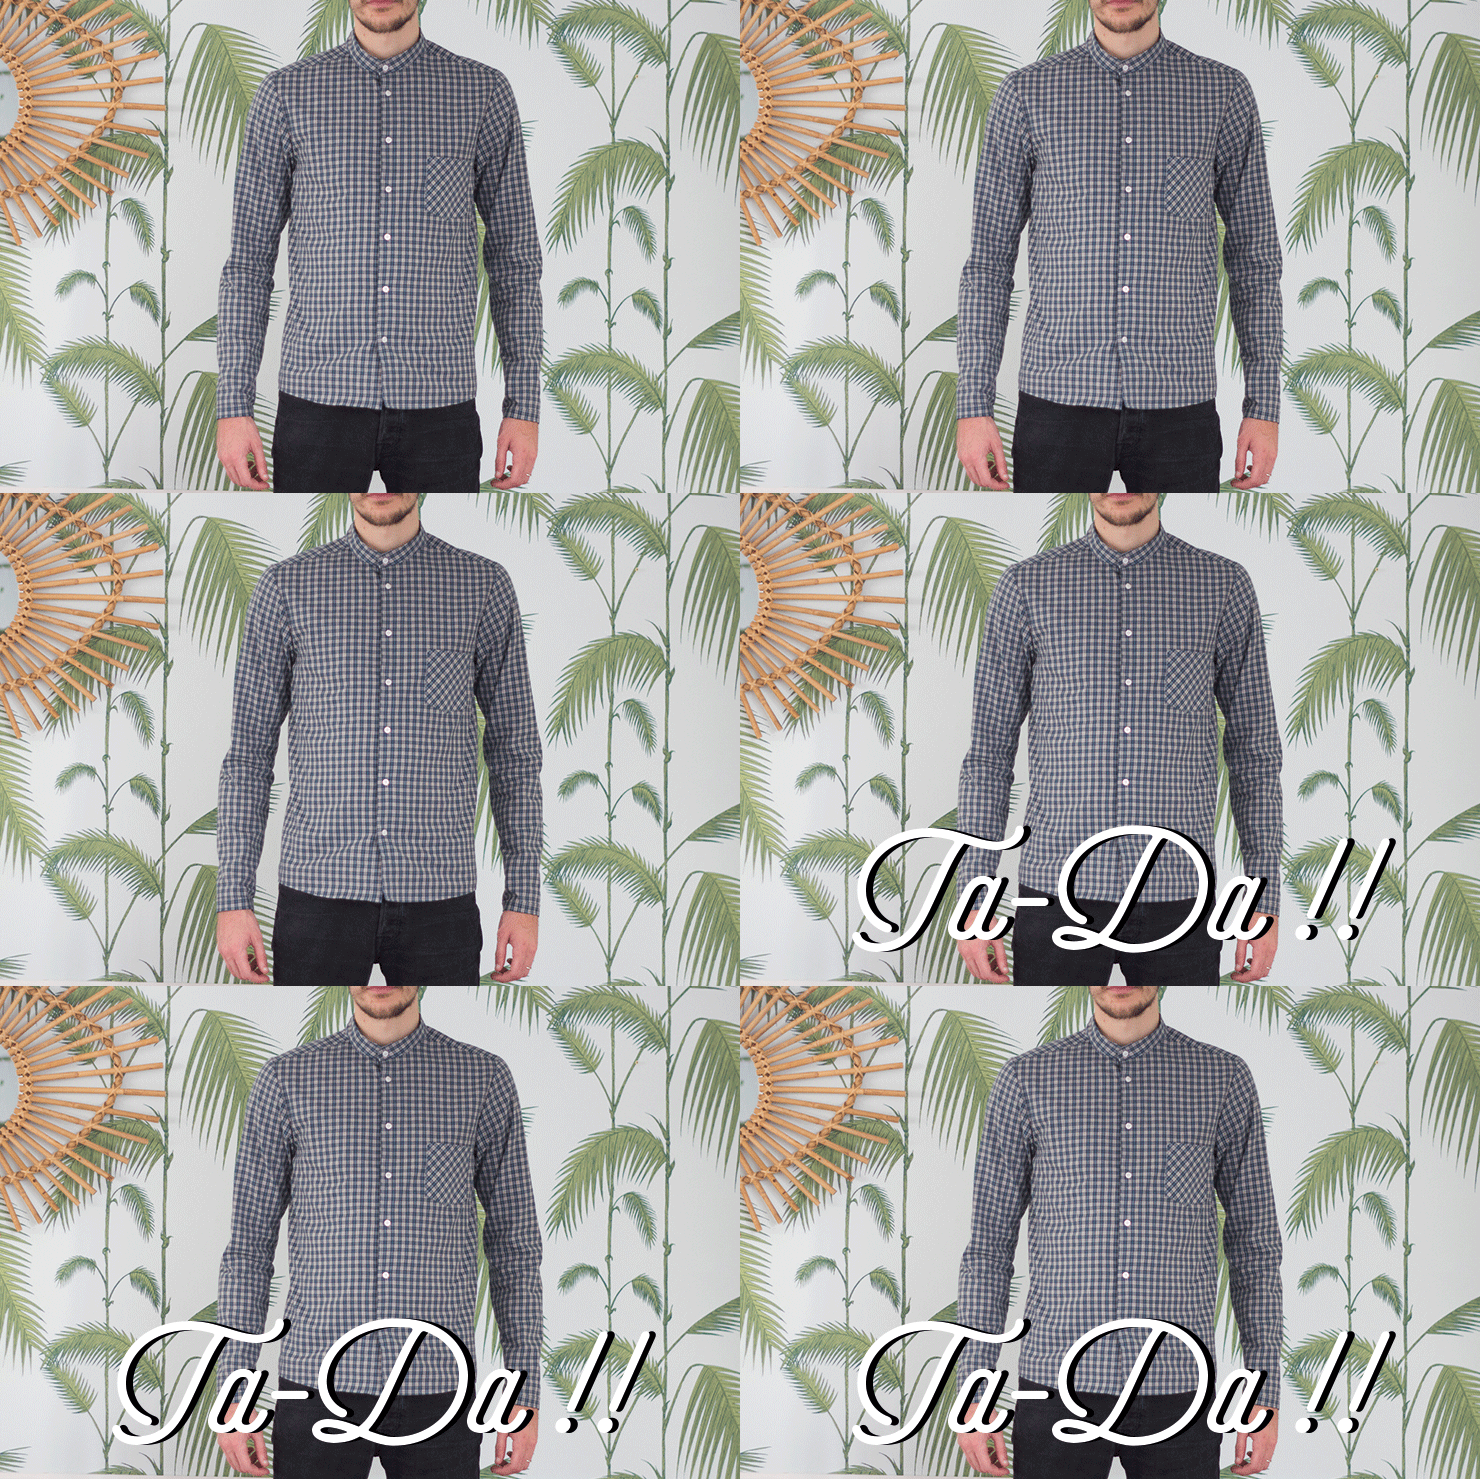
DIY MEN SHIRT[:]
Hello my chestnuts,
I am writing this post right from the airport because I am going to Hong Kong! I am so excited to go there but I cannot tell you more about this trip right now. I am preparing you a nice project for the 4th year anniversary of the blog in 2016. You know me, I am not patient at all but I will try to keep the secret as long as I can!
Anyway, just to say that December is really busy but I didn't forget you: today we are showing you the men shirt DIY, in case you didn't find a present yet for your dad, lover or even banker (if you like him)... You probably think that a shirt is really complicated to make but do not worry, Laure tried to simplify everything for you.
Now it is time for me to get in the plane. Do not hesitate to follow my trip on InstagramI send you big kisses!
All you need to know:
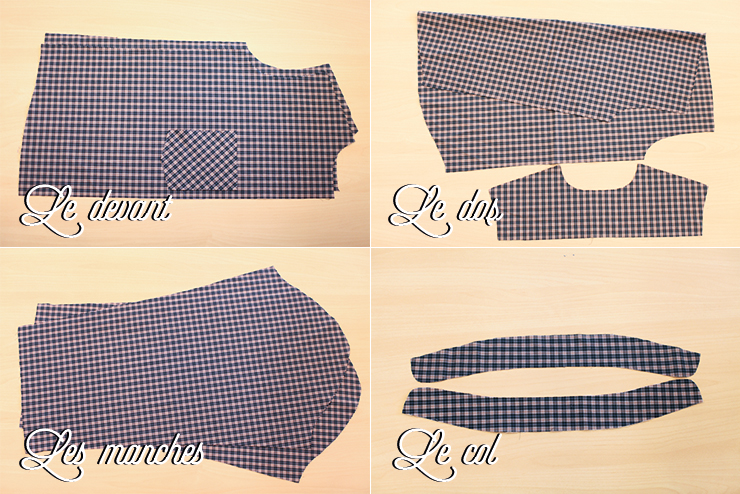
- - You will need 1.80m of fabric (1.45m of width). We advise you to choose nice cotton or chambray. You will also need 7 small buttons (10mm) and some bonding tape.
- - Download the free pattern here and to put the sheets together click here.
- - It's not that complicated you will see. For those who are more experimented, you can do it in one afternoon. For the beginners, it will probably take a whole weekend! Do not hesitate to contact Laure if you have issues: [email protected]
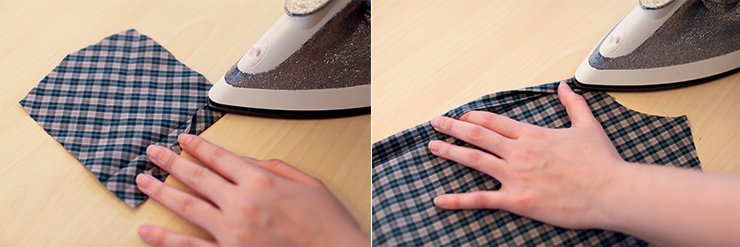
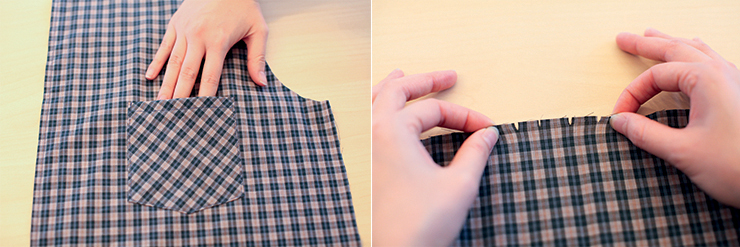
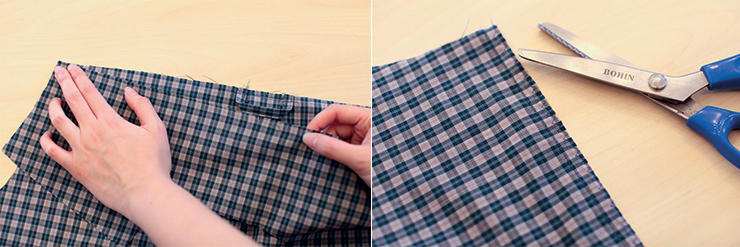
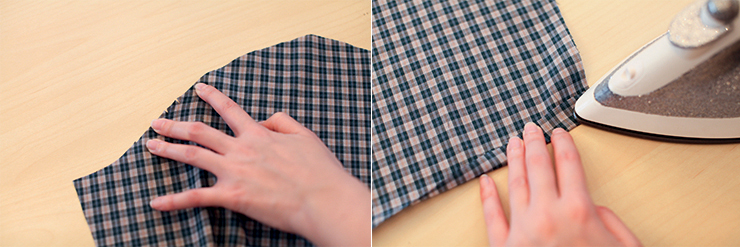
Start to preform hems and folds. For the pocket it will be 2x1.5cm for the left and right fronts, you can use the pattern lines to help you. Iron the folds.
Start with the front. On the right side of the fabric, sew the button part twice: once at 0.75 from the edge and once at 2cm. Do the same on the other side.
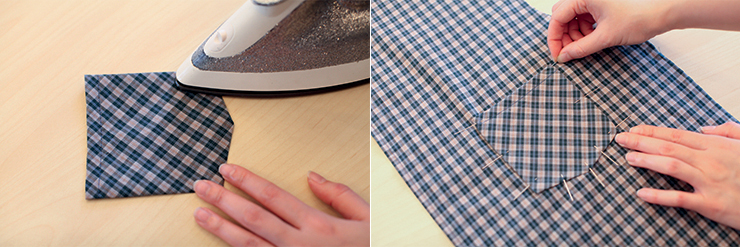
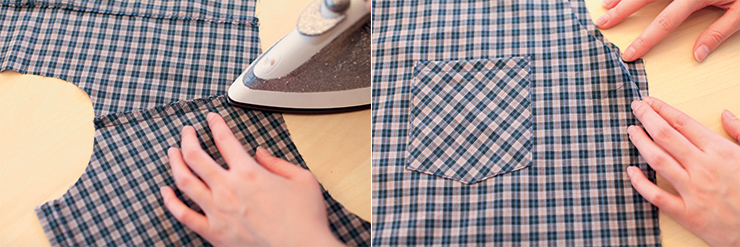
Sew the top of the pocket (0.75cm) to maintain the hem. Preform the other edges with the iron including the seam allowance. Place the pocket on the front of the shirt using the lines.
Sew (0.5cm) to maintain the pocket. In the back, look for the 5 small notches that you will find in the middle.
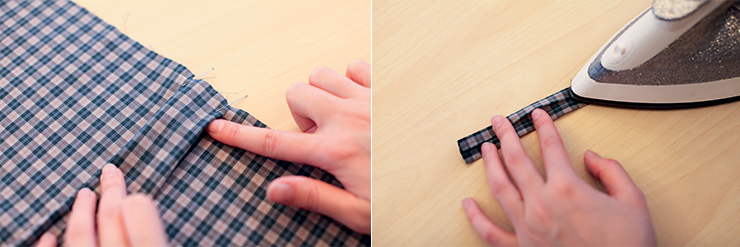
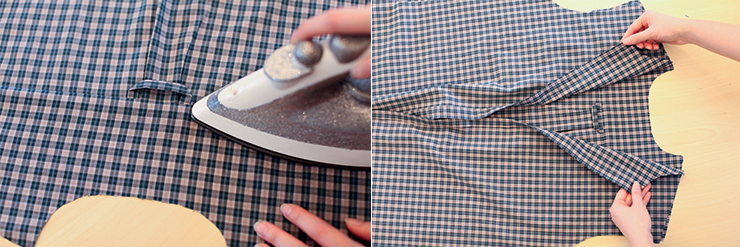
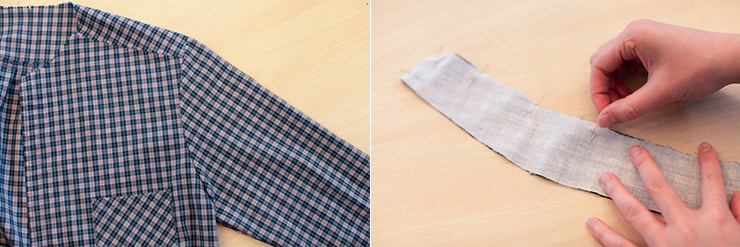
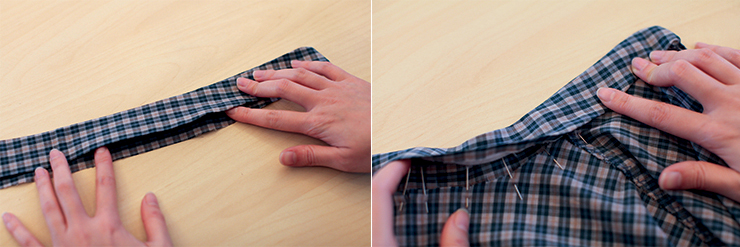
Fold the fabric while stacking the notches in order to create a rounded fold. Maintain the folds with a seam, 0.5cm from the edge. Prepare the bar folding it in two.
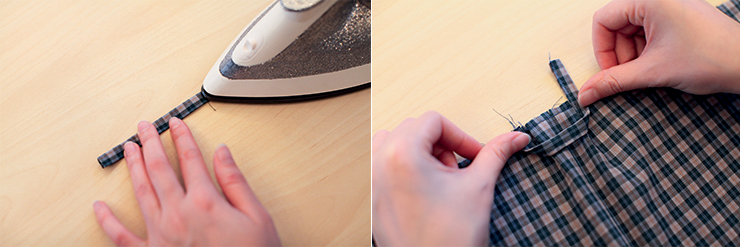
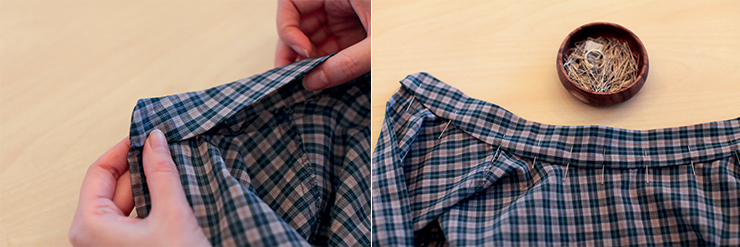
Fold it again twice. Sew the edge of the bar. Place the bar on the back while folding it (second picture).
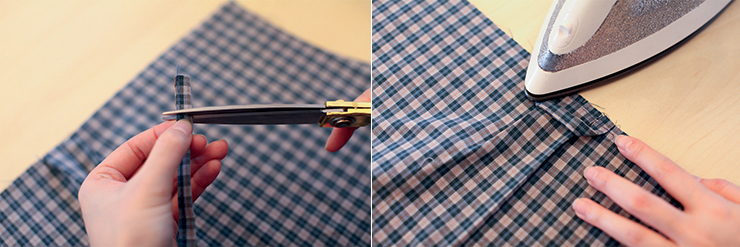
If it is a bit too long, it is normal. Shorten it. Sew it at the top of the back and iron.
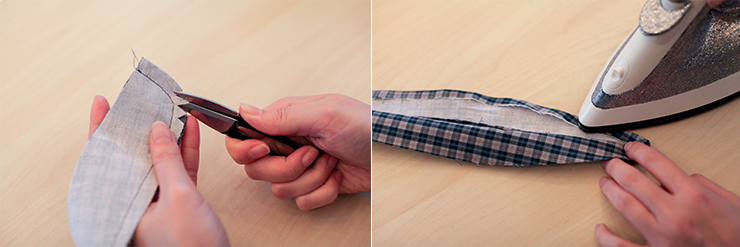
Take the piece of the back and place it on the front right sides together. Sew at 1cm. You can make a zigzag or an overcasting stitch but new tip: you can cut the seam allowance with serrated scissors!
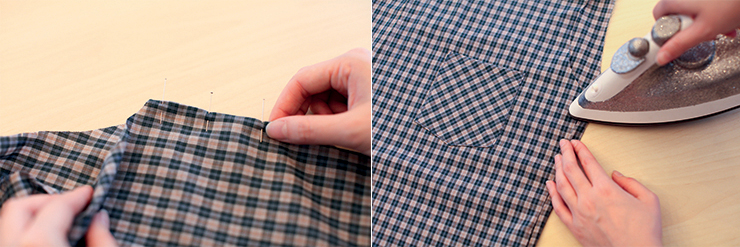
Iron the seam upward. You can sew at 0.5cm if you want to maintain it. Place the two front sides on the back one, right sides together.
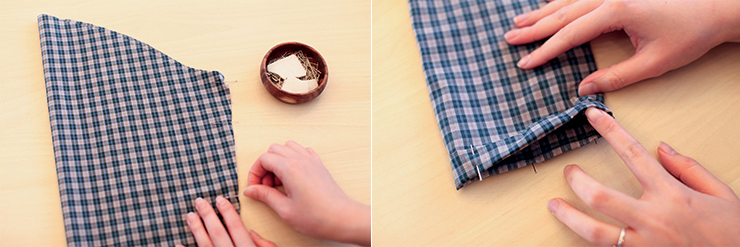
Sew, whip and iron the shoulders. Turn the fabric inside out (on the reverse sides) and stack the sidelines. Sew at 0.5cm (we are going to make a French seam).
Turn the fabric again (right sides together) and sew again the sideline at 0.75cm. Iron.
For the sleeves, find the right front side thanks to the two notches. Fold the hem at the bottom of the sleeves with the iron (2x1.5cm outward).
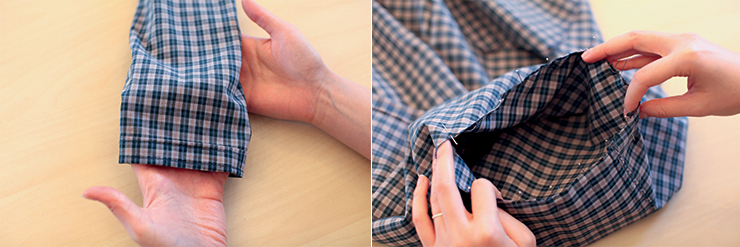
Fold the sleeve in two, on the reverse side and make a French seam. Fold the hem (it will be easy now because you already preformed it with the iron) and sew once at 0.5cm and once at 1.75cm from the edge.
The sleeve is now done! Pin it, right sides together, to the shirt armhole. Sew at 1cm and then whip again.
Now for the neckline, use bonding tape on one side. Right sides together, stack them and pin. Sew at 1cm for the smaller sides and the top following the curves. Leave the bottom of the neckline open.
Use the serrated scissors for the corners, turn the fabric inside out and iron. Fold again the seam allowance on one of the necklines.
Pin the edge of the neckline that has not been folded again, on the right side of the shirt. Sew at 1cm.
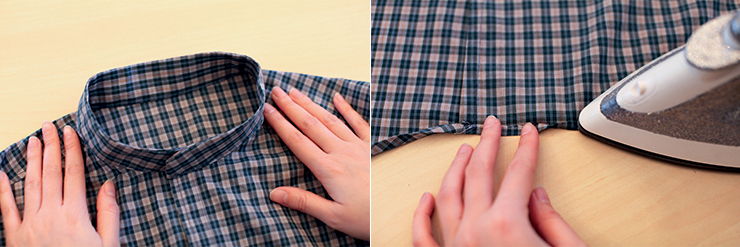
Turn down the neckline on the seam you just made. Pin and sew on the right side at 0.2cm.
It is almost done! Fold again 2x0.75cm the bottom hem of the shirt. Sew at 0.5cm. Place the buttons and create the buttonholes (we advise you to make them by hand or to ask for the help of a tailor). Here we are!
Translated by Coralie Clair
To read this post in French, click here !
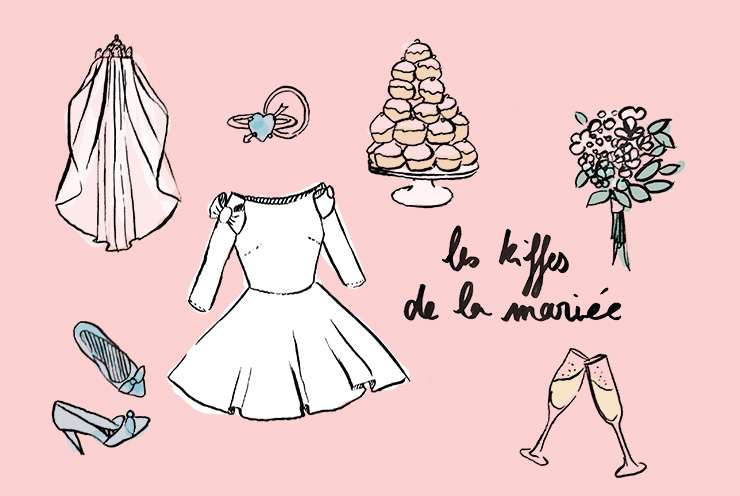
THE BRIDE'S PLEASURES
Hello my little kitties!
I am back on the blog after few days offline because I am preparing you so many surprises for the months to come! Today's post is really important to me. I got married a few months ago, as you may know and I have tested and tested again some stuff that I wanted to try for a long time. I really enjoyed these little moments because even if this blog is offering me amazing opportunities, I do not often take care of myself. Here is a best of the 3 things I loved to do during the wedding preparation, because finally, is everything goes well, it should only happen once...so let's enjoy it!
To start, I wanted to say that the smallest detail would always make the difference! I already talked to you about this on Instagram but for more than a year now I am wearing eyelashes that I changed every 6/8 weeks. I am literally addicted. Then, some of my friends tries and completely loved wearing them. Yes they are very long but people usually don't notice it and always think that I have been spoiled by the fairy mascara. It took my lover 6 months to realize... Moreover, I often cry while watching Grey's Anatomy... so with these XL lashes, on the wedding day I did not look like a panda! I have tested various addresses but I often go back to Les cils de Marie because I am always well received and the quality of the extensions is amazing! You have to pay around €130 the first time and then €70 for the retouches.
Les cils de Marie
30 rue Notre Dame de Nazareth
75003 Paris
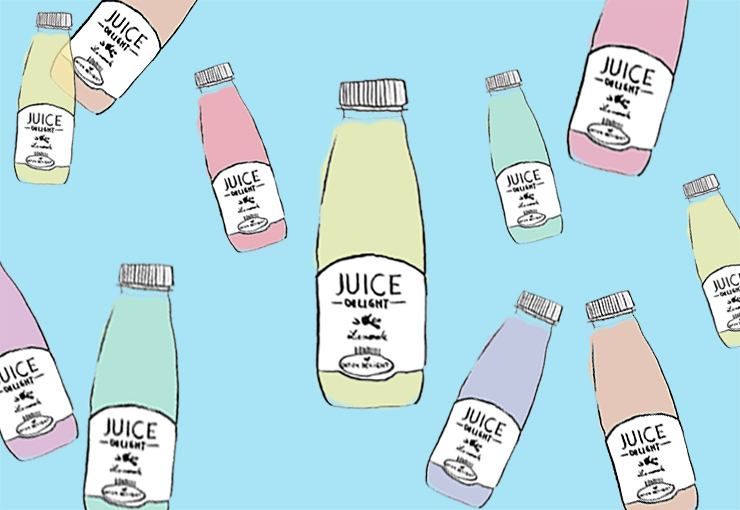
Another thing I wanted to do for a long time. When I am stressed, I eat. I am a real cookie monster and I can eat a cheeseburger with bacon and a milkshake as dessert for lunch and then have a snack a bit later if I am stressed. I didn't really want to gain weight before I try my last wedding dress on... For this reason, I needed not to think about what to eat and cook. I already tried some juices diet but the idea to only eat liquid was not really nice. Then I saw that Detox Delight proposed 3 light meals and juices. Bingo! I lost 2 kgs, I had a flat belly and a nice skin in few days!
Detox Delight delivers everywhere in France and just opened a juice bar at the 130 Amelot Street in the 11th district of Paris to test all their recipes. Detox Botanical Diet from €68 a day.
My last crush is for the O'Kari Spa and I hope to go there again soon. It was so nice, I felt like a real princess. In the middle of Paris, it is a nice peaceful place. We open a door and in a small backyard we discover the entrance of the O'Kari Spa. You will need at least 2 hours if you want to go there because the sweet Karima, the host, is really taking care of you. At the end of the hammam/skin care/massage... they serve you the sweetest lemonade I have even drunk (and I drank a lot). Going there plus the detox delight diet... I had a perfect skin. You can also go there with your friends for a bachelorette party... I took the O'Kari Basic skin care (€150).
O'Kari
22 rue dussoubs
75002 Paris
I send you big kisses! See you tomorrow!
Translated by Coralie Clair
To read this post in French, click here !
SHIT HAPPENS
Photo and typo by Noel Shiveley
"Hello, you are number 145 on the waiting list, you have to wait between 3 and 150 minutes..."
Hi everyone,
Today, I will talk to about a topic I really care about for a long time: issues, the smallest and the biggest of the entrepreneurship life. Since our last meetings, for the Christmas sale at the office or the doors open day, I thought about it and it came up that we are not really showing you the reality, our reality. You know, here and on Instagram, I only show you the best part of our lives, the best version of it, the best of our daily routine. I hope I can even inspire you sometimes, but above all, give you the desire to do...
For this reason, I often talk about entrepreneurship, that it is the best decision I took in my life, the craziest and most unconscious too. I am so lucky to be able to invent my job everyday. It is still true, and if I tell you all of this, it is also to focus on my daily victories, small moments of happiness that this independent life can offer me. However, in reality, I don't make paper objects all day long or fill plexiglas boxes in with confetti. Today I am lucky thanks to all the success you gave us, we are a whole team now but we still know "bad" days. And the issues are often not coming alone.
When we are entrepreneurs, there are some boring stuffs to deal with, depending on the status of your company, but also URSSAF, income taxes, VAT declaration, RSI... It is not Sunday everyday and even sometimes Sunday is not really looking like it should be. You see, when you are independent, all these things are daily issues.
Imagine you have this bulb you have to change every month. One day you go to the shop to buy one, and when you come back home, you realize you didn't buy the right model that fits with your installation. So imagine, the issues the independent people are facing, are like bulbs you have to change when the light turns off.
Well, just to tell you that "shit happens" sometimes but you have to move on and continue to believe in your dreams. The only advice I can give you is to handle them when it happens and then focus on the fact that tomorrow is another day. And do not forget: "When live gives you lemons, make lemonade!"
Lisa
Translated by Coralie Clair
To read this post in French, click here !
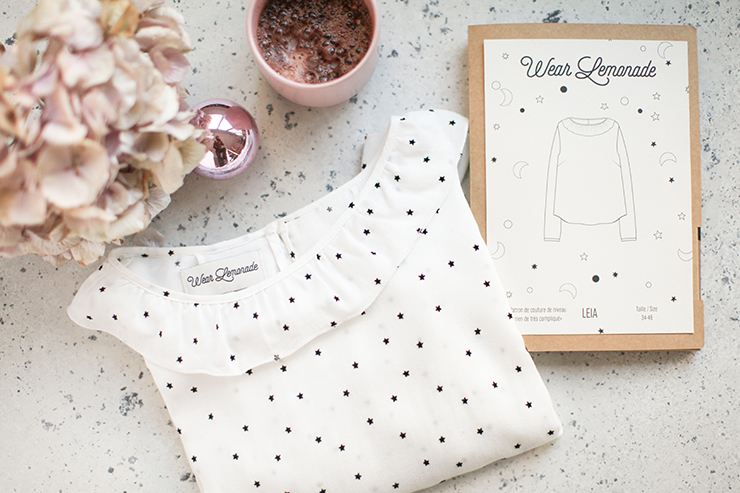
WEAR LEMONADE #11 LEIA BLOUSE
Hi everyone!
I hope you are doing well. Everything is fine for us and today is the launch of Leia: the little blouse I talked to you about last week is the last piece of the Wear Lemonade collection of the year! It is not yet time to take stock but this Wear Lemonade adventure is completely crazy! I wanted to thank you for all your feedbacks; we make the brand grow everyday because of you so I wanted to thank you for giving us the strength to go further and to do our best as always! I think I can talk for the studio members too and we are all so impatient to see what is coming next (YES I am not talking about the girls only because we have now a new male member in the team: welcome Simone!)
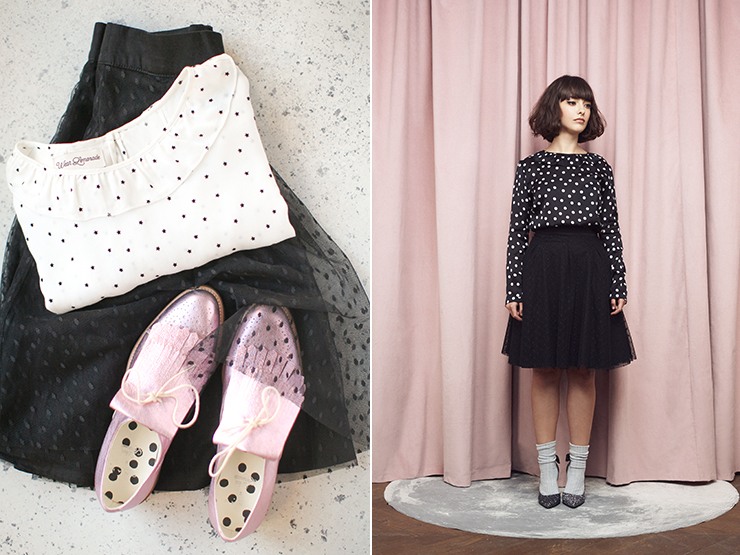
Anyway, it is time to show you Leia, the stars princess. We decided to produce it in 3 different versions because we couldn't choose! They are all made of silk: white versionwhite with little stars and black with white polka dots. Leia will be sold for €79 in smaller quantities than usual because we divided the production in three! We advise you to choose one size above your usual size. By the way, talking about production makes me think about the fact that we will probably travel for the next collection and bring you with us to see the backstage of the Wear Lemonade collections... I really want to tell you stories next year! As good news never comes alone, to complete Leia's look, we produced a few more Ava "tutu" skirt in France! I hope to see all of you with the Leia blouse during Christmas holidays!
For those who are the most motivated: here is the step-by-step video to realize your own Leia, it is not that complicated you will see!
All you need to know about the pattern:
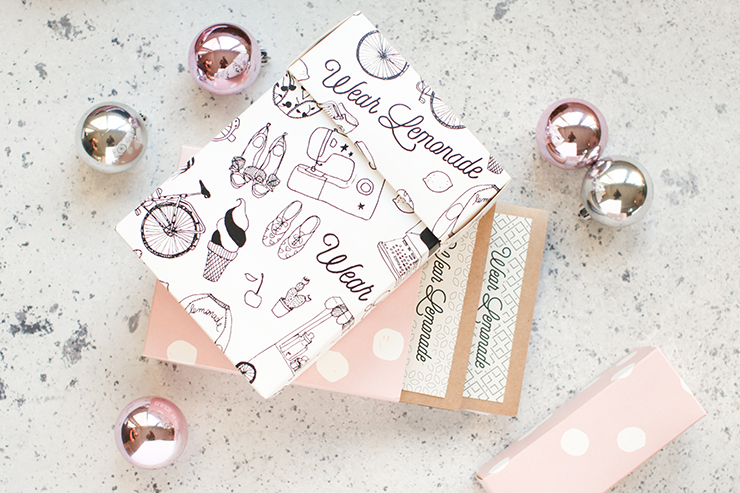
- You can buy the sewing pattern in a nice packaging with an instruction booklet and a Wear Lemonade tag here for €14.90.
- You can also buy the PDF version for €2.99 and the instruction booklet is now included in the file. You can print it in A4 or US letter. The second picture will help you to put the sheets all together.
- The degree of difficulty is: "Nothing complicated", you will be a tear-resistant slits expert!
- To sew the blouse you need 1.60m of fabric for the bigger size (1.40 of width = classic fabric roll), some bonding tape and 3 covered buttons. We advise you to create this blouse in a cotton voile or a silk crepe (why not an English embroidery or even lace).
- As a reminder, the seam allowance is included in all the Wear Lemonade patterns (= 1cm)!
- If you have any doubts, do not hesitate to send a message to the queen of patterns Laure at [email protected]
As I told you a bit earlier, you always inspire us new ideas... We saw that many of you are often buying patterns by 3. For this reason, we decided to sell patterns pack at the end of each collection. It is a really nice idea for those who want to try sewing or to make their friends discover Wear Lemonade patterns! Since today, you will be able to find a collector box for each collection. If you buy 3 patterns from different collections, you will also receive a box but the "random" one!
Check them out:
- - The BACK TO BASICS pack with the Frida dress, the Mona perfecto and the Ava skirt.
- - The CHERRY DOTS pack with the Paloma dungarees, the Nina jumpsuit and the Lola dress.
- - The TO THE MOON pack with the Rosa teddy, the Malia dress and the Leia blouse.
I send you big kisses!
Translated by Coralie Clair
To read this post in French, click here !
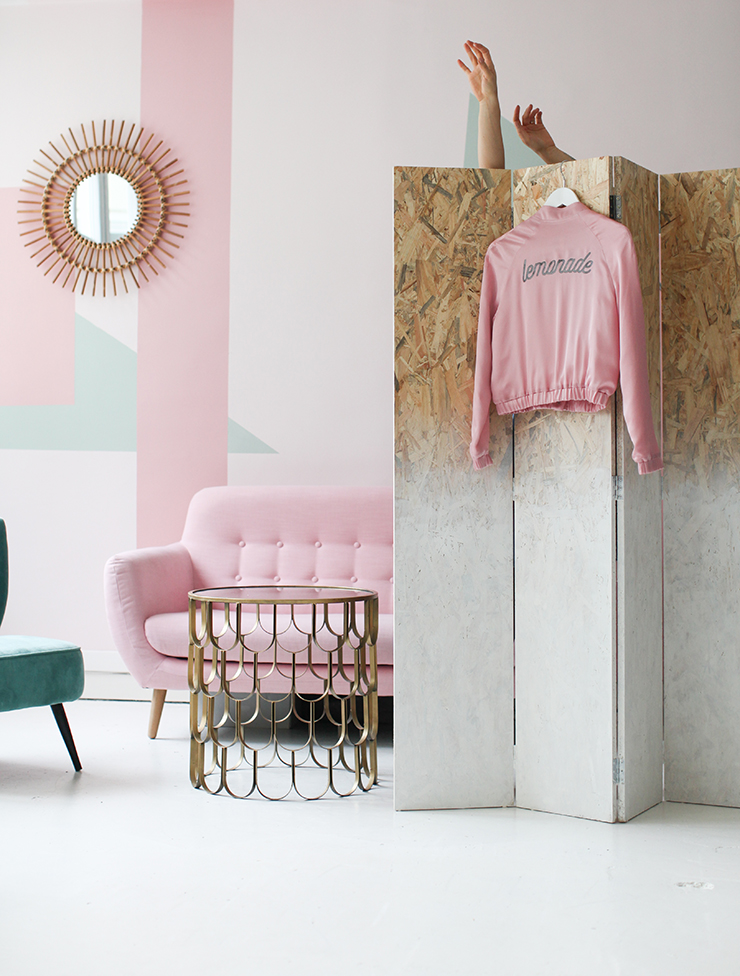
FOLDING SCREEN DIY [:]
Hello my little kitties!
As you know, December is the DIY month so let's show you another one! This little DIY has been imagined for our Lemonade Studio sale we organized last weekend. I was so proud of it that I wanted to share it with you guys: ultimate satisfaction! Moreover, we always need a folding screen at home to separate a room in two or to hide a messy one... You will see, it is very easy; you just need to manage the electric screwdriver and the shading off effect! Do not hesitate to ask the seller to cut the wooden boards at the dimensions you want... Have fun!
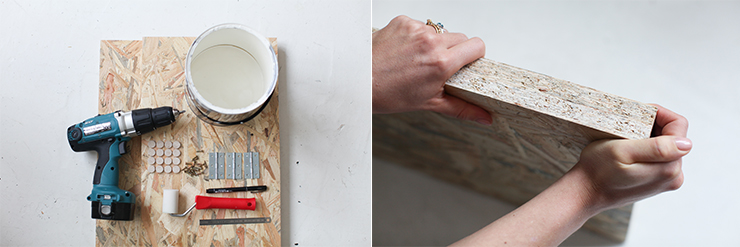
For this DIY you need: (you can find everything at Leroy Merlin for around €40)
- - 5 wooden boards OSB 170x32cm (2cm thick),
- - 12 hinges (3 holes of 2cm width),
- - An electric screwdriver,
- - Screws 3.5x16 (minimum),
- - Felt pads,
- - A ruler,
- - A pen,
- - A small paint roller,
- - White paint,
- - A white paint spray.
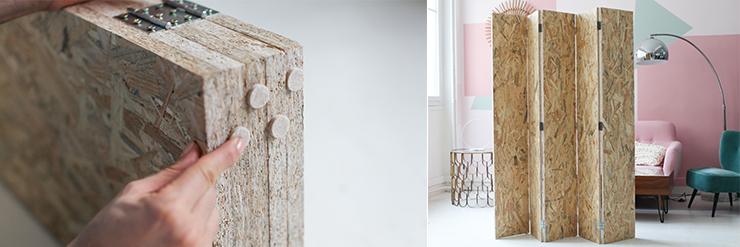
Take two wooden boards and put the side by side, widthwise.
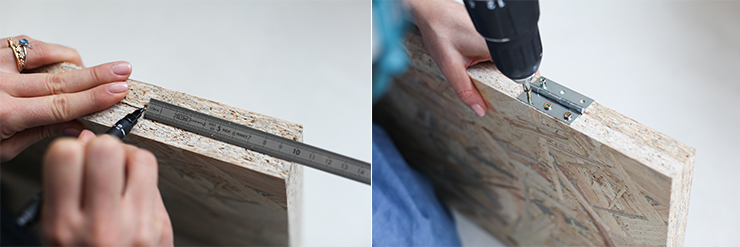
With a ruler, mark the right place of the first hinge (from 10cm of the edge of the board). Use screws and the electric screwdriver to fix it! (You will see that you will have no regret about buying this electric screwdriver).
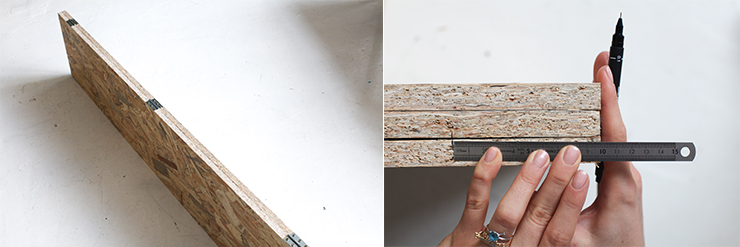
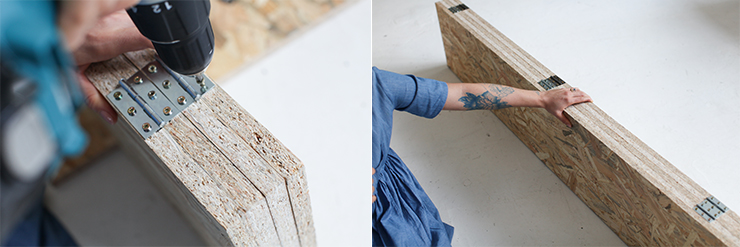
Do the same on the other end of both wooden boards (3 hinges in total, lengthwise). Repeat these steps with the next wooden board (each time you take a new board, do not forget to change the side of it when you put the hinges).
Continue until you get your 5 boards assembled together!
Stick the felt pads at the bottom of the boards in order not to damage the floor. You can also fix some wheels if you want. Here we are!
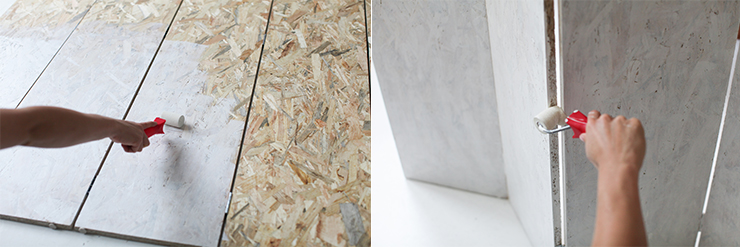
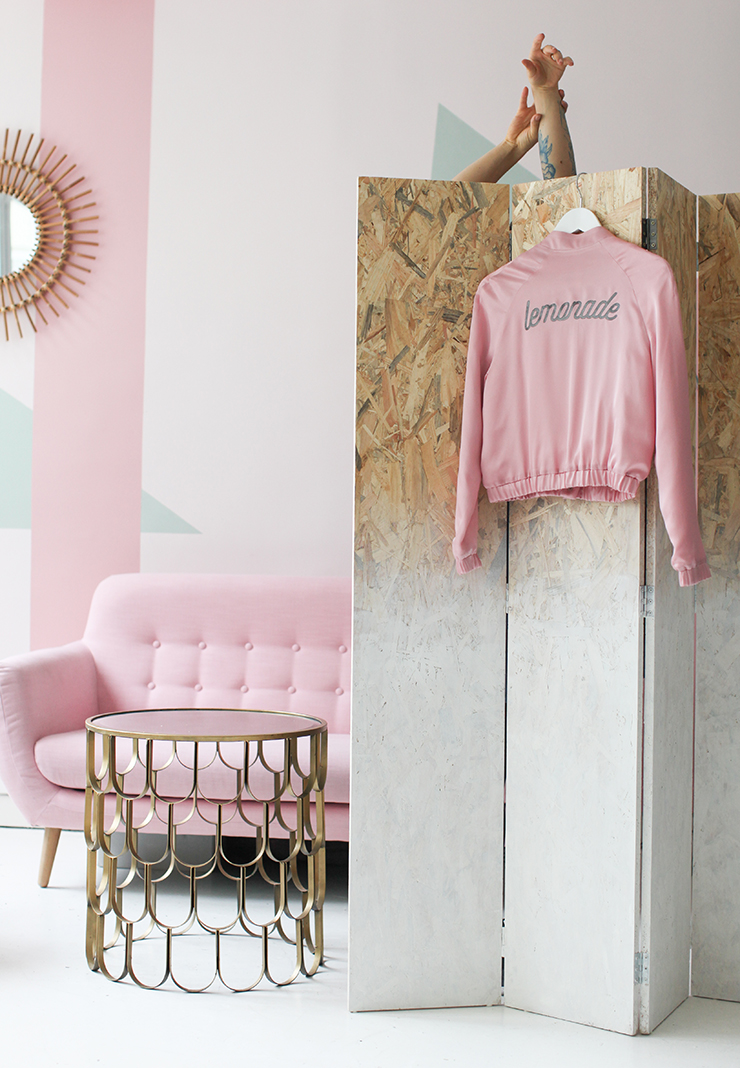
We decided to paint our folding screen in a white shading off because we wanted it to be matching with the floor but you can also use another color if you prefer. Start to paint half folding screen and to create the shading off effect, use a white paint spray for the transition. Place the spray from 30cm of the board with a 45° inclination. Do not forget to paint the edges of the boards! Here we are again!
Translated by Coralie Clair
To read this post in French, click here !


