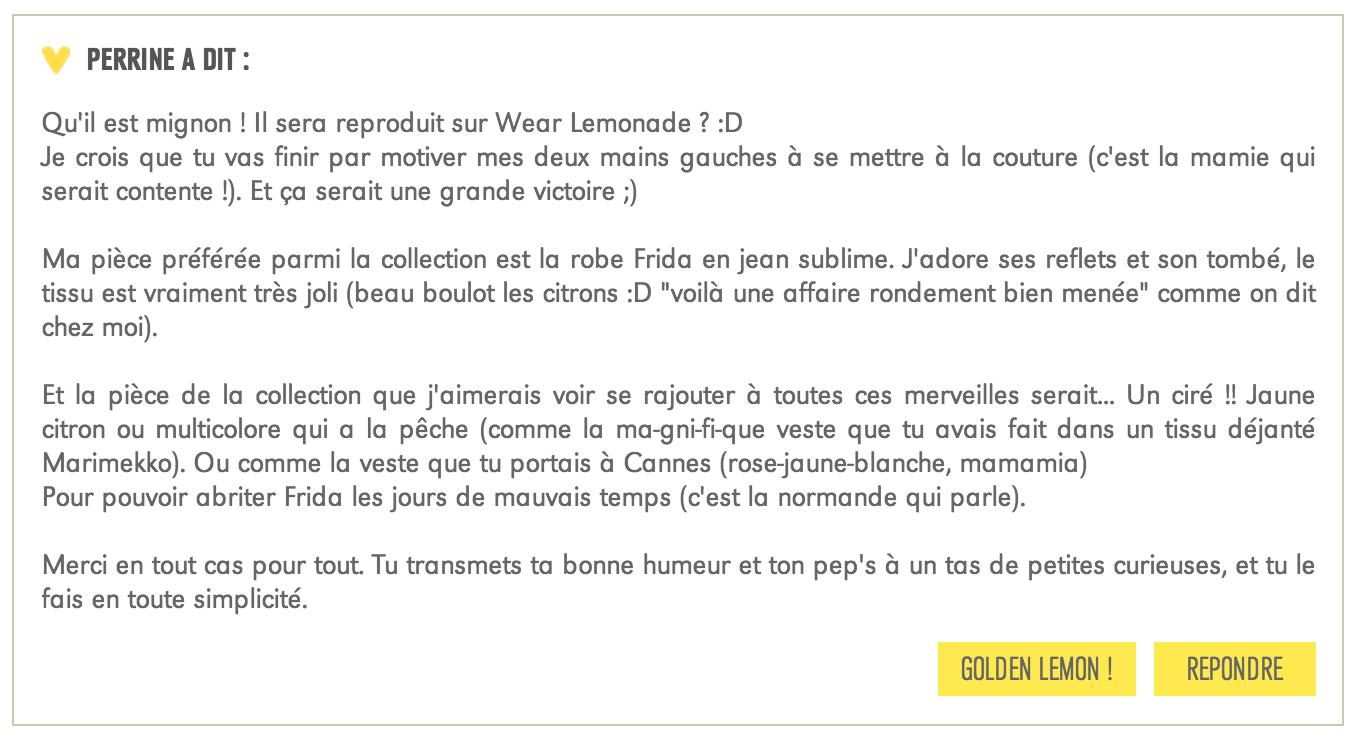
DIY TOTE BAG HEART
Hello my little cats!
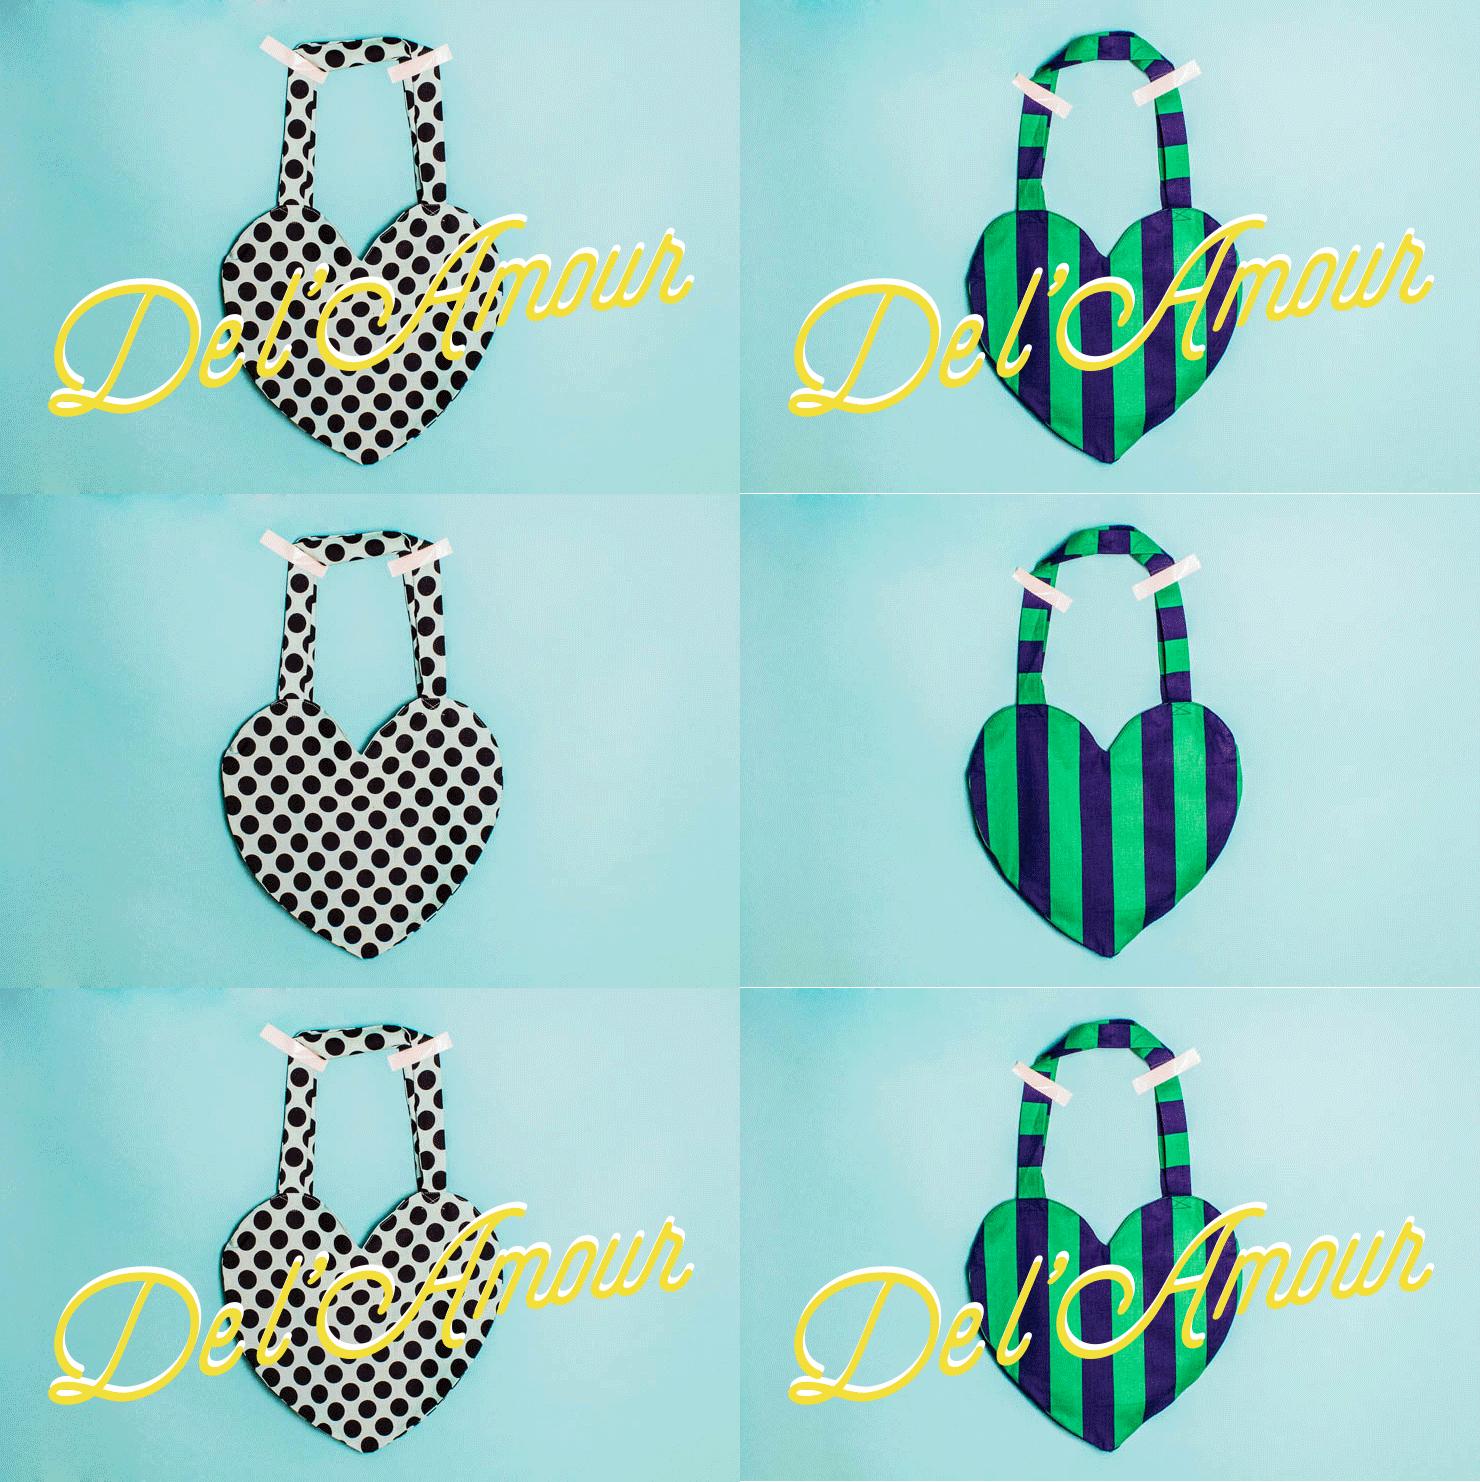
Our darling lemonade studio has been transformed into a postal warehouse over the last few days! And reading your positive feedback on all the social networks, by e-mail or in the comments, I can see that many of you thought we were going to launch a fabric collection! It's quite unexpected, but why not? For the moment, it's not on the agenda, but we're keeping the idea in a corner of our desk... And to thank you again for your warm welcome, I thought I'd suggest a DIY "full of love": the heart tote bag. Very simple and very effective when you're feeling blue, one look at your bag and your smile will return... Either because you'll remember your epic sewing session, or because you'll be thinking of us! Thanks again for your words, and here's to your scissors!
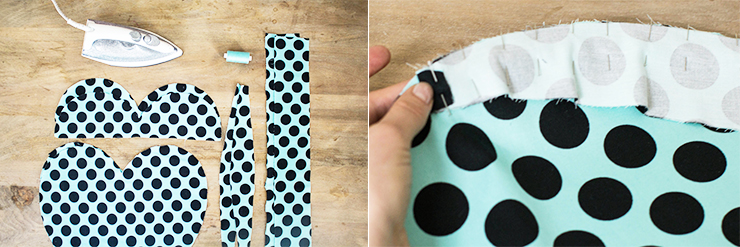
For this DIY tote bag heart, you'll need:
- - 1h30 to spare!
- - download pattern in pdf here,
- - 60 cm of fabric,
- - a sewing machine and an iron,
- - a pair of scissors,
- - coordinating thread and needle.
Start by taking the first heart and one side, and pin right sides together, starting from the tip of the heart.
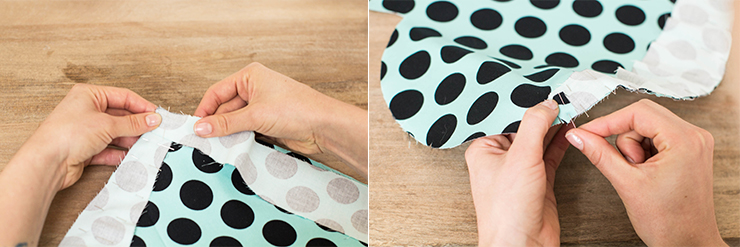
Do the same with the other "side" of the heart so your two sides overlap, but don't worry, you'll be able to notch flush with the seam later. Pin up to the notch indicated on the pattern, and fold the end of the side once over 1 cm, securing with a pin. The return will be held in place by the passage under the machine.
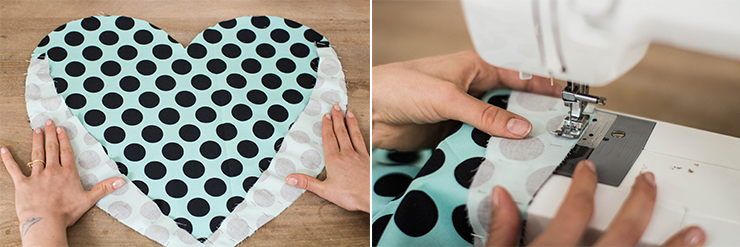
Now stitch around the heart to hold the first heart and its sides, and as with the Wear Lemonade patterns, there's a 1 cm seam allowance. If necessary, use the width of your presser foot as a guide.
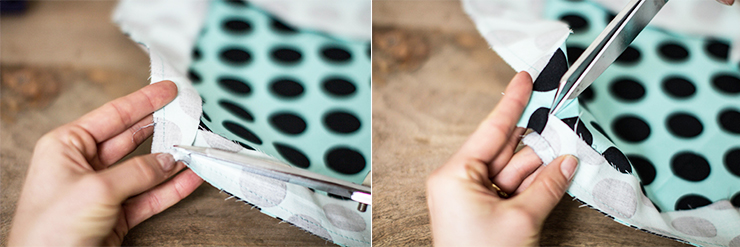
For the tip of the heart, take your scissors and cut along the seam to the tip. Once the first side has been cut, do the same with the other side, as shown in the image.
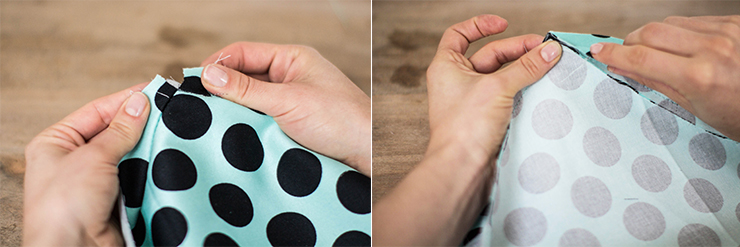
This is how it should look! Now take the second heart, align the tips of the hearts with each other and start pinning the sides to the second heart, right sides together.
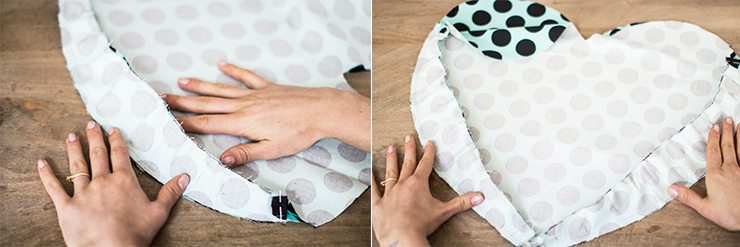
For the machine stitching, start with a high end and at the point, come and make your seam die on it (no, it's not sad...)!
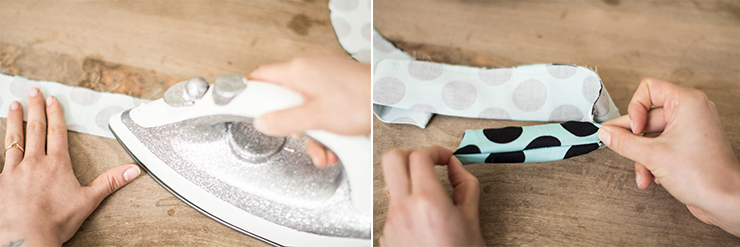
To make the handles, simply fold your band in half on the reverse side with an iron and stitch 1 cm from the edge. Then turn the band inside out, sliding the right side over the wrong side.
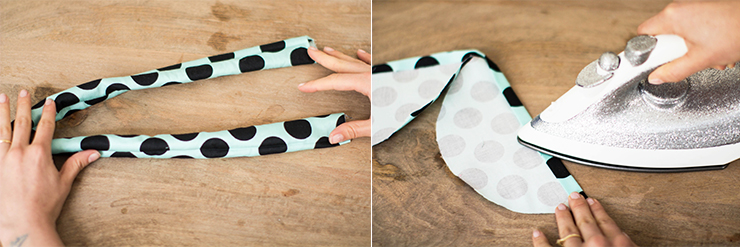
Now you've got a messy boudin, but the magic of the iron will work! Flatten your work and let's move on to finishing the bag. Take the "half-hearts", and hem them with the iron to make a 1 cm fold, then a second, then machine-stitch the whole thing.
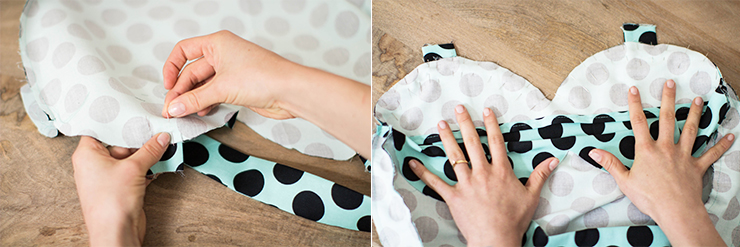
Now you've got all your bag components, which we'll assemble together. Don't panic, there are notches on the pattern to show you where to pin the handles. Be careful, however, to make your handles protrude a few centimetres, about 3/4 cm as shown in the image. Take your "half-hearts" and pin right sides together on the large heart, following the curves.
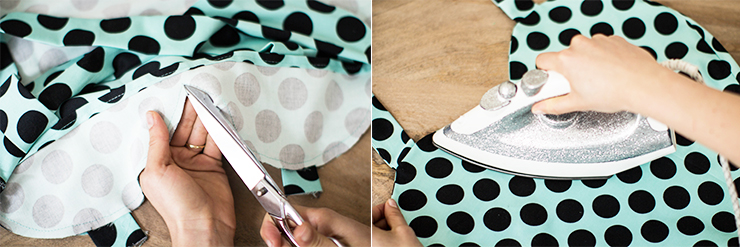
Machine-stitch, and using a pair of scissors, notch between the two rounded edges of the heart. Then turn over - you're almost there! Iron the curves to give your bag a perfect finish.
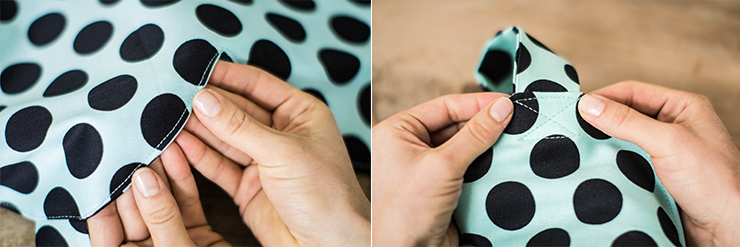
To finish off this tote bag like a chef, here are a few tips: topstitch the rounded edges of your bag just a few millimeters from the edge! And to reinforce the handles, I recommend making a small cross on the sewing machine. And if you want your bag to be really rigid, you can also heat-seal the heart and half-heart sections!
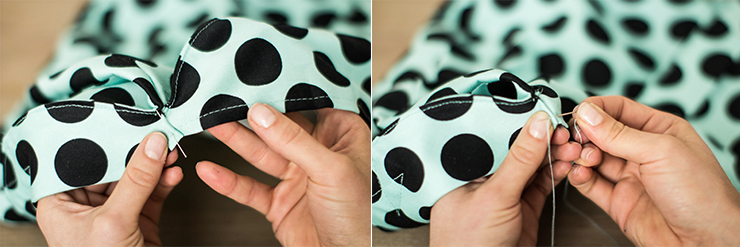
Final finishing touches, and then you're done! Using thread and needle, hand assemble the two small ends of the half-hearts inside your bag! And TA-DA!
And to thank you for your loyalty, I'd like to offer you these three heart bags. To do so, tell me in a comment below this article which piece you'd like to have from the Wear Lemonade collection? I'll draw lots on Friday morning for this week's Happy Friday! Hugs and kisses!

And the big winners are: Perrine,Manuela and Elle est au nord ( Éléonore I guess) Girls bravo and send us your addresses by mail! <3
