


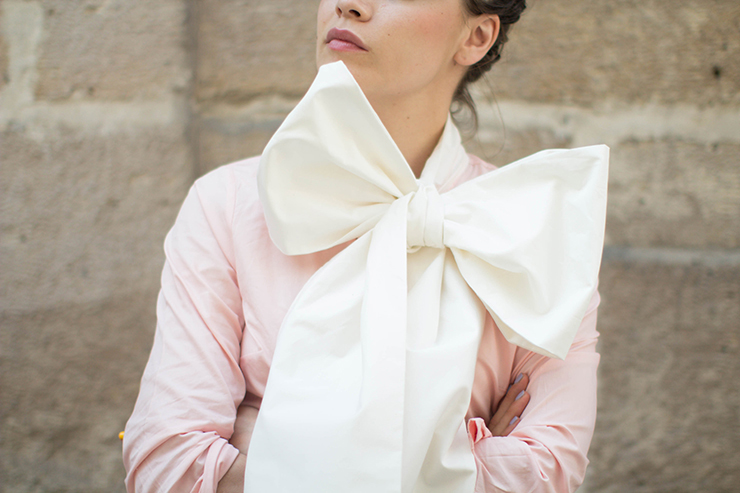
DIY OF THE ASCOT KNOT[:]
Hello my little kitties!
Last week, I was talking about a workshop that I did for LaRedoute during their press days. The idea was simple but complex at the same time. Indeed, the deal was to find a customization idea for a white t-shirt with a "Paris" theme. Well... I think that the customization exercise on a white t-shirt or a pair of jeans is more than difficult. To me, these pieces are so strong, raw and kind of sacred: we do not touch to a basic when it is well cut. Thus, when someone asks me to create a DIY like this, it always seems a bit complicated for me. However, the MacGyver inside me wanted to face the challenge! So a "Paris" customization... Well, I thought about doing an ascot knot on the white t-shirt and it was so nice to teach some of you the basics of sewing during this evening. It was a real pleasure for Laure, Charlotte and me, and since then I am a little obsessed with ascot knots... So the idea was to go further and further with us... And to imagine a drawing of an ascot knot, for any shirt! Now it is time for me to drink a nice smoothie with a straw because with a bow like this one, you won't be able to have lunch in an Italian restaurant. The perfect shirt to have a nice drink outside! Wait...
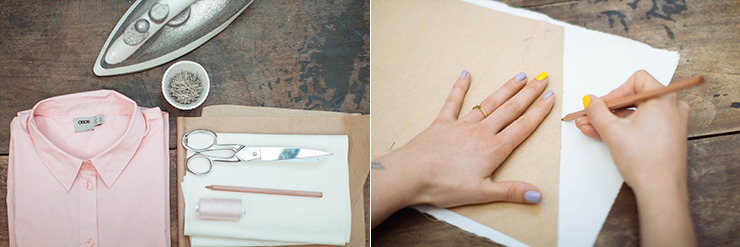
For this DIY, you will need:
- - a classic shirt, here it is from Asos,
- - a fabric in cotton (at least one meter),
- - the pattern of the ascot knot that you can download here,
- - scissors,
- - a pen, some pins, a sewing machine and an iron.
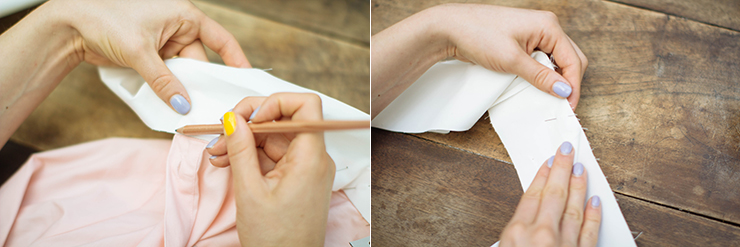
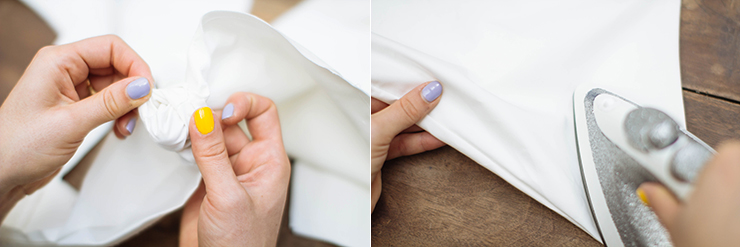
First of all, you have to draw and cut the pattern 4 times in the fabric of the color you want. You will have two parts for the front and two other parts for the back of the ascot knot.
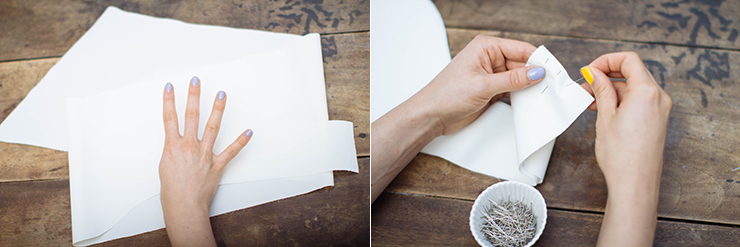
Put the two front parts together with some pins to fix the thinnest sides. Do the same for the back.
Then, sew the parts together from one centimeter of the edge; it represents the seam-allowance and open your seams with your iron.
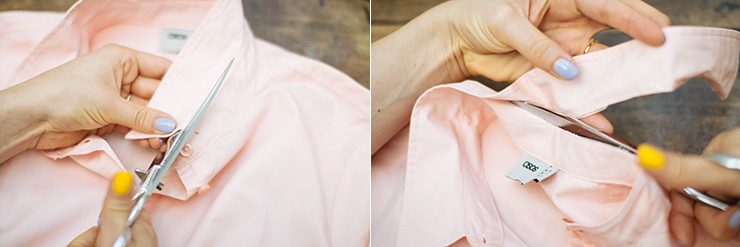
Take your scissors and cut the collar, just the upper part, not the lower one, it is important.
Cut also the collar stud (the last button) if there is one. Take the front part or the back one, it does not matter, and pin it to the collar stand. Find the middle of the back of you shirt and match it with the seam you just did before on the ascot knot.
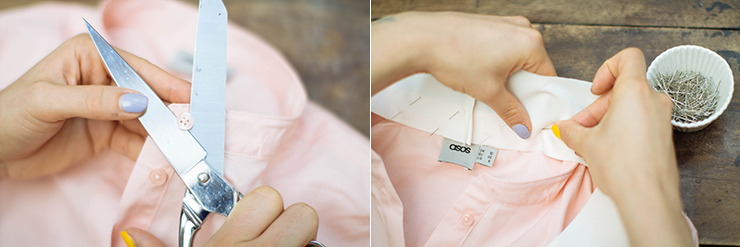
Mark each side of the collar stand with a pen. Take off the pins and put the back and the front parts together on the right side with some pins.
Do a one-centimeter notch where you just create the mark, and use the iron to start to form a one-centimeter pleat. This is where we are going to take the collar stand's shirt in between the ascot knot, once we will turn round the sewed collar.
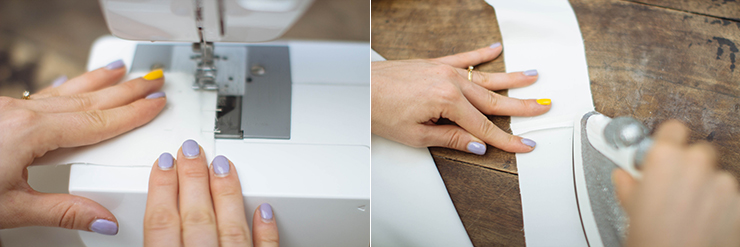
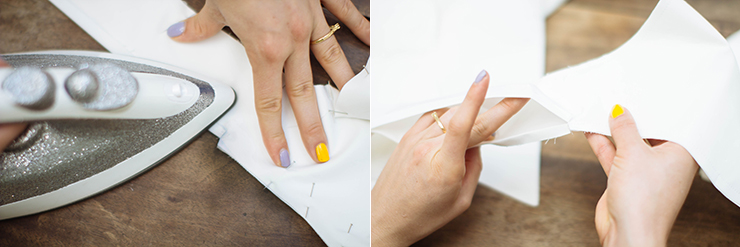
Sew all around the collar from one centimeter of the edge of the fabric, and then do not forget to notch the curves of the collar and the lower corners of the ascot knot. Of course, do not sew the opening that we cut before, it will be also used to turn round the collar. Anyway, as we talk about this, turn round the ascot collar and iron your work.
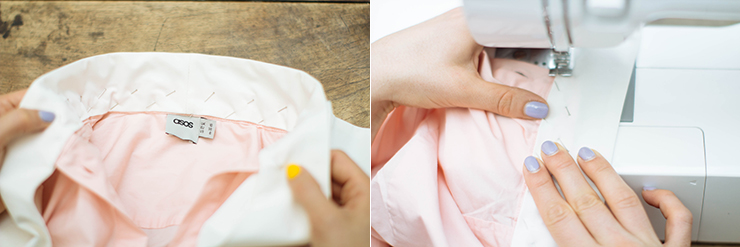
Take your collar stand in between the ascot knot and sew from few millimeters of the edge.
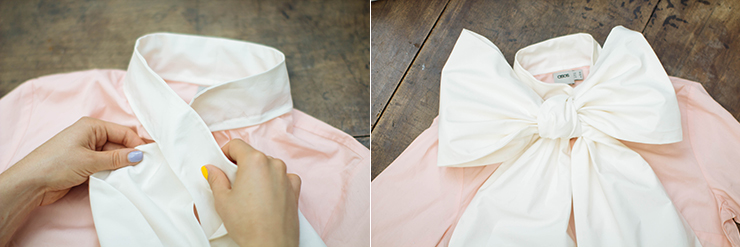
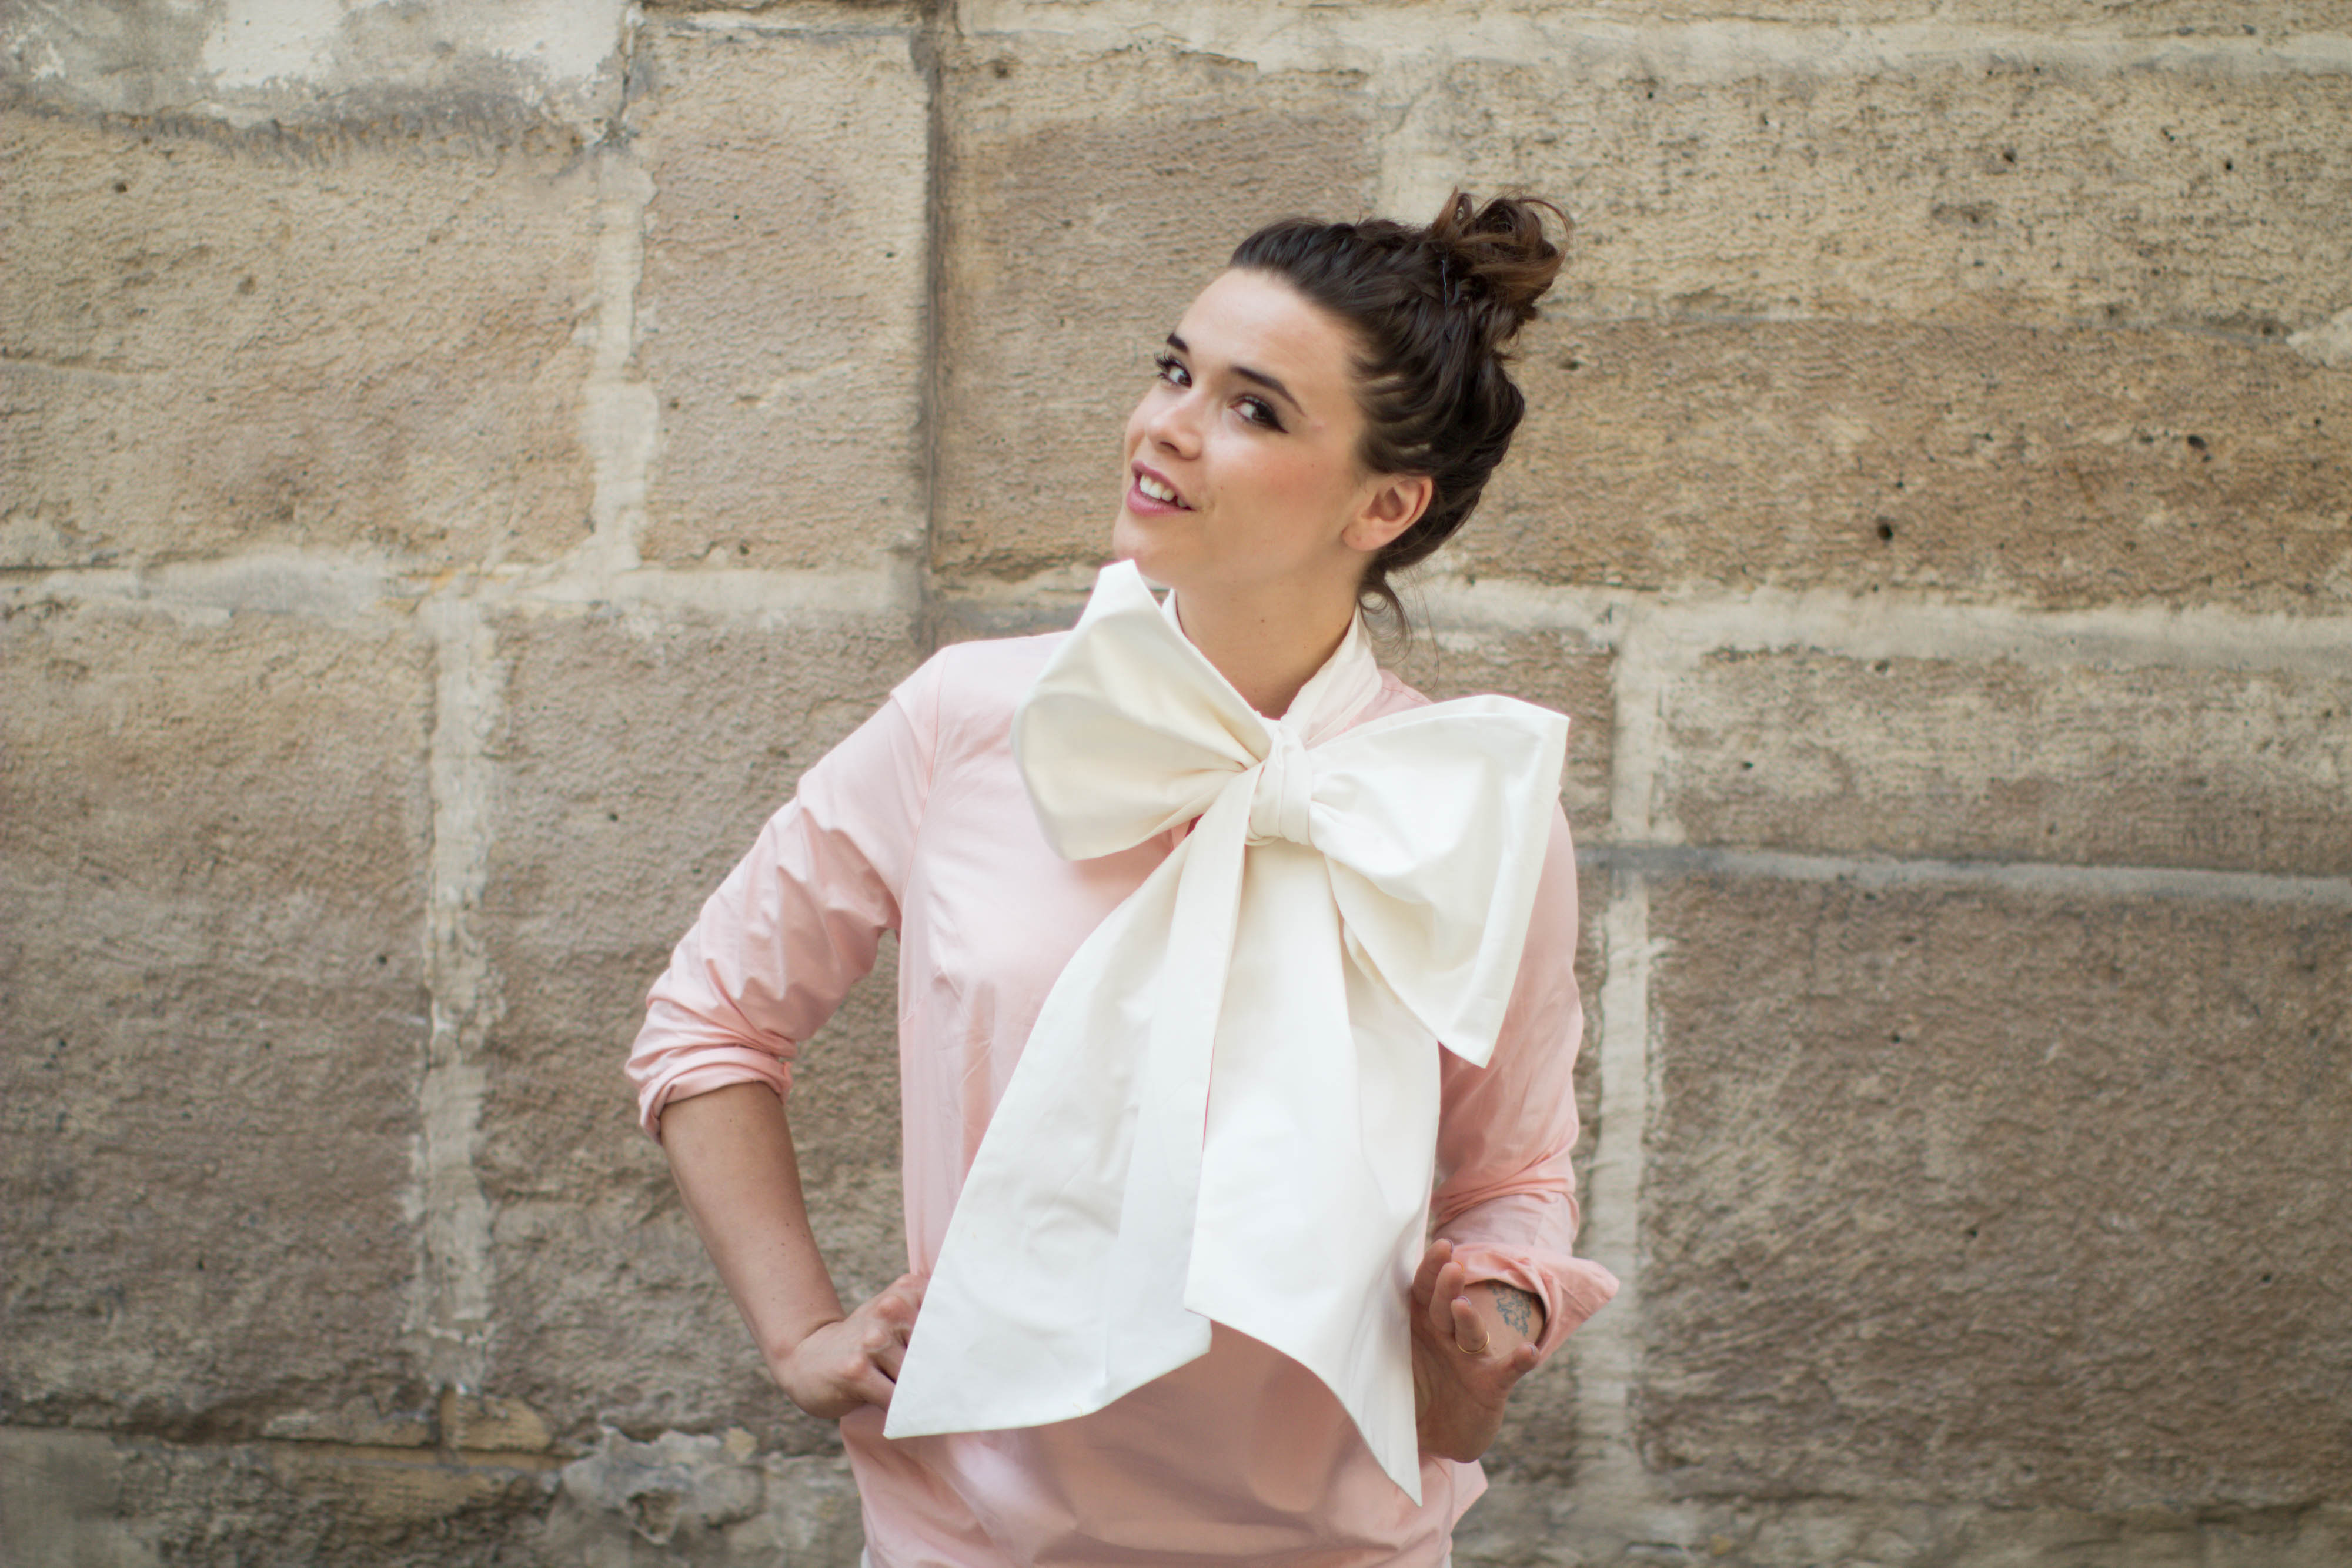
And TA-DA! Tie a classic knot and here it is, a very Viktor and Rolf style shirt! I send you big kisses!
Translated by Coralie Clair
To read this post in French, click here !
[:]