


WOULD YOU BE MY BRIDESMAID?
Hello my little cats!
Today, I'm back with a post that's so close to my heart. As I was preparing it, I was reminded of the first project that got me started on this blog: preparing Christmas for my family. It's a project into which I poured so much love, and which went off without a hitch, everything was smooth and easy, a real joy... To tell you all about it, I'd have to remind you that in a few months I'm getting married. This wedding is a real work in progress, especially when you're marrying a foreigner... Some things are completely stagnant, while others are running like clockwork: finding a dress, designing shoes, choosing a wedding cake, finding music, ordering our wedding rings, imagining the decor - all these things get me really excited. On the other hand, the administrative paperwork, the venue and the caterer are a whole other ball and chain... But I'm keeping my fingers crossed, it's definitely going to happen, and I believe in a lucky star who's watching over everything. And since in the best of all possible worlds you only get married once, I want to make the most of all the little moments that surround this wedding.
You probably don't know it, but I'm a real fan of American traditions, matching bridesmaids, twelve-panel invitations, outdoor ceremonies and all that goes with it... So I chose to have 5 bridesmaids, 5 friends I see all the time. And I wanted to give them a box full of quirky accessories.
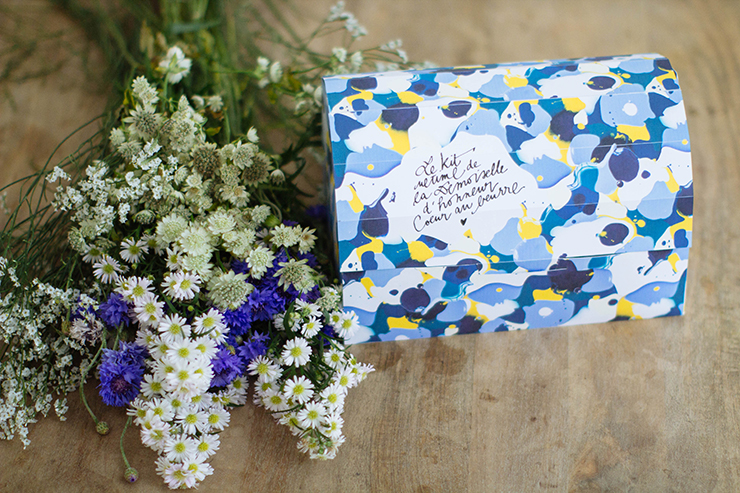
Two years ago, I met Anouch and Laurencethe talented creators of Epouse-moi CocotteI had discovered their work through the website "d'un beau jour and I was charmed by the poetry of the photos and the humor of their creations. We decided we had to do something one day... This wedding was too good an opportunity to pass up! I met up with the girls and told them about the "Ultimate Butterheart Bridesmaid Kit". The idea was to make a 3-brain creation. I wanted something girly but not too girly, especially not pink... So I got out my nail polish collection and made a kind of colored marble, which I took a photo of, and the girls came up with some great little words and decided to create their own. a tote bag and a mirror which will be available for sale on their e-shop.
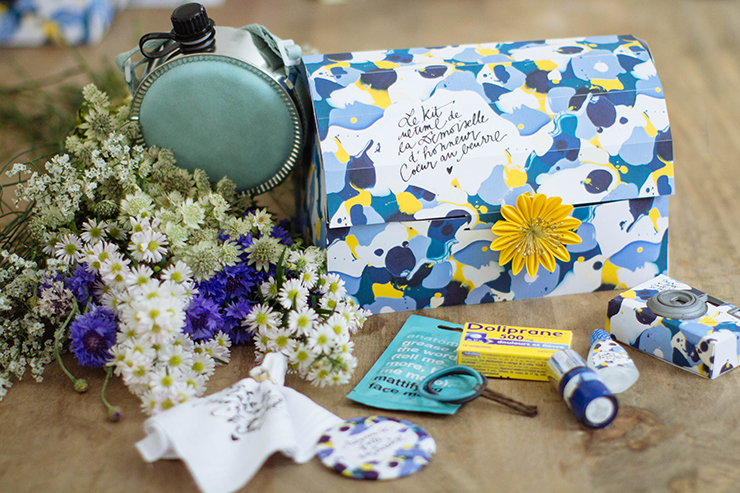
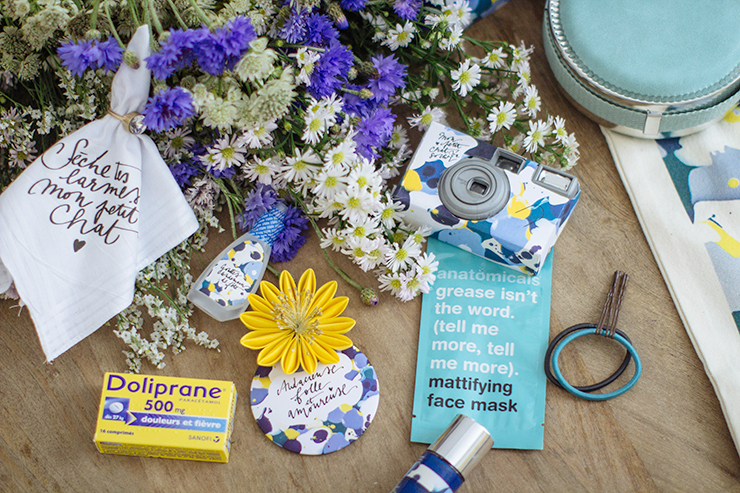
This kit includes :
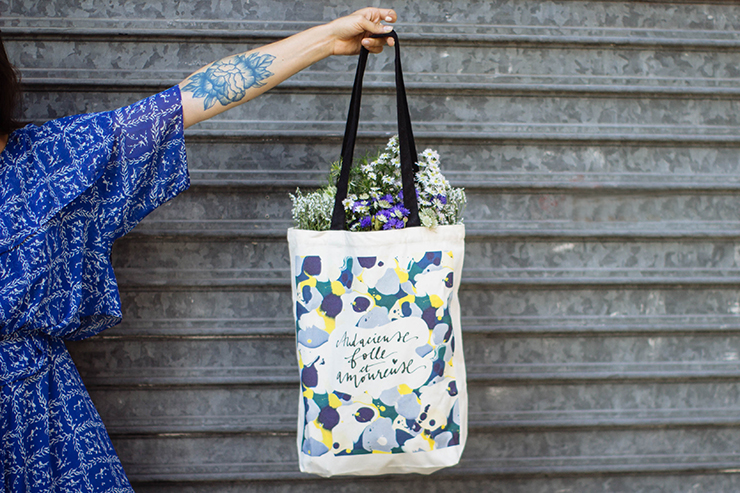
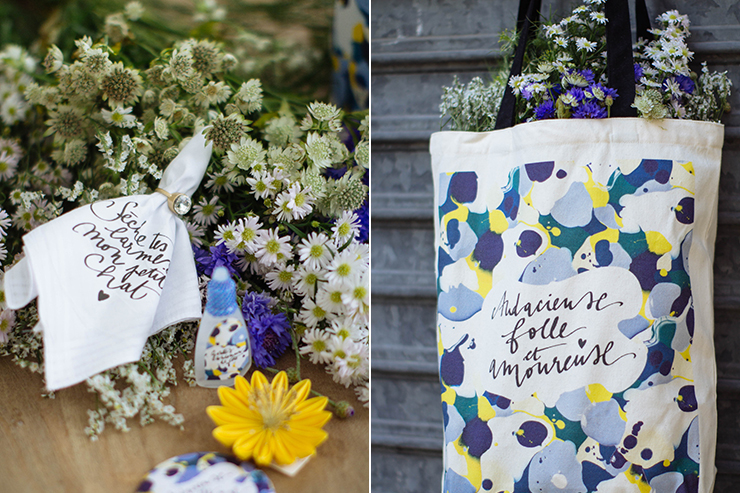
- - a shopping bag and a pocket mirror "Bold, Crazy and In Love" by Epouse moi Cocotte,
- - a little flower Karuna Balloo,
- - a disposable camera, this reference for the customization pattern "My little cat is coming out",
- - miracle red eye drops Visine "after party drops
- - a flask Urban Outfitters in vegetable leather, to be filled of course...
- - Claire's nail polish
- - one tissue with a transfer "dry your tears my little cat"
- - ring in super gold and giga diamond H&M,
- - a mattifying mask UO,
- - an elastic band and emergency hairpins H&M,
- - and Doliprane 500 (to be in tune, in case of a difficult EVJF tomorrow)...
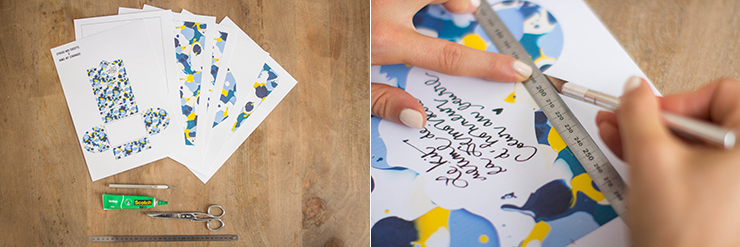
To make this box safe, you'll need..:
- – Download here and print the different parts of the box on thick Bristol paper,
- -a metal ruler,
- - green glue,
- -scalpel and scissors.
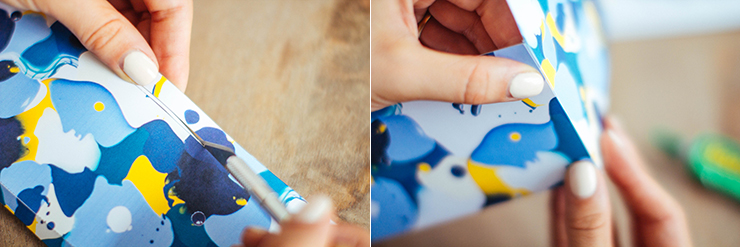
Start by cutting inside black lines, using scissors or a scalpel for greater precision...
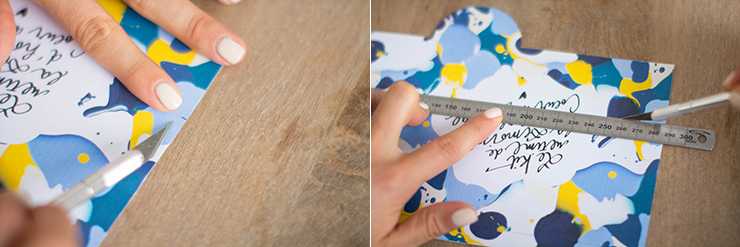
You'll find small notches on the opening parts of the box, which you can use to mark the folds you'll need to preform with a blunt scalpel or needle.
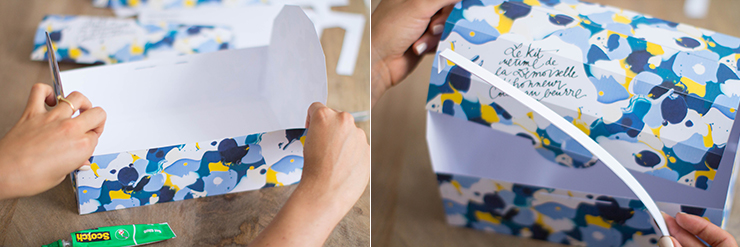
Pre-form the folds not only on the top of the box, but also on all the edges of the tabs on the other parts of the box.
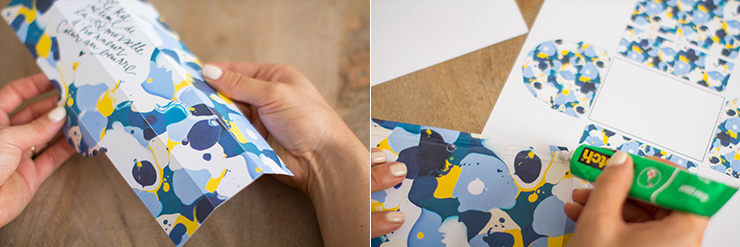
Be sure to follow the box assembly guide supplied in your pdf. Don't forget to hollow out the part that will receive the rounded tab. Glue with the green Scotch glue tube, holding the parts firmly together for a few moments.
Your box is starting to take shape, and for extra support, I'd advise you to make a 26 cm strip of Bristol paper + a few centimetres on each side for the flaps, and above all double or triple your strip so that it's quite rigid.
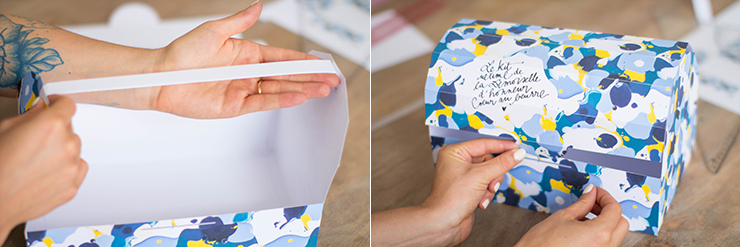
Attach it to the inside of the box and fill your kit with all your gifts, then close the box and TA-DA!
To read this post in English, click here!