


UN BEAU JOUR x MAKE MY LEMO

Happy Halloween
It's funny that it should happen like this today, but you'll understand in a few lines... A few months ago I met the lovely foundresses of un beau jourElodie and Anne Solange, who are true vectors of creativity. I could have spent hours chatting with them, a real ping pong of ideas! If you don't know their site (which would surprise me greatly) I highly recommend it, it's a mine of inspiration for all those getting ready to say yes (or any other pretty event for that matter), the photos are sublime, the shopping ideas luminous, and the DIY around D-day really qualitative, in short, go for it! So, one thing led to another, and we decided to come up with an easy yet eye-catching DIY, so why not a tulle pompom headband (white of course)... You'll see how disconcertingly easy it is... to your scissors, young people...

To make this head band, you'll need..:
- White tulle and/or plumetis ( about 1m20 ),
- 80cm of cord,
- packing carton,
- scissors and compass.
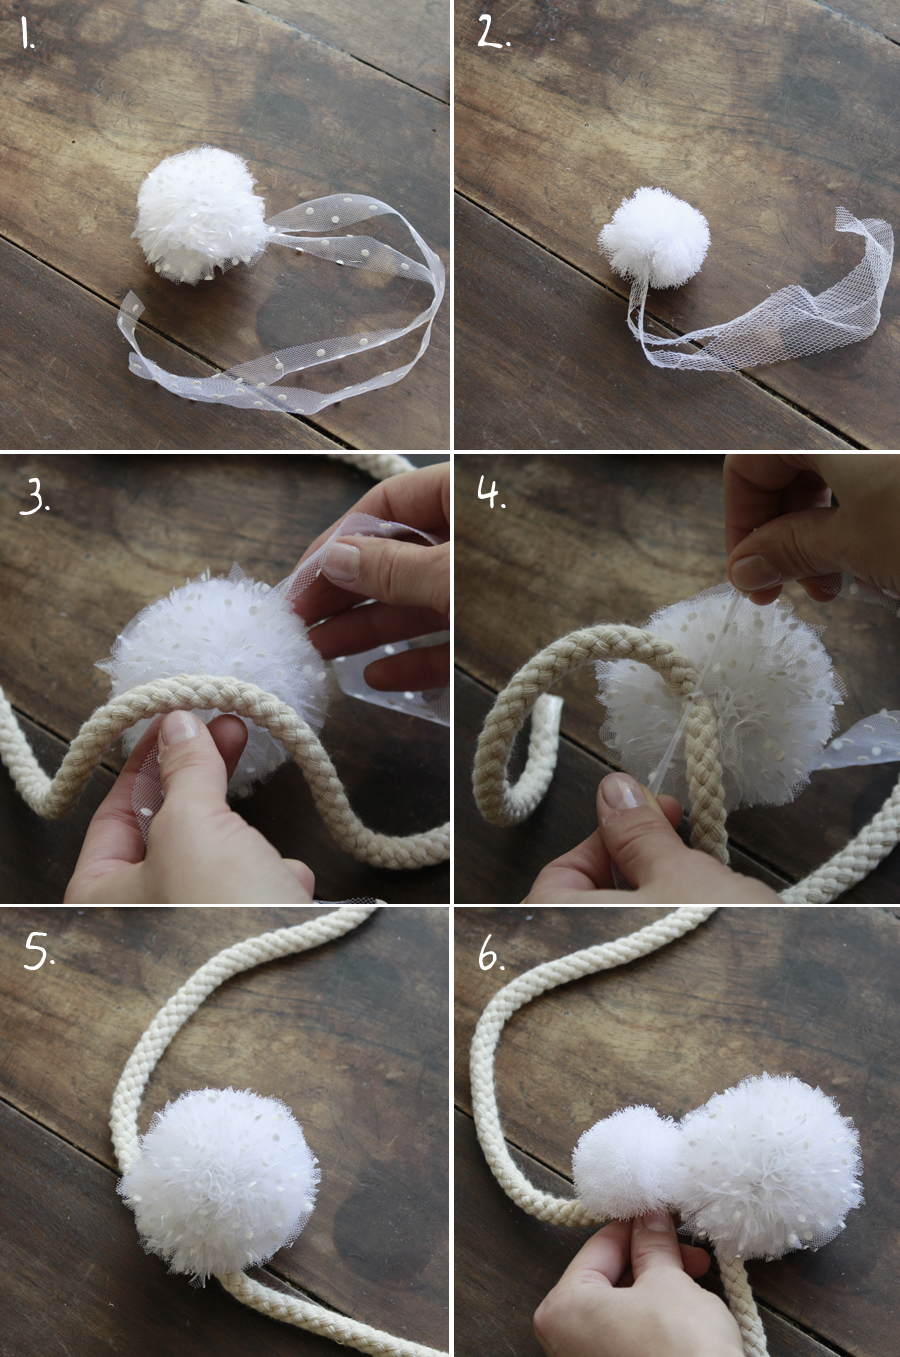
Making pom-poms is easy, but making tulle pom-poms is even simpler and faster! To start, draw 2 circles inside each other with the same center, the first with a 3.5 cm radius and the second with a 1.5 cm radius, cut them out and make a small notch to go from one to the other. Repeat the operation on a second circle fig.1. Here I've used 2 different sizes of pompom, but it's up to you whether you want them all to be the same size or make smaller ones. Fold the tulle neatly, then cut strips lengthwise, called a mattress fig.2. Now you have all the strips you need to make the pompons fig.3. Grab the two cardboard circles, then wrap the tulle around the cardboard circles as shown in fig.4 & 5. Once you've covered the cardboard circles with several layers of tulle, pass the tip of the scissors between the two cardboard discs and cut, using the circles as a guide fig.6. Once you've cut out the entire pompom fig.7, grab a strip of tulle and slide it between the two cardboard discs to make a knot and finish the pompom fig.8, but don't cut off any protruding ends.

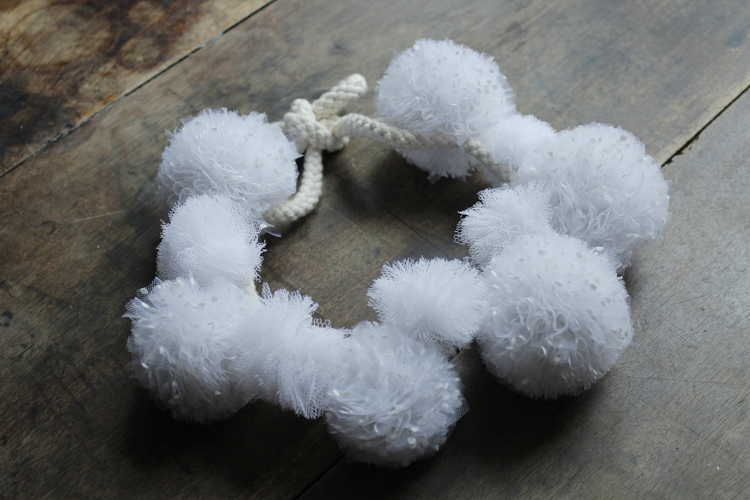
To finish the pom-pom crown, take all the pom-poms fig.1&2, and tie them to the cord with the ties that were sticking out previously fig.3 & 4. And TA-DA! You can alternate with a small pompom, a large one and so on! Figs. 5 & 6 are up to you!

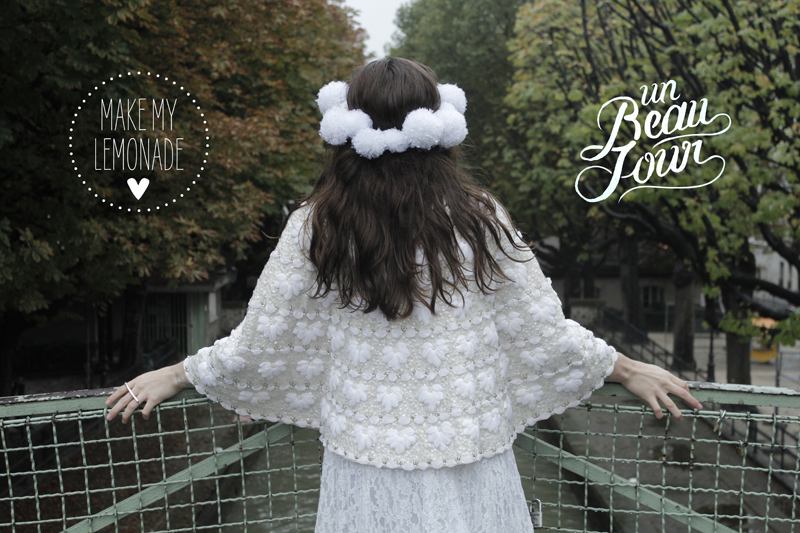
It was very hard for me to take these photos, because I'm not a wedding pro. I find people who take the plunge very courageous, and I'm very admiring, but for me nowadays, in any case, weddings sound like big parties where you dance until dawn, wear a beautiful dress and make incredible invitations. I don't think these are the real foundations of marriage, till death do you part, and all those things promised. I respect all these commitments enormously, but I don't think I believe in them, or that they affect me in any deep way. I prefer to imagine that if one day I get married, it will be a celebration to say we love each other and share it with my loved ones, rather than "engraving our names at the bottom of a parchment". Digression aside: me as a bride, all in white, in the middle of Paris in the rain: so unbelievable...

I've got an idea for you. In your wedding invitations to your witnesses, bridesmaids and parents, slip a tassel into their envelopes. A sort of advance gift "a little piece of them" around your head. Like a benevolent halo, or a sort of cuddly toy. Long live the bride and groom!