MY LITTLE PARIS x MAKE MY LEMONADE

Wednesday already!
How excited I am !!!! I'm sure you're familiar with the box concept... There really are monthly boxes for anything and everything now, from miniature beauty products, to pet products, to wine and downright cheese, it can be applied to any sector. Every month, for just a few euros, you can treat yourself to a surprise gift that arrives directly in your mailbox - a real treat, but I'm not telling you anything I don't know! As an Internet girl, I can tell you that I've received a lot of boxes, a plethora of goodies in my mailbox.
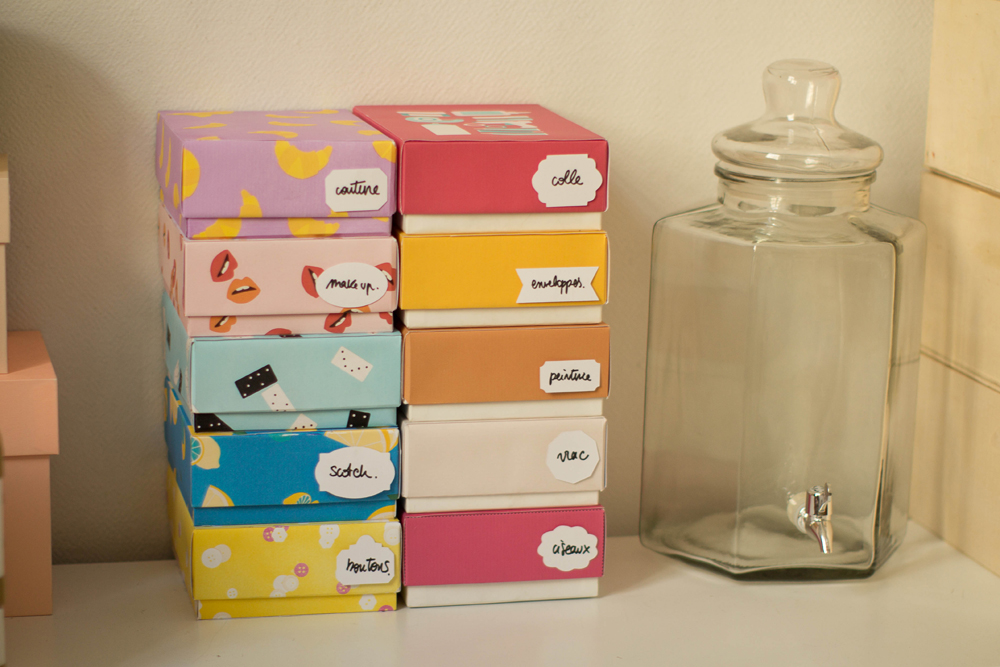
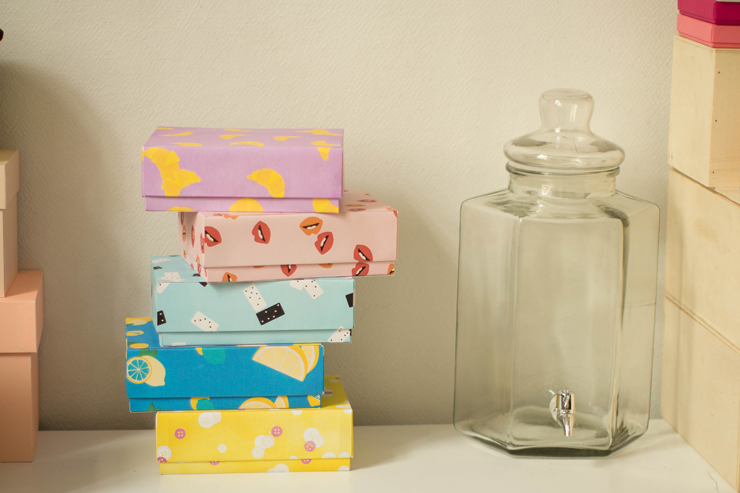
And without any flattery or self-interest, it's really the boxes that are the most important. "my little box and "gambettes box stamped my little Paris that have always appealed to me the most. So why? Because I think they're the only ones who not only offer miniature cosmetics, but also make their own products. I'm writing to you from a keyboard customized with special stickers I found in a box, and my big blush brush is also branded my little box, so I've got them everywhere... Anyway, I suggested to My little Paris that they dress up their boxes. I've come up with 10 exclusive paper designs just for you, my little cats... Well yes, either to reorganize your desk in a "just the lid" version, or in a "full" version to make gift packs! I'm telling you, I've done the art direction for the Christmas boxes, my little box and gambette box! Ahhhh let's talk about it again soon!!!!
Time: 15 minutes per box
Difficulty: easy peasy
Cost: a few euros of paper
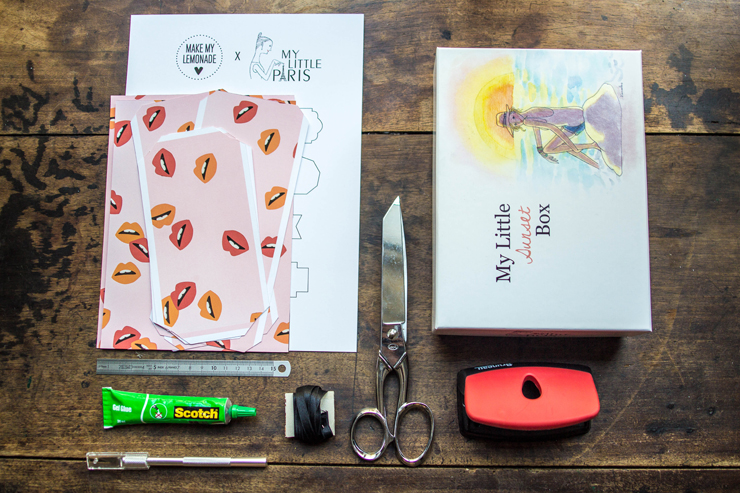
For this DIY you need :
- - 10 patterns to download
- pattern-mouth / pattern-buttons / pattern-cables / scissor pattern / pattern-lemon pattern-glue / pattern-croissants / pattern-domino / pattern-envelopes / pattern-paintings
- - labels to download HERE
- - one or all of your collection of My Little Paris boxes,
- - glue,
- - a ruler,
- - scalpel,
- - scissors,
- - ribbon,
- - a hole punch.
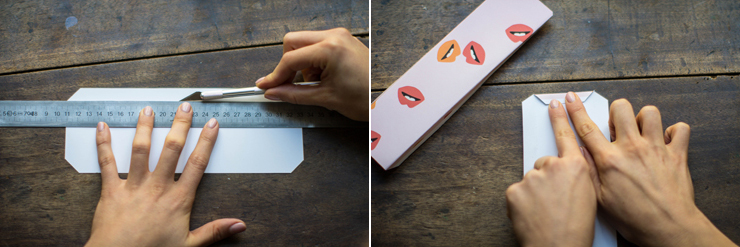
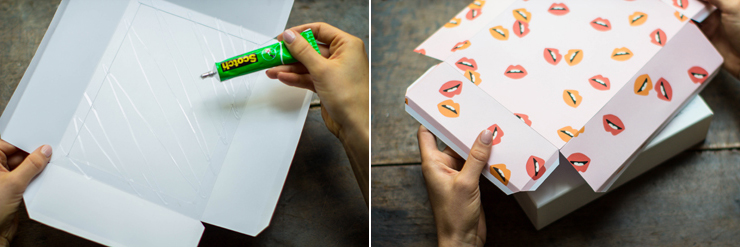
First, use the scalpel and ruler to cut out the various parts of the pattern. Then trace the fold lines on the reverse side, using the back of the scalpel (don't cut your beautiful pattern!). Repeat the operation on all parts, then fold the tabs.
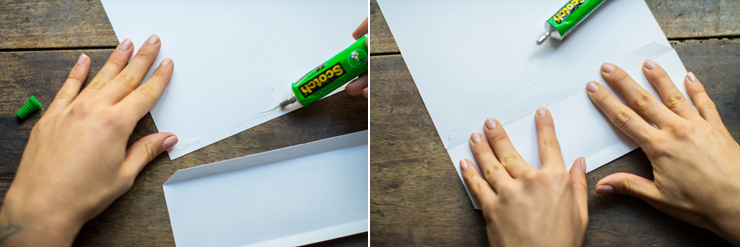
Then take the top part of the box and apply glue to the edge. Glue the tab corresponding to the side of the box.
Continue in this way for each tab.
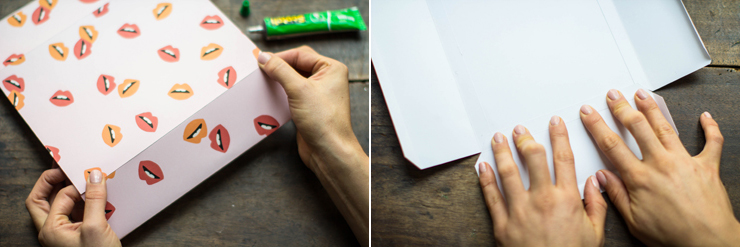
Now that all the parts are assembled, you can cover the box.
Put some glue on the central part and place it on the box, being very precise around the edges.
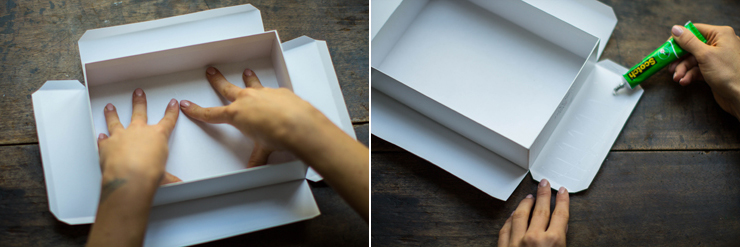
Press down firmly, then continue by gluing the smaller sides of the box.
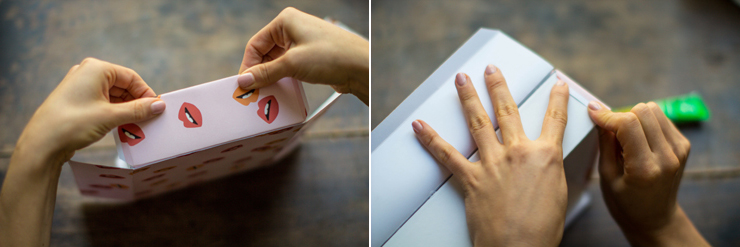
Glue and remember to fold the tabs over the sides of the box before attaching the large tabs to the sides.

Finish with the larger sides in the same way.
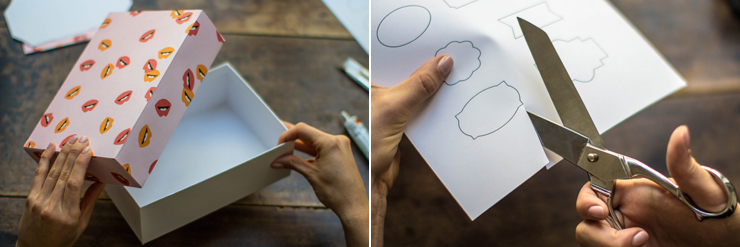
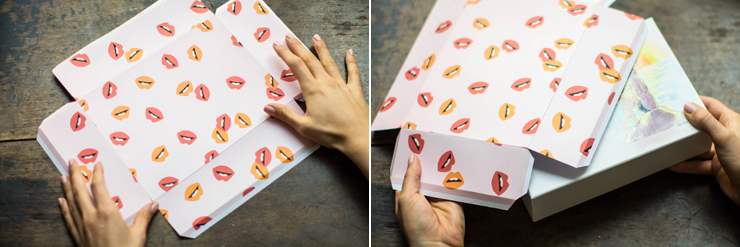
Your box lid is now covered! Now take the labels you've printed! Cut them out!
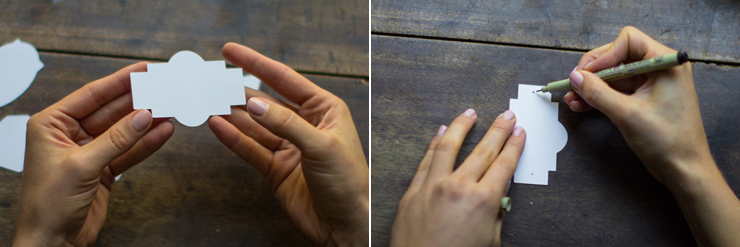
Mark the ends so you can punch in the right place.
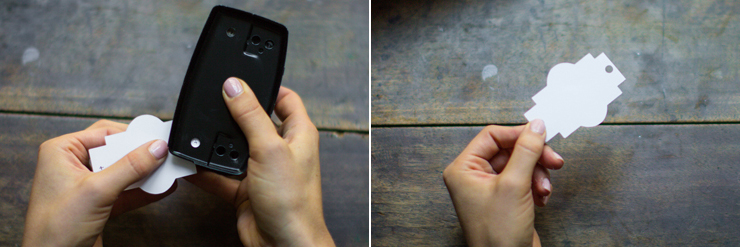
1,2,3, Punch! If you want to use the patterns to make a gift box, cover the whole box with the print (lid and base). If you need a storage box only, cover only the lid, as this will make the box easier to use (smoother opening).
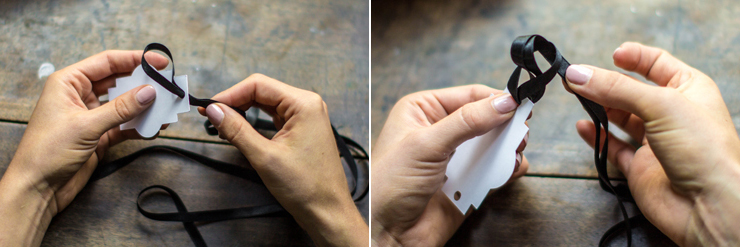
If you'd like to make a gift box, follow these steps... Take your ribbon and loop it through the hole, then iron the end of the ribbon through the loop to make a pretty running knot.
Do the same for the second hole in the label. Alternatively, use a label without holes to remember what's in the box, of course.
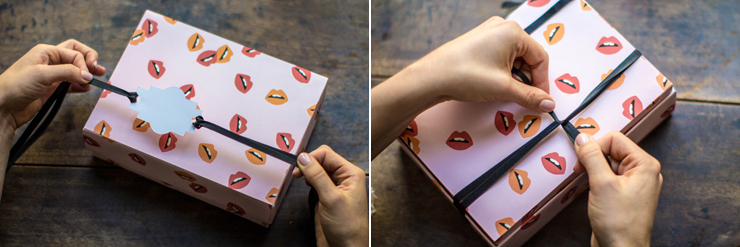
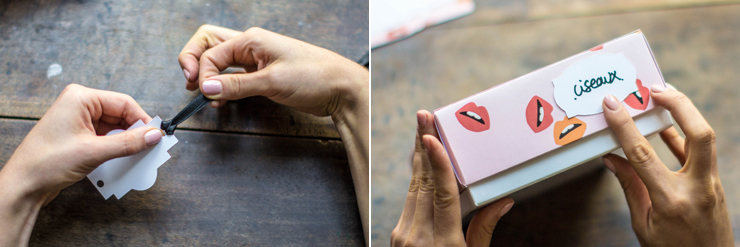
Take your ribbon and arrange it nicely on top. Tie a bow.
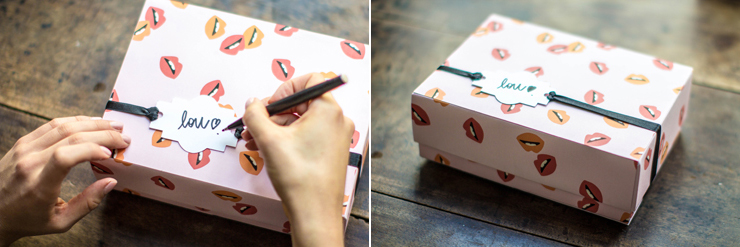
Dedicate the label, and TA-DA!