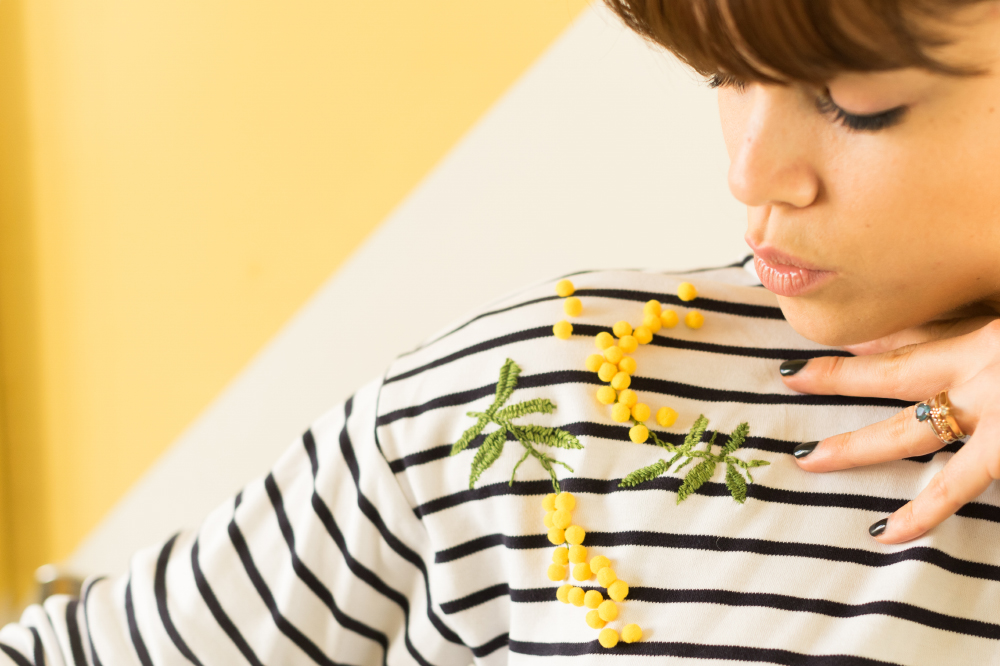
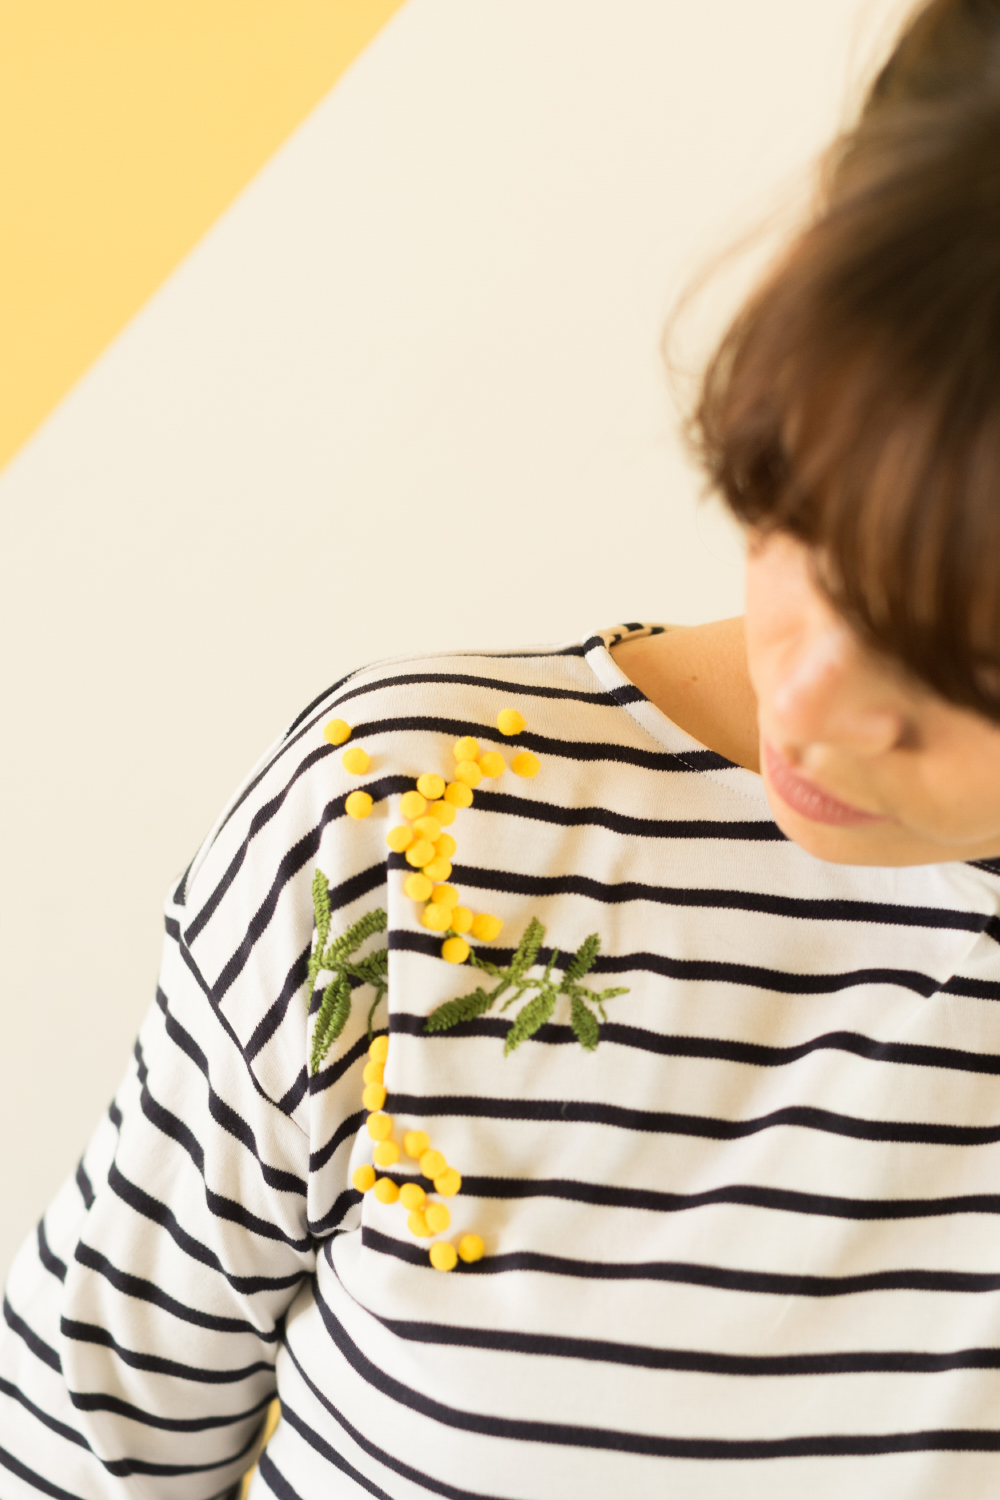
Mimosa express embroidery DIY
Last year Charlotte made us a sublime paper cake for Make My Lemonade's 4th birthday, and that's how I discovered these little yellow scrapbooking balls, which were used to make the heart of the cake's daisies. I'd also used them to decorate the veil. of the bibi that Karuna and I had taught you to make... I'll let you reminisce and show you a "slightly" accelerated version of the mimosa embroidery on a marinière in this video!
As you can see, it's very easy to do this tutorial, but I'm going to go into a little more detail for those of you who'd like to start embroidering but have no idea how to get started!
First of all, to make this embroidery, you'll need..:
- an embroidery drum,
- a sailor's jacket or any other blouse of your choice,
- skeins of embroidery thread in shades of green,
- yellow thread,
- mini pompoms for children, ours from Rougier et Plé,
- and a heat-erasable pen!
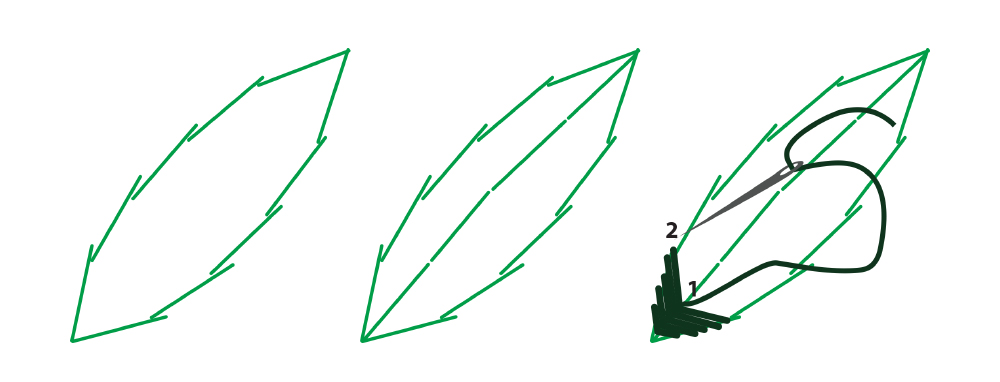
We'll start by tracing the stems and leaves of your mimosa branches onto your blouse or sweater. I recommend you start this after stretching it on your embroidery drum! Draw as you would on a sheet of paper with your erasable marker. Then, using green embroidery thread (take only 2 strands), embroider long stitches to "trace" the structure of your leaves. Once you've embroidered your leaves (as shown in the first two diagrams below), we'll move on to "filling". Double your thread (4 strands). Bring your needle out from the center of your leaf, to the right of your center stitch, to the left, to cover your leaf outline basting stitch. Continue, alternating from the left of your center to the right, then the reverse, and so on.
Once you've embroidered all your leaves, you'll move on to the stem of your mimosa with a chain stitch. The chain stitch is very, very simple: pull out your needle, twist the thread around your thumb (always in the same direction) and replace your needle exactly where it came out of the fabric. Keep the loop of thread around your thumb and pull the thread out a few millimetres further, pass your needle through the loop around your thumb, remove your thumb and voilà! Then turn the thread around your thumb again (always in the same direction) and replace your needle exactly where it came out, etc... A little tip: hold your drum in the direction you want to trace your chain, it'll be much easier!

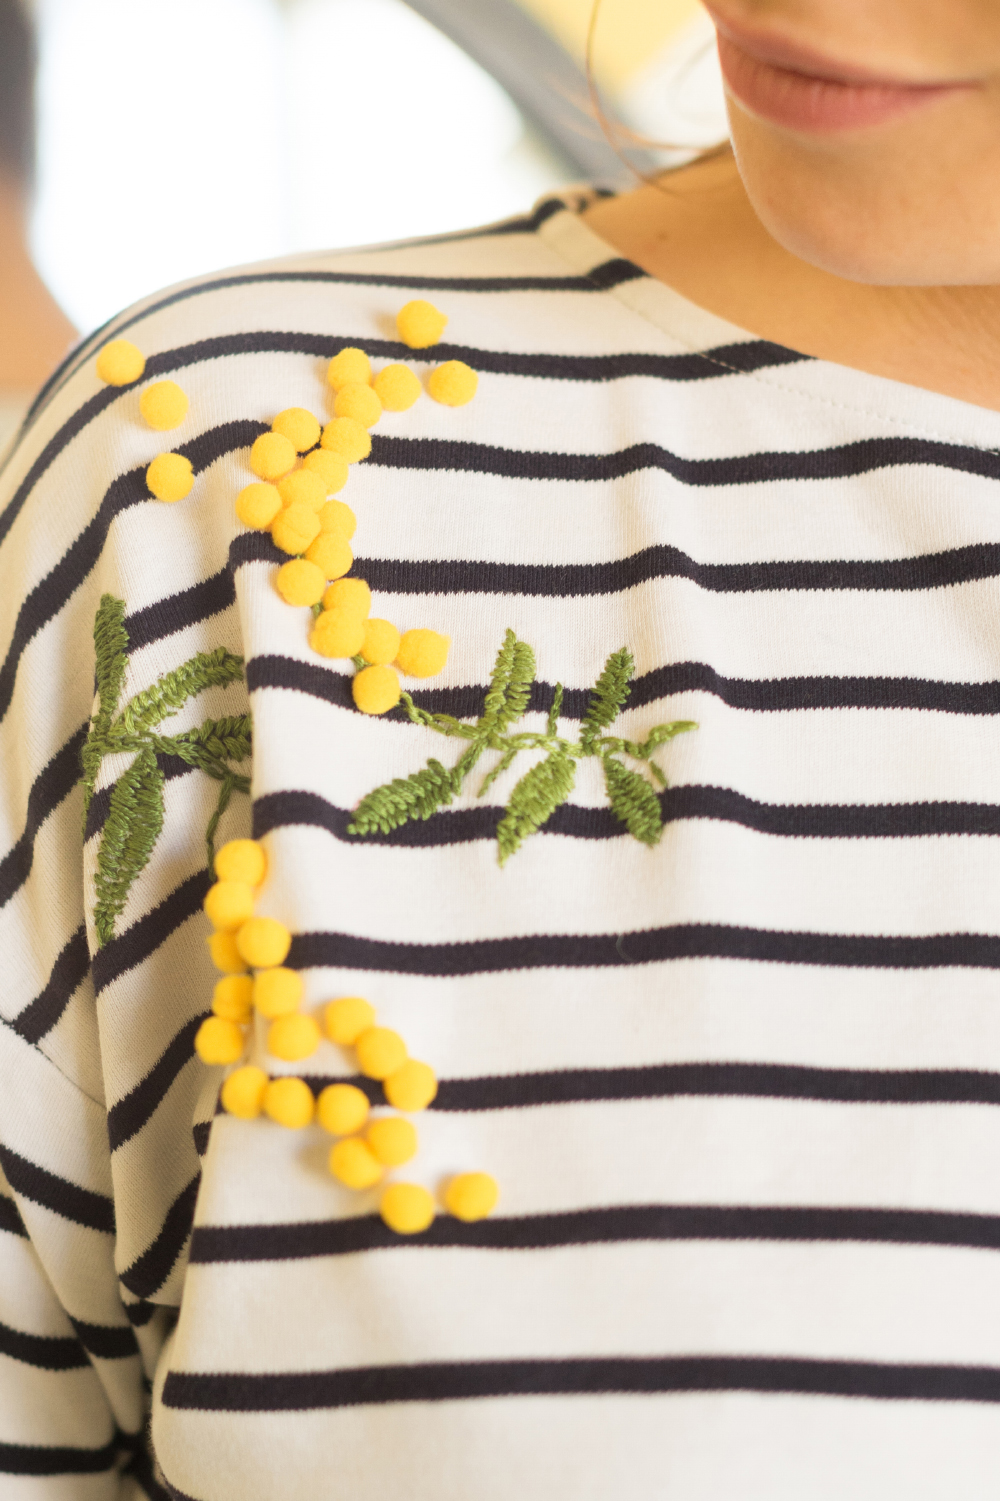
Then, using the yellow thread, embroider the little yellow pompons on your mimosa, making sure to stitch in the middle of them! Have fun! And TA-DA!