DIY GRAND AMOUR HOTEL

And here's the last post of this week's special Grand Budapest Hotel, I hope you enjoyed it... I'm ending with my greatest pleasure, DIY... Initially, I was going to do a very small themed week with just one beautiful shoot with Charlotte E.an interview with team Nose and that was it. And then when I saw the film, I said to myself that it was impossible to resist the call of re-appropriation, it was too beautiful, I too wanted to go home with a pink box with a baby blue ribbon from Mendl's patisserie, I wanted one too, and then those little embroidered handkerchiefs... So one morning, in the shower - this is where inspiration strikes when I'm stuck - I thought it would be silly not to exploit this Grand Budapest Hotel imagery a little more! So I thought I'd take the hotel illustration and twist it a bit... With "The grand AMOUR hotel", and then I think l'hôtel Amour won't mind this little wink... On your needles!
Difficulty: Easy Peasy
Time: An eternity or two seasons of Games of Thrones, but it's worth it, isn't it?
Price: less than 10€ (without sweater)
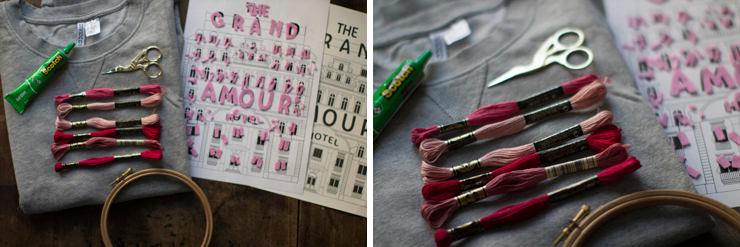
To make this DIY you'll need :
- - A sweater
- - A sheet of printer transfer paper
- - Embroidery thread
- - Felt
- - Glue
- - Needle
- - Embroidery drum
- - Scissors

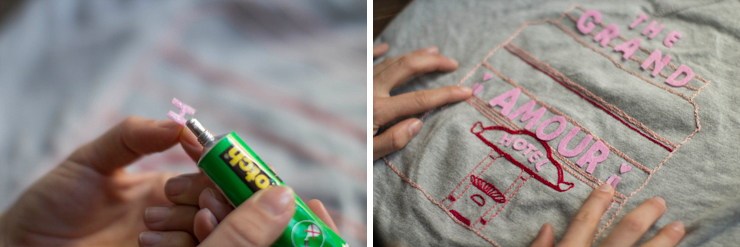
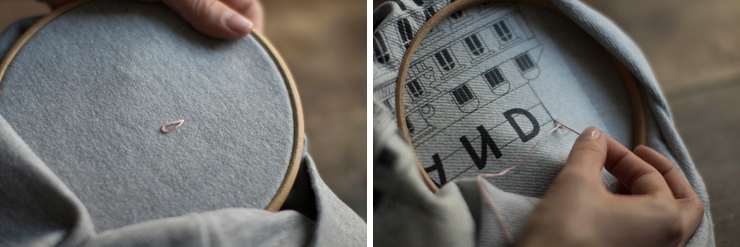
First you can download HERE the vector illustration of Le Grand Amour Hotel, then print it on transfer paper, without modifying it with axial symmetry. Turn your sweatshirt inside out.
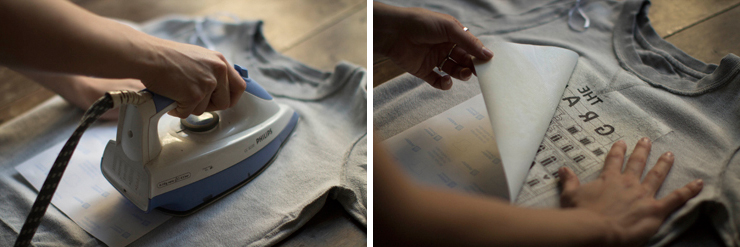
Iron the sheet of transfer paper on the reverse of your sweater for a few minutes, then carefully peel off the sheet to admire your hot transfer: it will serve as a reference for embroidering the right side of your sweater.
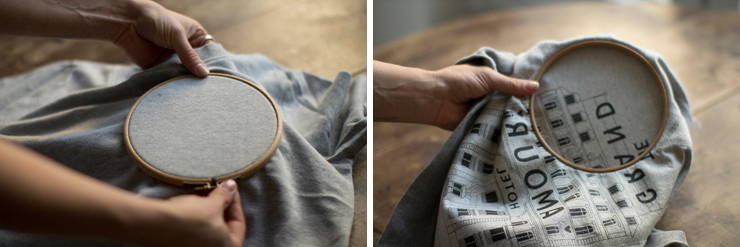
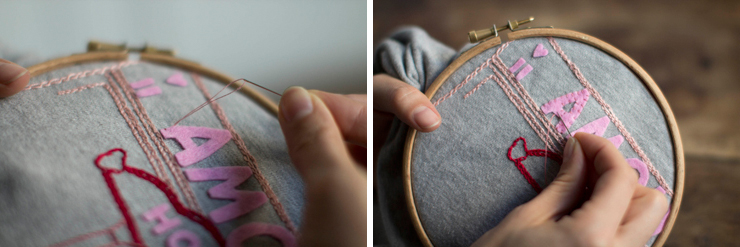
Turn your sweatshirt inside out and get your embroidery drum to start your needlework.
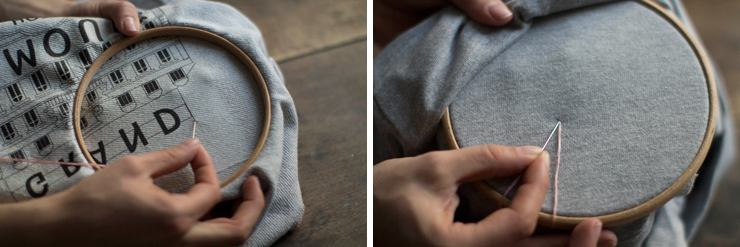
Stitch on the wrong side, then bring out your needle on the right side and stitch through the same hole.
Don't pull your thread all the way through, it should form a loop as shown in the image above, then stitch on the wrong side a few millimetres further on, bringing the needle out inside the loop. Now you've made chain stitch!
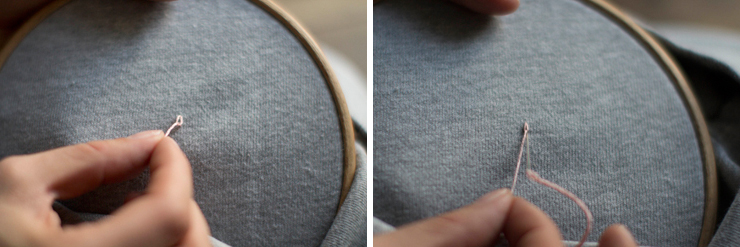
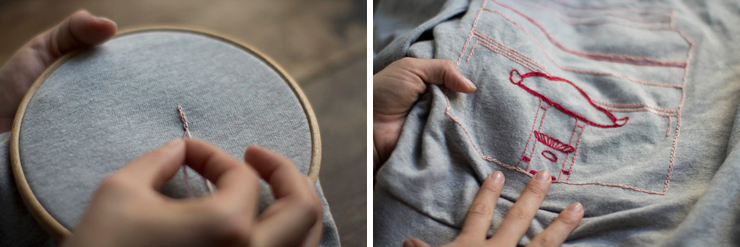
Repeat the operation, stitching through the same hole, and so on.... And do this along ALL the black lines, as you'll see, I haven't embroidered all the lines shown in the illustration. Be patient, you can always ask your grandmother if she doesn't have osteoarthritis, or ask one of your buddies who's unemployed.
The chain stitch is one of the simplest. If you don't find my explanations clear enough, go to this video.
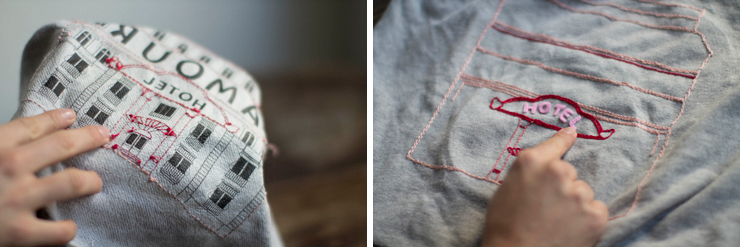
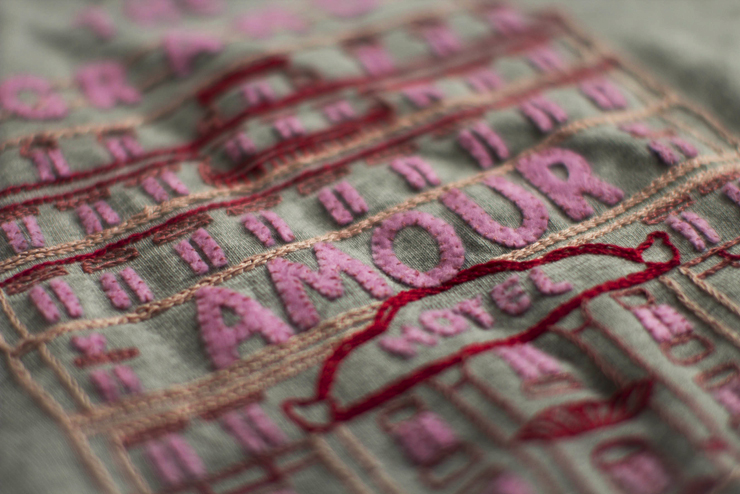
You can also print the illustration a second time on classic machine paper (recycled paper is even better) to cut out the felt pieces (here the lettering, hearts and windows).