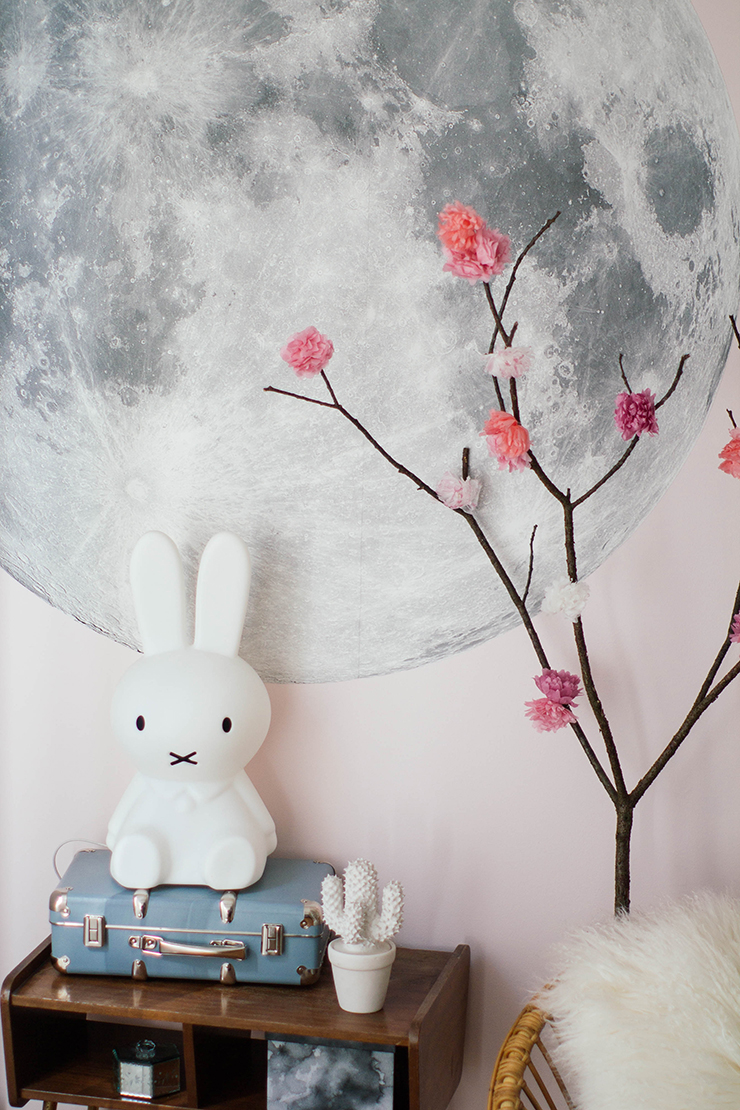
DIY ETERNAL CHERRY TREE
Happy Sunday, my little cats!
I hope you're recharging your batteries as you should on this Sunday. I've just had a quick look at météo France and it looks like everyone will be seeing the sun today! So I'm imagining you with your computer or iPad on your lap in bed, doing your press review of blogs and other internet sites, toast and steaming tea not far away, and your sweetheart busy cleaning the apartment... The high life. I'm back today with a very simple DIY decorating idea, to bring a Japanese touch to your home sweet home, "the eternal cherry branch". Yes, it sounds like quite a concept, but I think it brings a touch of poetry to any room, and you can make these little paper flowers in every possible color. Just imagine your branch decorated with dozens of little white balls... Have fun, and it seems to me that Mother's Day is just around the corner, so if you're short of ideas and especially broke, get your scissors! Speaking of mothers, this is too good an opportunity not to tell you about mine! She's just finished her second novel, a kind of psychological thriller that I found hard to put down! "Contrariété d'un gaucher" (Left-handedness) by Martine Thorre to add to your list of books to devour!
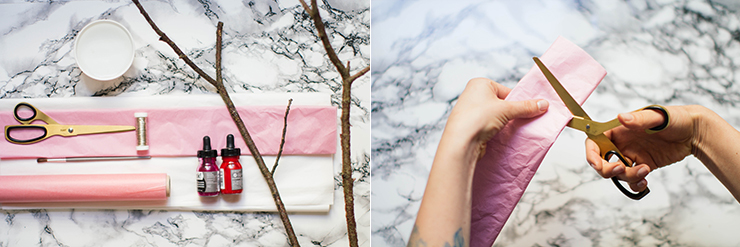
For this DIY, you'll need:
- -a pair of scissors,
- - fine brass wire,
- - tissue paper,
- - a beautifully branched branch,
- - brush and inks, and a little water.
Start by cutting a strip of tissue paper 10/12cm wide along the entire length of your roll, then fan-fold your strip along its entire length. Your fold value should be more or less equal to the 10/12cm width, so as to obtain a square once the whole strip has been folded.
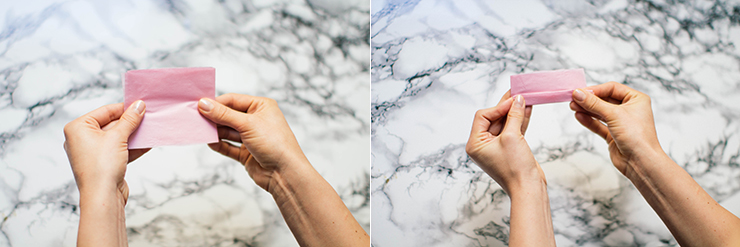
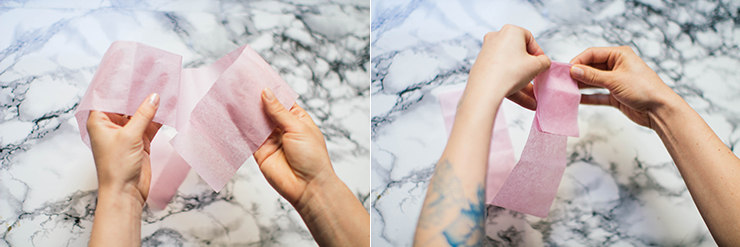
Then continue to fan-fold your multi-ply tissue paper square. But be careful, you need to fold about 1 cm, parallel to the edge where you don't have the previous folds.
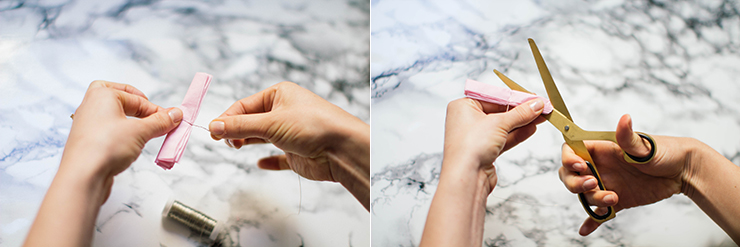
Once your fan is finished, take about 20cm of brass wire and loop it around the middle of your fan. Using scissors, cut off each end, rounding off the corners.
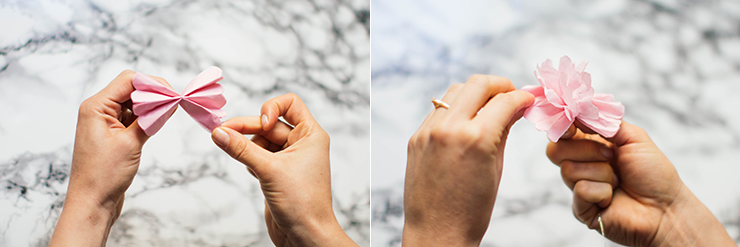
And you say to me, "Great, we've made a farfalle! Lift each layer of paper towards the middle of your bow tie. And there you have your flower...

Twist your brass wires and keep them long. For DIY enthusiasts, this is indeed how you make a paper pompon ball, with the only variation being that for this flower, all the layers of paper are lifted in the opposite direction to the brass wire, but if you want to make a pompon, you need to distribute the layers of paper evenly up and down so as to make the brass fastener disappear.
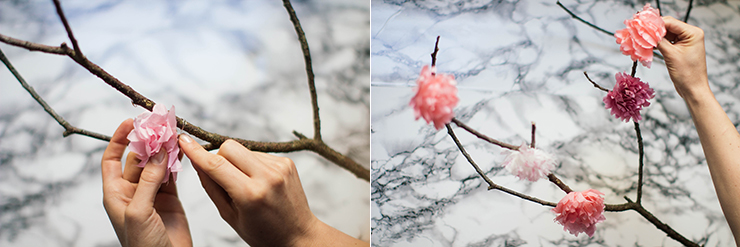
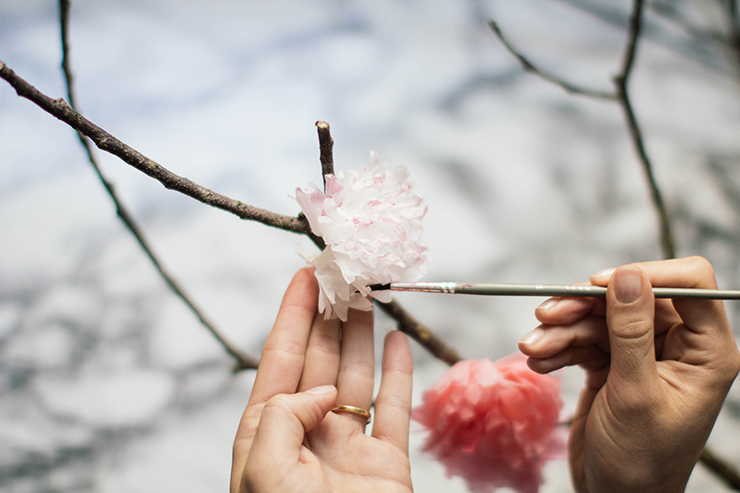
Thanks to the length of wire, you'll be able to attach your flowers to your branches and TA-DA! If you have inks, dilute them well in water and tint the petal tips of your lightest flowers.... Send us your creations!