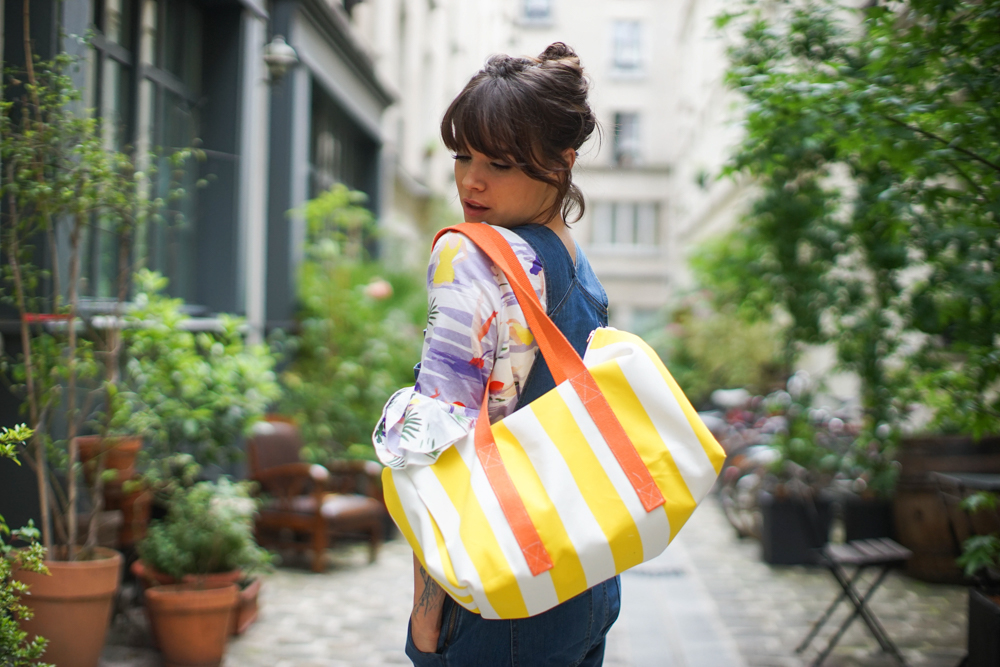
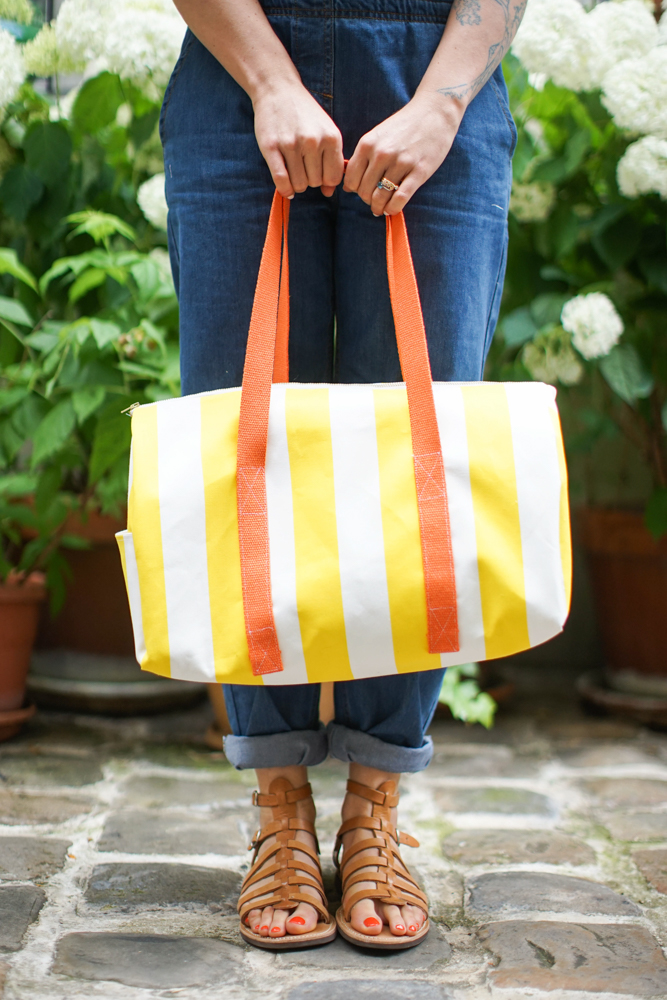
DIY bowling bag

Hello there!
As promised, today we're giving you a step-by-step guide to the bowling bag we imagined for the very latest workshop ! Don't panic, contrary to appearances, it's not difficult at all. With a little patience, you'll finish it in an afternoon, and for the last step, you can even sew by hand in front of your favorite TV show. This bag is, of course, modifiable: you can make it with two side pockets on the outside, shorten the handles, play with materials... Amaze us!
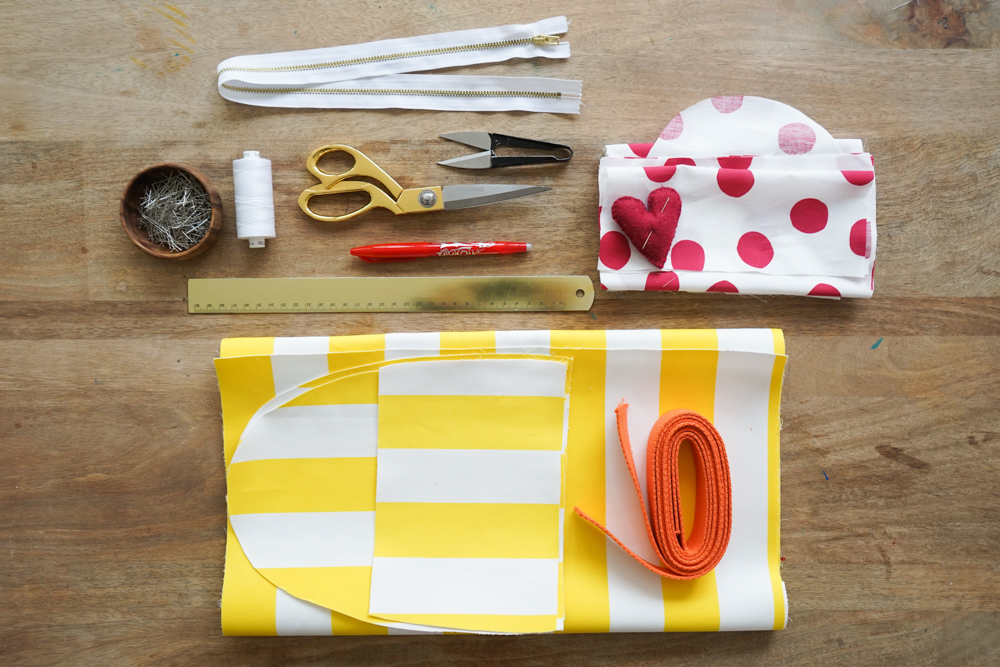
For this DIY you'll need :
- the bag pattern you can download here,
- 1m of strong fabric,
- 1m lining,
- 2x1.30m of 3cm-wide cotton strip for handles (you can use coarse-grain),
- a 45 cm visible zip, but you can use longer,
- scissors or thread cutter,
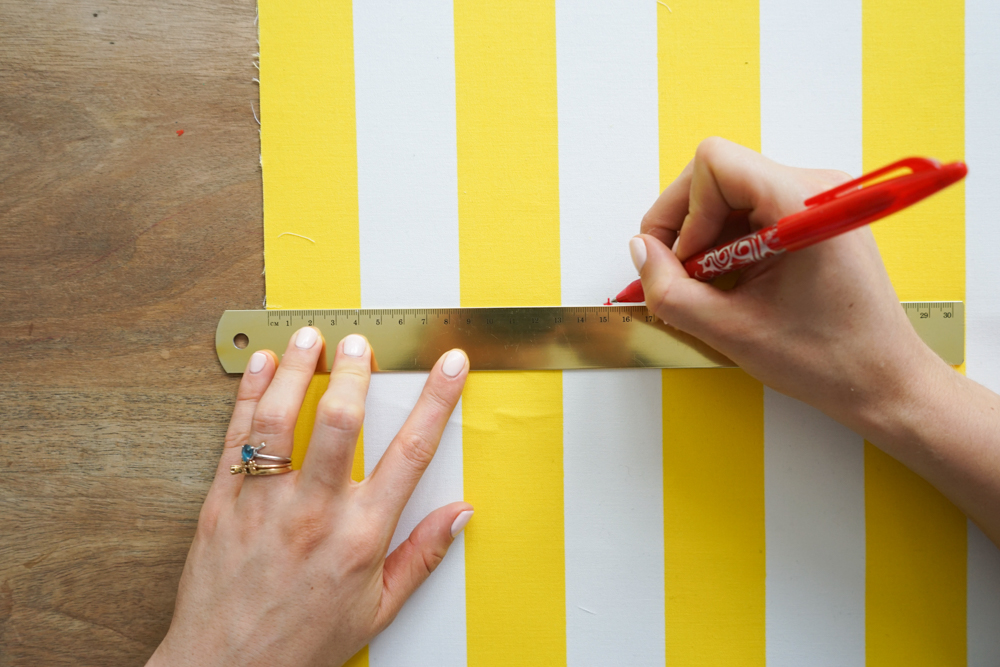
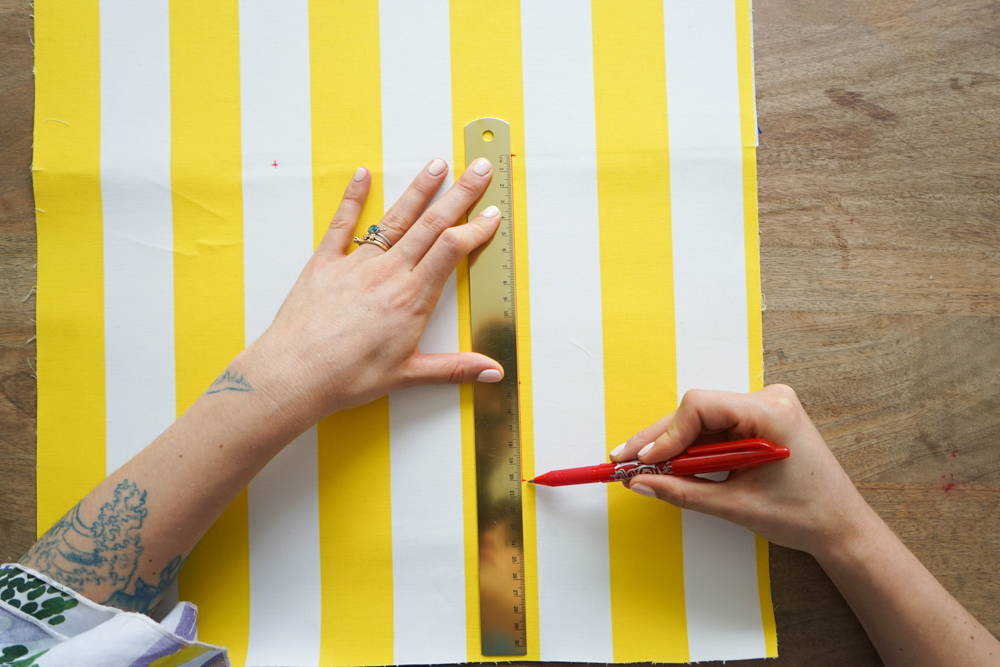
- pencil or erasable pen,
- thread and needle.
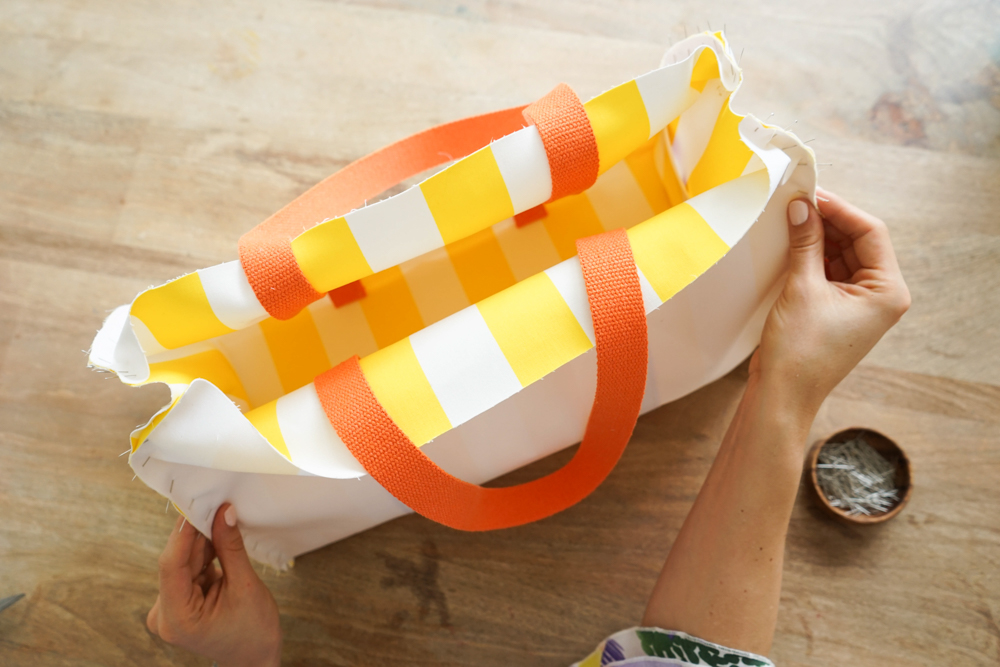
Let's start with the main part (part 1) of the bag. We're going to stitch the handles. You can follow the stitches shown, or turn them up a little if you want the handles to be short.
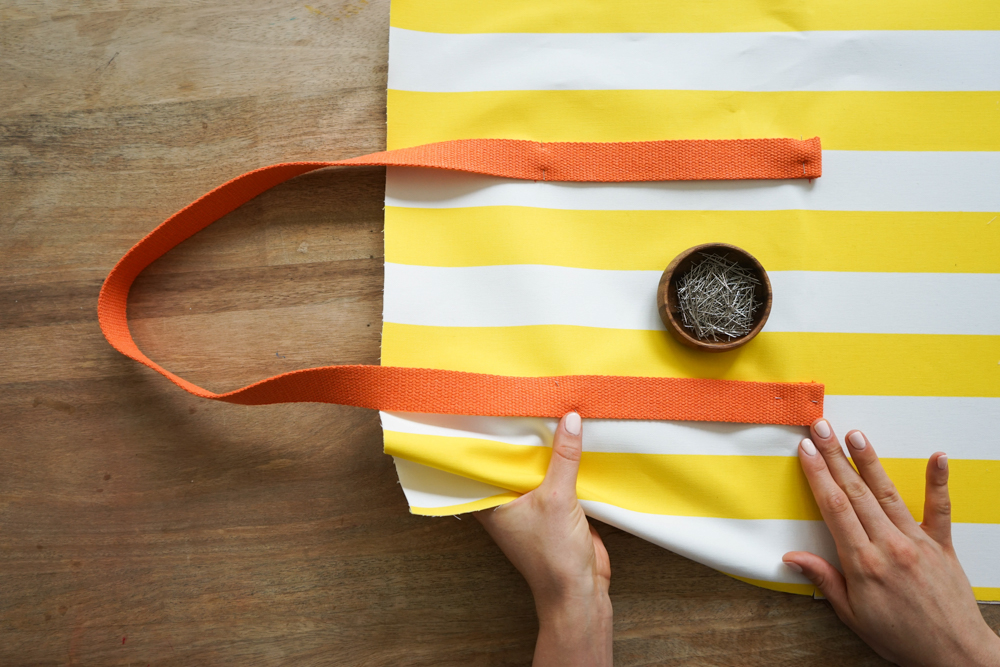
Do the same on the other side. Position the handles and pin them, folding the free edge 1 cm inwards.
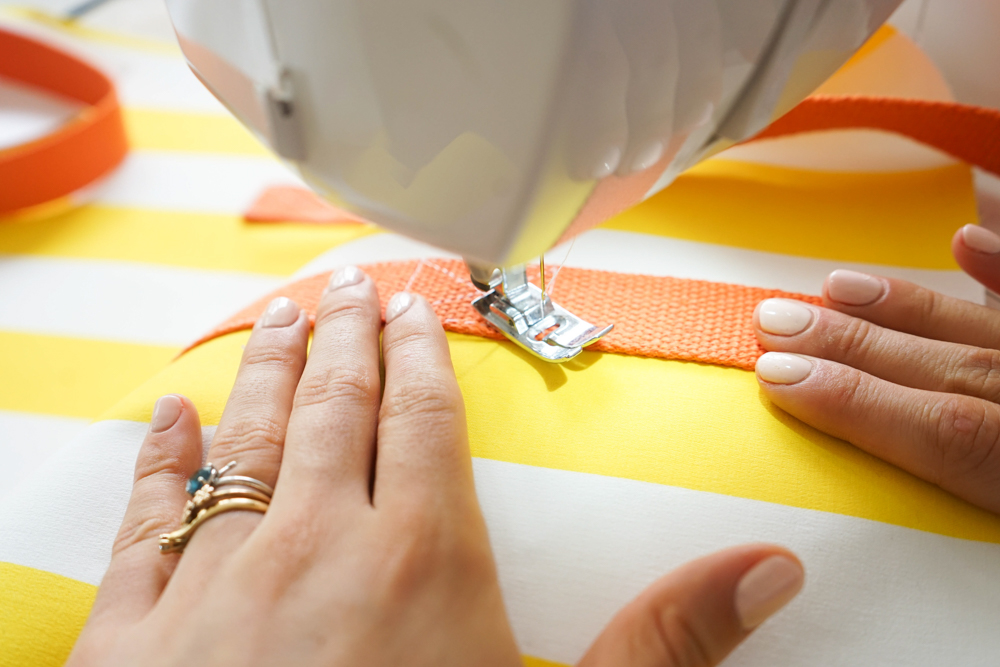

Stitch with a cross to hold. To make it even prettier and more solid, you can make a second cross a little higher up at the pointing closest to the edge.
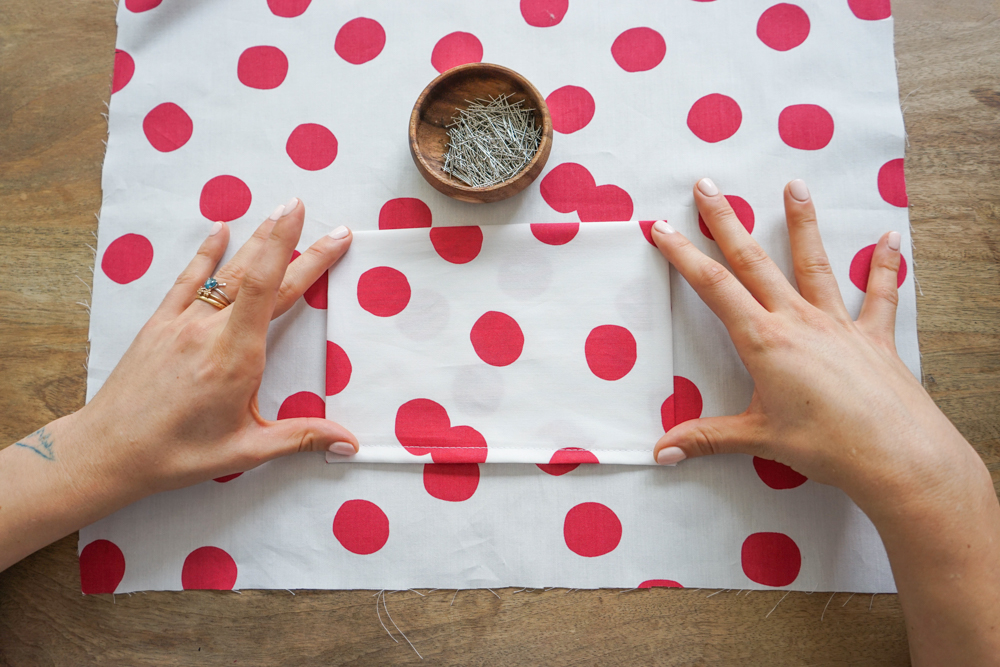
Move on to the side pocket. You can make 1 or 2, as you wish. Take piece 3, cut from fabric and lining. Place the lining on the fabric, right sides together, and stitch the top at 1 cm. Turn and press.
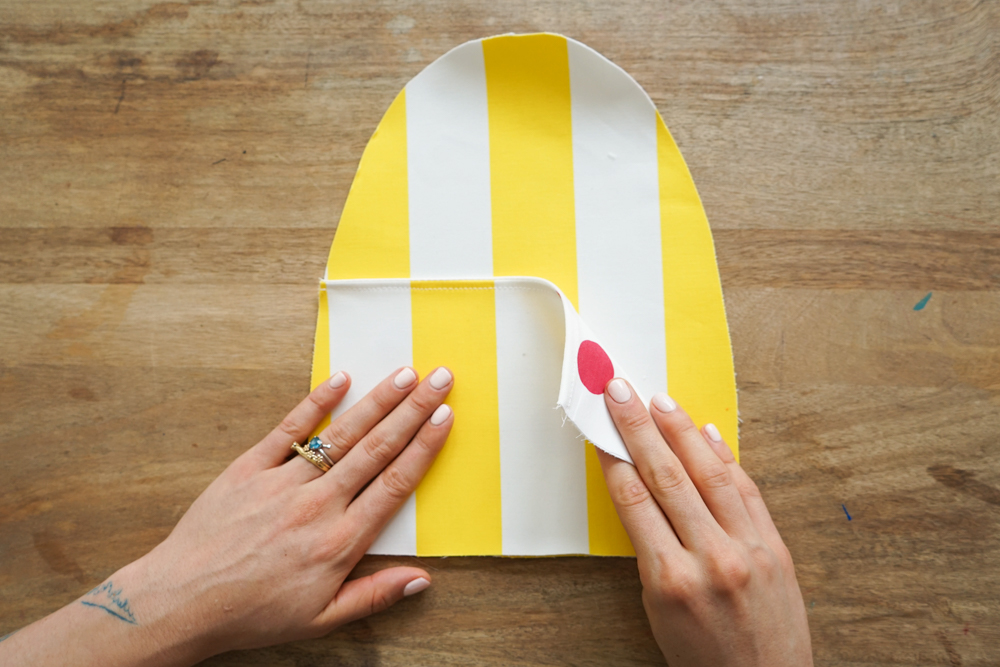
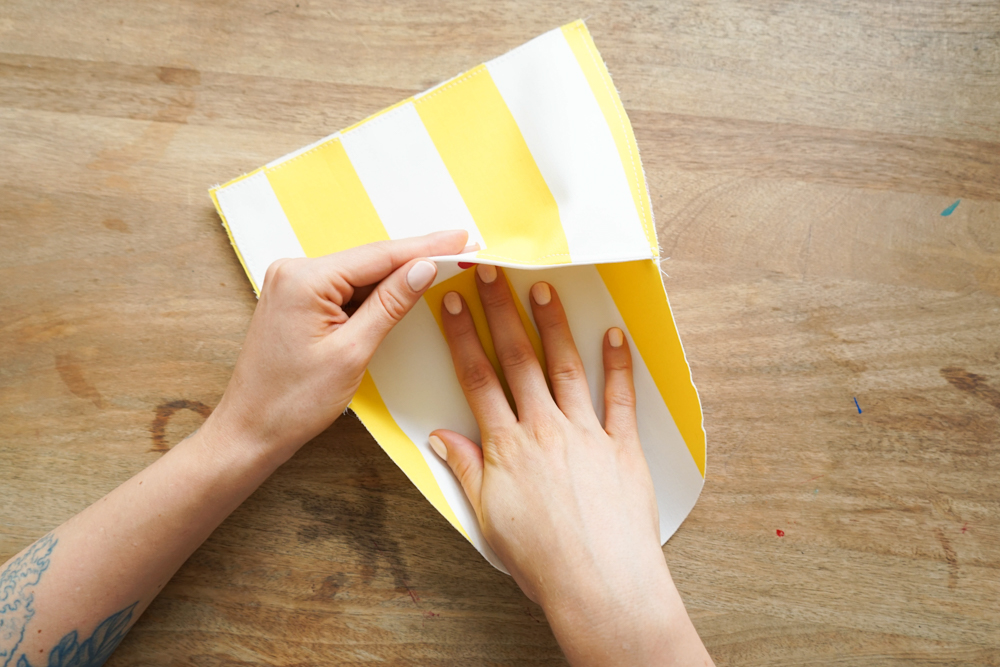
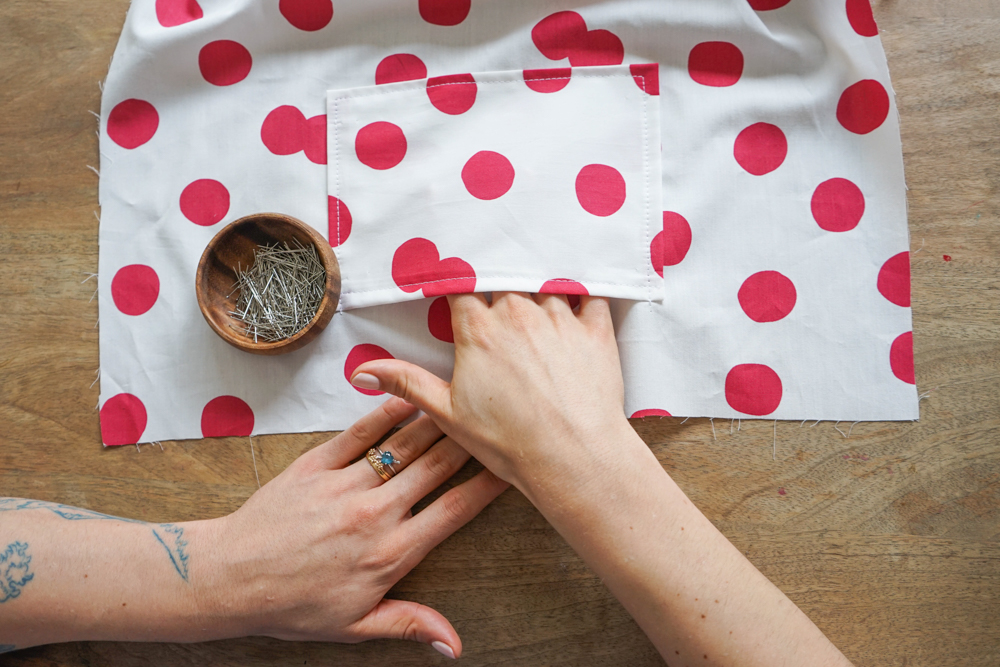
Place the pocket on the side of the bag (part 2) cut from fabric. Lines should coincide. Stitch at 0.5 cm all around, except at the entrance, to hold the two pieces together.
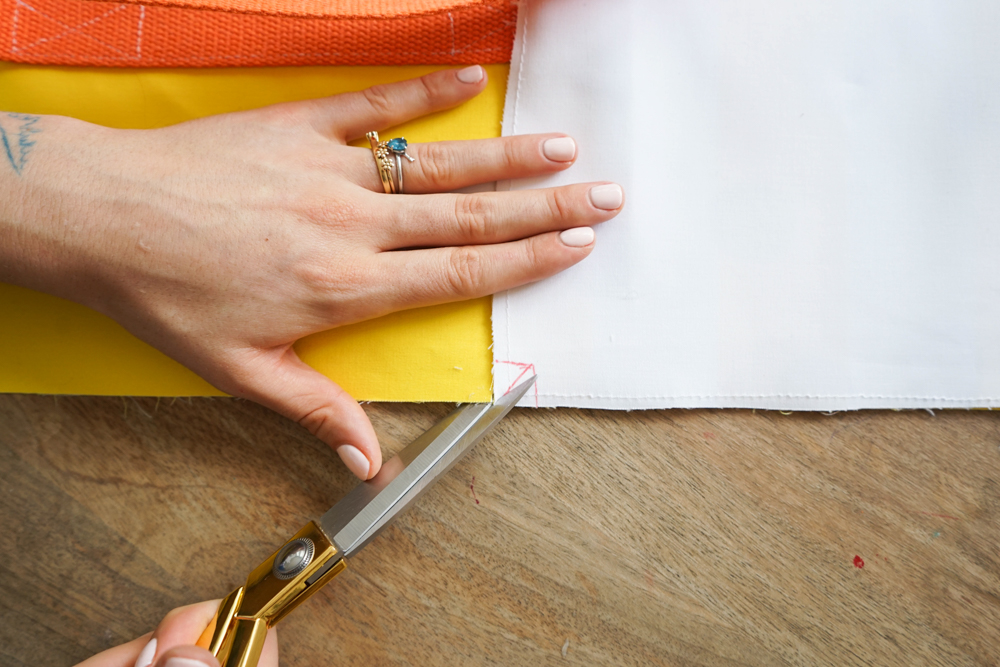
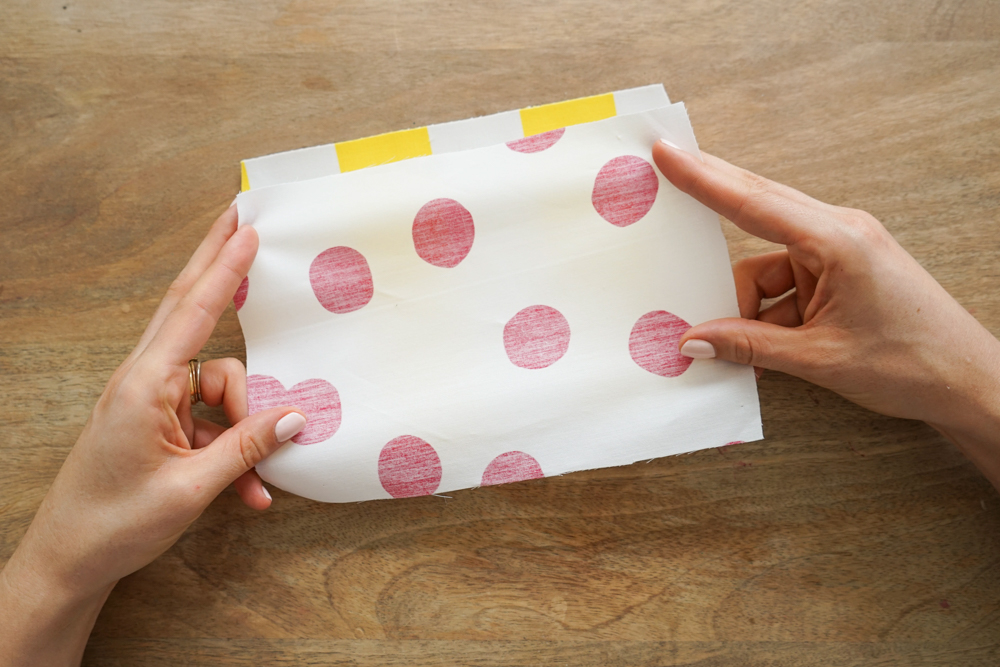
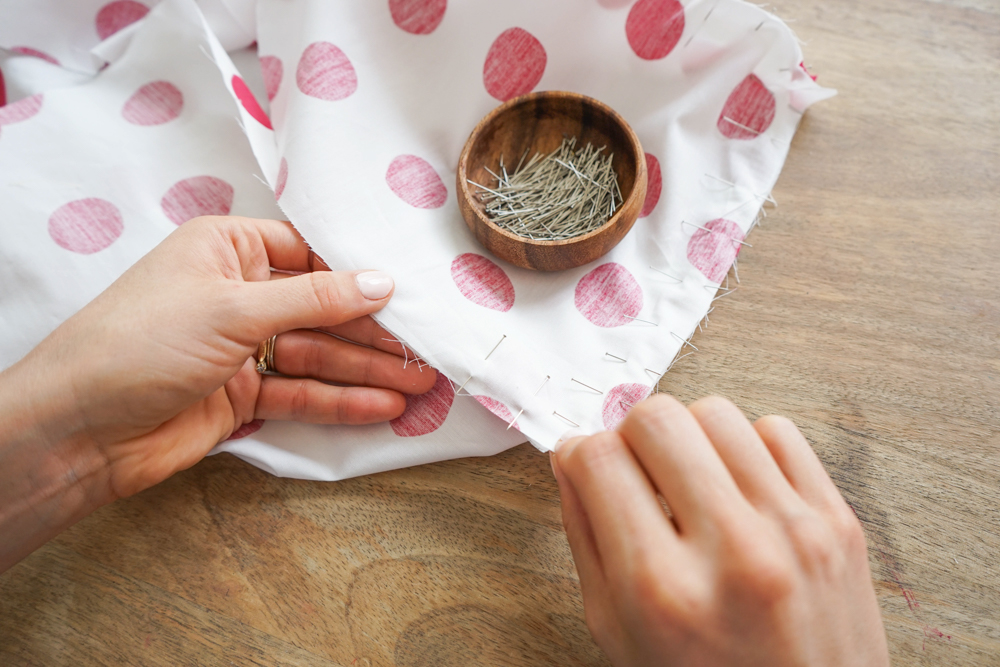
Place the side on top of part 1, respecting the notches. Cut diagonally across the corner, as shown in the photo, for just under 1 cm. Pin in place.
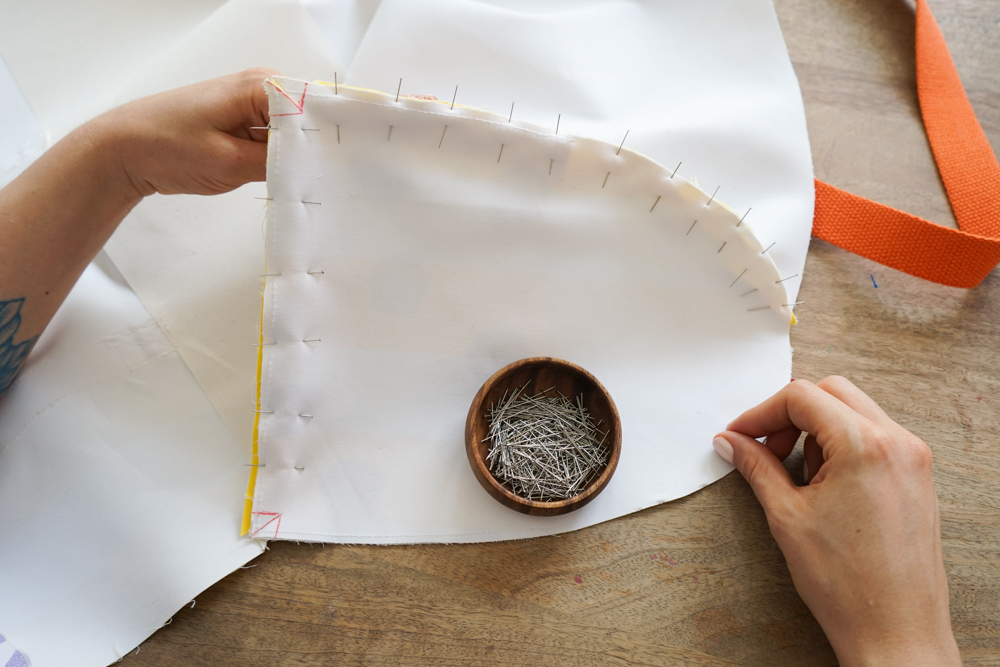
Pin the curves of the side with the lines of the main part (part 1). This is how it should look. Stitch at 1 cm all around to hold.
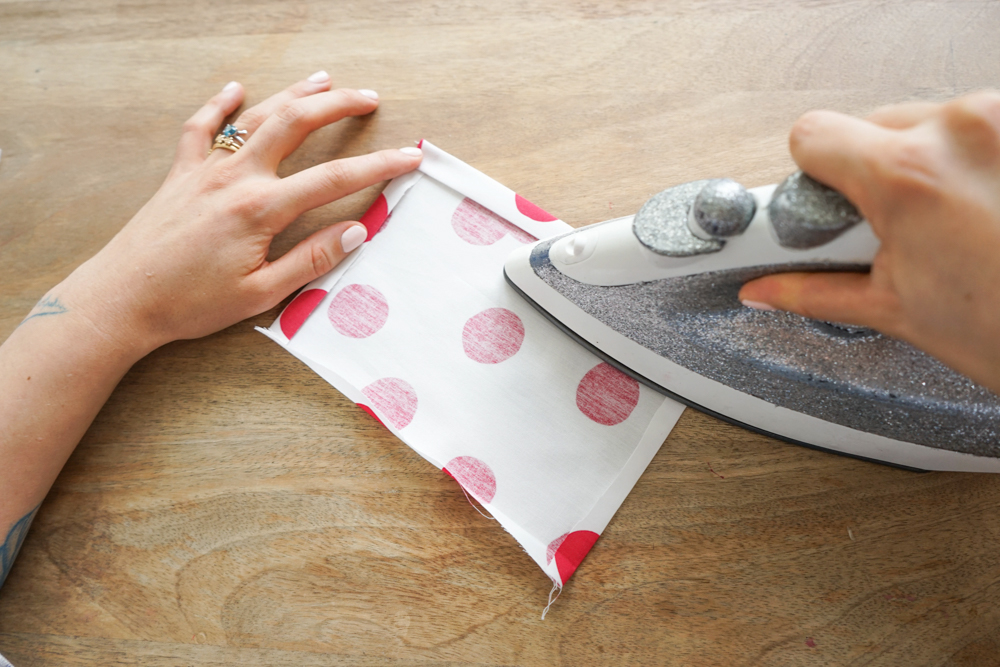
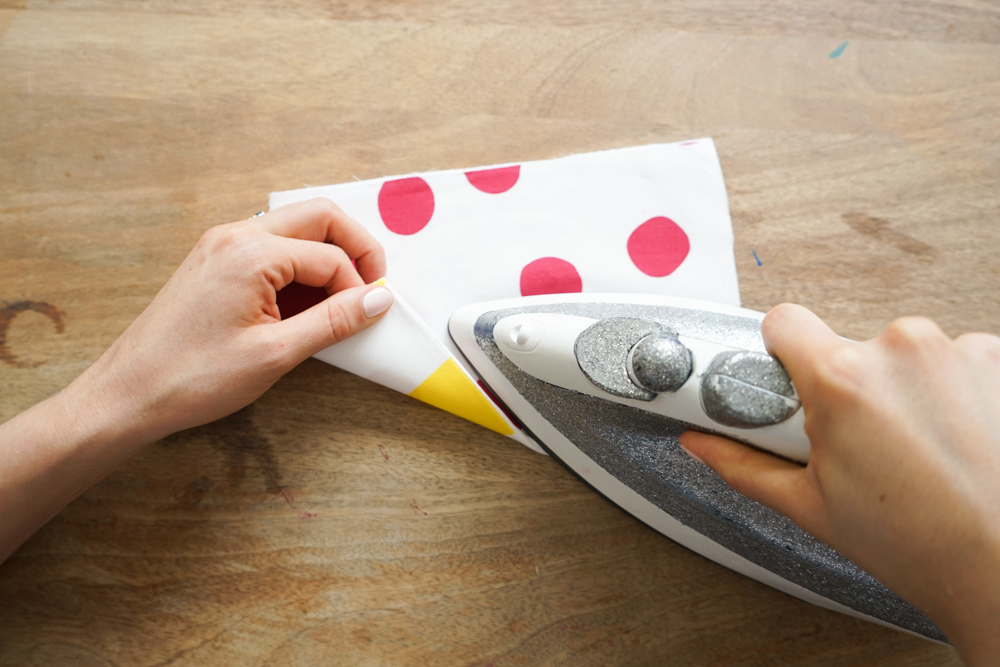
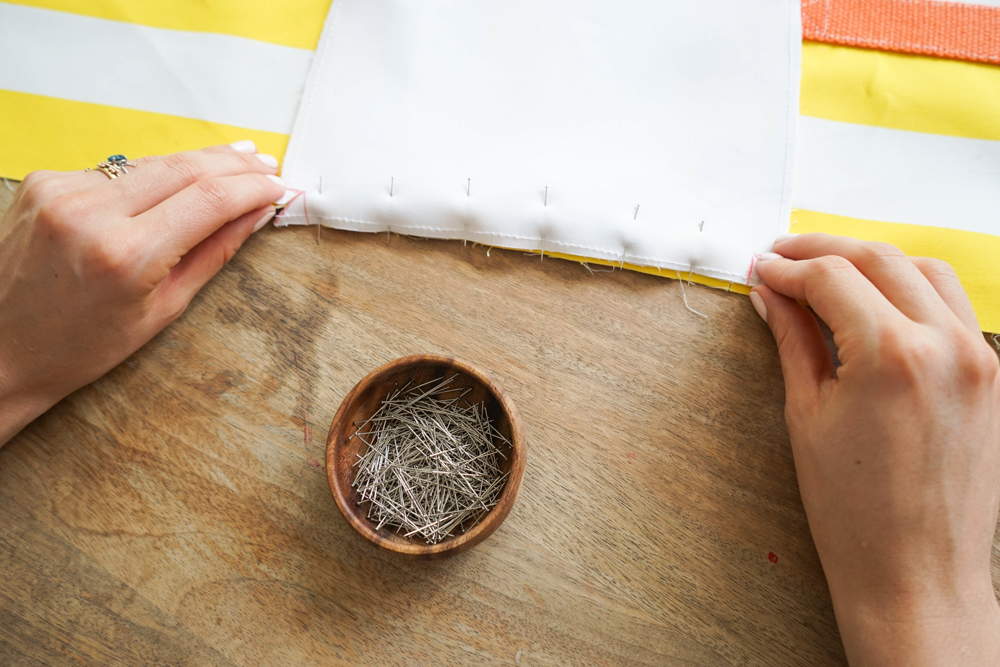
Your bag is starting to take shape! Let's move on to the lining. Take piece 4. Iron 2 x 1 cm on the top and 1 x 1 cm on the sides. Stitch the top at 0.75 cm or 0.5 cm.
Position the pocket on the lining of part 1 as desired. Stitch at 0.5 cm all around the pocket except for the entrance.
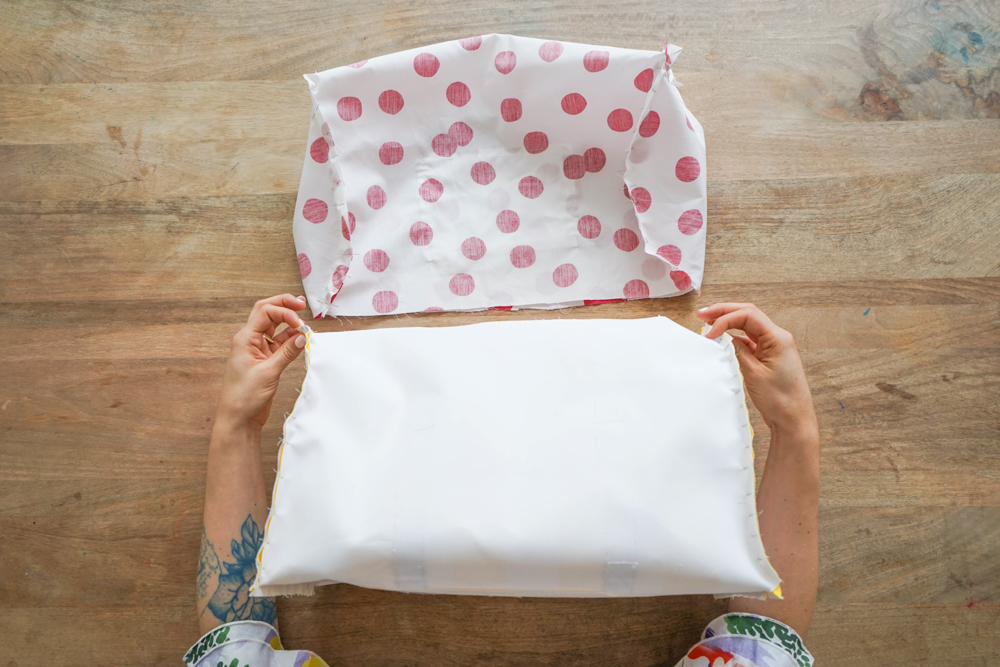
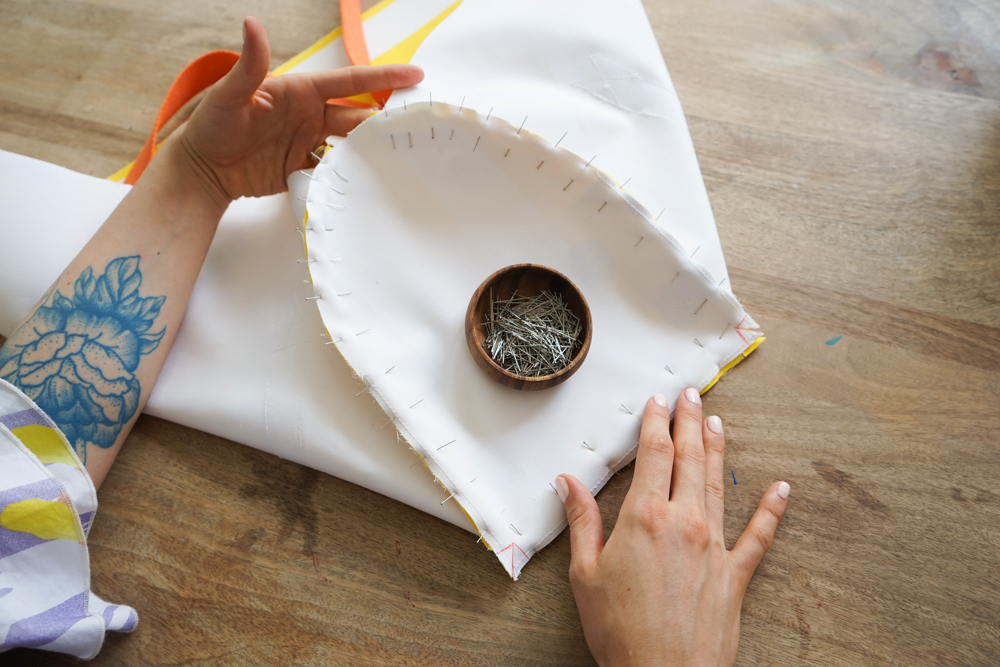
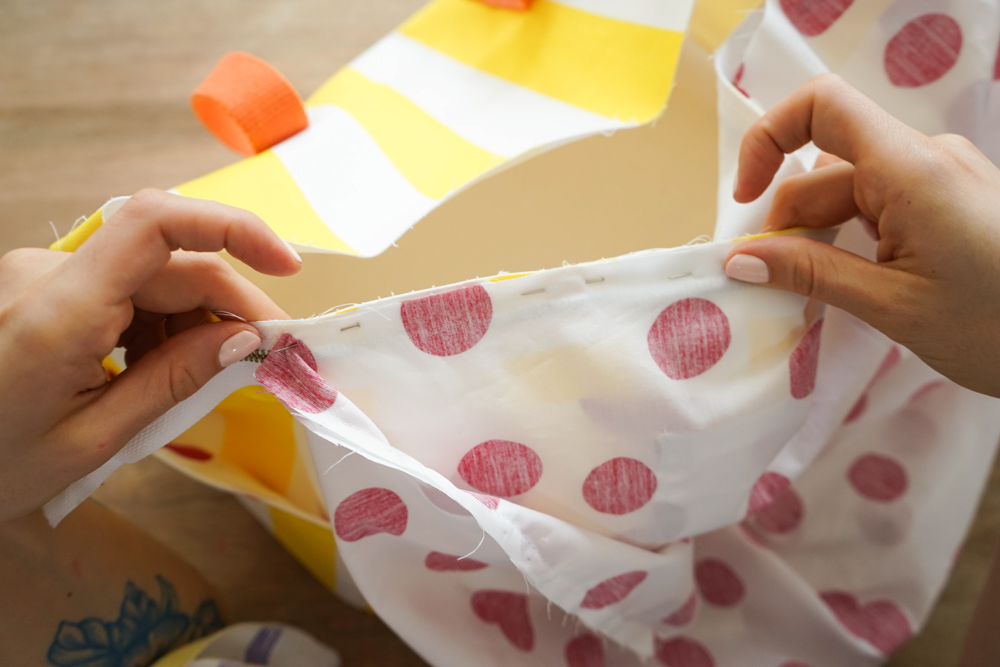
Pin part 2, cut from the lining, to part 1, also cut from the lining. This step should ring a bell! Stitch at 1 cm. Now you've got the lining done and the "body" of the bag done.
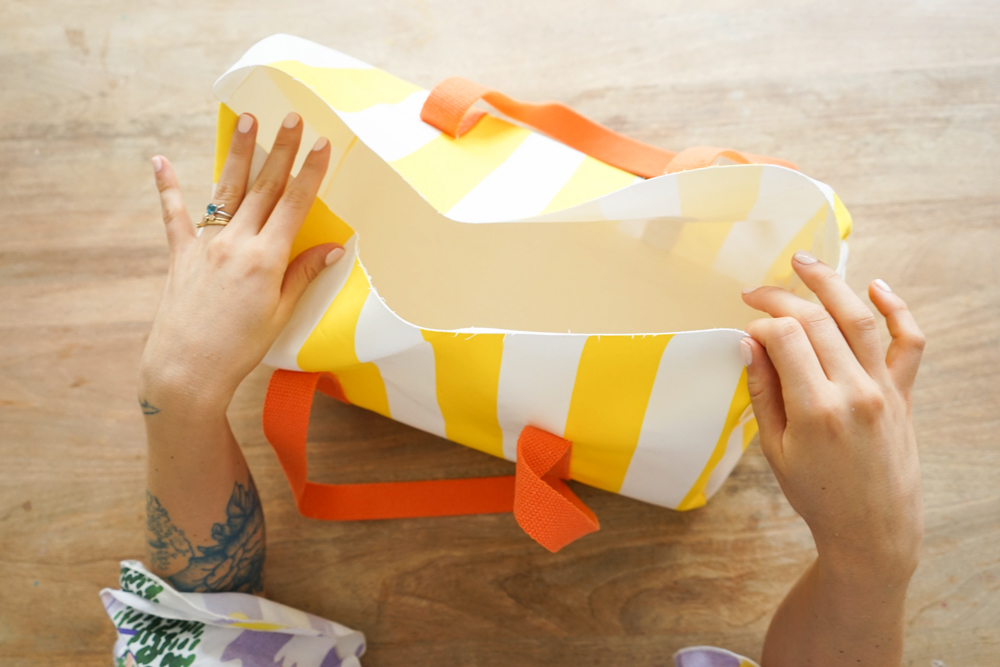
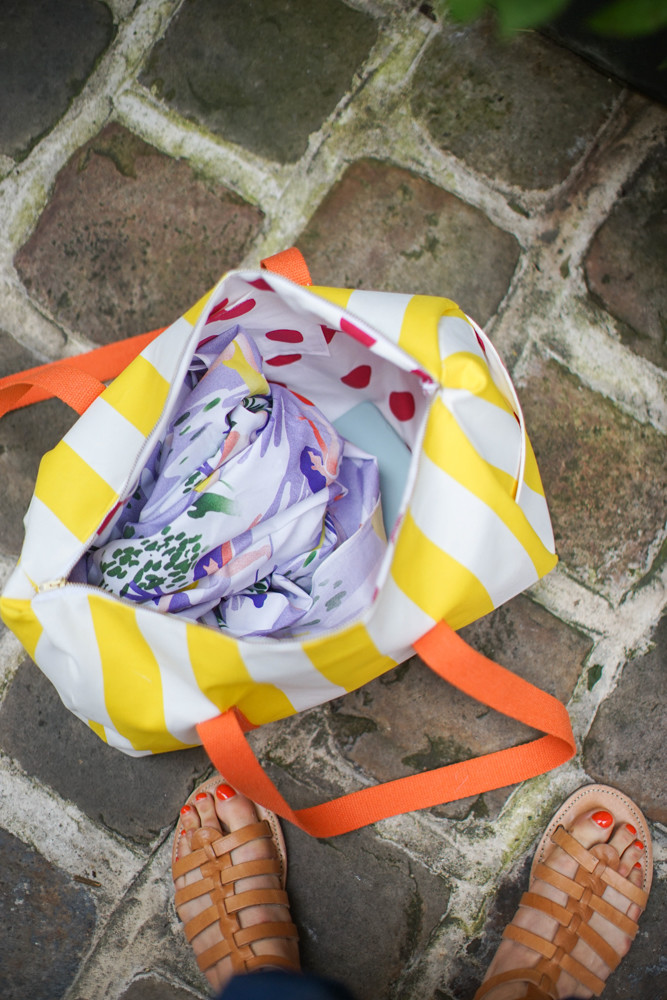
Turn the bag inside out. Insert the lining to better visualize the next steps.
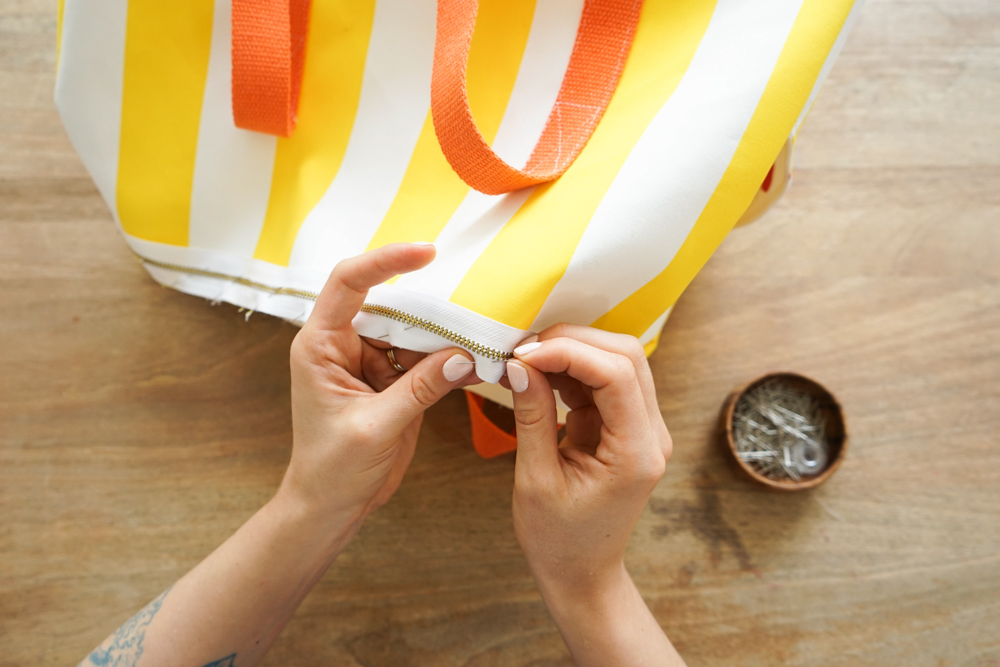
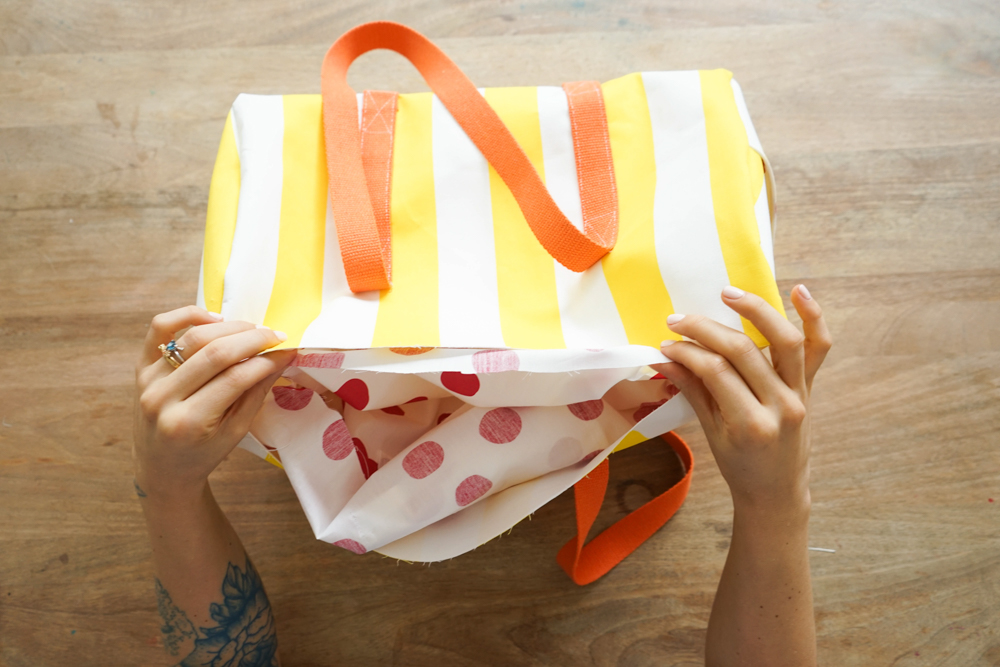
Pin one side of the zipper to the front of the bag, right sides together. Pin the edge of the lining back on top, right sides together. Stitch as close as possible to the zipper teeth. Turn over.
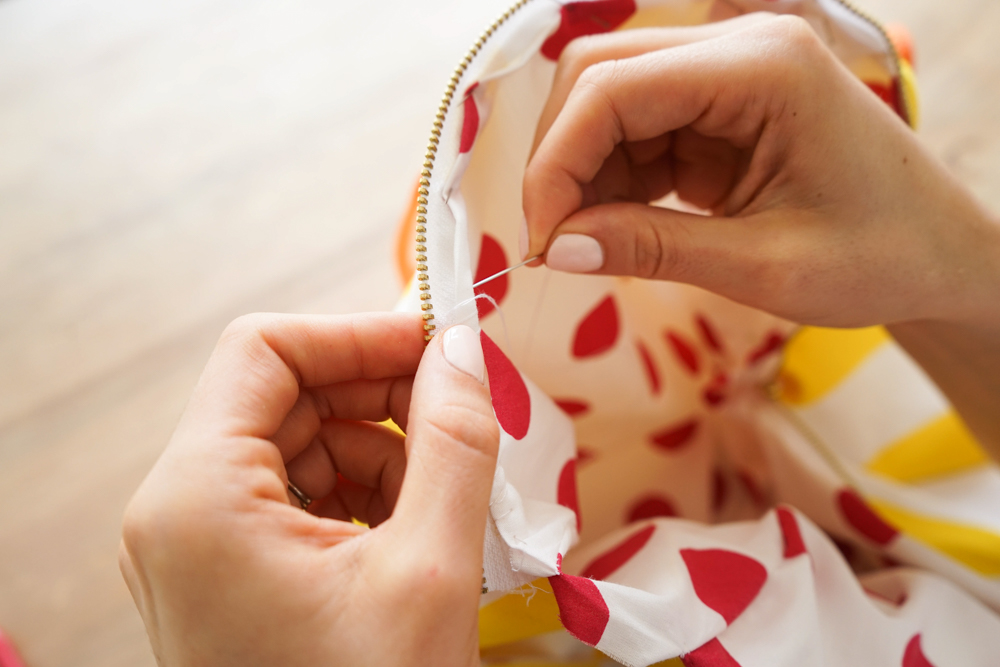
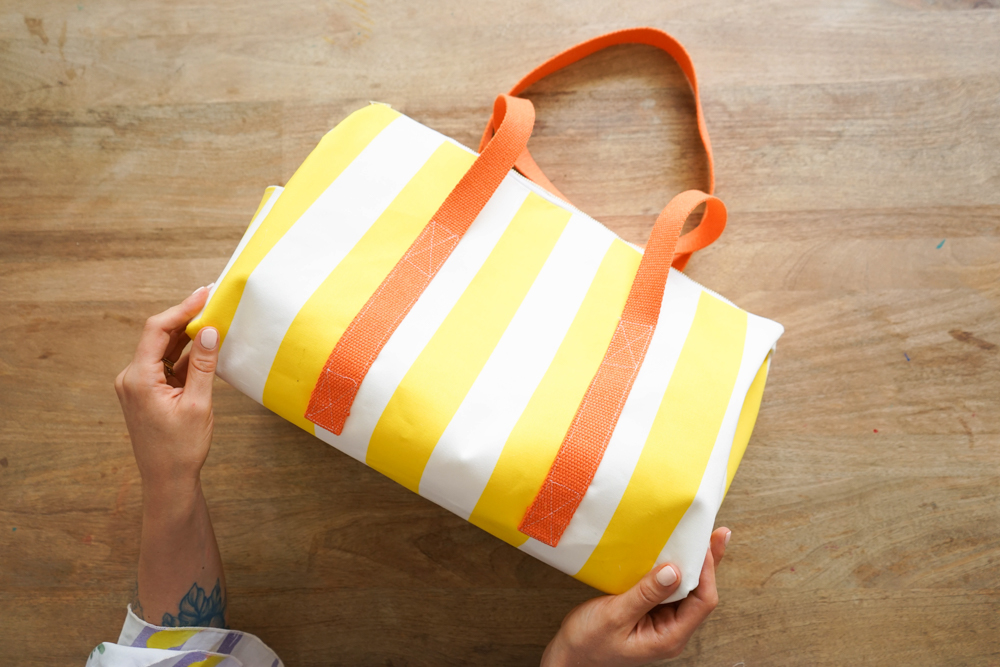
On the other side, you can pin the zipper stitch to the bag and machine-stitch, but we recommend hanging the other side of the lining by hand. And TA-DA! Your tote bowling bag will become your best companion!