It's my party
Oyé my little chickens!
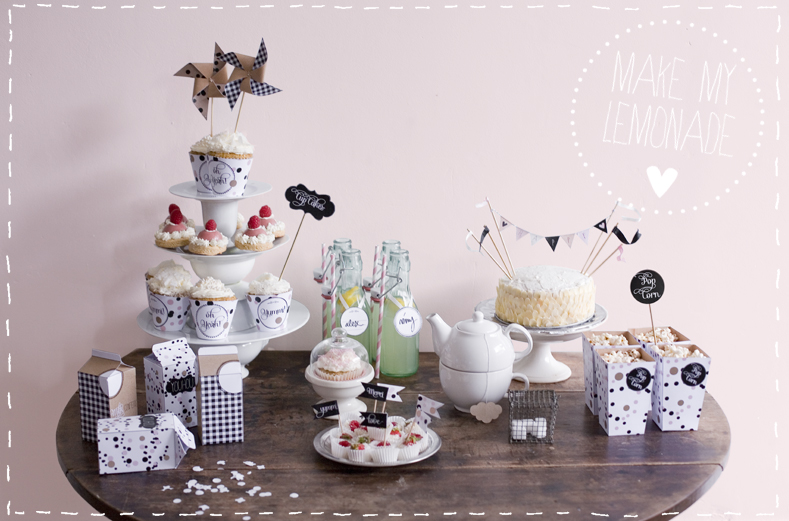
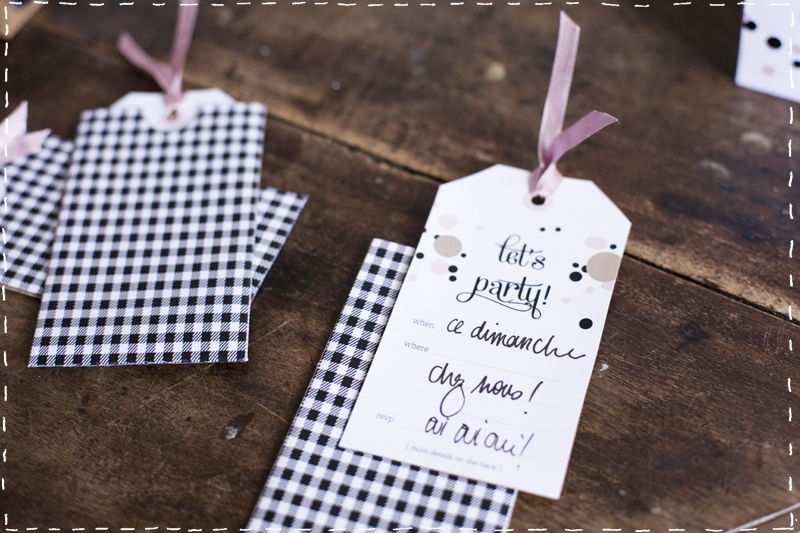
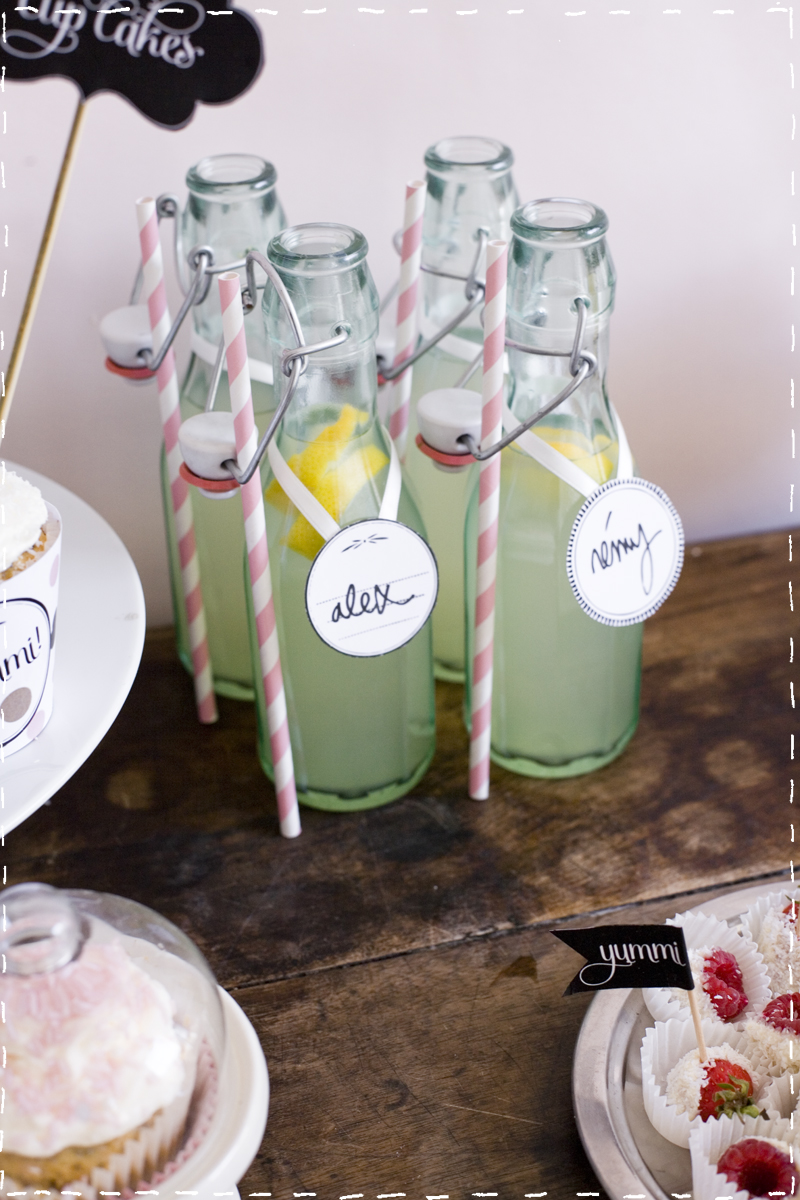
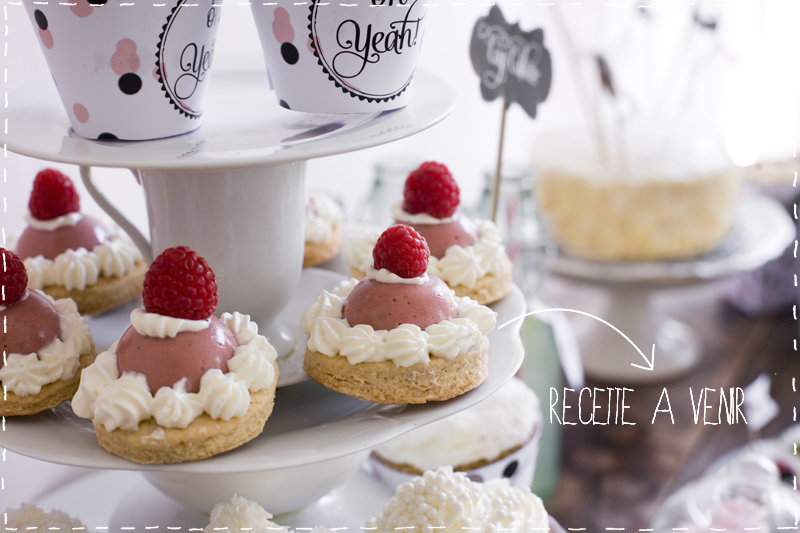
I promised you new things for this week, well not DIY in the classic sense of the word, at least in my opinion, because I don't think there's a D.I.Y. manifesto anymore... Anyway, I wanted to get back in touch with my first articles on this blog about "the art of the table"... And it was also a pretext for reinterpretation. Let me explain, a few weeks ago Laure Faraggi author of a book on "sweet tables as they call them, asked me to run a workshop for the book release, and so create a kit for a sweet table... I know you're staring at your screen with big round eyes... I had no idea what we were talking about either, and then I caught a glimpse of a sweet world of marshmallows, macaroons and satin bows. So... I said to myself, this isn't my world, we agree, but I'd loved preparing our Christmas 2011 so much that I thought why not, it's a challenge and I'll meet people from behind my screen... And Laure was so passionate about it that I decided to go for it. I hope you like it, and I've attached a kit for you to download, because if, like me, almost all your loved ones were born in June, July and August, it might come in handy if you're short of inspiration...
Ps: Unluckily, a quasi-diplomatic incident occurred with the prints of this kit on the evening of the launch, so no workshop for me, but for those who were present that evening: a thousand apologies, I hope I can make up for it with these few images.
the KIT is DOWNLOAD IT HERE
For the windmill, you need to print the template on the kit on fairly thick paper and glue the back with a colored sheet or, as here, kraft paper. Cut along the notches fig. 2, using a needle, drill holes in each corner fig. 3 (always on the same side of the notch) and in the center. Fold the pierced points over the center of the mill fig.4. Using mini Parisian fasteners (which I found in the scrapbooking section of Rougié & Plé), thread each of the holes (points and center) fig.5 then turn your mill upside down and open the Parisian fastener fig.6. Equip yourself with stickers and a skewer fig.7. Place the pick on the center of the mill and fix it in place with the sticker fig. 8. For greater sturdiness, you can also glue the part of the pick that will be in contact with the mill, then stick on the sticker.
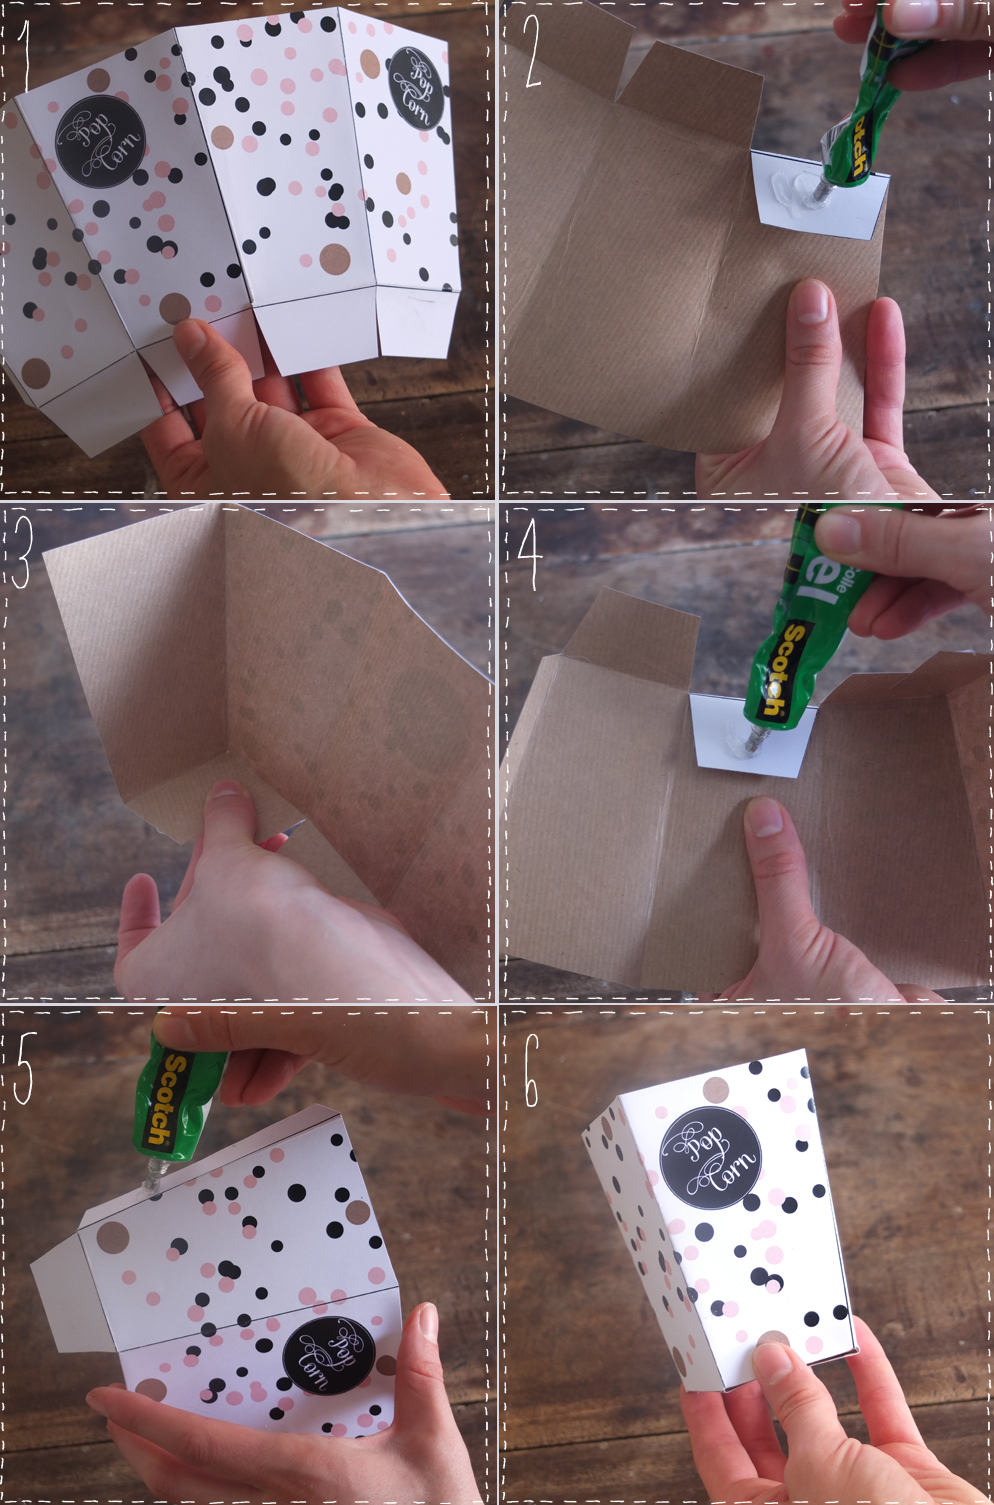
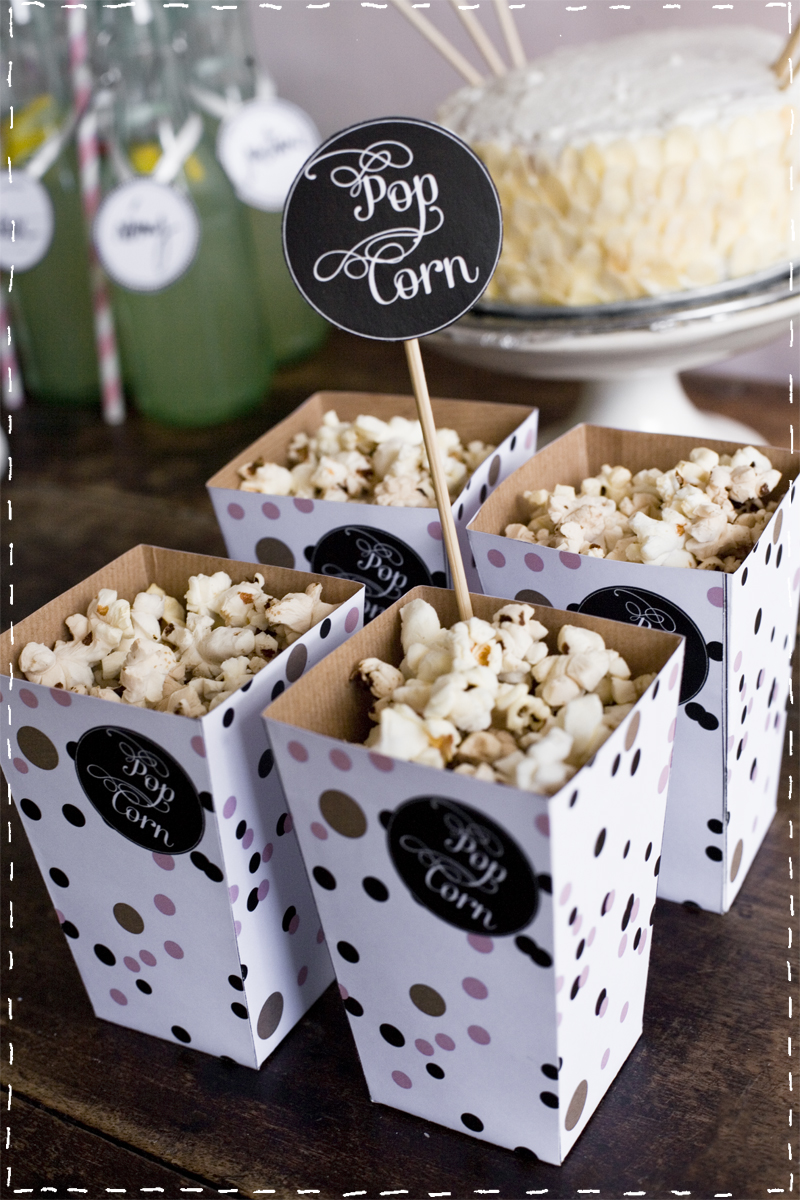
For the popcorn boxes, as for the windmill, I've lined the base with kraft paper, but my attention to detail can sometimes be superficial... so there's no obligation... Start by gluing the first flap fig. 2, and attach it to the one next to it fig. 3. Do the same for the following ones fig. 4. And for the last one and the long flap on the side, hold both of them firmly, just long enough for the glue to set and for your box not to open when full...
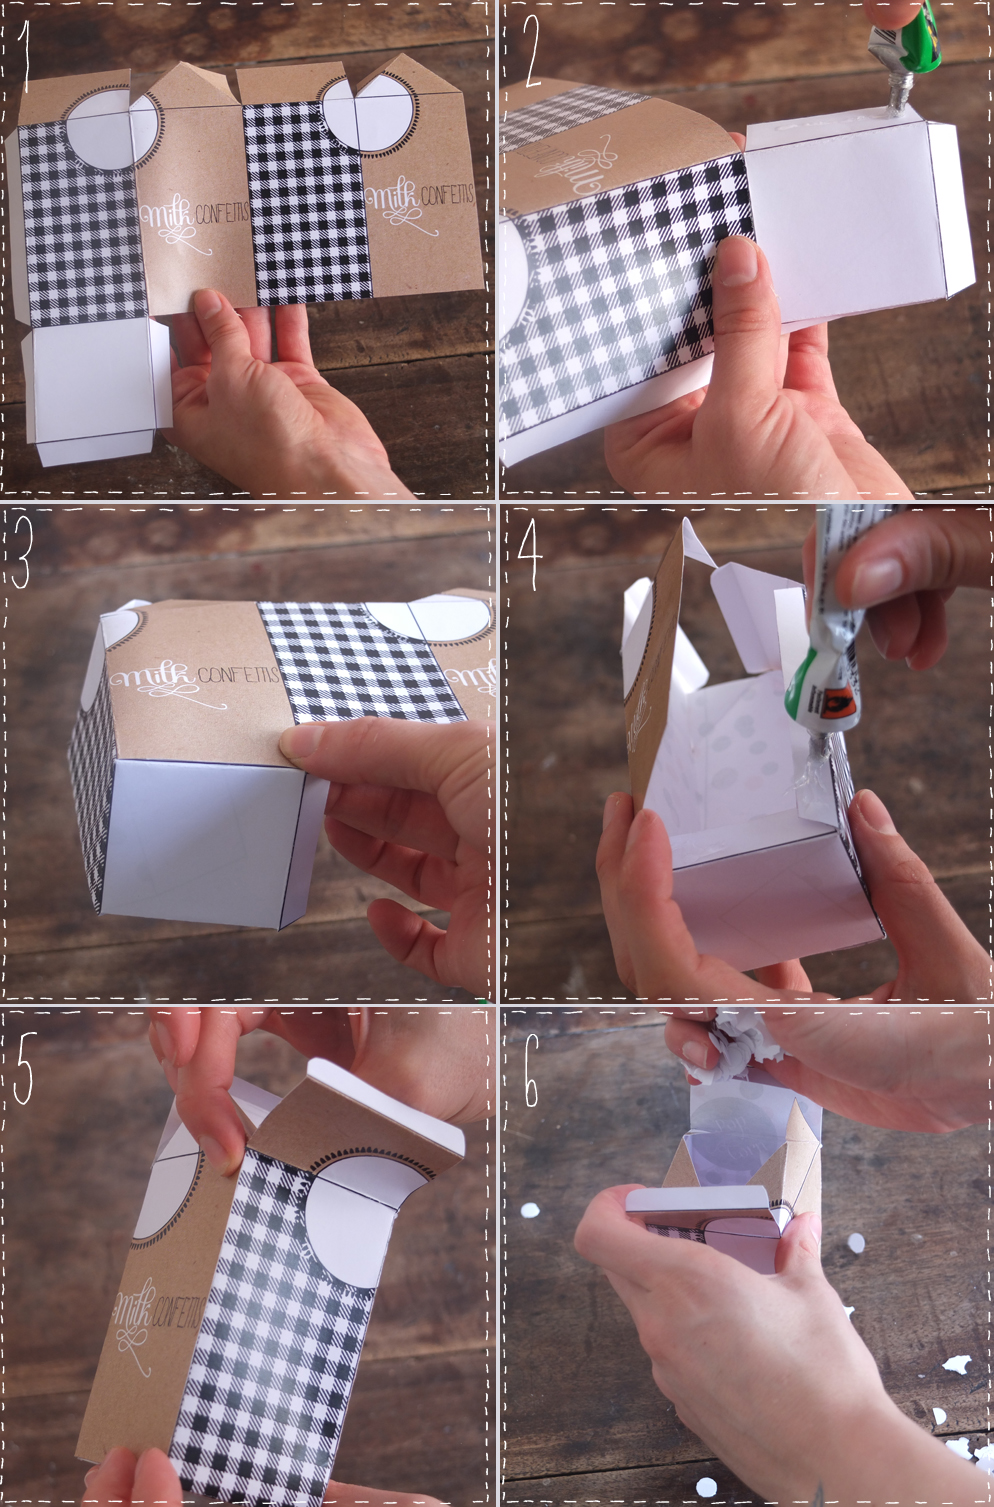
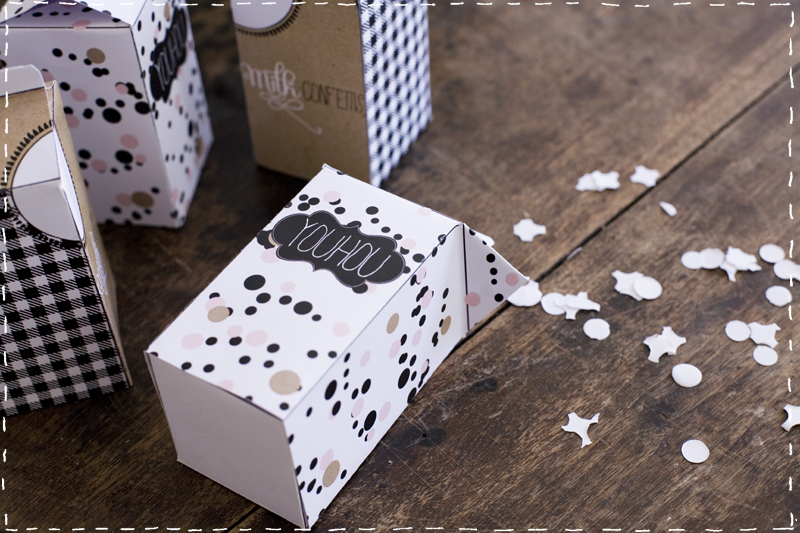
And the little milk carton... Cut out the pattern, printed on thick paper, and bend all the edges - this will help you for the rest of the process. Also bend the dotted lines fig.1. Next, glue the 3 tabs on the base, and attach them to all sides of the brick fig. 2 & 3. Finish with the last tab and the long one on the side, as for popcorn boxes fig.4. Hold firmly for a few moments fig. 5. Fill your bricks with confetti halfway up or more, as you see fit... you're the one who'll be doing the cleaning anyway!
As a bonus, here's a song I love... and it's ready, isn't it?
Thank you Davina for your patience!


