


DIY TURBAN[:]
It's do it yourself Wednesday!
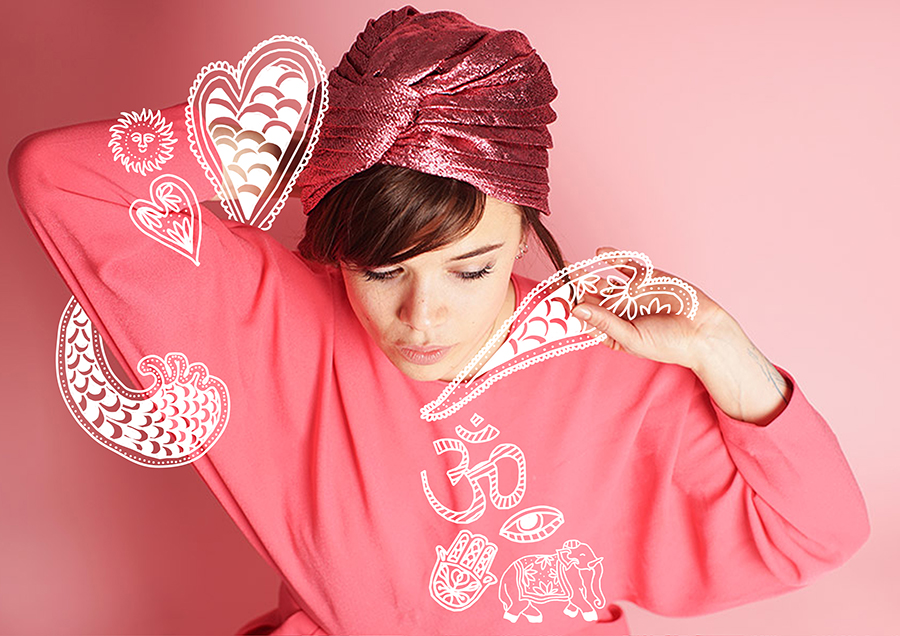
I've always been fascinated by the Indian Sikh men that wear turbans, I admire the way they knot them, it seems like there are meters and meters of fabric, always ending up with the same result... Multiple times, we saw vendors in markets selling premade turbans, but I felt like these were more like a costume and I wanted to take back the real deal... I wanted to learn how to knot it myself... Since then, each time I see a colored turban, my heart skips a beat... So I don't know exactly where this feeling comes from, if it's a reminder of my trip, from the Wes Anderson's movie 'The Darjeeling Limited' or even the movie Moulin Rouge (?!), or probably the pictures I've seen or from a Bollywood film we saw... But when I found this pattern for a vintage turban, I wanted to make it inbubble gum pink! Laure, our sweet darling in charge of making patterns reworked it to make it easier, but it's still an accessory you should take your time on. I was surprised to see that she baptized it 'Shiva', I think that it's a referenceto everyone in the office capable of doing 10 things at the same time... I'll let you go get to it!
Lisa

Hello to all sewing ladies (and guys)!
To start off this week on the theme of India (it's a feast for the eyes), here's a little sewing DIY that'll teach you how to make our Shiva turban. It's a real turban, not a simple scarf knotted a couple of times, with nice smooth pleats, and a hatlike base, that way it can't undo itself. Lisa and I have had this DIY in mind for... a long time, a very long time. But it's never been the right moment to share it with you. We were inspired by a 40s vintage pattern that we've changed up and it's availablein three different sizes to that it can be worn by all heads! Here's a little tip: if you realize it's too big, go ahead and tighten it in the back during the last step.
To make this Shiva turban, you'll need.
- 1 m of fabric 140cm wide,
- 1 m mesh interfacing, if your fabric is a little flimsy
- the pattern can be downloaded here (and printed on A4 and US letter format paper)
- a sewing machine,
- needle, and thread
- scissors
- a ruler and dressmaker's chalk,
- a bucket or empty flowerpot (or a head) you'll understand why soon
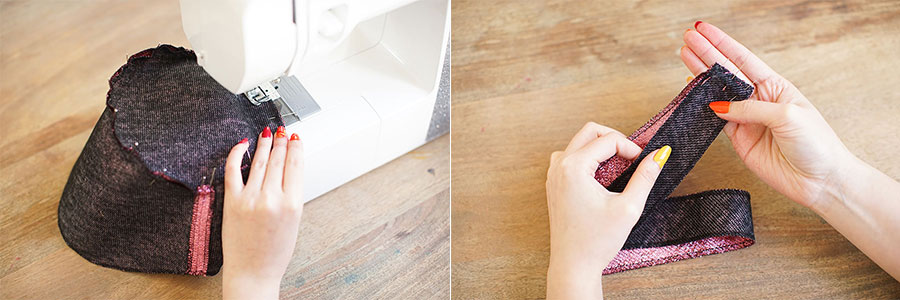
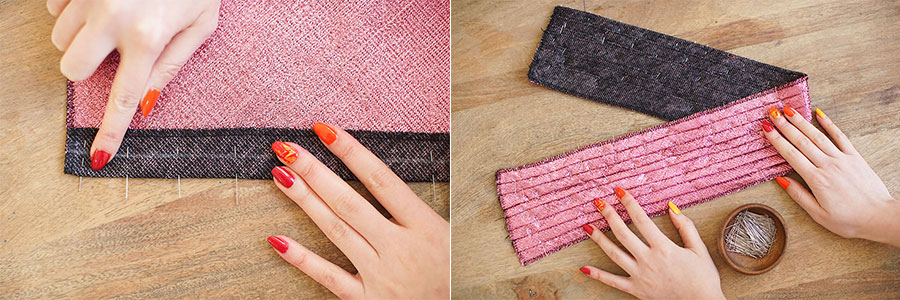
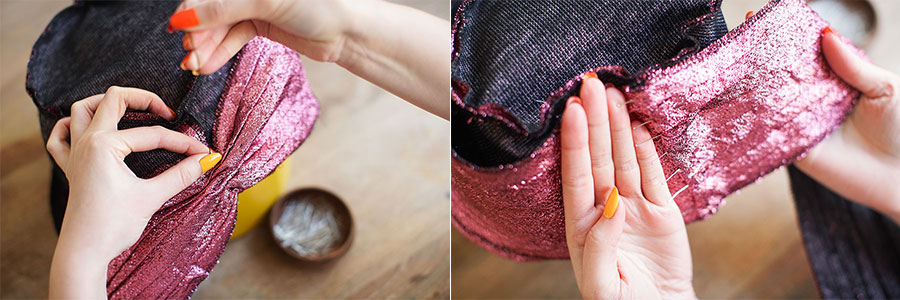
To start, cut all the pieces out following the instructions, using interfacing if necessary, and overcast the edges if the fabric frays too much. Start with the base. Pin the middle in front, sides together and stitch at 1 cm.
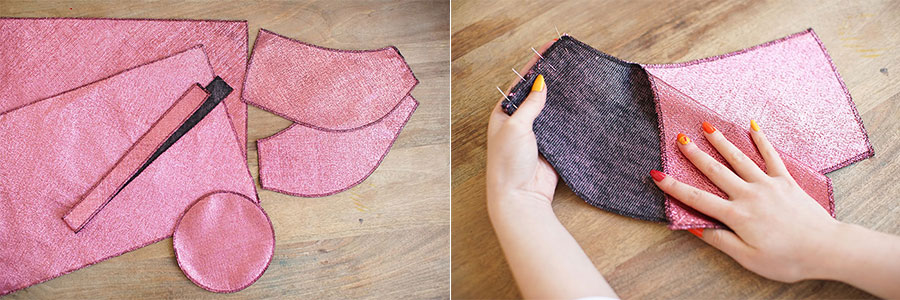
Next, pin the middle of the back, stitchat 1cm. Iron open the seam .
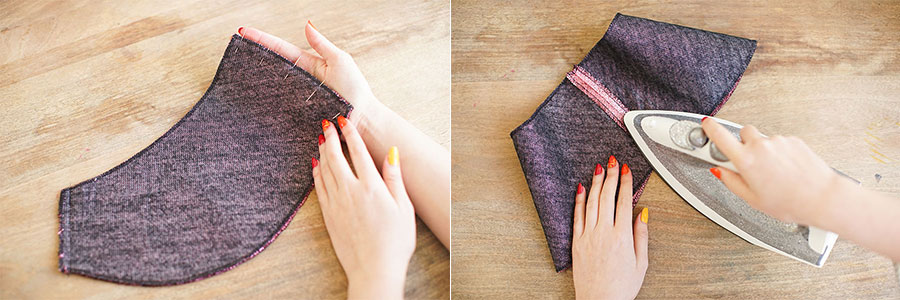
Take the curve at the base . Pin it at the base, sides together. Go ahead and pull on the fabric a little bit so it all lines up.
Stitch at 1 cm (take your time). Set it aside. Take the biasand pin the free sides down, sides together, and stitch at 1 cm.
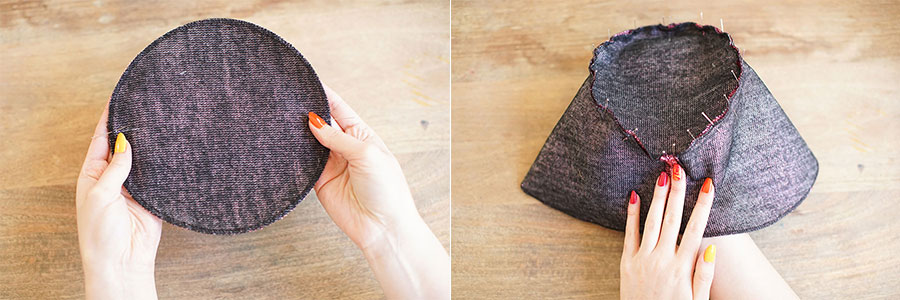
 Open the stitch with an iron. Set the bias on the open side of the base of the turban. Pin together,lining up the bias stitch and the middle of the front of the turban.
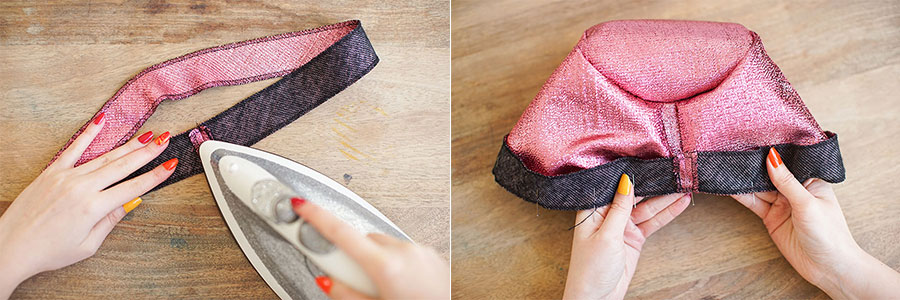 Stitch at 1 cm and iron in order to flatten the stitch. Turn the turban insideout. Set it aside, we're going to move onto the stitches. If you've forgotten to mark the notches on your pattern, it's now or never!
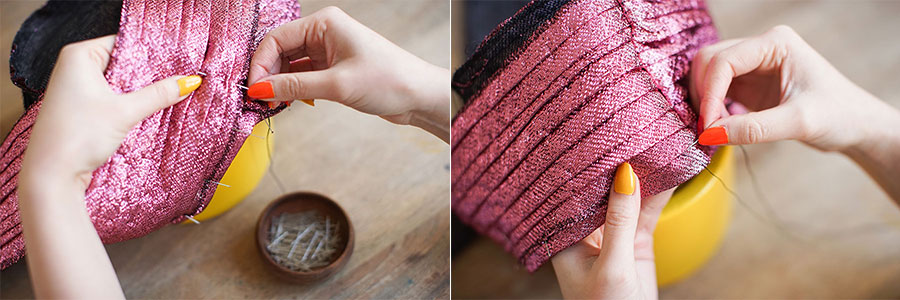
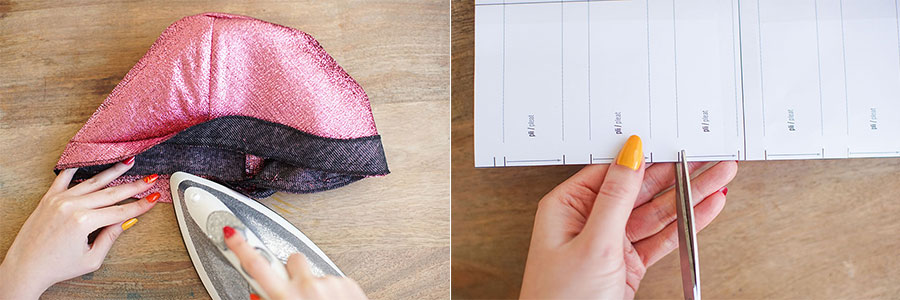 Set your pattern on the draped parts of the turban. With the chalk, mark on the notches and draw a straight line across the width, that'll link the notches from one side to the other.
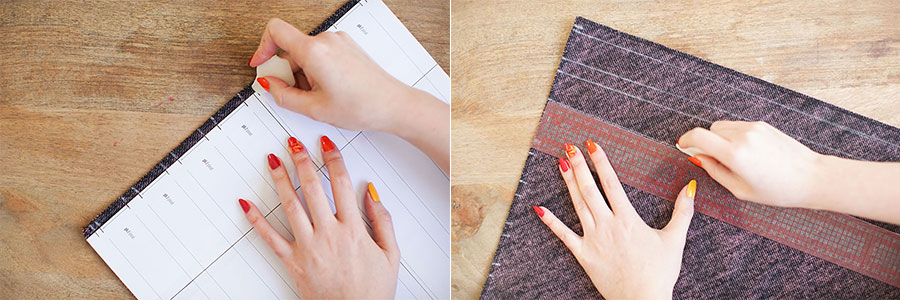 Pin the pleats one by one, superimposing each notch on the next notchin order to have a flat pleat. Pin 0,05 cm from the edge of the fabric (yes, it takes a while), take your time and in case you're not sure, check out the info on the pattern. You can hold each pleat with pins (photo bottom right).
Iron your fold, just this once you may iron the pins. Be careful not to rub the bottom of the iron and wait until the fabric is completely cooled before taking them out. Do the same for the second fold. Take your base and set it on a head, a bucket (or a flowerpot like we did at the office).
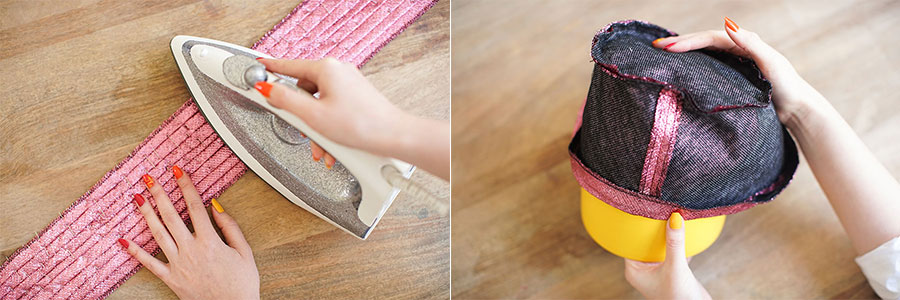 Start at the middle of the back. Pin one of the folds, leaving 1cm going beyond the line in the middle of the back.Be sure that the folds are going towards the bottom. Pin the bottom of the fold at the bias.
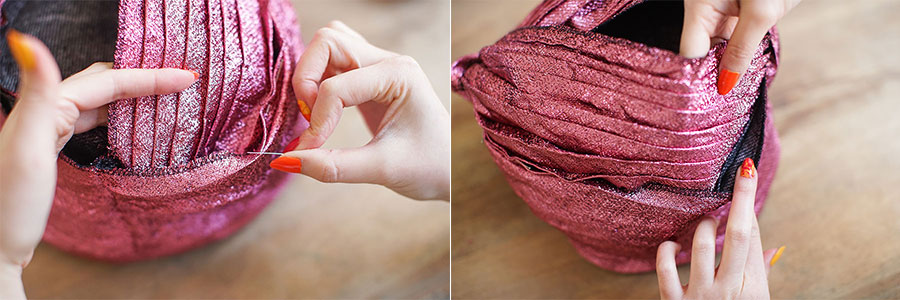
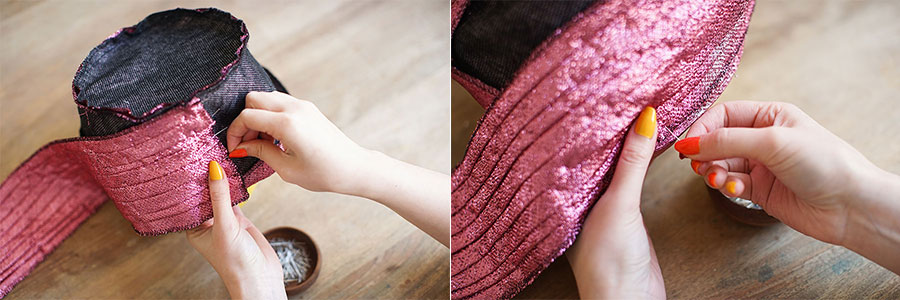 When you get to the middle of the front of the turban, stop pinning. Using a needle and thread, pass the needle in the fold, puckering it.
 Pull on the thread, the fold will pleat. Make a knot so that the fold stays like this. Take the second fold, pin it in the middle of the back, slipping 1cm inside.
 Like you did for the first fold, pin the bottom of the bias until reaching the middle of the front. When everything has been pinned, take your needle and with an invisible stitch by hand, hold the bottom of the bias fold. Take out the pins one by one. Do the same for the other side.
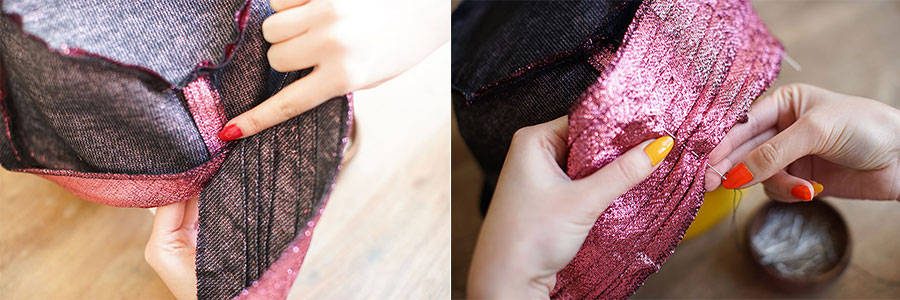
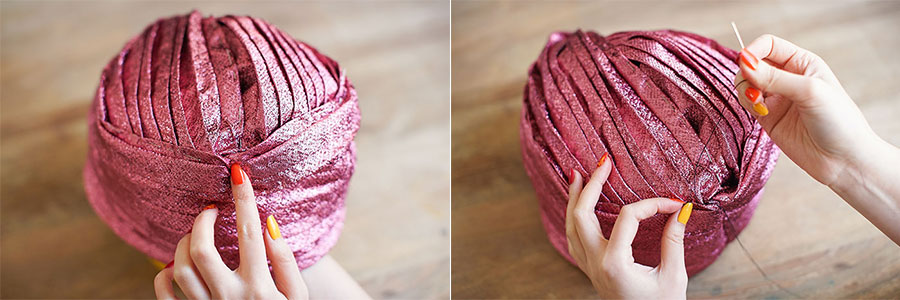
 Once the two folds are sturdily sewn to the bias, you can make a 'knot' in front. Take the two folds and make a 'knot' like in the two photos below.
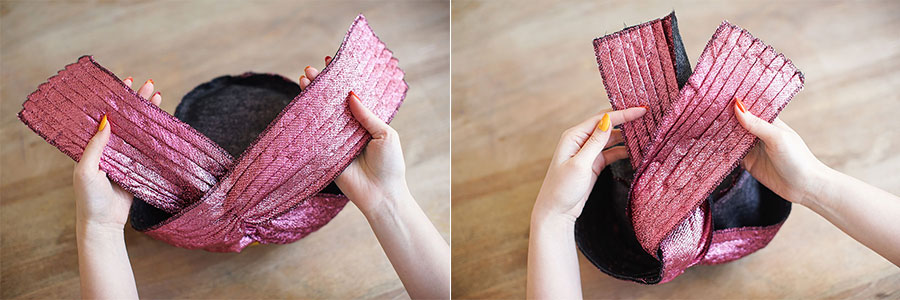 Hold it with pins. The front of the turban should look like the photo below to the left. Hold.
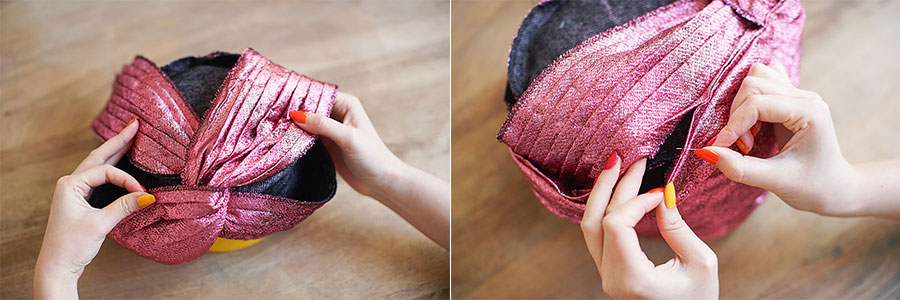 Slide the fold's free edge under the middle of the back. Be careful to put the pleats in the right places.
 Your turban will have an opening on the top of the 'head' that'll show the base of the turban. Close this opening by superimposing one pleat over the other. Pin.
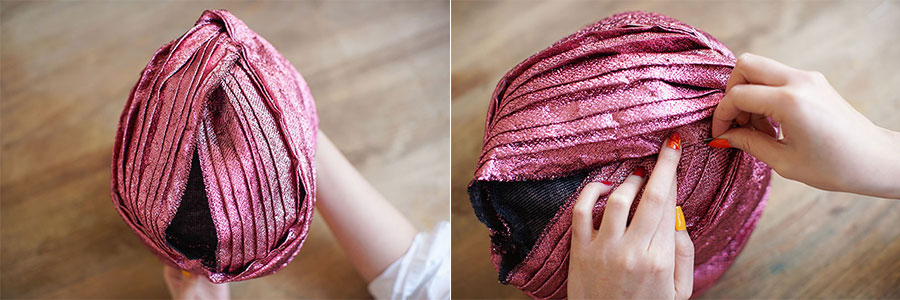 The back of the turban should be clean and no free edges of the fabric should show. In all the places where you've put pins, hold in place with a hand stitch. Try on your turban, if it's too big, tighten the line of the middle of the back.
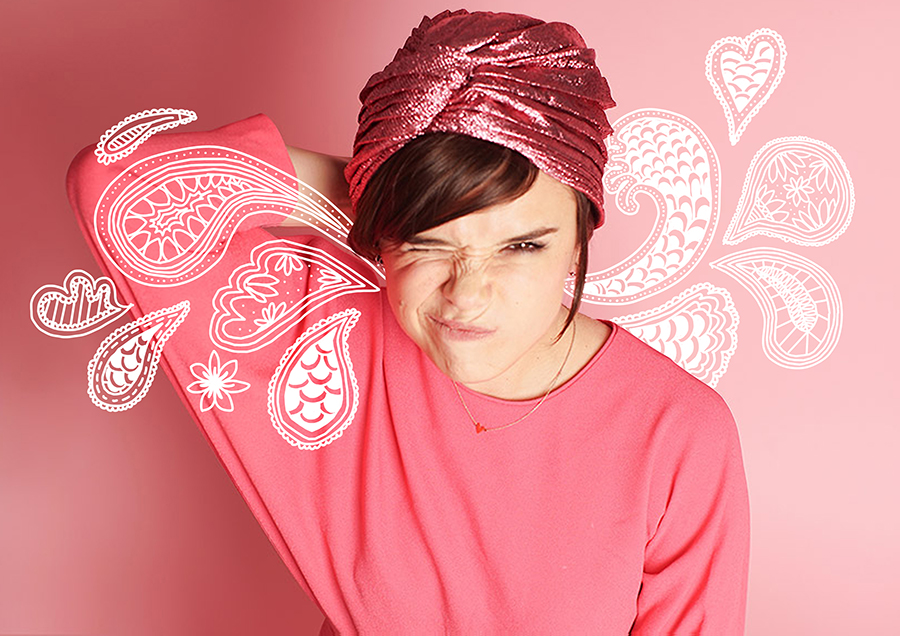
Double check to make sure each pleat is nicely placed. TaDa!
It's now your turn! Use a simple fabric, or a crazy print (as long as it's something that shows the pleats enough), and you'll be as chic as Simone de Beauvoir in the blink of an eye or the diva of a costume party! Don't forget to share your creations on our community wall! Thanks to Lisa C. for the lovely drawings on Olitax's photos.
 Translated by Whitney Bolin[:]