


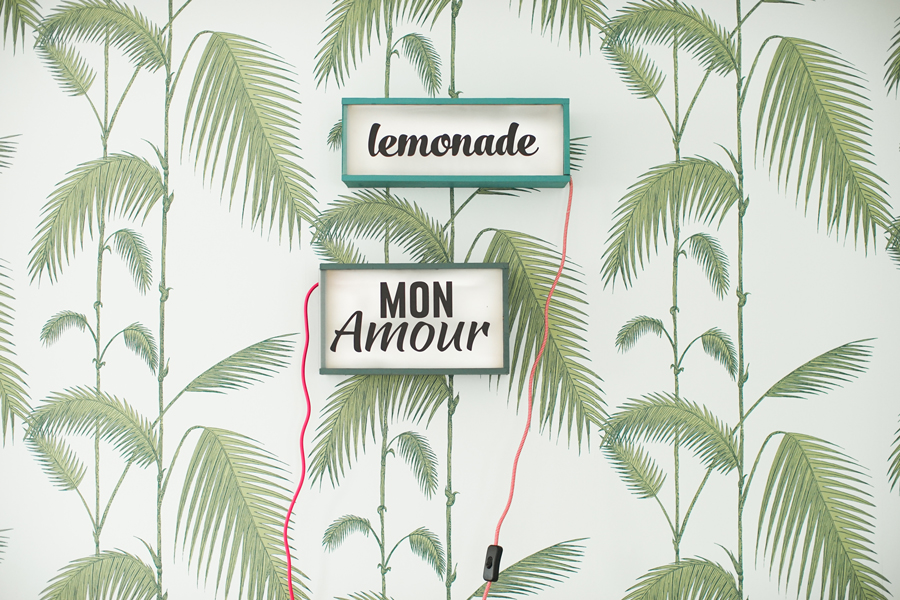
DIY LIGHT BOX
Hello my little darlings!
You'll need to go back to your wine shop to buy more wooden cases this week! I've been thinking over this DIY for a while now. Before going crazy with neon lights and other lighted message boxes, I wanted to make a light box for tracing fonts and drawings... I looked all over the internet to find a nice and easy tutorial. There were hundreds of videos and articles on "how to make a light table", but nothing was easy. You had to be able to cut 45 degree angles in wood, add hinges... I just wanted something simple. The other day, while at the wine store for my butterflies (no, I'm not crazy, you know), I saw wooden cases with their sliding covers and that got the ball rolling. I could imagine using it for the butterfly frame, the light box, and so many other things! Almost as if I was Amelie Poulain who had just solved the mystery of the photo booth guy, it was my 'eureka' moment... or something like that. It made my day, no, it made my week!
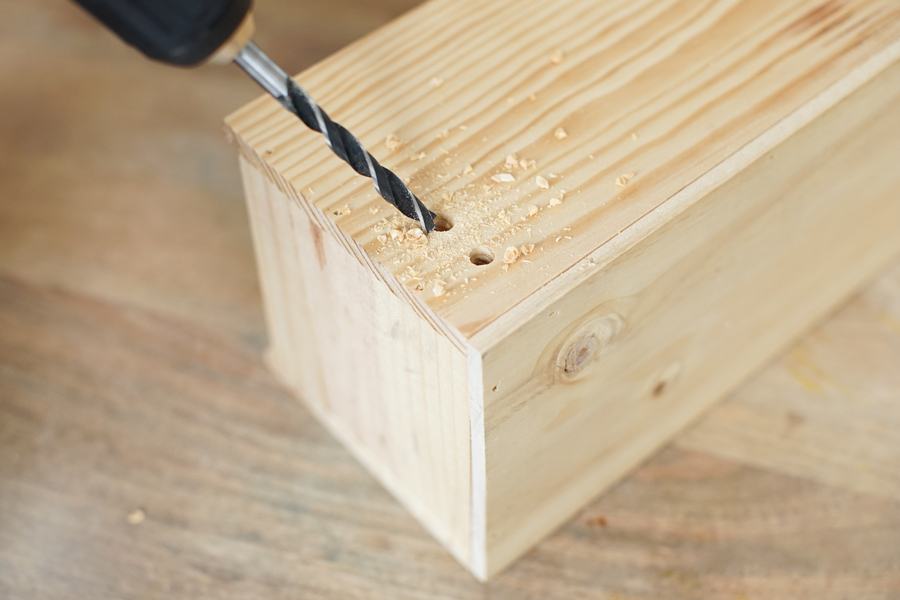
So without further ado, I'll show you how to make this light box! The most complicated thing about it will be drilling holes, but it isn't hard!
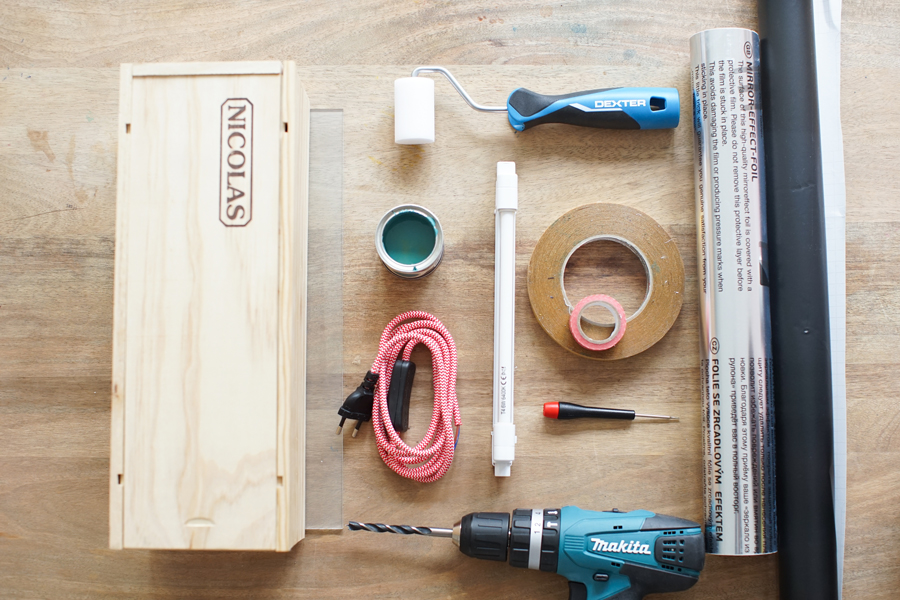
For this DIY, you'll need:
- Wine cases that you can buy empty (or full) at a wine store, the same as those used for the butterfly project last week!
- A sheet of frosted glass, cut to the dimensions of your case, 4mm thick (this can be cut at Leroy Merlin or any hardware store)
- A drill
- An electric cord with a plug and switch like this one here
- A small screwdriver and a connector block (very important)
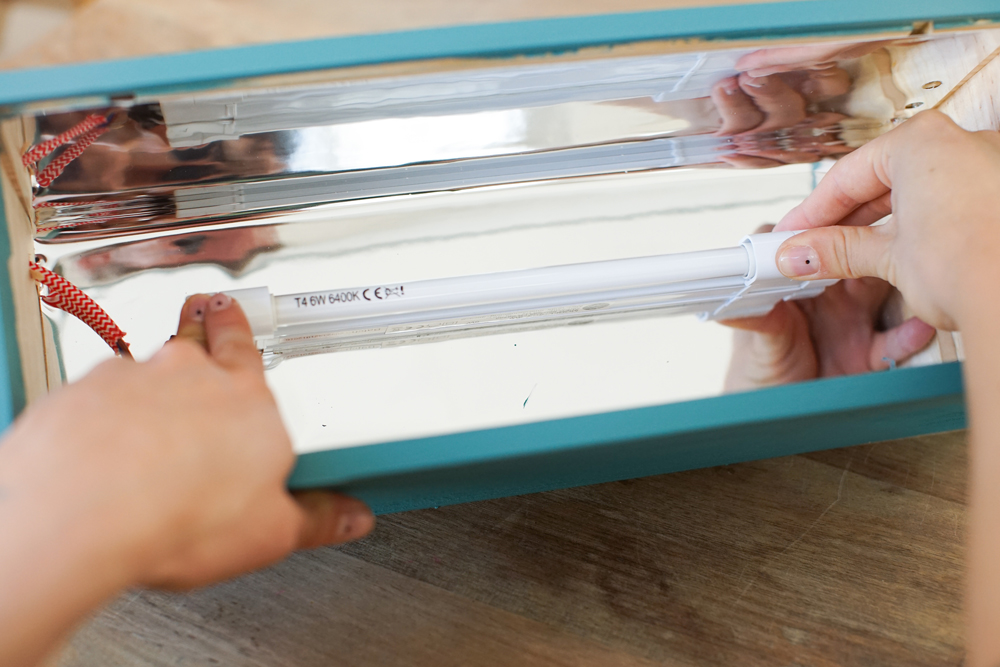
- A fluorescent bulb that fits lengthwise or diagonally in the box
- Reflective mirror sticker or aluminum foil (but the mirror sticker reflects light better)
- Double sided tape
- A small paint roller
- Lovely words to be downloaded here
- Tracing paper
- Masking tape and a small can of paint (optional)
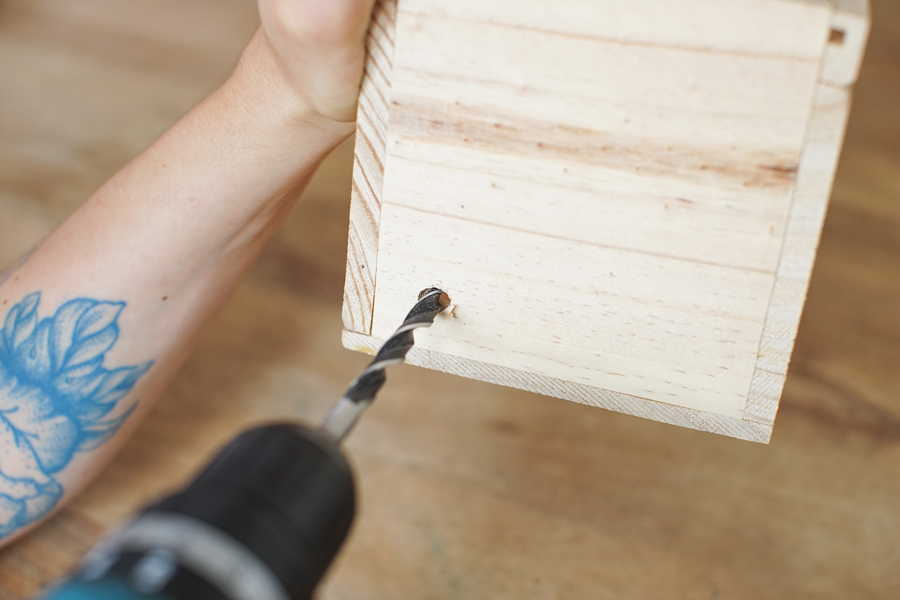
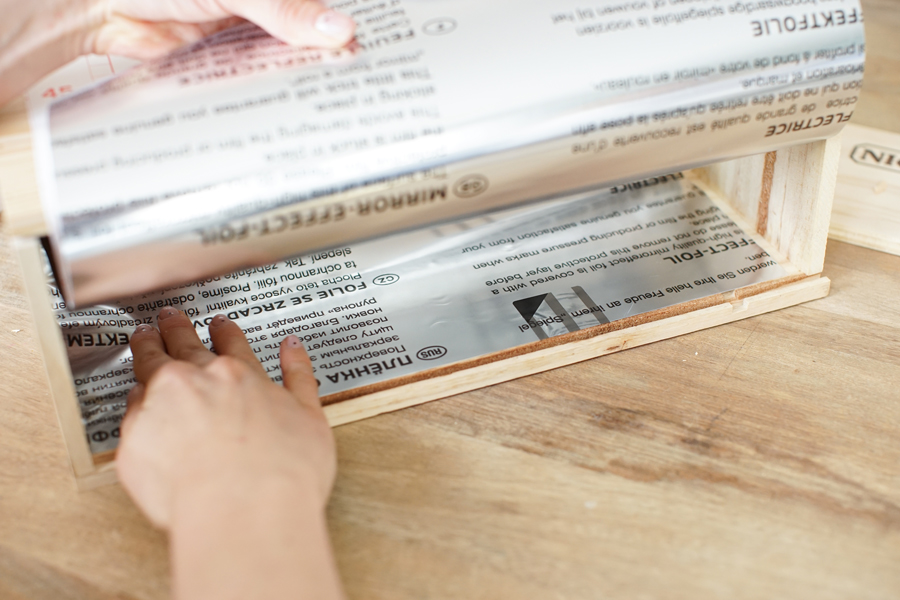
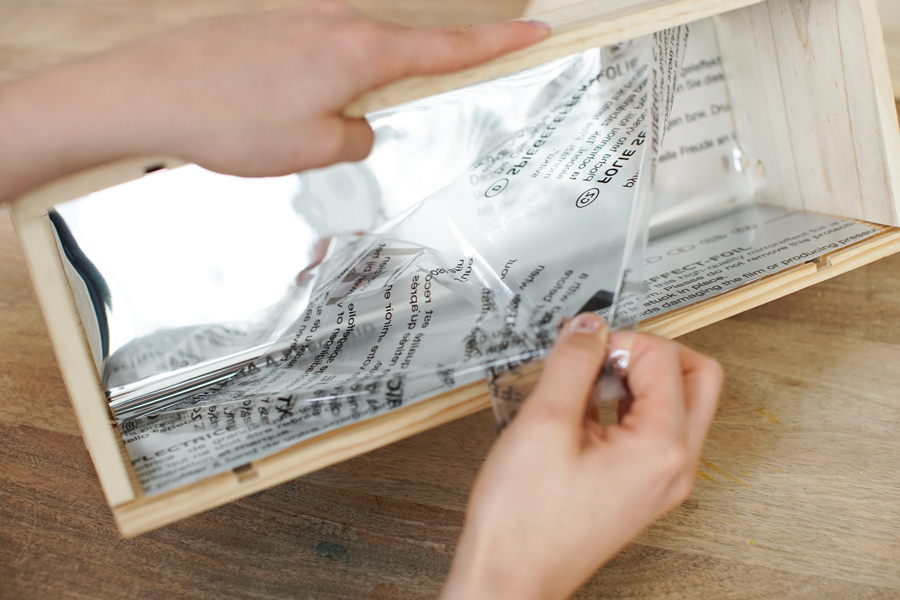
Next, poke a hole on one of the sides of your box with the same drill bit so you can slide the electric cord in. Then, take a piece of mirror sticker and cover the inside of the box. The mirror paper will evenly reflect the fluorescent light. The sides are optional, but if you'd like it to reflect really well I suggest you cover them. Don't forget to repoke the cooling holes with a screwdriver or scalpel.
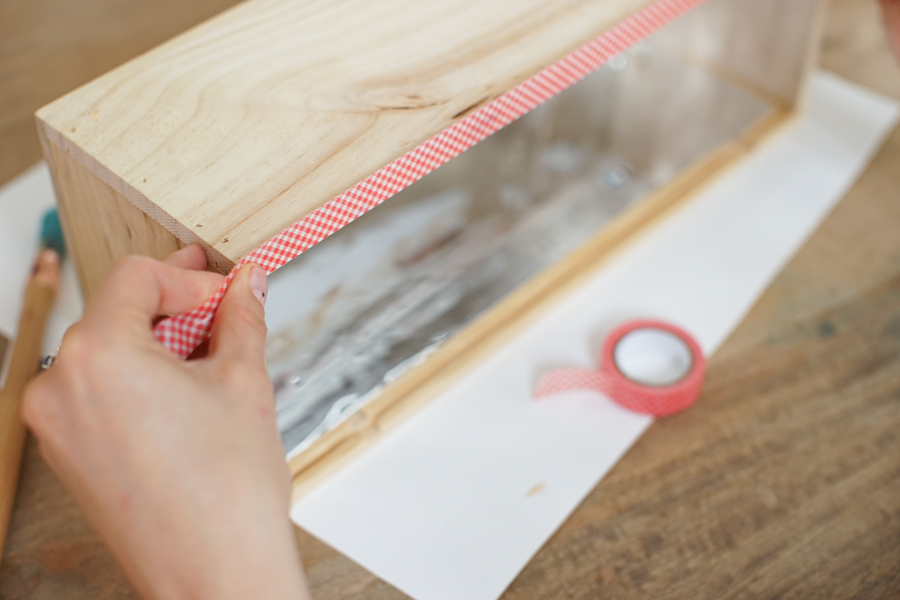
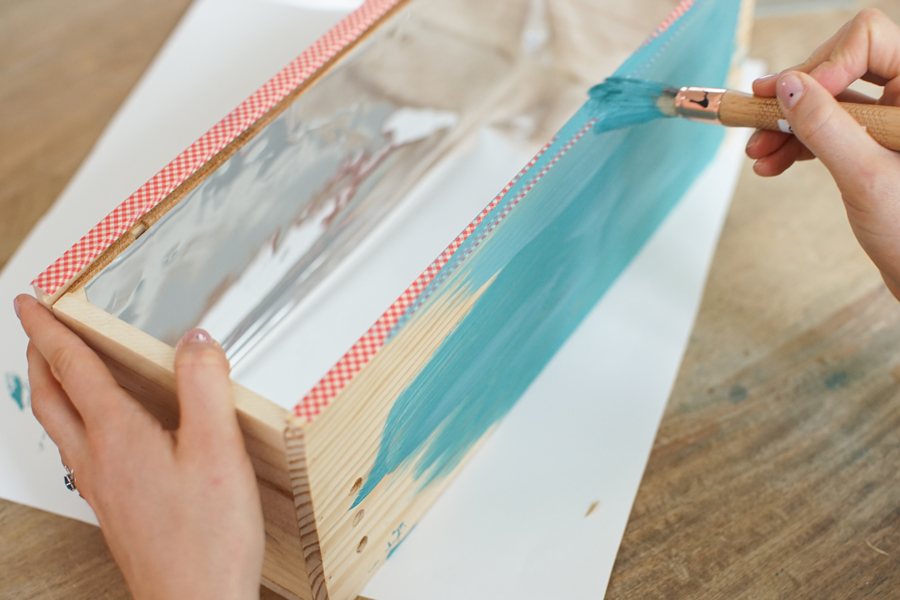
Take off the protective film and let's start painting! For the side of the box that will have the glass, put masking tape on the sides, hiding the small notches that give away the box as a wine case. Carefully cover the side and let's keep painting!
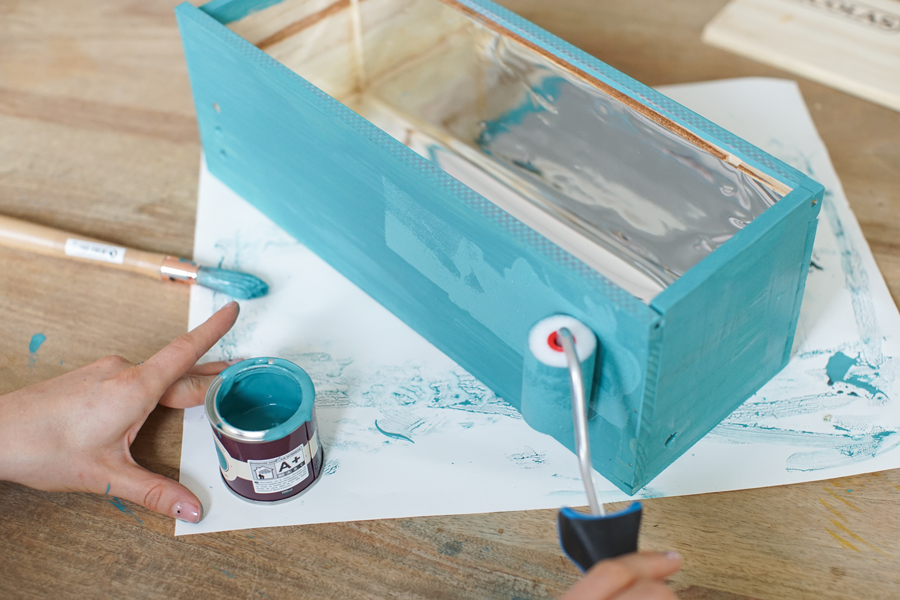
Using a small paint brush, clean up the angles... use the little roller for the rest of the box. I suggest doing several layers, since the wood soaks up a lot of paint! While the paint is drying, let's move onto the fun part: the light. Round up the fluorescent bulb, your decorations, and your cord!
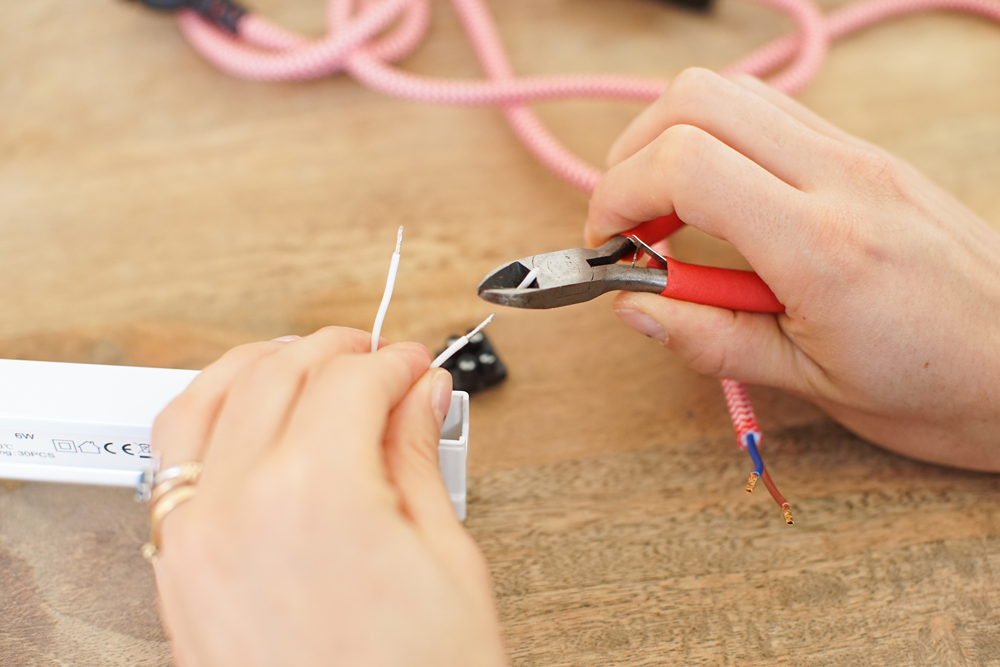
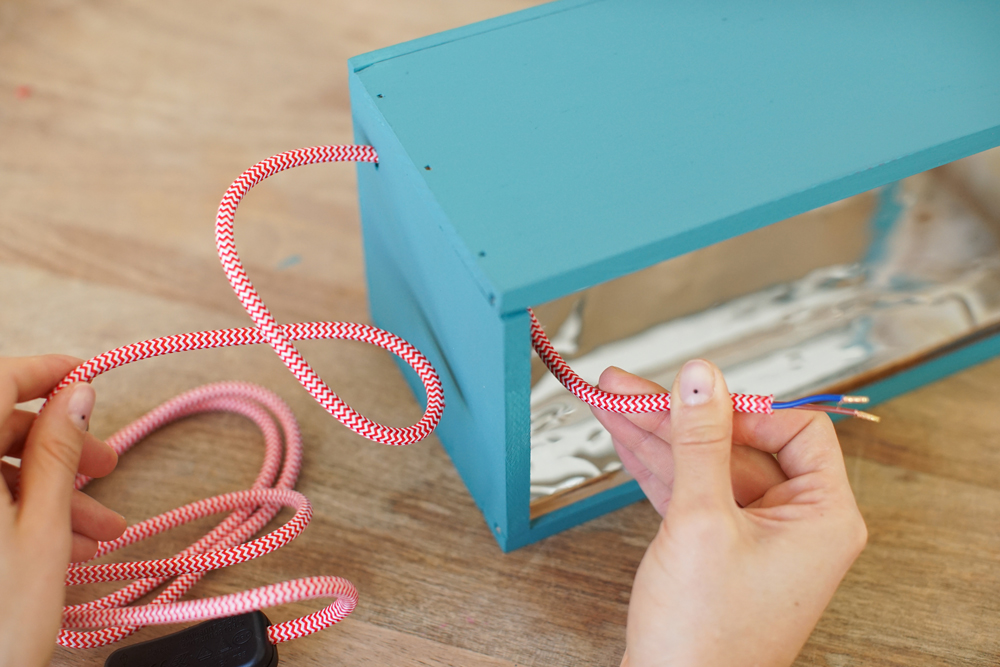
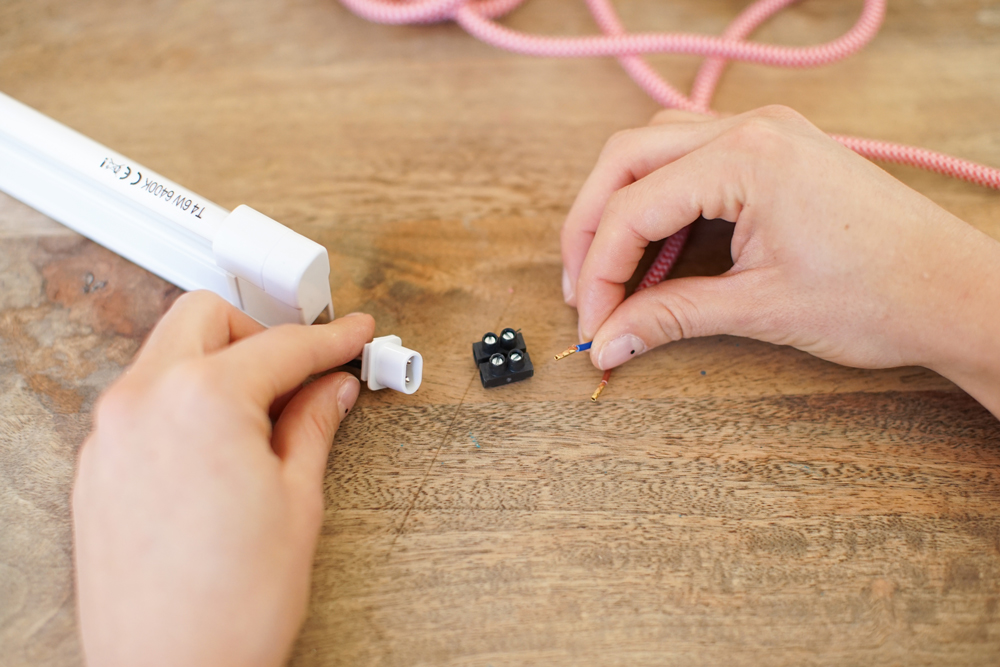
Take off the sides of the fluorescent cord using cutting pliers and thread the electric cord through the box's lateral hole.
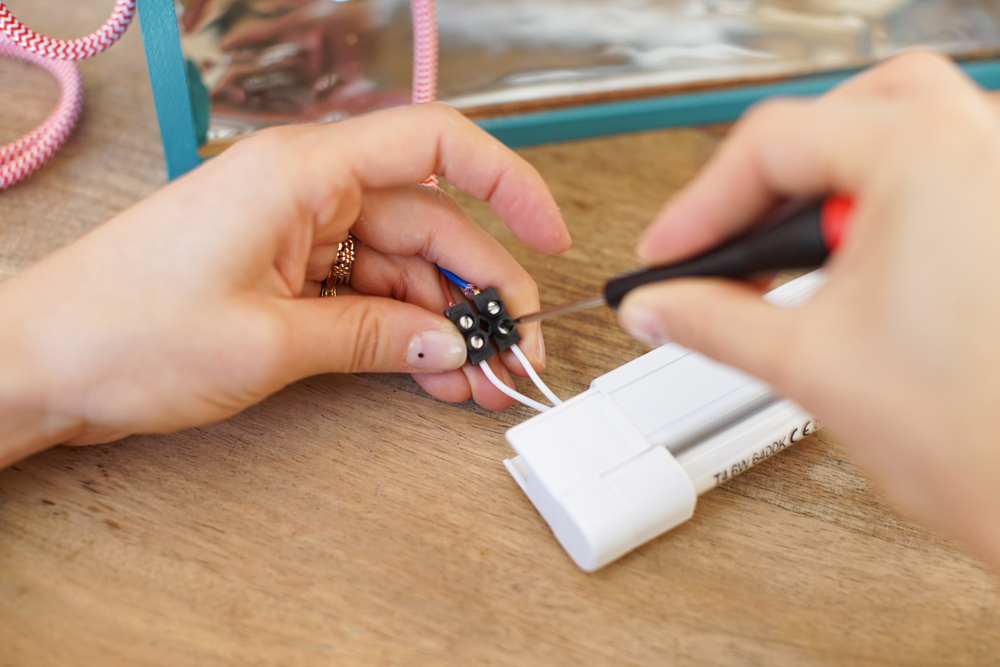
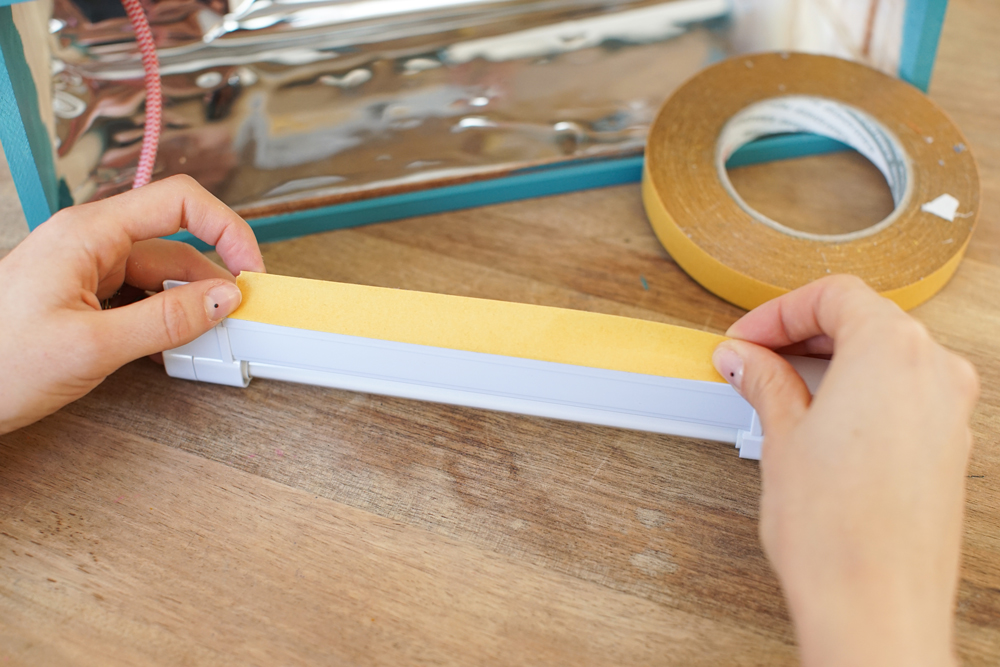
Put together the fluorescent cord using a connector block. I know it's kind of scary but I promise it's easy! Slide the electric cord's two wires into the two holes on one side of the connector block and repeat on the other side with the fluorescent wires. Cut a piece of double sided tape to hold the bulb in place in the back of the box.
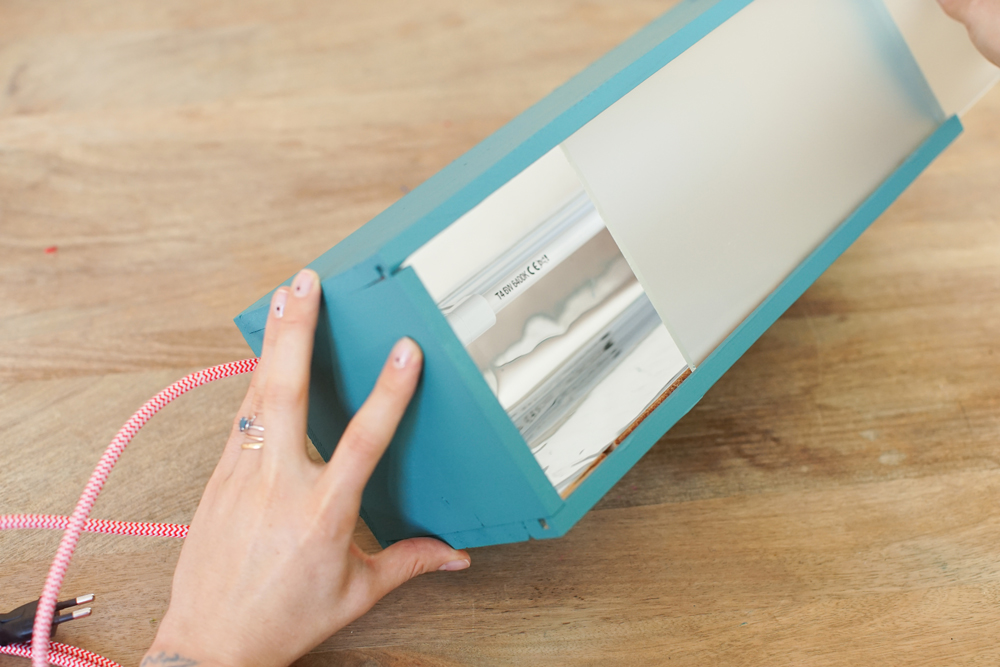
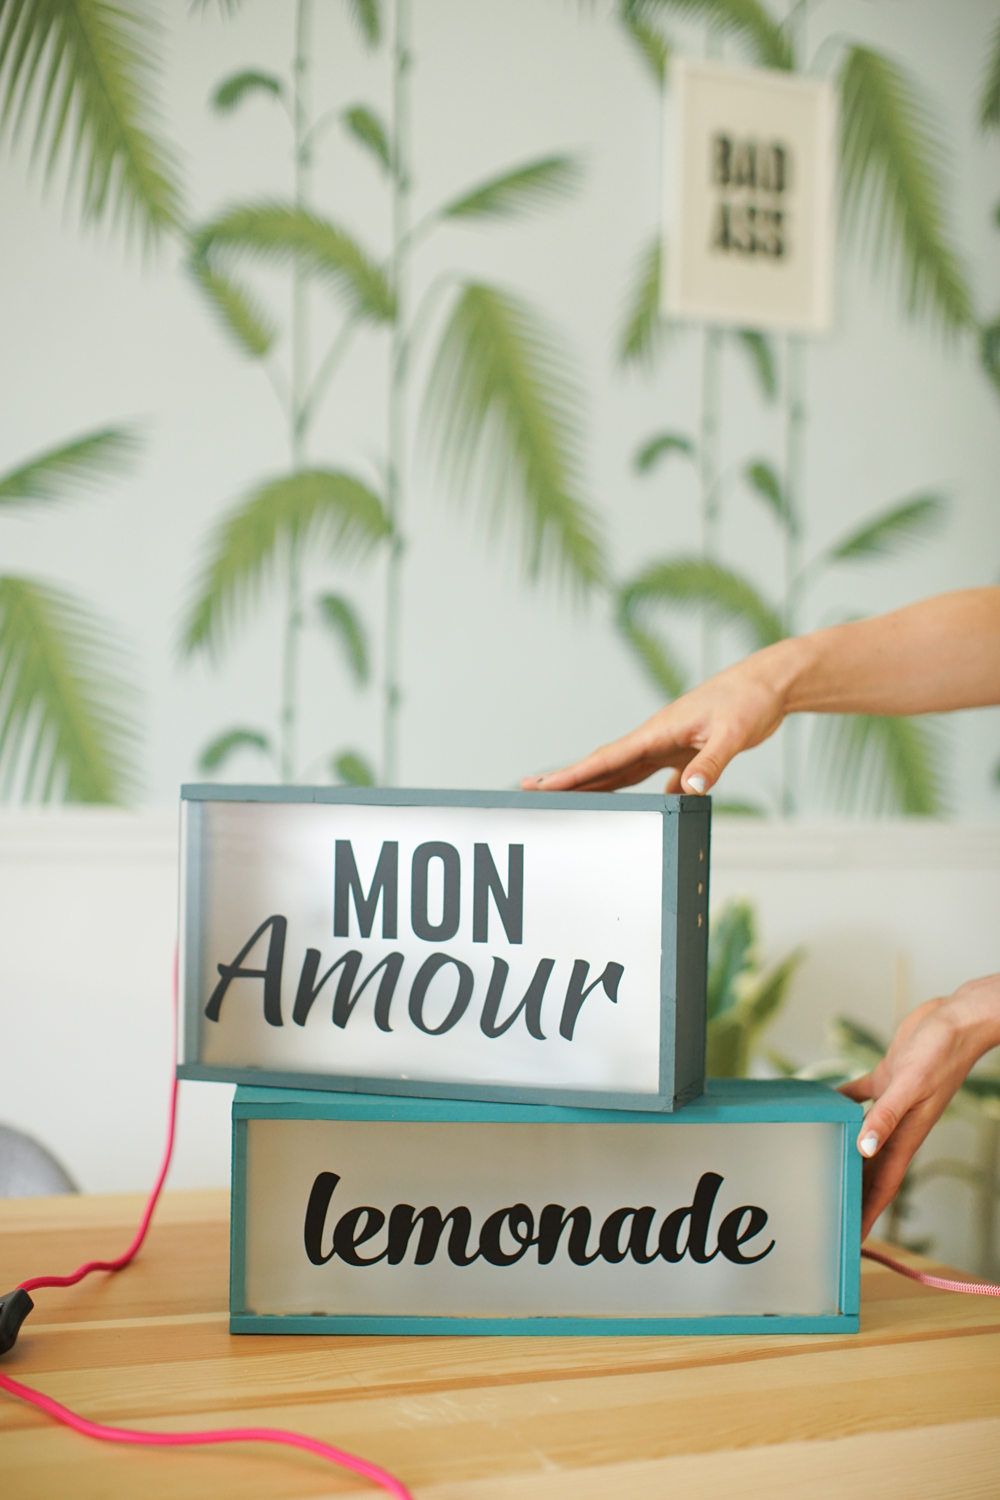
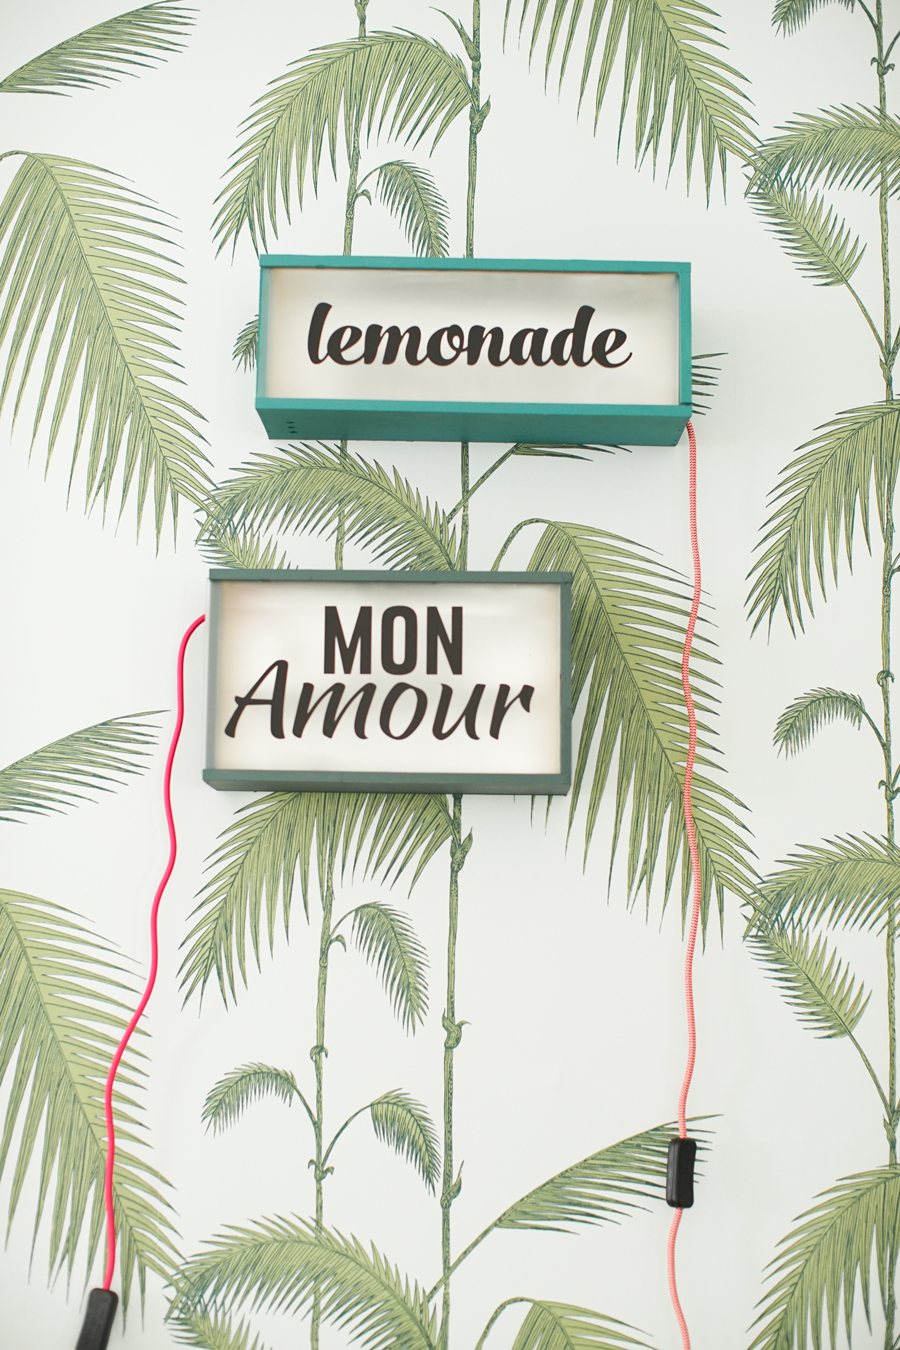
Hold for a few seconds until the tape stays in place, and close the box with the frosted glass. Looking good!
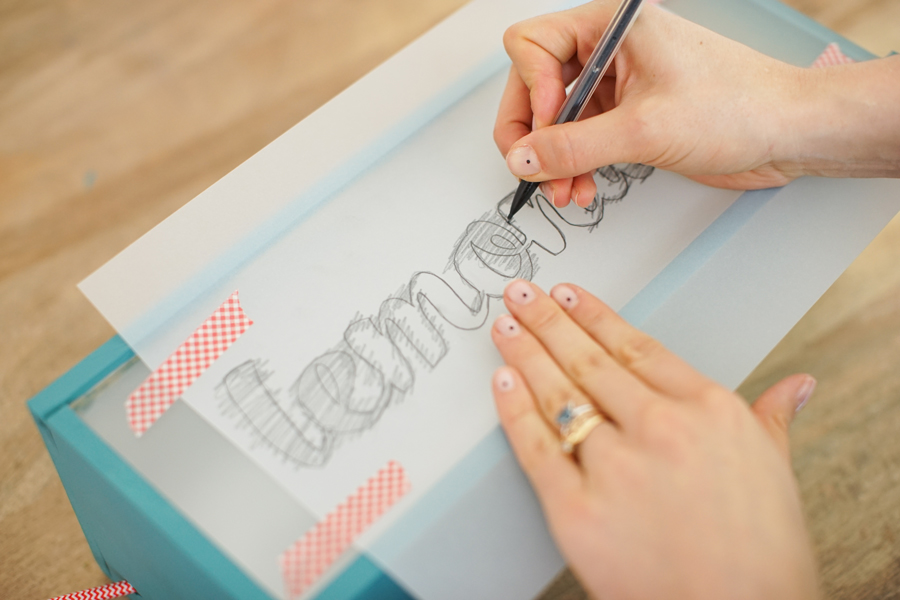
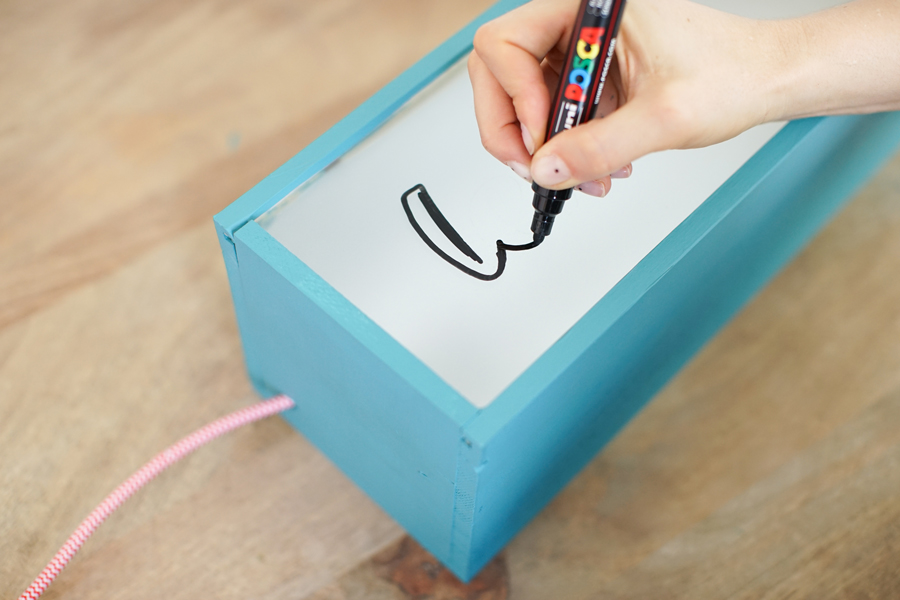
Print out the word of your choice. Using tracing paper, trace the word. But it's up to you to write whatever you want! Have fun with it! I can't wait to see what you write on your walls! Now, using a black Posca marker, go over the letters! For those that have a silhouette cutout machine, you can also cut out the letters in black sticker paper!
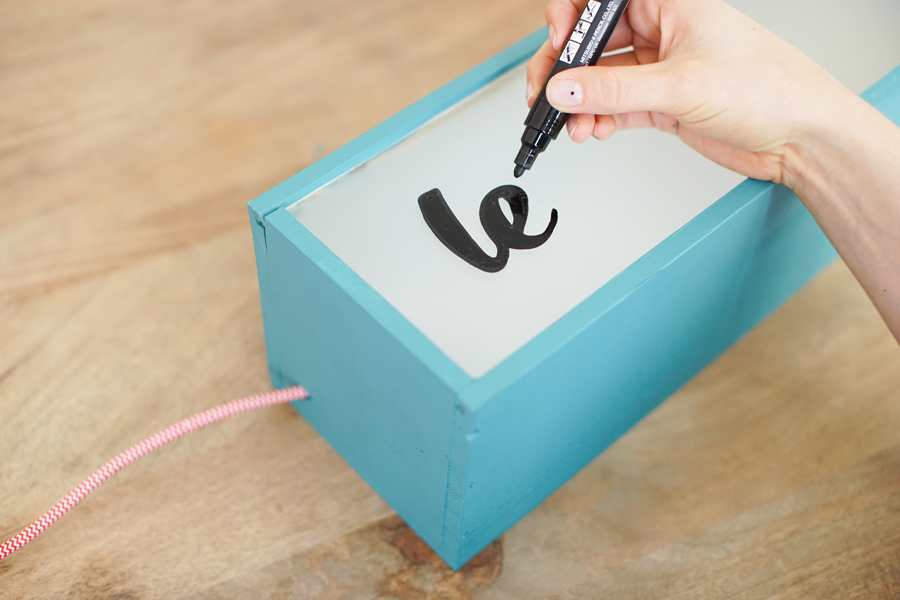

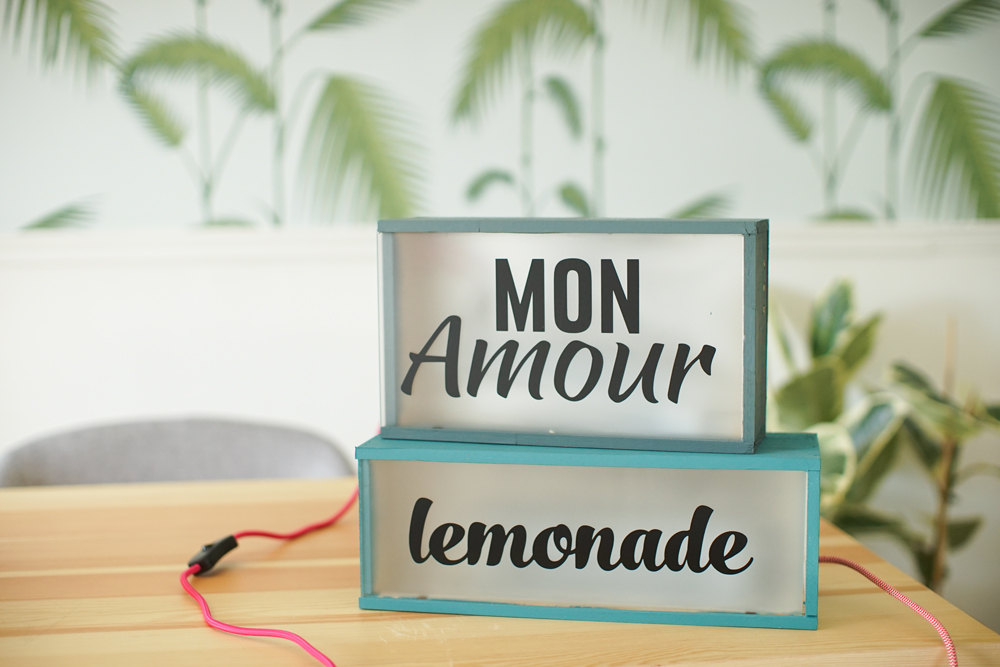
Don't forget to fill in the letters, be patient and go over it several times. The end result will be better! And TADA!
 Translated by Whitney Bolin[:]