SIMON SHIRT DIY

Hello and welcome!
I'm writing to you from the airport, about to fly to Hong Kong! I won't tell you more, but I'm super excited about this trip, I'm preparing a beautiful project for the blog's 4th anniversary in 2016. You know me, patience and I go hand in hand, but I'm going to try to keep it a secret for as long as possible!
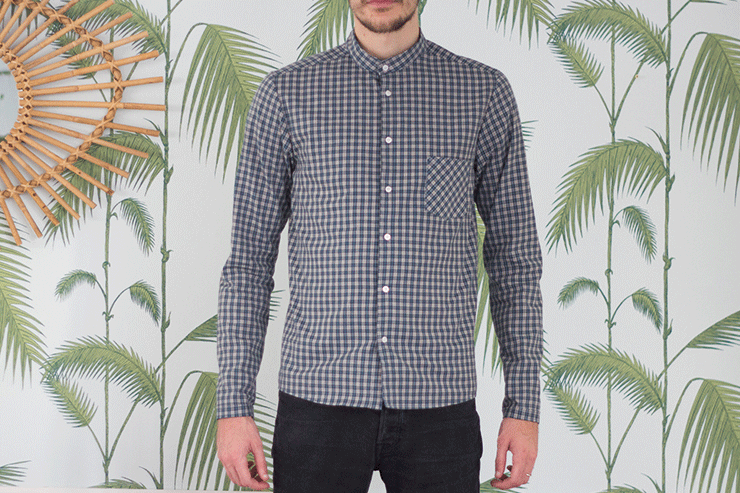
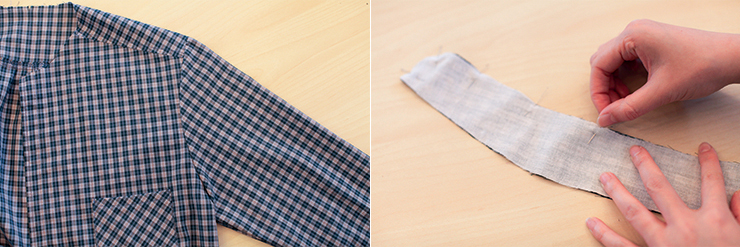
Anyway, all that to tell you that December is a busy month, but I'm not forgetting you: today we're offering you a DIY men's shirt, just to save you if you haven't yet found a gift for your other half, your dad, or even for yourself! I know you're thinking that a shirt is a very complicated piece, if not insurmountable, but rest assured my sweet Laure has done everything to simplify your life and help you sew this marvel!
Here's what you need to know:
- - You'll need 1m80 of fabric in a 1m45 width. We recommend a pretty cotton or chambray. Seven small 10mm buttons and a little iron-on.
- – Download the free simon pattern in A4.
- - It's really not difficult to make, and the more experienced will be able to finish it in an afternoon. For beginners, make the most of the weekend!
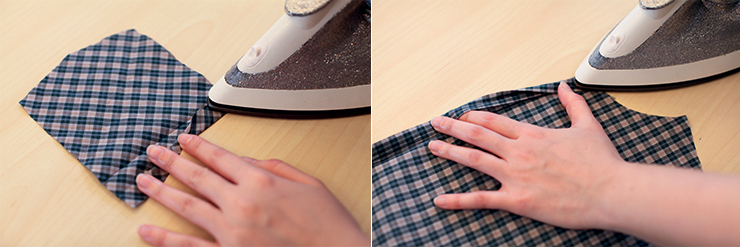
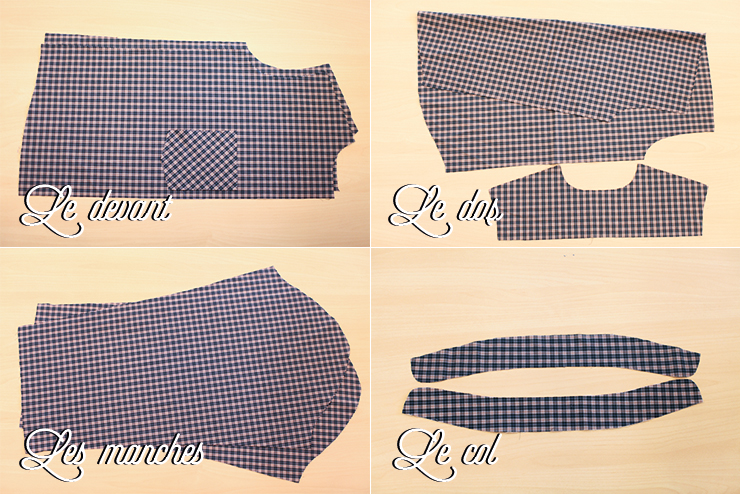
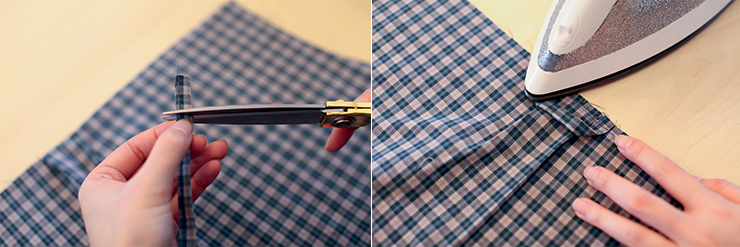
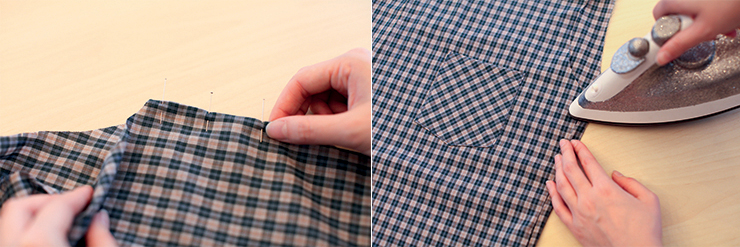
Start by preforming the hems and folds. For the pocket, 2×1.5cm, and for the right and left fronts, use the notches on the pattern. Iron to mark folds.
Starting with the front, on the right side of the fabric, stitch the front placket twice: once 0.75cm from the edge (the width of the presser foot) and a second time 2cm from the edge. Do the same on the other side.
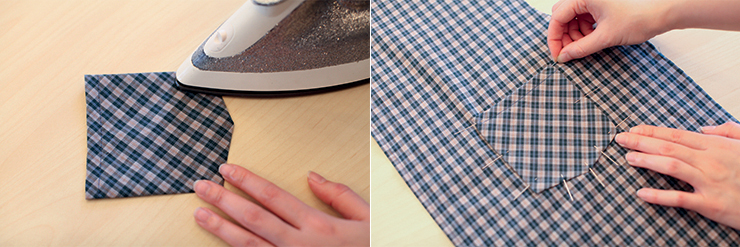
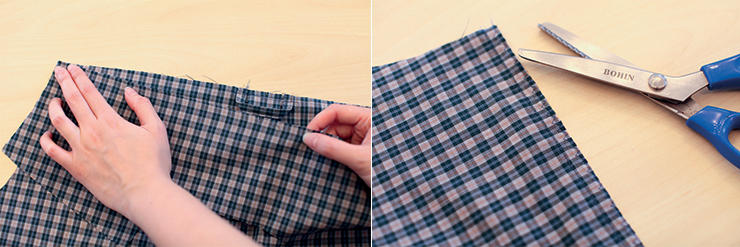
Stitch the top of the pocket at 0.75cm to hold the hem. Press the other edges with an iron, bringing in the seam allowance. Place the pocket on the front of the shirt, using the stitching markings.
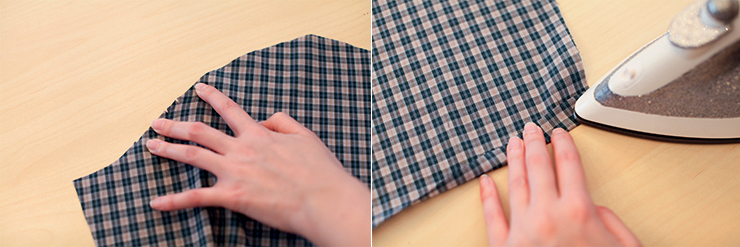
Stitch at 0.5cm to hold the pocket in place. Move to the back and locate the five small notches in the middle.
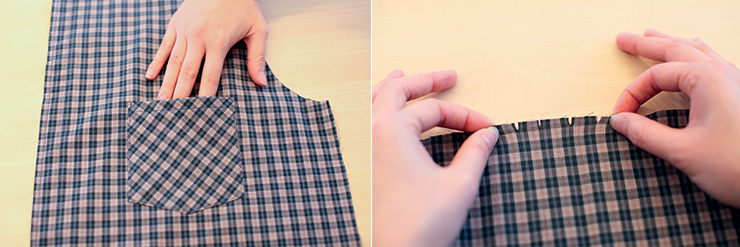
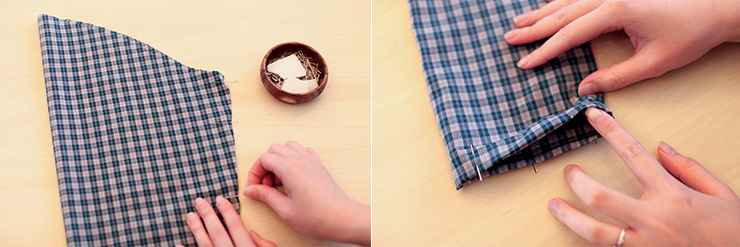
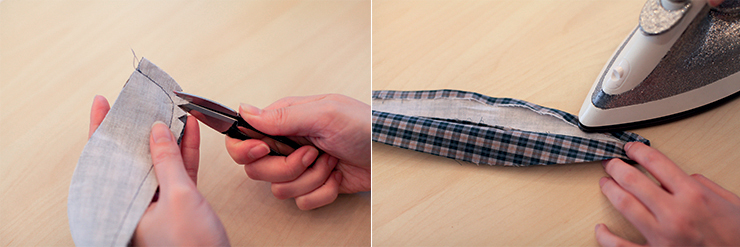
Overlap the notches to make a round fold. Secure the folds with a seam 0.5cm from the edge. Prepare the bridle by folding it 2 times.
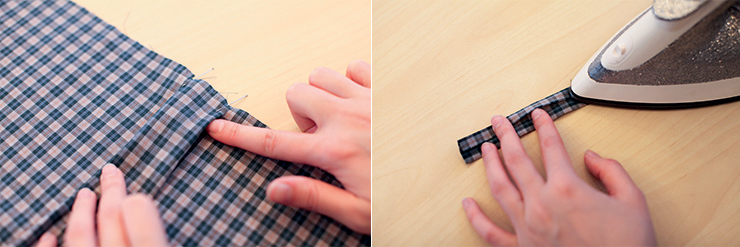
Fold twice again. Stitch the edge of the bridle. Place the bridle on the back, folding it as shown in the second photo.
It's normal for it to be a little long, so shorten it. Stitch to the top of the back and press.
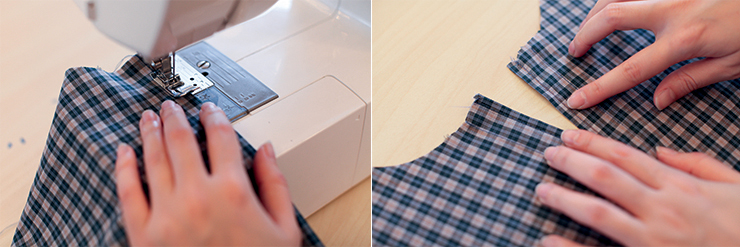
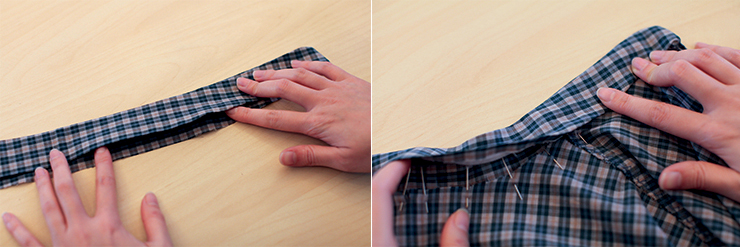
Take the back yoke and, right sides together, place it on the back. Stitch at 1cm. You can do a zigzag or an overcast, but a new trick: you can cut the seam value with serrated scissors to prevent the fabric from unravelling!
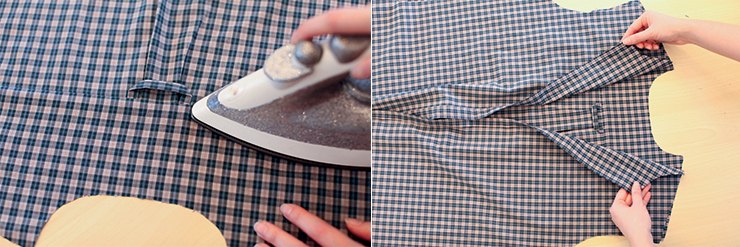
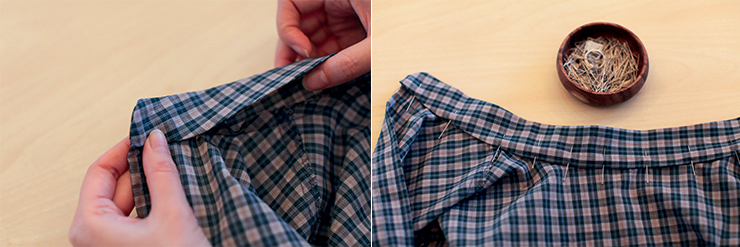
Press the seam upwards. You can hold it in place by stitching at 0.5cm. Place the two fronts on the back, right sides together.
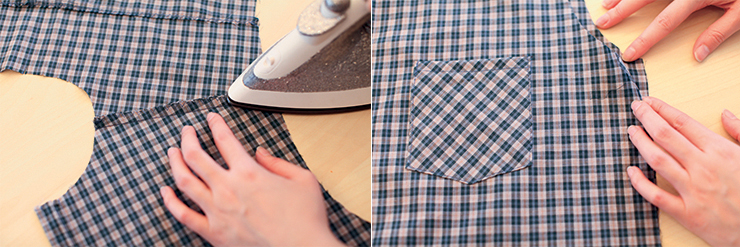
Stitch, serge and press the shoulders. Turn inside out and with wrong sides together, overlap the side lines. Stitch at 0.5cm (we're going to do an English seam).
Turn right side out and this time right sides together, stitch the side line again at 0.75cm. Press.
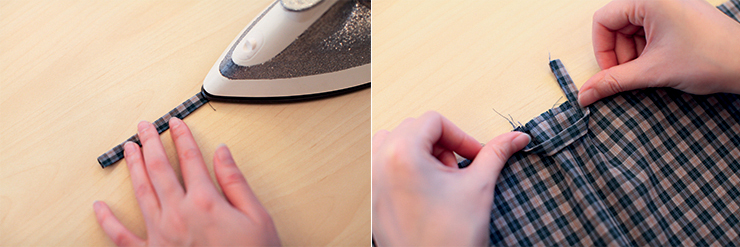
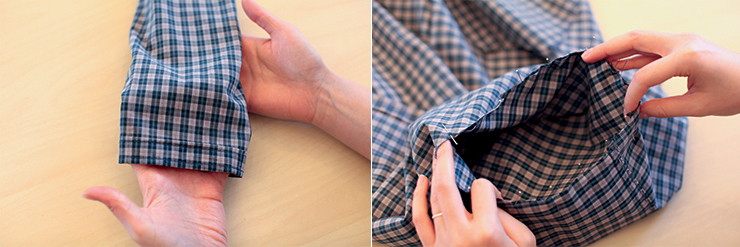
Move on to the sleeves (yes, already!). Locate the front with the two notches. Iron the bottom sleeve hem, 2×1.5cm, but be careful, outwards!
Fold the sleeve in half, wrong sides together, and sew with an English seam. Fold the hem (this will be easy as you've pre-shaped it with the iron) and stitch once at 0.5cm and once at 1.75cm from the edge.
Your sleeve is finished! Pin it right sides together at the garment armhole. You shouldn't have much embu. Stitch at 1cm and overcast.
Now move on to the collar. Heat-seal one side. With right sides together, overlap and pin. Stitch 1cm apart on the short sides and top, following the curves. Leave the bottom of the collar open.
Clip the corners, turn and press. Fold over the seam allowance of one collar.
Pin the unfolded collar edge to the right side of the garment. Stitch at 1cm.
Fold the collar over the seam you've just made. Pin and stitch right sides together at 0.2cm.

Don't worry, it's almost done! Fold in the 2×0.75cm bottom hem. Stitch at 0.5cm. Place the buttons, make the buttonholes (we recommend you do them by hand, or at a dressmaker's). TA-DA!