


SACRED AND WONDERFUL ELEPHANTS DIY
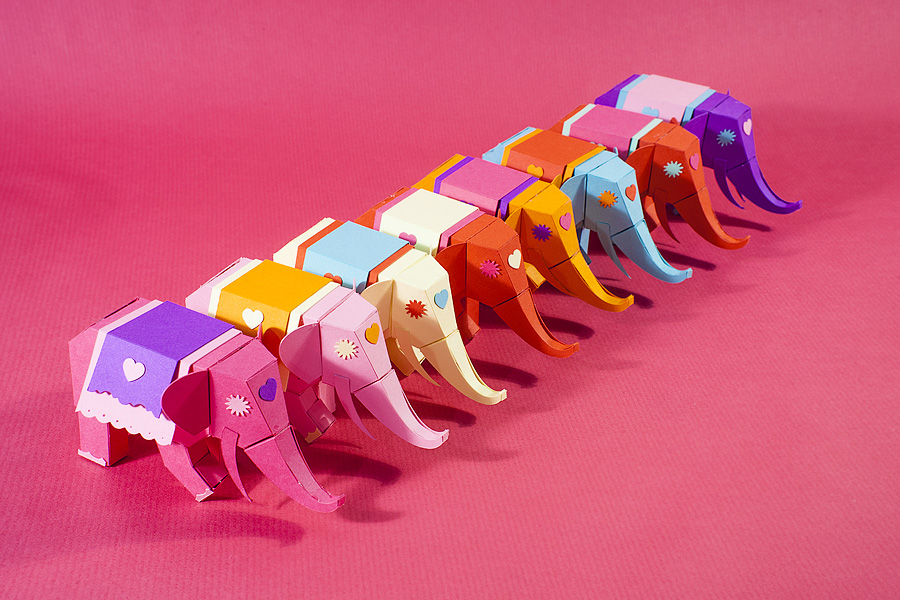
Hello kittens, if you've been following us for a while, you'll be familiar with Lorenzo and his incredible paper. So for this special week in India, I can't tell you how excited we were when he told us about his wonderful little elephants! I'm already looking forward to making my own, a colorful little herd on my desk, or scattered in various corners of my apartment, like happiness doors, guardians of my den (but I'm afraid Frida loves them a little too much to leave them alone). I hope you enjoy them as much as we do, and I'll see you tomorrow for the rest of this incredible week!
Hello everyone! I'm very happy to be back for a DIY, easier than the two previous ones. This time no architecture, but an animal: the elephant. If you're patient enough, you'll be able to make a real rainbow with ease. Here's how.
Cost: between €5 and €20, depending on the materials you already have.
Level: easy
Construction time: between 2h and 3h per elephant
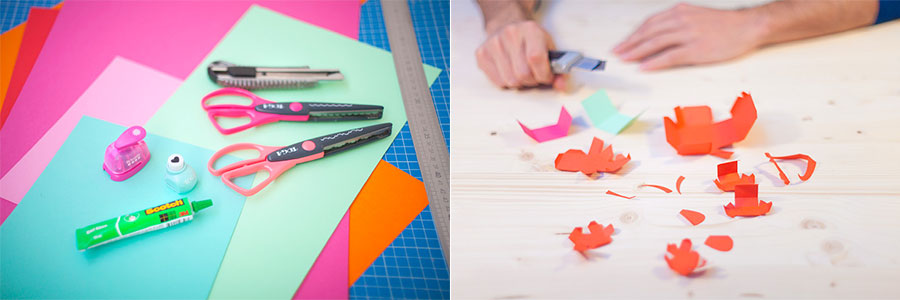
For this paper DIY, you'll need :
- the usual cutting equipment (ruler, scissors, cutter or scalpel),
- a tube of green glue (brand withheld),
- notching scissors (fish scales or another of your choice, if possible),
- cookie cutters (heart and sun),
- A4 sheets of brightly-colored paper (minimum 120g/m2): one A4 per elephant,
Download the elephant pattern here and print it on a colored A4. I advise you to do this job with at least three A4s of different colors. You'll see that you can mix colors by mixing the elephant rugs together. Mark the folds along the dotted lines and cut along the lines.
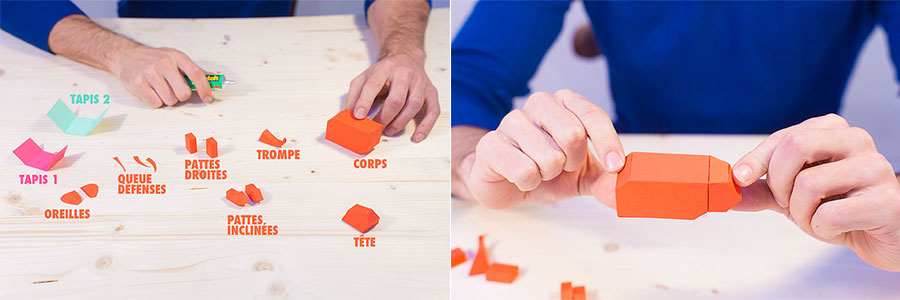
Fold each part, and start gluing the first small volumes: legs, trunk, head, body. These are simple volumes, so you shouldn't have any trouble figuring out how to assemble them from the patterns. For the trunk, bend the paper before gluing. In this step-by-step, I'm assembling a red elephant, but I've replaced its carpets with those of two other elephants in preparation: one pink and one blue. This elephant needs its head on its shoulders. Glue the head to the body.

Glue the legs straight, then the legs at an angle. Make sure that the angled leg glued to the front of the elephant faces forwards, and the one glued to the back faces backwards.
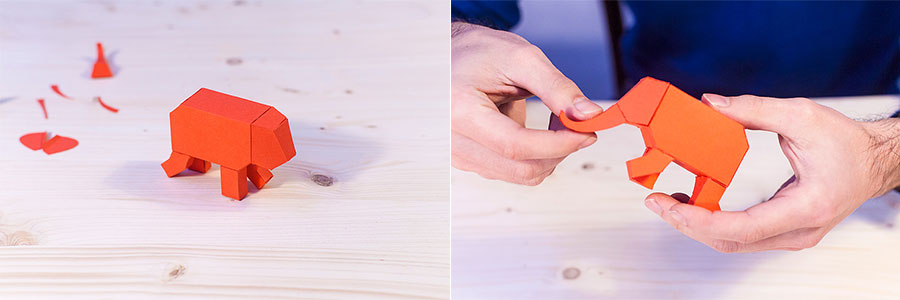
This is how it should look at this stage. Glue the trunk to the head.
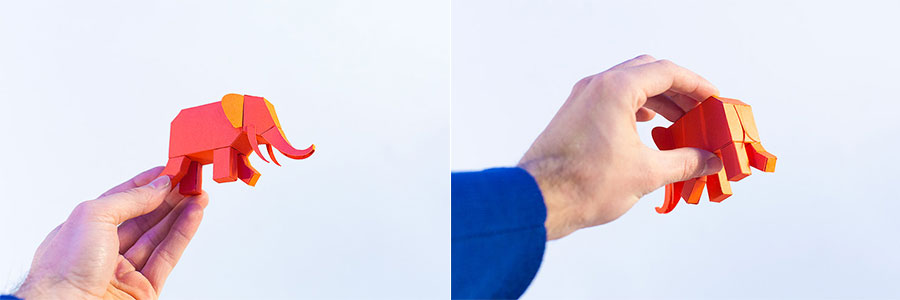
Ears and tusks. Don't forget the tail at the back - it's a fun detail. Give it a slight curve at the bottom and glue only the top part.
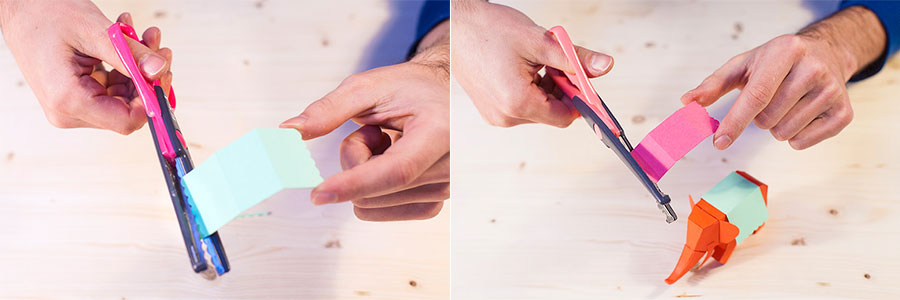
Now's the time to use notching scissors to decorate the ends of the mats. For even more finesse, you can use small strokes of the compass point in the tile shapes, as I suggested in this article. article. I recommend a tile scissor stroke for mat 1, and an Oriental or Indian shape for mat 2. Glue the rugs to the elephant's back without hurting him.
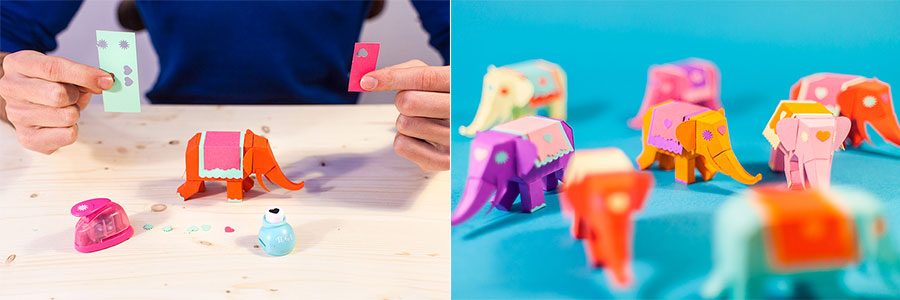
Die-cut hearts (my girly side) from the paper of the rugs, and glue them to the elephant's forehead and the sides of rug 2. And two suns for your new pet's eyes. Nothing goes to waste: you can glue the offcuts from the tile scissors onto the legs to make his little feet.
And that's it!
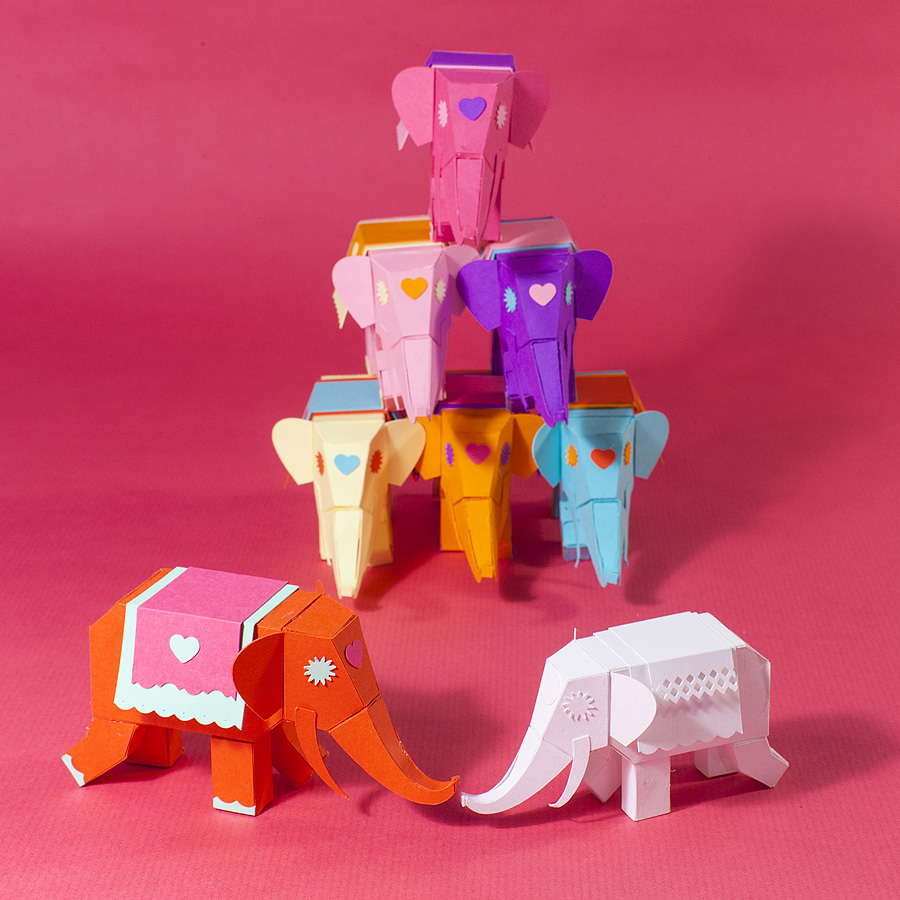
You can continue with other colors, keep mixing the rugs together, and like me, fall head over heels for your rainbow family! See you soon for new adventures! Lorenzo P.