


MAXI EFFECT MINI BUDGET
Hello my little cats!
As Charlotte told you yesterday, for this month we've been racking our brains in the studio to make you boxes of DIY gifts! The trouble with DIY gifts is that they often look like Mother's Day projects for the little ones. I'm not criticizing the wonderful French schoolteachers (ma soeur je t'aime), but I've been experimenting with making gifts out of camembert boxes and laundry detergent barrels for twenty years or so. It's no pleasure, I assure you.
And I came to two conclusions: the first being that you have to forget about recycling if you want to make a quality gift. And the second is that you have to opt for simple, noble materials. For example, forget machine-made paper and opt for vellum Canson paper. Forget the basic grey unisex sweatshirt, and opt instead for sweatshirts with more sophisticated cuts from Zara, for example. They may be a little more expensive, but they won't break the bank either.
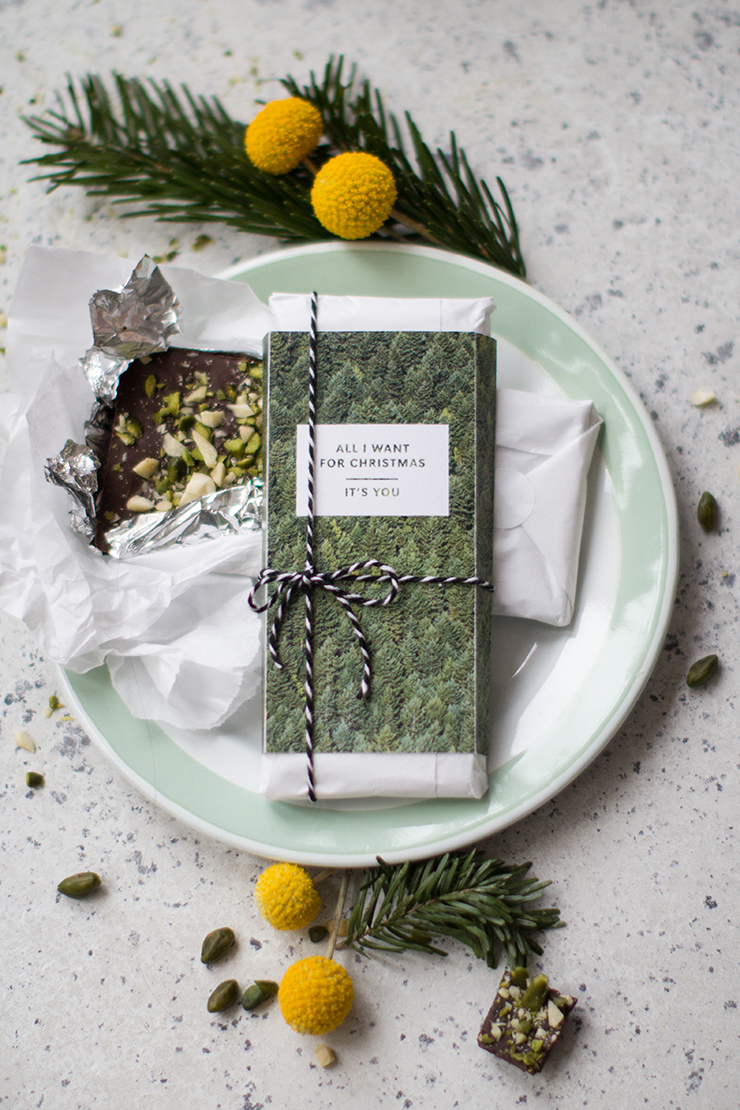
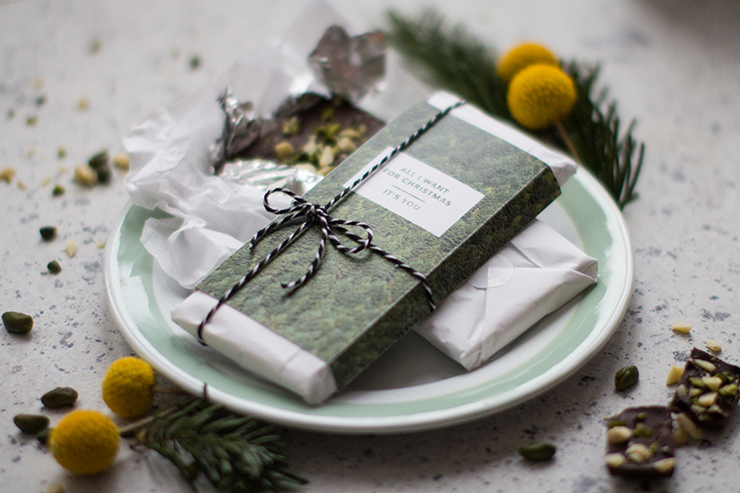
So start by warming up your 10 fingers with this easy gift idea, which can be given to any member of your family. It's a sort of goodie, an appetizer. The idea is to make your own chocolate wafers, and I've included an out-of-date recipe article for you. here. And for a more delicate result, use small chocolate bar molds rather than large, thin ones, as in this article. I'm telling you this because I think it would be a great idea to arrange these bars on each plate before the meal! I'll leave you to it, and maybe you'll recognize my Canadian fir forest photos!
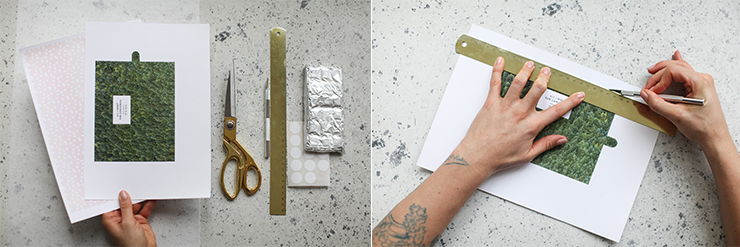
For this DIY you'll need:
- - Cardboard patterns to download here,
- - A pair of scissors,
- - A scalpel,
- - A ruler,
- - Stickers,
- - Chocolate bars,
- - Tissue paper.
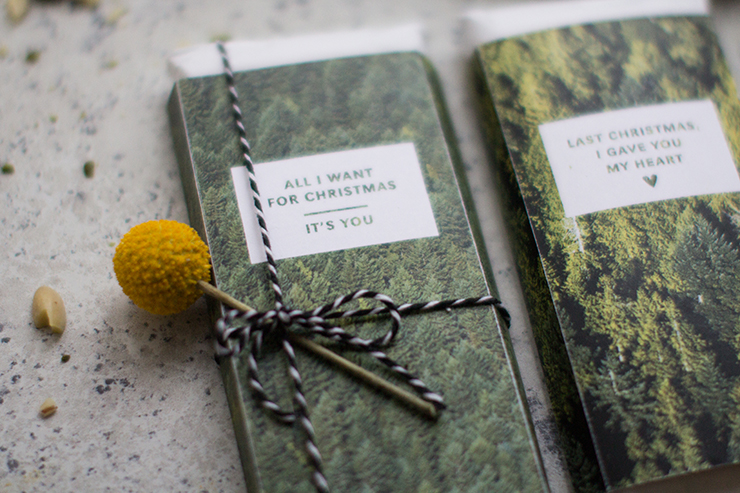
Start by downloading and printing the cardboard patterns for the bar, making sure you select the "do not scale" option in the print settings. Print the polka dot pattern on the front, and the "fir tree" patterns on the reverse. There's also a blank pattern you can personalize yourself! Once all this has been printed, use your ruler and scalpel to cut out the cardboard.
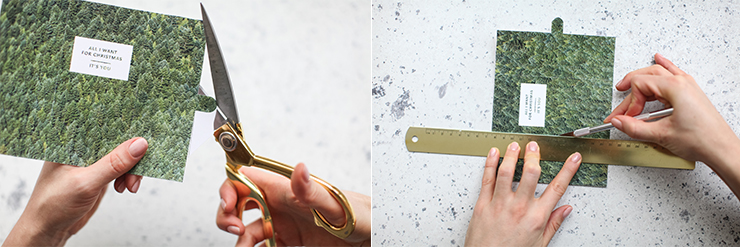
For the notch that closes the cardboard, use your scissors to cut out the rounding - you'll see it's much easier than using a scalpel! Now take your scalpel and lightly trace the grooves (indicated by the dotted lines) to simplify folding later. Don't forget to cut the slit that will be used to slide the notch and close the cardboard.

Pre-form the cardboard using the grooves, so you have the inside with polka dots and the outside with Christmas trees or the motif of your choice!
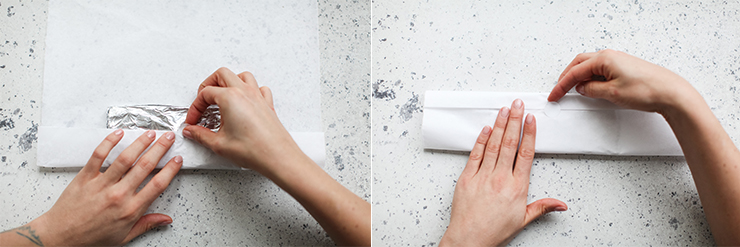
Take a sheet of tissue paper and wrap your chocolate bar in it.
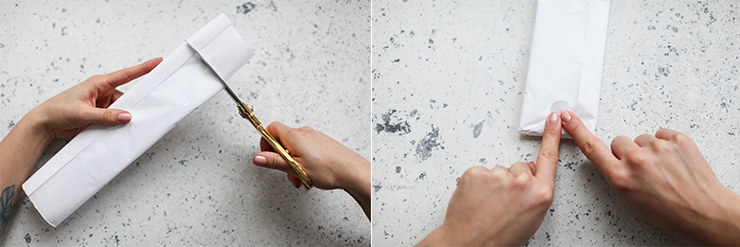
Trim off the excess tissue paper, fold like gift wrap and secure the ends with a sticker.
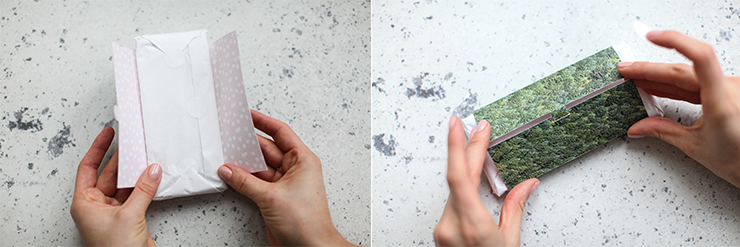
Slide your freshly-wrapped bar into the cardboard box, closing the back with the tab.
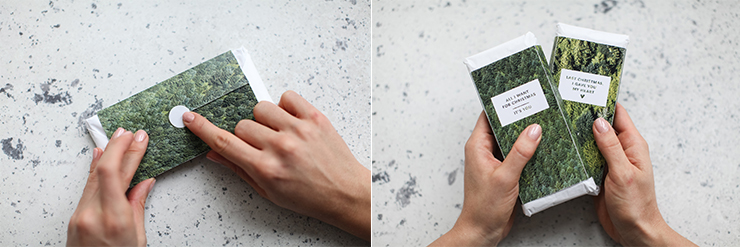
To make sure the tab stays in place, you can always add a sticker to prevent the tablet from slipping out. And TA-DA!

To read this post in English, click here!