


HEAD BAND DAISY...
It's Wednesday, darlings, it's DIY!
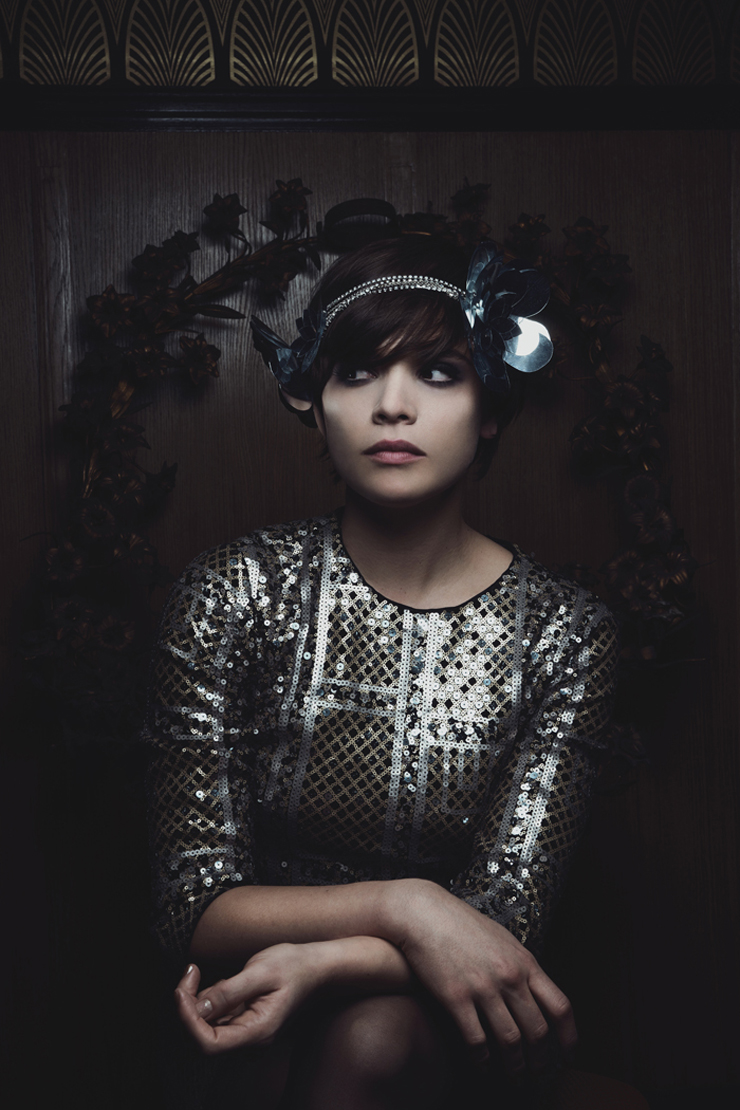
Thank you 1000 times over for all your kind words and comments, it's great to read your enthusiasm! It's galvanizing and obviously boosts me for what's to come! THANK YOU! Today's class is in full swing, so for the final photos of this DIY, I'm showing you a little taste of the mad work of Pauline DarleyI can't wait to show you the rest! In any case, many of you have asked me for DIY headbands à la "Brigitte and well, I thought this week was a good excuse to practice! I hope you like it! Big hugs and see you tomorrow for the discovery of a great place.
-Cost about 20 euros... (excluding pliers)
-Time about 2 hours, I assure you...
-Difficulty "a little technique and patience are required"...
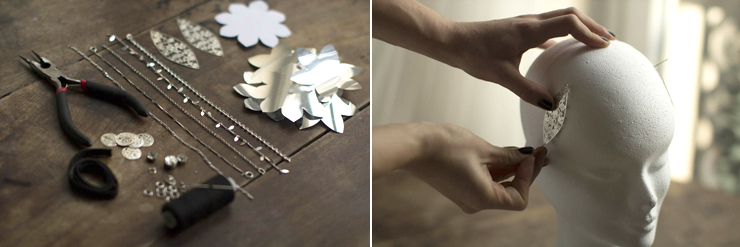
- -two metal "leaves" or openwork circles, available at the drugstore, which are a sort of sieve,
- - metal paper such as this one
- - the flower pattern is available HERE,
- - 5 different chains, about 20cm long,
- - 30 cm of elastic (12mm wide),
- - metal rings, coins and a few round rhinestones,
- - a pair of flat, round pliers,
- - thread and needle, and a little patience.
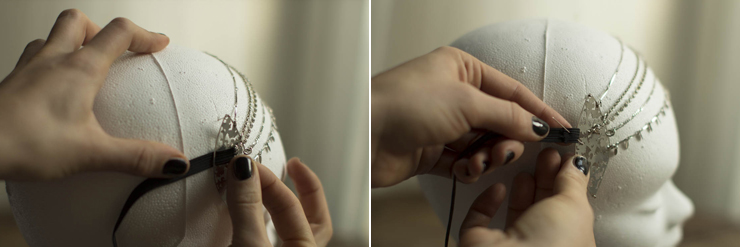
To start with, it'll be a lot easier if you work on a Styrofoam head - what do you mean you don't have one at home? It costs approx. 7 euros and it would be silly not to use it, because for all your head band, bibi and other hair accessories, if you're a do-it-yourself kind of person, it'll always help... So take your head and use pins to prick the openwork leaves at the temples.
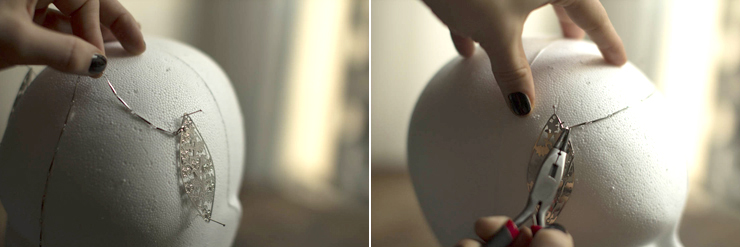
Using flat-nose pliers, open a ring and attach the chain to the first openwork leaf. Run the chain along the forehead and attach the second end to the second openwork leaf.
Tip: if one of your 5 chains has rhinestones, the best way to attach it is to squeeze a ring between two rhinestones, but not too tightly, just enough so that a second ring can pass through to attach to the openwork leaf.
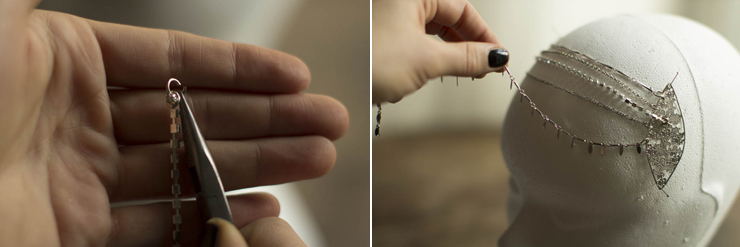
Once all the chains have been fastened, thread the elastic through the first openwork leaf, make a small return and pin in place.
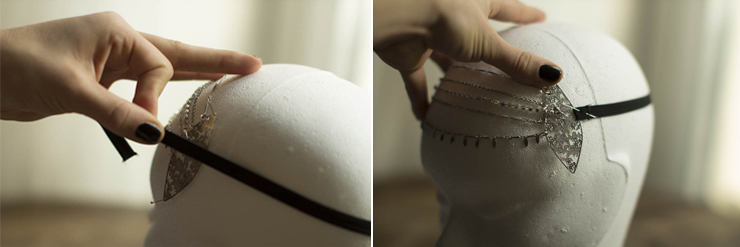
Do the same with the other end, pulling slightly on the elastic, then pin.
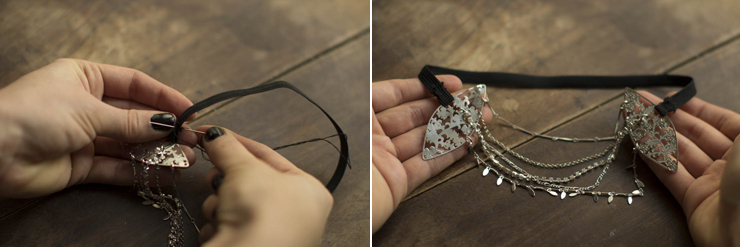
Using thread and needle, secure the elastic returns to close your headband. Don't hesitate to double or even triple stitch by hand, to avoid any unpleasant surprises.
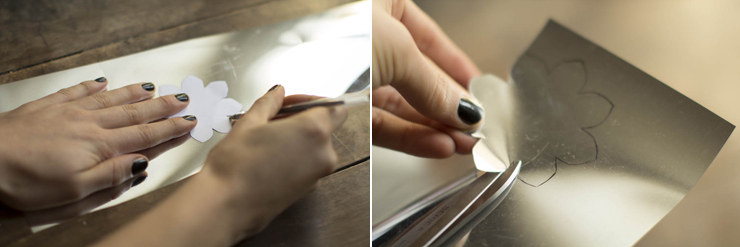
We'll now move on to the metal paper flowers - I'm very flowery at the moment, and it's not going to get any easier... Anyway, using the paper flower pattern, trace the outlines of the flowers. To make a flower you'll need 4 layers, and for a head band like this you'll need 3, so cut out 12 flower silhouettes.
Then fold the petals towards the center of the flowers, and superimpose the layers.
Using thread and needle - if you happen to have a leather needle, this will be easier - stitch through all the layers of flowers, and to secure them together, I recommend embroidering a large round rhinestone, passing it several times through the flower holes and, above all, saving thread length.

And yes, the length of thread will enable you to embroider your metal flower on the openwork leaf. Make several hooks, and attach the flowers on the other side too.
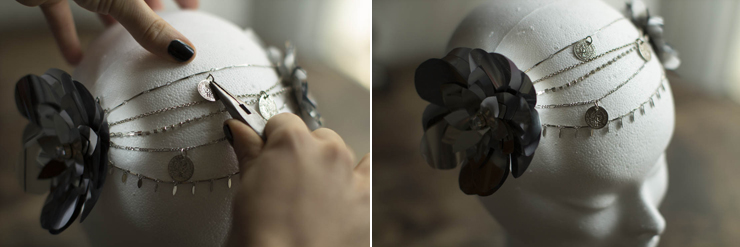
And for a little finishing touch, you can sprinkle a few coins on the left and right using the rings and clips. AND TA-DA!

I'm wearing a dress Set and Nailmatic GOLD nail polish.