


GET OUT YOUR HANDKERCHIEFS
Hello to all my little cats,
I was going to post this at noon, but suddenly speaking out like nothing happened on the blog seemed completely out of place. I'm shocked by what happened today at Charlie Hedbo headquarters. How is this possible? In short, I'm at a loss for words, shocked as fiction catches up with reality. The hours passed and I finally realized that my post was in order. Boxes of tissues... To blow your nose because it's minus 8,000°C, to mourn freedom of the press, and lost talents... Stay warm, I'll give you a big kiss on both cheeks, and I apologize in advance for my wet nose...
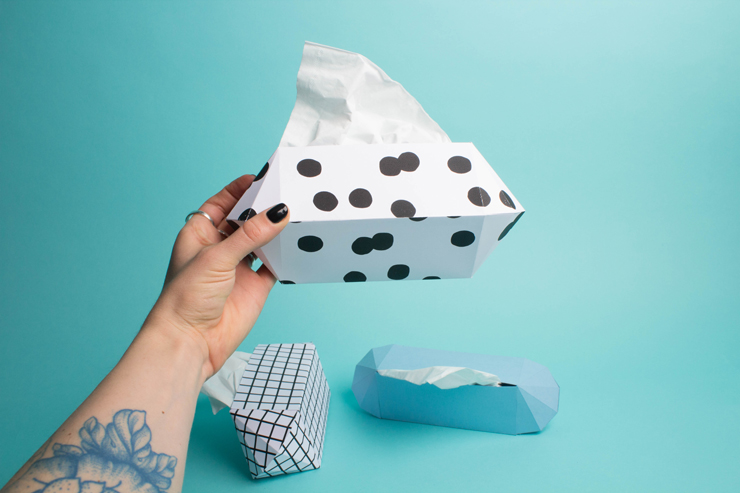
I came across similar boxes of tissues in Copenhagen during the vacations, from the fine designers at HAYThey cost around 9 euros for 35 tissues, but here you can use a lot more because we've modified the design... So much prettier than a classic tissue box, don't you think? I'm feeling a bit under the weather tonight. See you soon, my little cats.
Time : 15 minutes.
Cost: less than 5€.
Difficulty: Easy as pie.
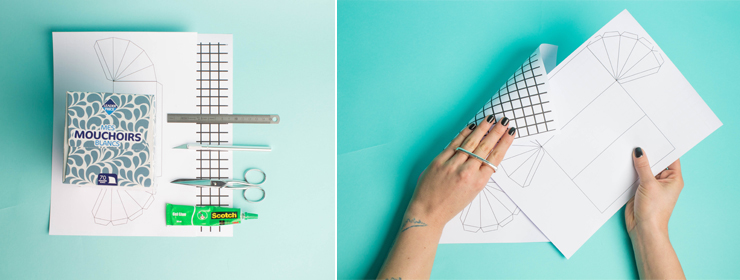
For this DIY you'll need:
- the pattern to download HERE,
- a box of tissues,
- glue,
- scissors,
- a blunt scalpel,
- a ruler.
To get started, download and print the patterns on heavy card stock. If you want to apply a pattern, polka dots or checksSimply print it on the front, and the pattern on the back.
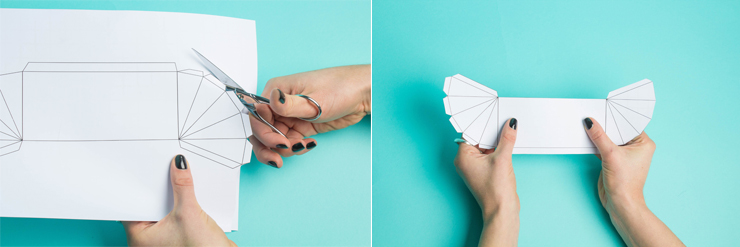
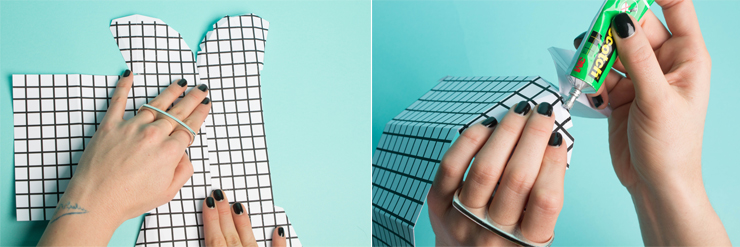
Cut out all the patterns following the outline lines.
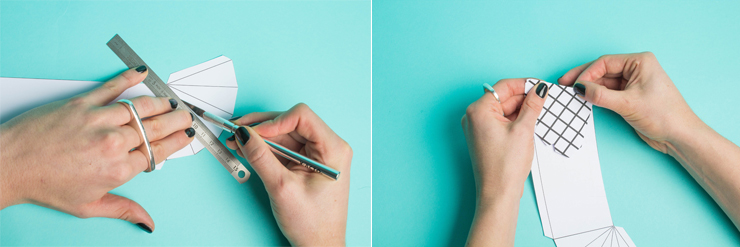
Take your scalpel and your ruler and trace the lines to facilitate folding (use the back of the blade to avoid cutting your beautiful box if your scalpel is new). Then bend each edge.
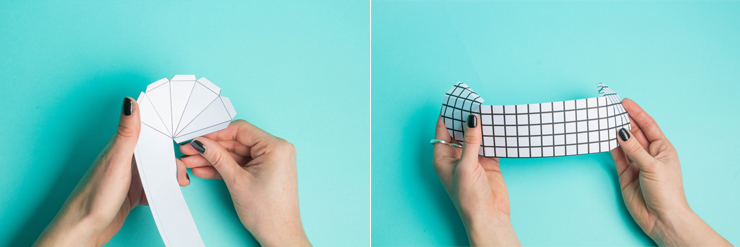
Fold all the edges, then the tabs, and watch your box take shape.
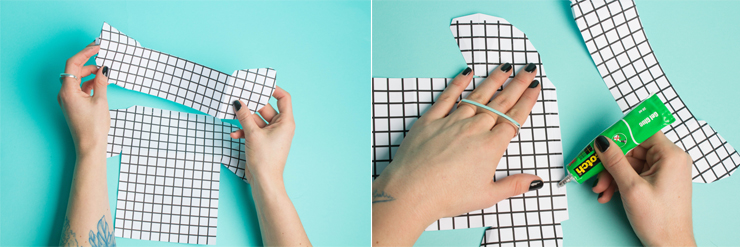
Do the same with the second piece of the box, and now join the two pieces together by gluing the top tab of the larger part to the smaller one.
Now move on to the tabs, gluing each carefully to its corresponding side.
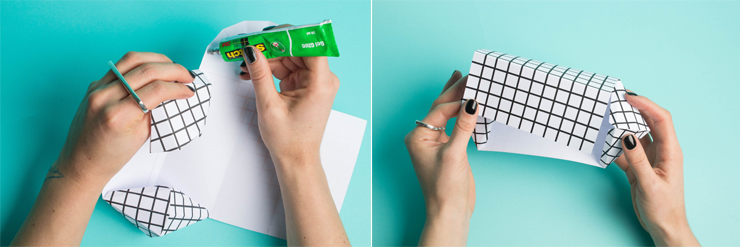
Do the same on the other side. You're almost there - if you've followed this carefully, you should be starting to see your box.

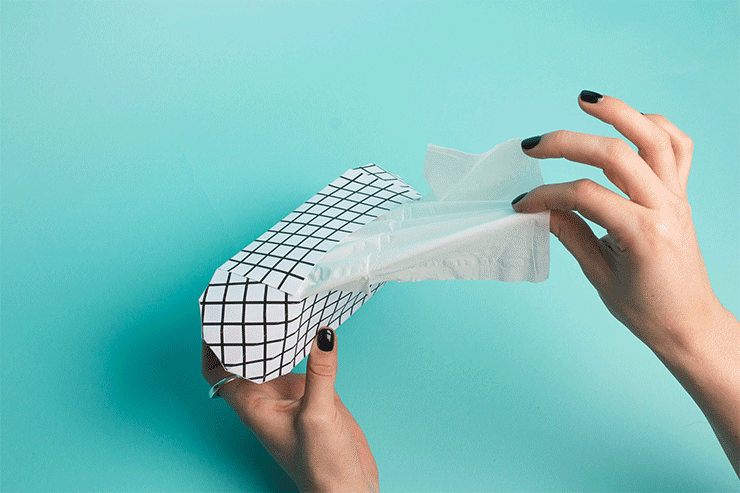
Take your handkerchiefs, pull the thickness of the first one and place them inside, making the first one stand out on the front.
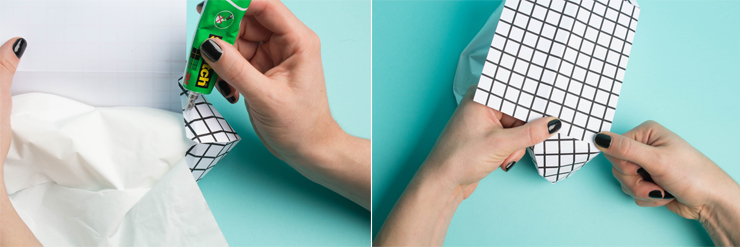
Glue the two tabs on the back to close the box.
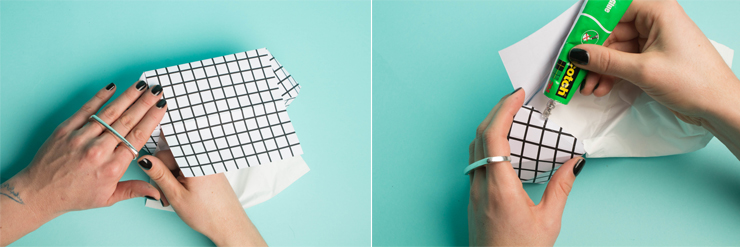
Do the same with the tabs on the top of the box.

Be careful not to glue the handkerchief to the top of the box!
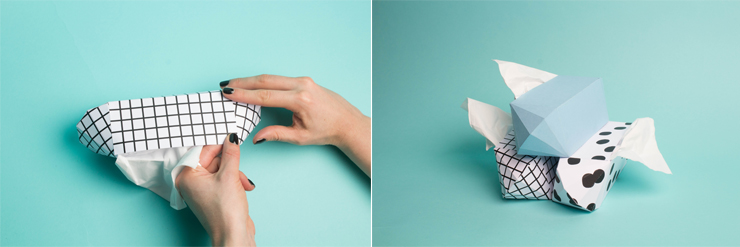
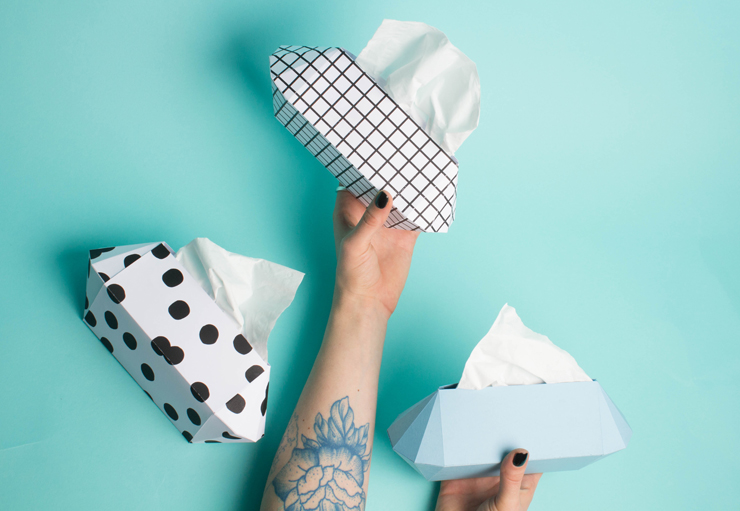
Here you go ....
Translated by Ida Driscoll