


DO IT YOURSELF COL DE PIERROT
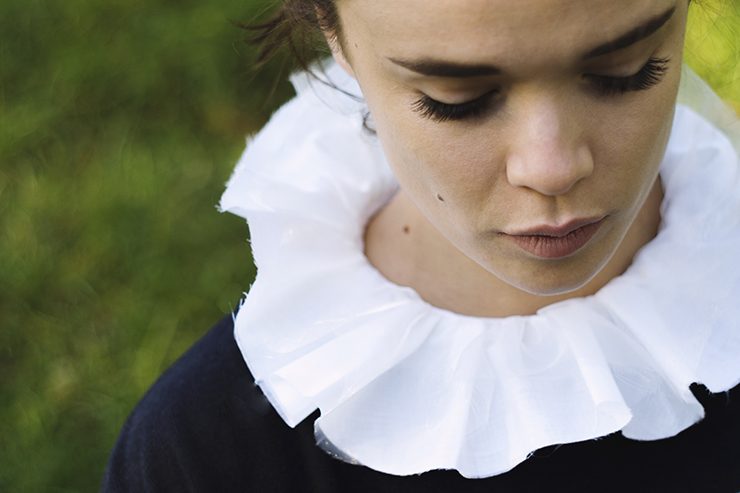
And hop! A Pierrot collar! Again! After the gathered Pierrot collar on Sweat shirt, and the Pierrot dressyou're going to start thinking I've got a problem. Some people are obsessed with Claudine collars, but I'm all about Pierrot collars. I find that a touch of white near the face highlights it and finishes off a silhouette nicely. The claudine collar makes me feel a little too childlike, which I struggle with on a daily basis, whereas the Pierrot collar is downright lunar... By the way, what's the academic name for the Pierrot collar? A strawberry? A gathered collar? Readers, technical clothing experts, come out of your silence and tell us all about it!
So, today, it's a do-it-yourself sewing project I made during the Urban Outfitters workshopand it was a really great experience to get off the beaten track of classic customization and teach participating readers that nothing is insurmountable, especially not sitting behind a sewing machine. And what's new with this do-it-yourself project is that you'll be able to wear this collar/plastron under all your sweaters and pullovers this winter, as a removable accessory that will, I hope, become your best friend for twisting up a rather classic look.

Time : 3h
Difficulty: Medium, but thanks to this DIY you'll get to know your sewing machine better.
Cost: less than €10
For this DIY you'll need:
- - the collar patterns to download here,
- - white cotton voile,
- - white organza,
- - white bias,
- - pins,
- - scissors,
- - two snap fasteners,
- - iron-on adhesive.
First, download and cut the patterns from the cotton, organza and fusible web (don't forget to double-cut the front panel base from the cotton to double it). Iron one side of the collar base.
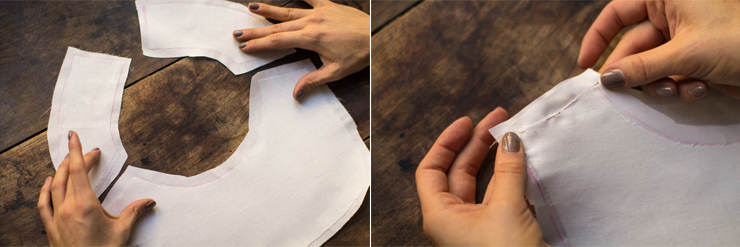
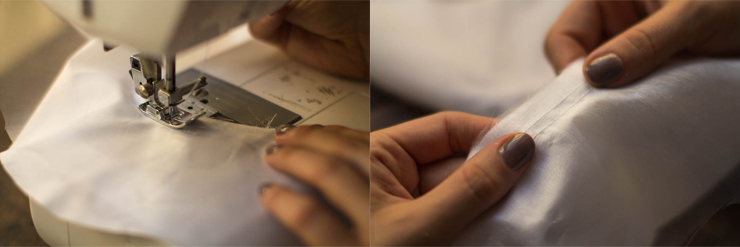
Pin the front of the bib and the two parts of the back together, then machine-stitch at what will be your shoulders.

Repeat the operation on the second part of the breastplate, pinning and stitching with a normal stitch, remembering to stop at the beginning of the seam and at the end.
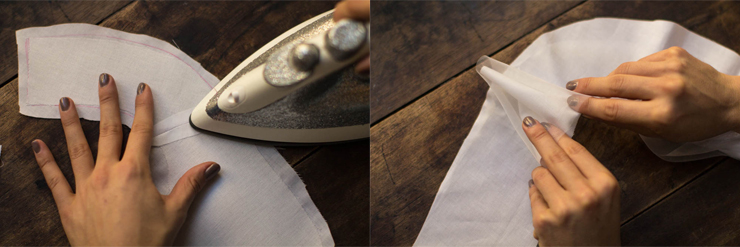
Remember to open your seams with your iron for a neat result on both sides of your bib - just because the bottom part is not visible doesn't mean it shouldn't be ironed... All these steps are important. Take your organza and cotton voile and pin them together at the smallest curve (the future neckline).
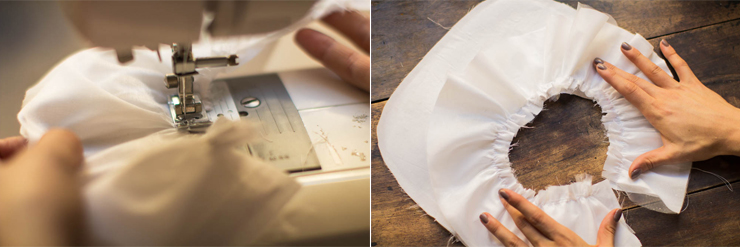
Start to stitch the cotton voile and organza together with a wide stitch, and this time, please don't stop-stitch at the beginning and end, just sew along the entire length, 1cm from the edge. Then sew a second gathering thread, parallel to the first at a distance of about 0.5cm (ideally parallel).
Clip along the seam. Now pick up the top two threads (or the bottom two, but both on the same side) at the end and start gathering gently, continuing until you reach the middle, and repeat the operation, starting again at the other end for a more even result. Gather until the piece is the size of your collar base (-1cm at the ends for seam allowance and snap placement).
Make a small seam to secure your gathers with a normal machine stitch. This step is optional, but may help if you're not quite sure. Place the gathered part on the right side of your front panel (the iron-on part) and pin all the way down. Sew at your second gathering thread (the one furthest inside your collar).
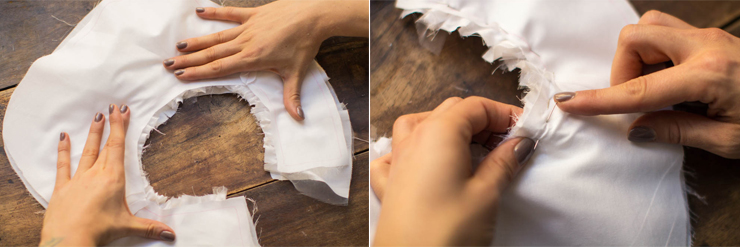
Next, take the second part of your bib and place it right sides together, sandwiching the pierrot collar. Pin in place following your previous seam and stitch. Don't forget to sew the two ends together (those forming a right angle), taking care not to sew the ruffle to them.
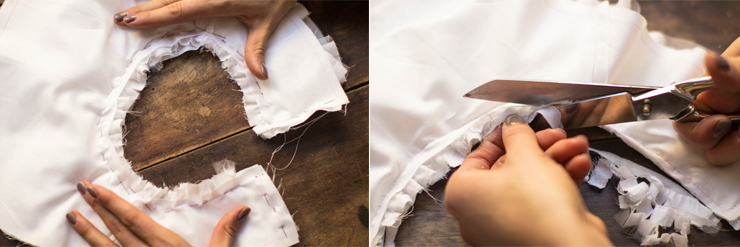
Now remove the excess fabric from your seam, as shown on the right above.

Gently crimp the whole thing, then turn the collar right side out - not bad, eh?
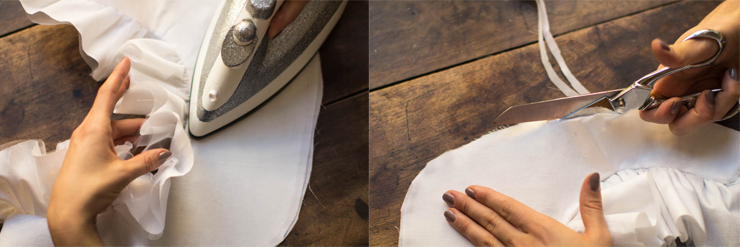
Iron the entire front panel, paying particular attention to the seam near the gathers. Now you can move on to the finishing touches, starting with the bias! Iron the bias to mark the fold and facilitate sewing. Remove the excess seam allowance from the bottom of the bib.
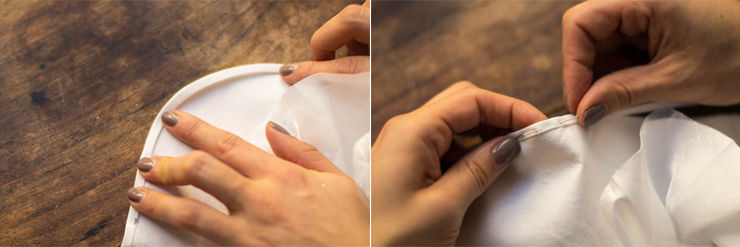
Place the bias binding over the entire collar, using as many pins as possible to avoid any risk.

You now have two choices: the "risk-free" version: sew by hand, using small, regular stitches along the bias.
The "no-risk" version: use the machine to stitch a ribbed seam all along the bias. Now place the snaps at the ends.
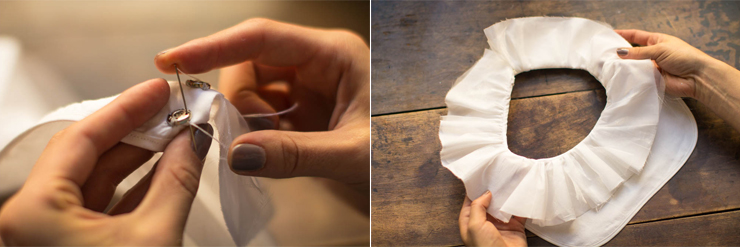
Now you can sew your snaps, and TA-DA!
