


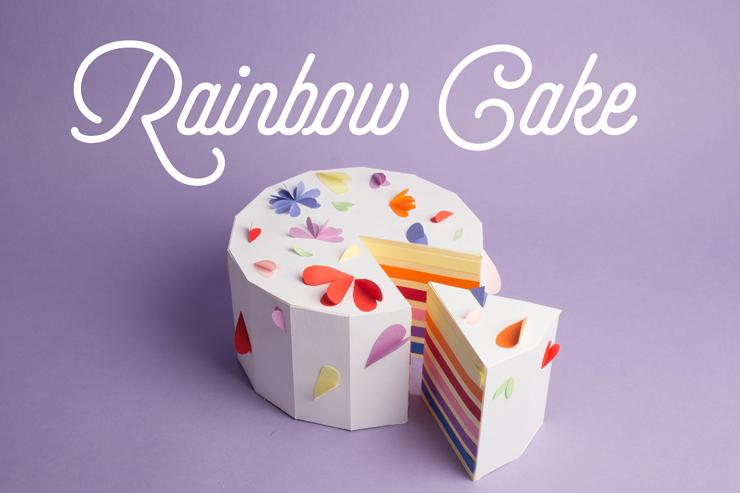
DIY RAINBOW CAKE
Hello my little cats!
I hope you're all well! Here's the DIY for our favorite 2015 calendar ! As you requested, here are the steps to make it! Don't hesitate to let us know if you'd like more! It's a real pleasure to imagine these cakes, and a real satisfaction when, in the end, everything coincides perfectly! I feel like a genius when it comes to spatial geometry, no less, yes, a genius... But if you only knew how far I've come in maths, so far that I'm delighted with little technical feats! Anyway, here's our Do It Yourself paper cake to play shop, decorate your kitchen, polish up your Carnival costume... And yes, imagine this pastry mounted on a headband!
- - Time : One hour
- - Difficulty: Simple and super-efficient
- - Cost : A few euros worth of paper
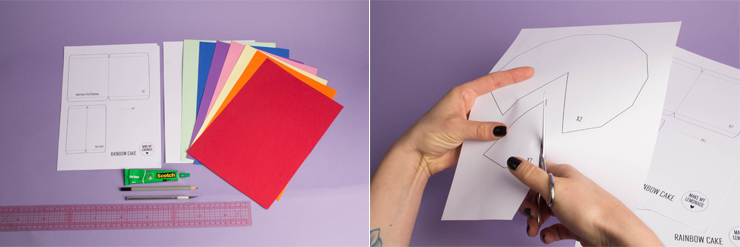
For this DIY you need :
- downloadable cake patterns here,
- fairly thick white and yellow "génoisé" paper, approx. 250g
- other rainbow-colored papers, here in shades found at Clairefontaine
- a blunt scalpel,
- a ruler,
- a pencil,
- glue.
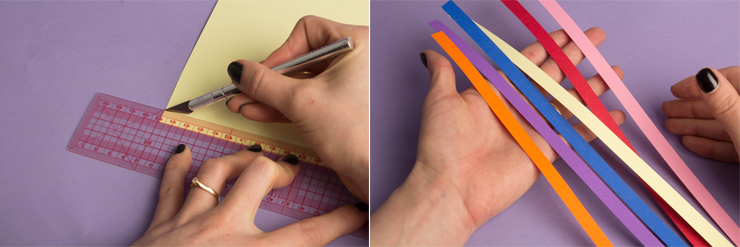
Download the patterns and print them out. You can print them directly onto white and yellow paper, but make sure your hands are always clean to avoid ink marks when cutting and folding.

Transfer the various pattern pieces and cut them out (if you haven't printed them directly onto the paper).
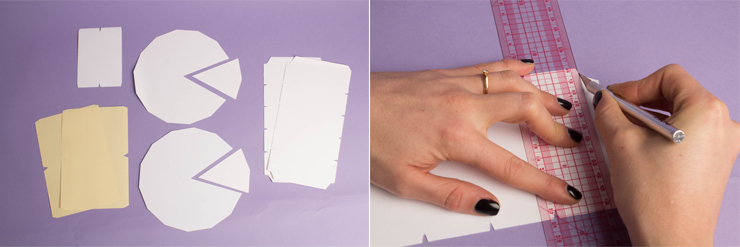
Cut out all your pieces from the corresponding paper. Using your scalpel and ruler, trace the folding lines of each piece (indicated by the dotted lines on the pattern) and fold them.
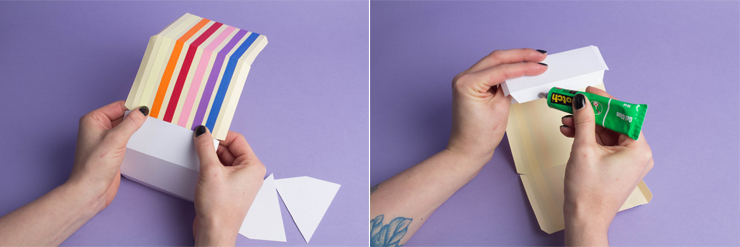
Cut 1cm-high strips from your rainbow papers. Glue them onto the yellow pieces on the inside of the cake and the part you'll use for the cake slice (there's about 0.7cm between each strip).
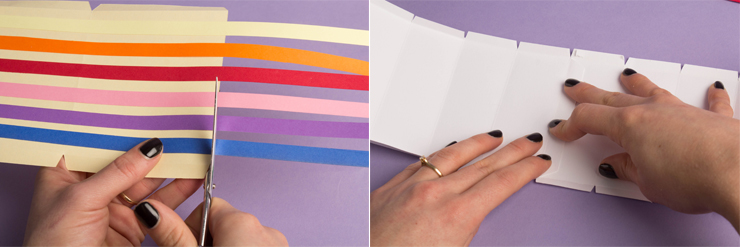
Cut the strips to size after gluing. Now let's start assembling the cake with the base, pre-flattening each edge if you haven't already done so.
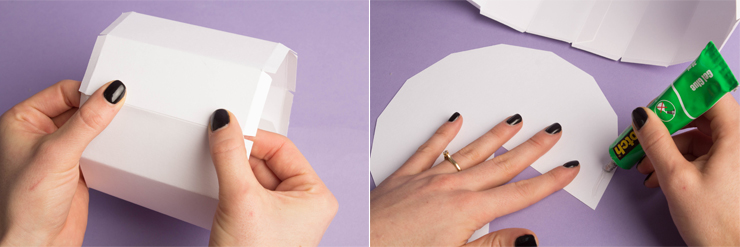
Fold and glue the strips one by one to the base.
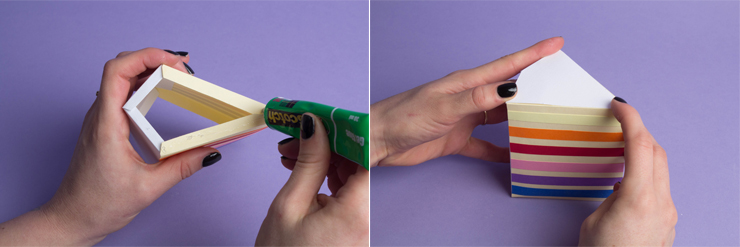
Now insert the yellow pieces from the inside of the cake and secure them with the tabs.
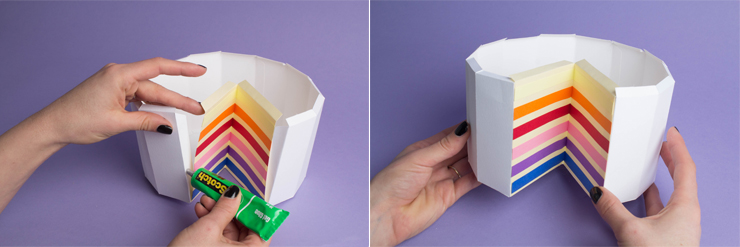
Take the time to glue this piece twice, to be as precise as possible and get a clean slice.
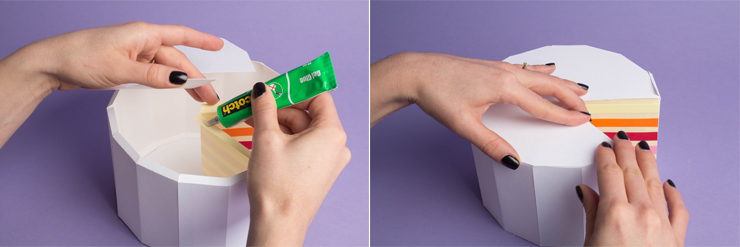
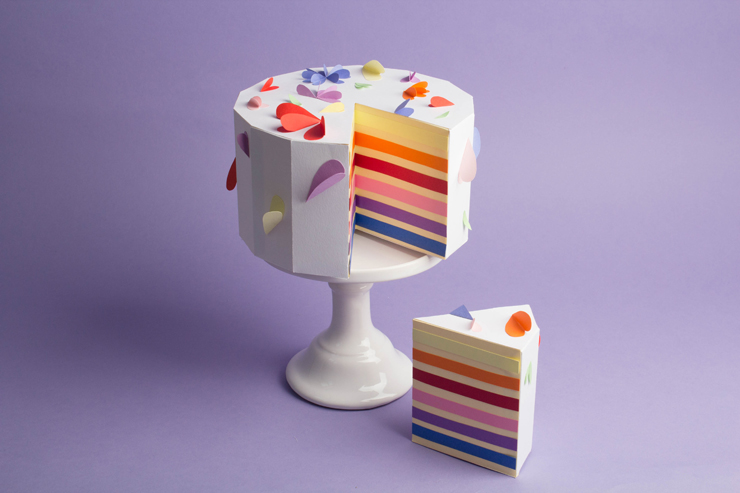
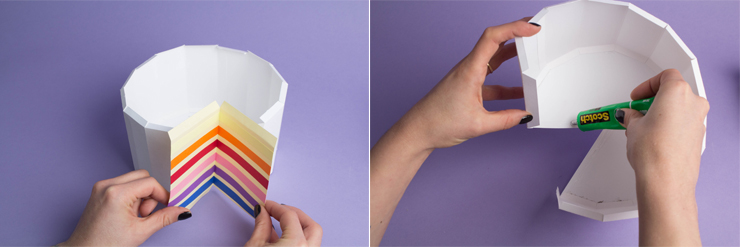
All that's left is to glue the top of the cake: first TA-DA!

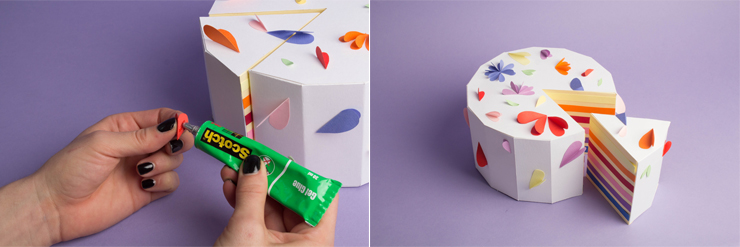
Let's move on to the decoration: cut out a multitude of little hearts and leaves in various colors.
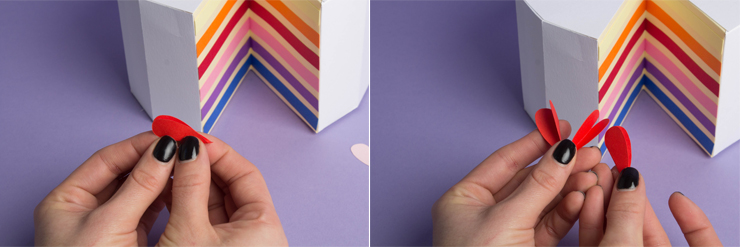
Fold the hearts in half to form petals.
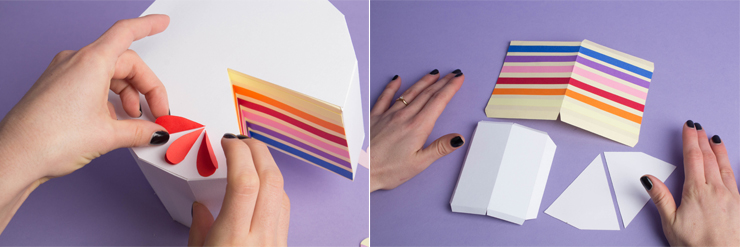
Glue them to the cake. And now for the slice!
Glue the yellow part, then place the white part at the end using the tabs, then do the same on the other side.
Glue the top and bottom of the slice!
Don't forget to decorate with hearts and flowers!
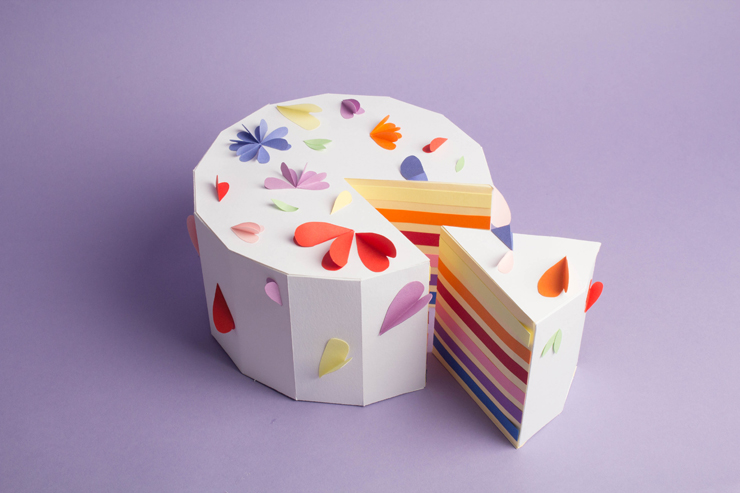
and TA-DA , you can now become the children's idol...