


DIY JARDINIERE BETON
Happy Saturday my little darlings!
Today it's all about DIY! We warned you that December would be a busy month! So here's a gift idea for any lover of contemporary decor! So for the occasion, we've teamed up with the great The French Vikings ! We love it when the boys come to our neck of the woods. Nadir and Billy launched their brand a few months ago, offering decorative objects made of concrete, lamps, flowerpots and cubbyholes, and what we love most of all is when, in addition to offering ready-made and beautifully packaged products, they offer workshops to make their products yourself! Oh Wait?! Of course it speaks to us, so they were kind enough to find us a do-it-yourself concrete recipe that's guaranteed to work, without revealing the secret mix they jealously guard for their workshops.
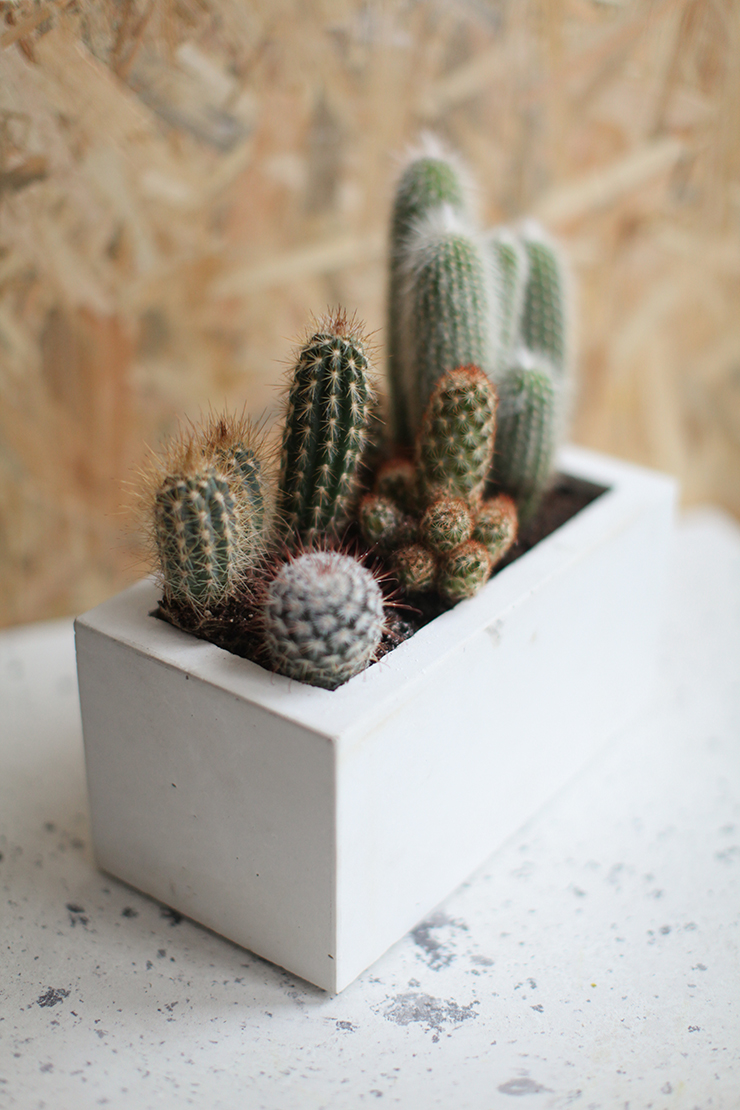
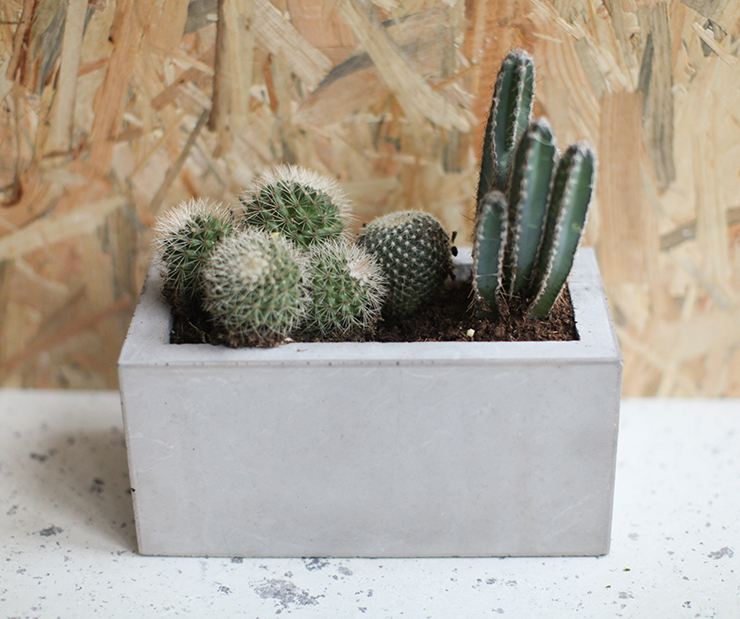
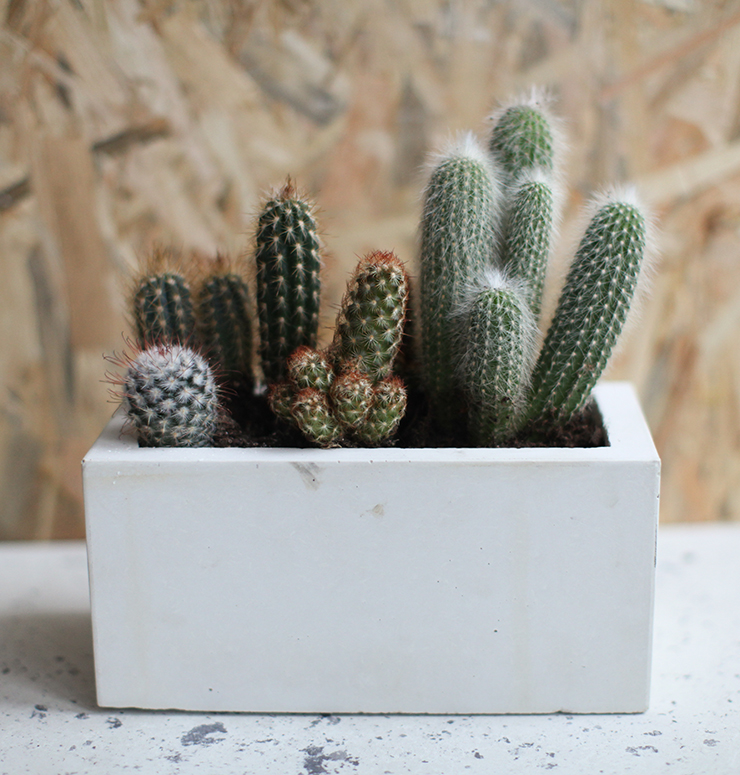
So we've come up with these step-by-step concrete planters, to garnish with little cacti for a hot gift idea that will (I'm sure) appeal to girls and boys alike. Roll up your sleeves and put on your gloves, because we're going to pour some concrete, kittens! If you're ever in Paris, the boys are organizing workshops on Sunday, December 20, planter in the morning & lamp in the afternoon. To sign up to prepare your last-minute Christmas gifts, go to here !
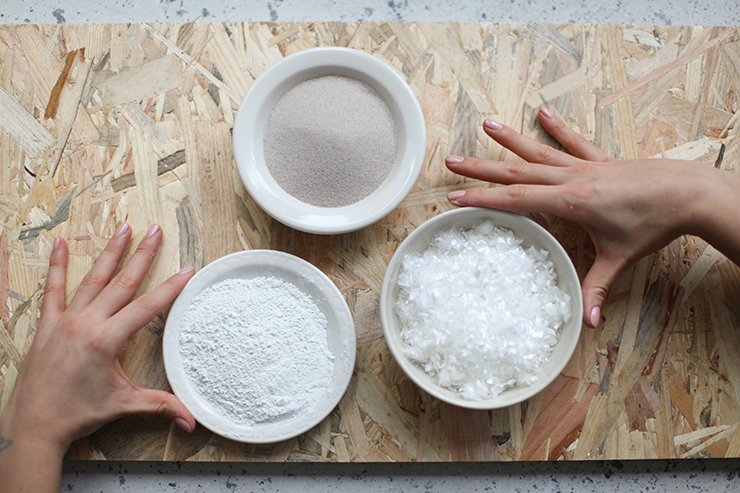
For the concrete mix, you'll need :
- - 50% cement, ideally white cement as it is finer and of better quality.
- - 50% sand: the finer the sand, the better the concrete finish. Sand can be found in DIY stores, but fine quality sand is also available in aquarium stores (and often in smaller quantities),
- - Fiberglass: this is what makes concrete strong. Sand, cement and fiber are mixed together to form a highly resistant whole. Fiber should be added in quantities of 1-3%. For a planter, this is sufficient. The fiber can be found at any Leroy Merlin store. It is indicated under the name of special concrete/cement fiber.
- - Water.
- - Possibly concrete pigments.
Take a bowl, bucket or basin (which is safe and can be thrown away later). For every 3 volumes of cement, you need one volume of water. Put the necessary water in the bowl, add the cement gradually, stirring to avoid lumps, then add the sand. Mix well. The cement should appear pasty and slightly fluid. If the mixture is too pasty, feel free to add more water. Be careful, though, and add very little water each time. Once the mixture has reached the right consistency, pour it into the mold. To bring up the air bubbles trapped in the concrete, lightly tap the sides of the mold with a hammer. The air bubbles will gradually rise to the surface. Leave to dry for at least 48 hours. Then unmold!
For molding, you'll need :
- - Pieces of melamine (chipboard covered with a white layer to which concrete does not adhere) at least 2cm thick,
- - A block of polystyrene,
- - Silicone sealant,
- - Glue gun,
- - Double-sided tape,
- - Hammer,
- - Squeegee.
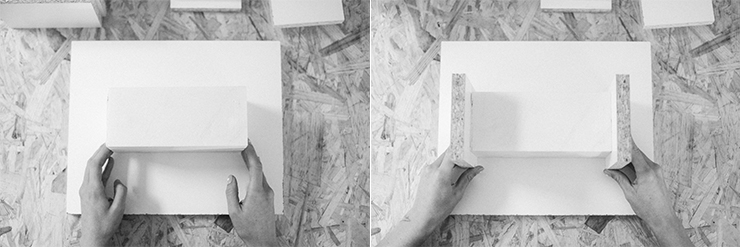
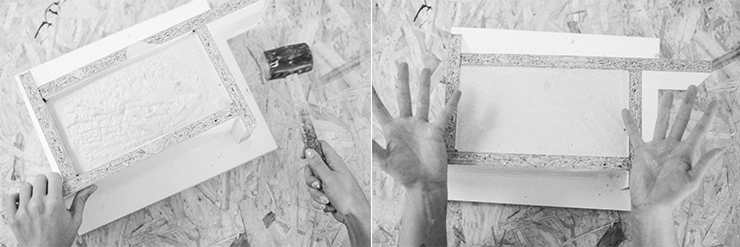
To begin, place your piece of polystyrene in the center of the board and place the small pieces of wood at the ends. These will act as spacers for the larger pieces of wood.
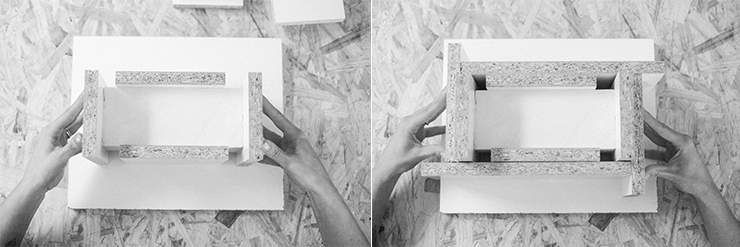
Take the other two small pieces and place them on the other two sides of the polystyrene. Now grab the larger pieces of wood and stagger them around the wedges.
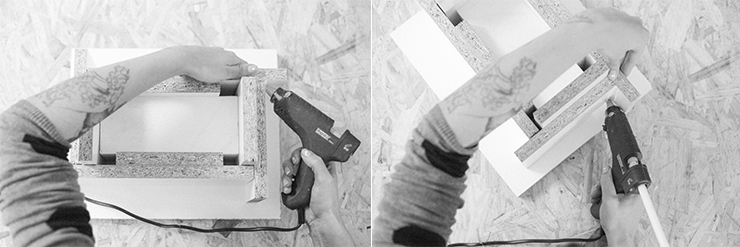
Heat up your glue gun and attach the large pieces to the base board. Don't hesitate to use lots of glue!
Now remove the small wedges and the polystyrene.
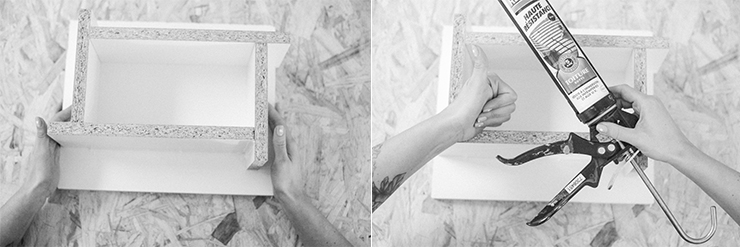
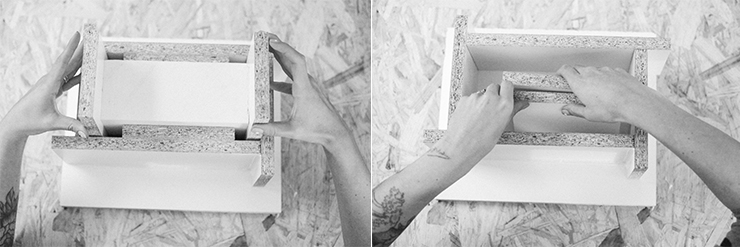
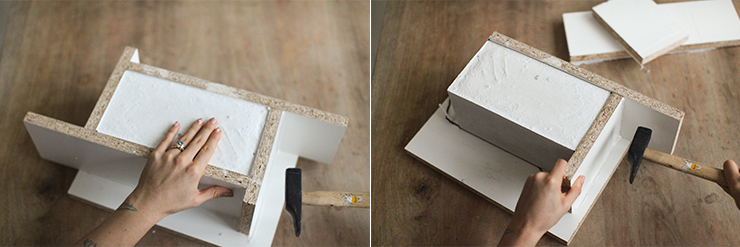
Now you've got your mold base - you can be proud of yourself! Grab your jointing gun (I hope it makes you dream as much as it does me).
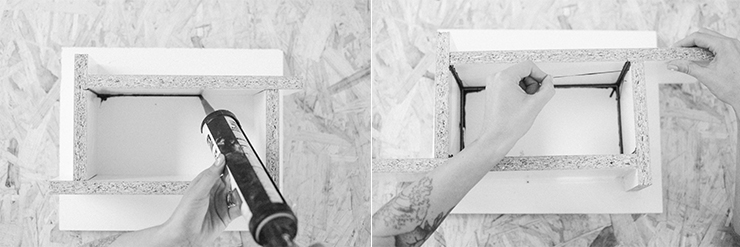
Apply sealant to all the grooves in the mold to ensure a watertight seal. Then smooth the seal with your finger, covered in washing-up liquid or a metal ball. Take your time and be careful not to leave any holes.
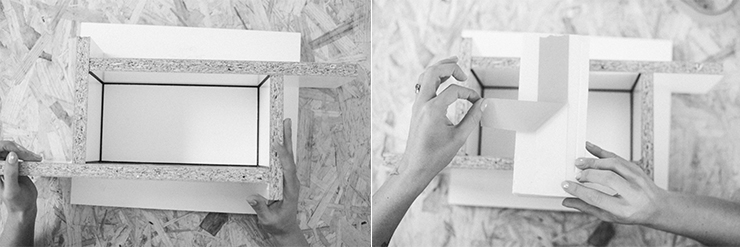
Leave to dry for a few minutes. Now place double-sided tape on the back of your polystyrene.
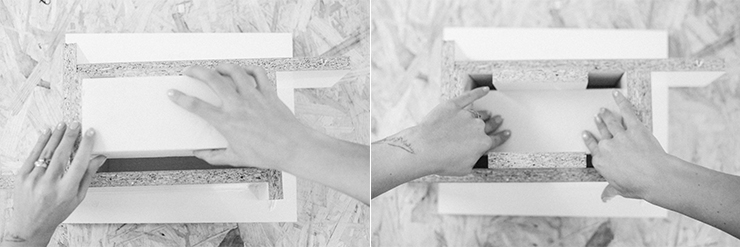
Replace the polystyrene, using the shims to check that it's centered, and glue it in place.

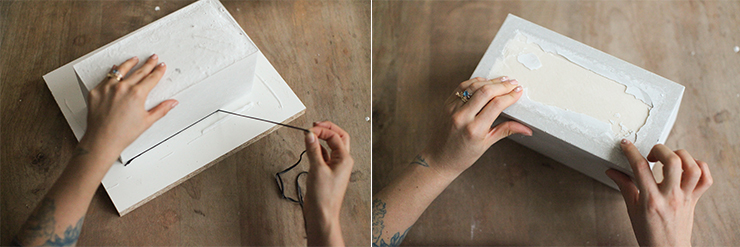
Remove the wedges, grab your bucket of concrete and start pouring it into the mould... Yummy!
Tap the sides of the mold with a hammer, to make sure the concrete flows smoothly everywhere. Stop filling at the edge of the mold. Leave to dry for 24 to 48 hours.
Two days later, the long-awaited moment of demolding has finally arrived! Grab your hammer and tap the ends of the mold to loosen the various faces.
Remove the remaining seal at the base, turn your planter upside down and gently scrape away the excess concrete from the surface of the polystyrene.
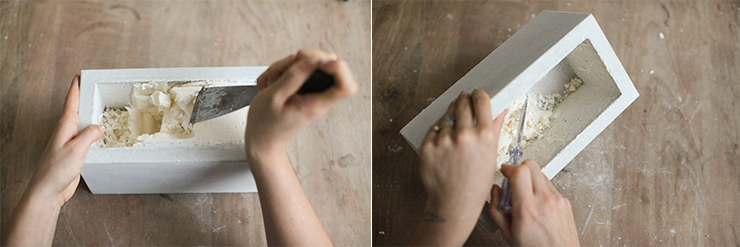
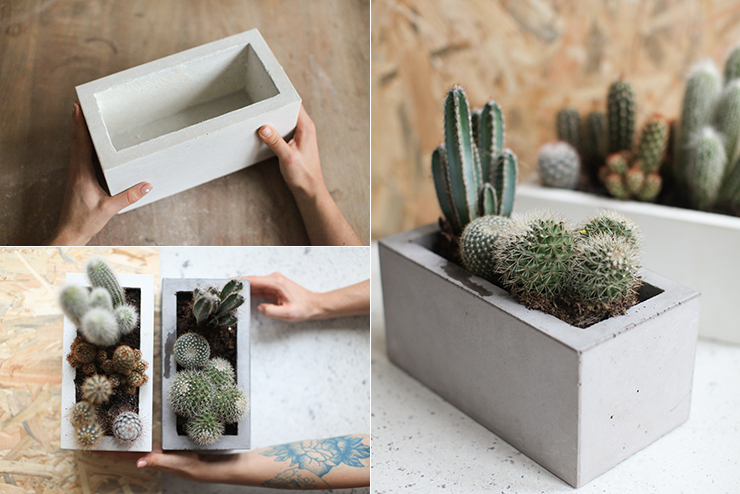
Now use your spatula and patience to remove all the polystyrene from the inside of your planter. And TA-DA!
To read this post in English, click here!