DIY ICE CREAM NEON
Hello my little cats!
I hope this themed week continues to make your mouths water! There's no Happy Friday today, because I've got some sweet looks in store for you this Sunday, a bit like the apotheosis of the week! But today we're going to do a competitive DIY: Neon ice cream! I've been wanting to do this for a long time, but I didn't want to make something too heavy, involving some rather sporty electrical manipulations. And now, thanks to technology, the neon effect is within everyone's reach - but not with those bright LEDs that make spots of light every 5 cm, but rather the good old-fashioned neon effect we love so much! Hallelujah to all the world's makers and DIY lovers! After scouring the internets, our very own Charlotte found us the luminous Grail at Dream Neonwho, in addition to having super-easy-to-use neon lights, have a lovely team to guide you through your creations if you have the slightest doubt! I can't wait to see your homemade neon lights! Kisses and see you tomorrow... Simoné will tell you where to eat competition ice cream in the capital...
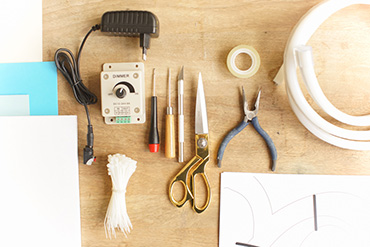
For this DIY you'll need:
- The ice cream pattern to download here,
- From flexible neonabout 3m for the entire ice surface, plus a power supply and a connector (we found it at Dream Néon),
- Clamps,
- Tape,
- Scissors,
- A good cutter,
- A punch,
- An electrician's screwdriver,
- White electrician's tape,
- Glue,
- Wire cutters.
- A large sheet of featherboard (A0 format)
- Grape-size sheets of colored paper.
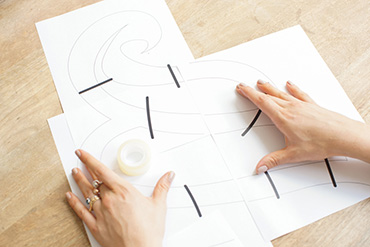
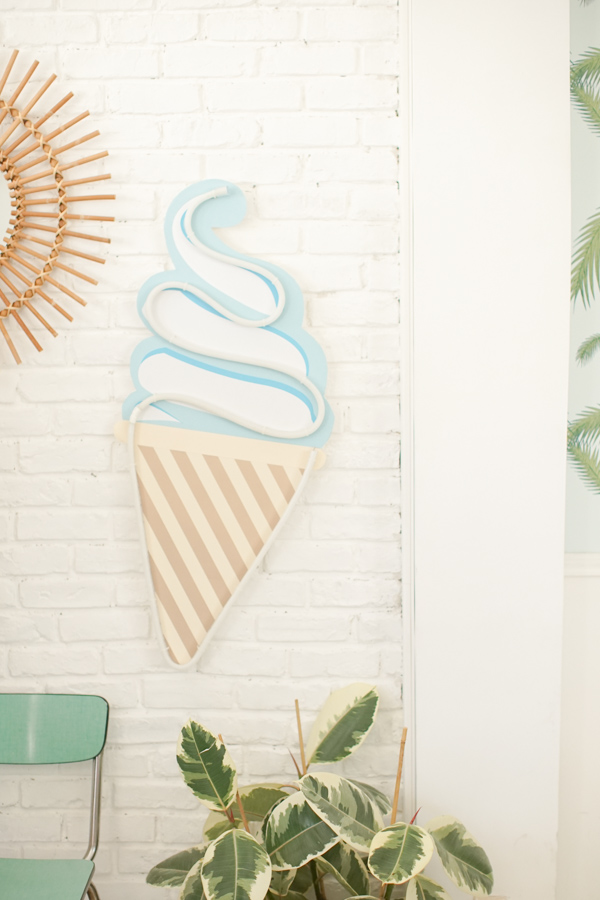
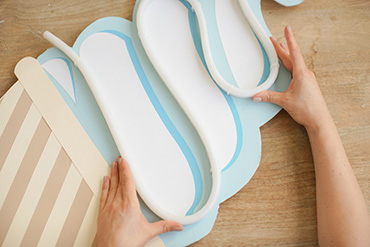
To get started, download and print out the ice cream pattern, then assemble the different pages using the overlapping connecting lines!
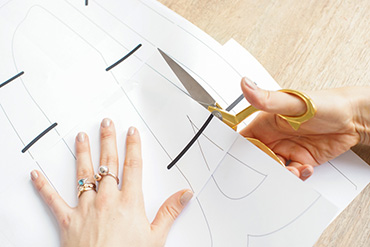
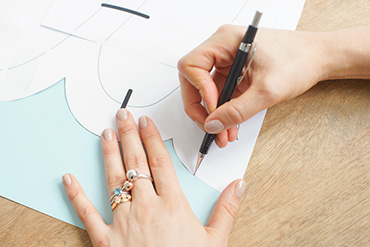
Now cut out the different parts of your ice cream and start transferring them to the paper.
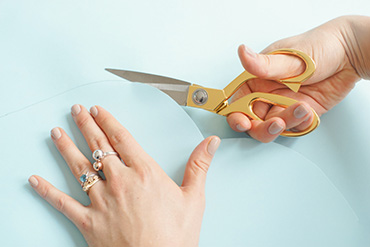
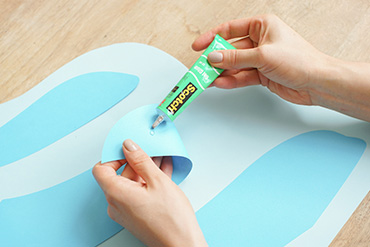
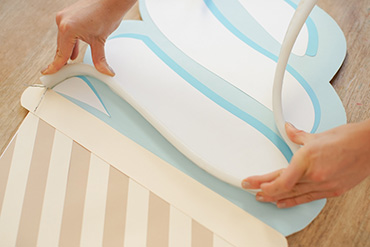
Once you've transferred everything, cut out the different colors and glue them together.
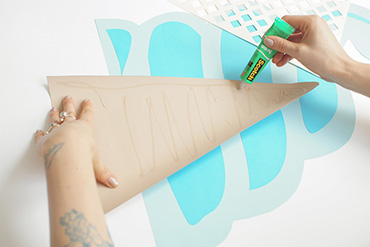
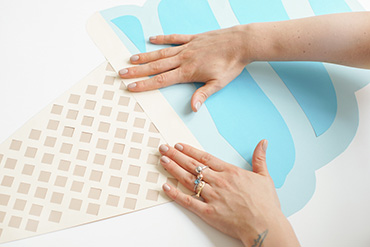
Do the same for the cone! As you can see, we've put together two different versions of the cone, depending on what you prefer (the waffle version will take you a little longer to cut out). If you opt for the striped version, simply cut strips of paper about 3cm wide and place them on the diagonal!

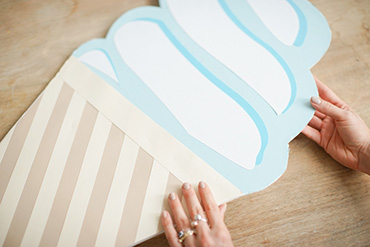
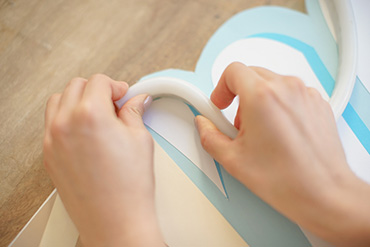
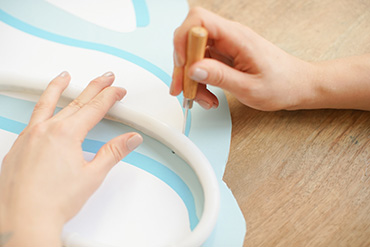
Once you've assembled your paper ice cream, grab your best cutter and trim away! (First Ta-Da!)
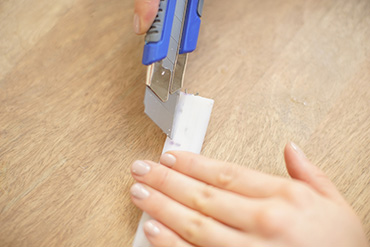
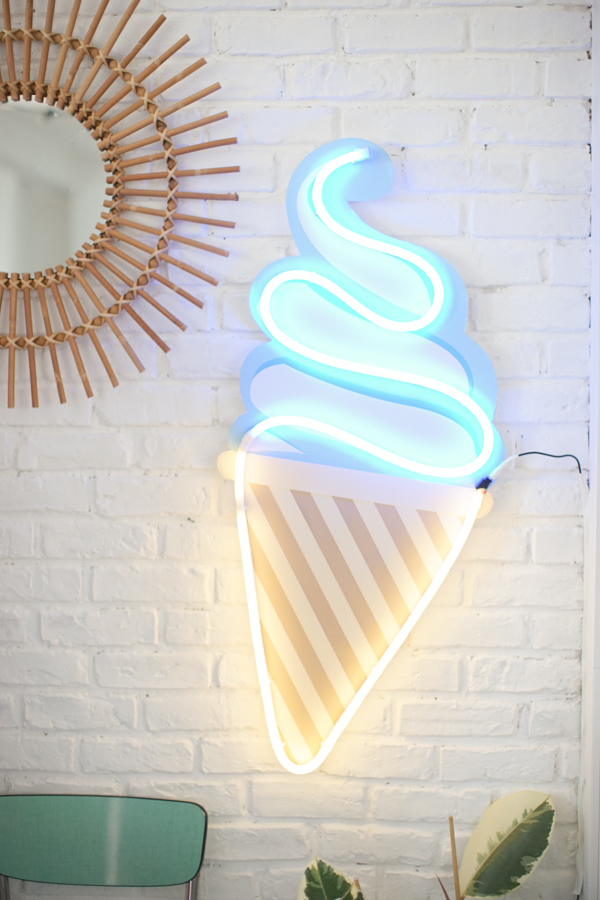
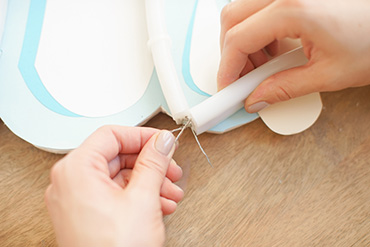
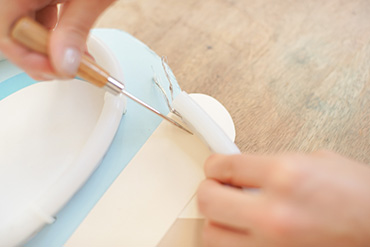
Now for the neon! Flexible neon can be cut every 4cm (indicated by a small scissors symbol), so take your cutter and make an incision along the neon to remove the two power supply wires.
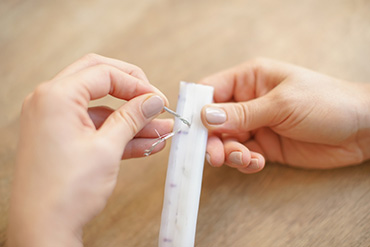
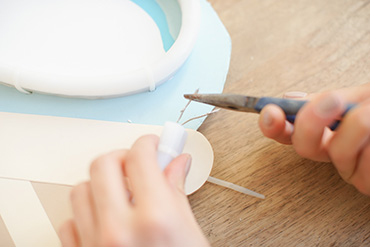
Twist the wires on themselves so that they don't go off in all directions, and start placing your neon on your mirror.
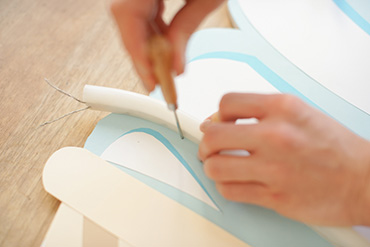
At this point you can estimate the length you need and cut off the excess neon. We've chosen to make the top of the mirror blue, which is why we've placed the beginning of the neon at this point, to make the connection with the cone. Using your punch, make a hole in the featherboard on either side of the neon tube!
Slip a clamp through the holes, and continue to draw your ice cream with the tube, securing it as you go along with your clamps to the reverse of the featherboard, at strategic points: those of the curves.
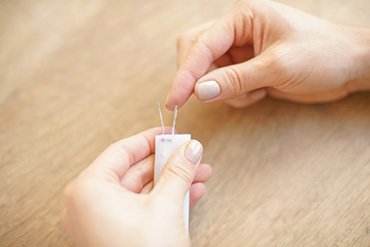
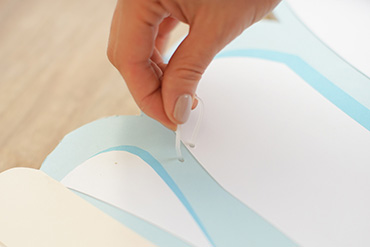
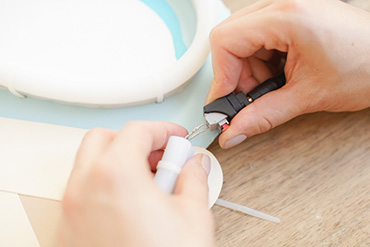
Second Ta-Da! Now let's move on to the cone connection: strip the neon wires as described above and wind the wires of the two neons together to make contact, then twist them together (take care to position the neons in the same direction, so that the + terminal is in line with the + of the second neon).
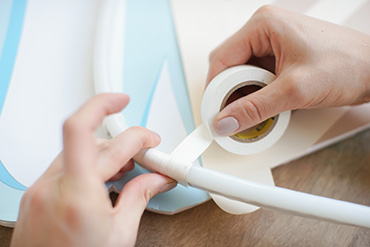
Once you've connected your wires, secure them with electrician's tape or Gaffer! Continue positioning your neon on the entire wafer!
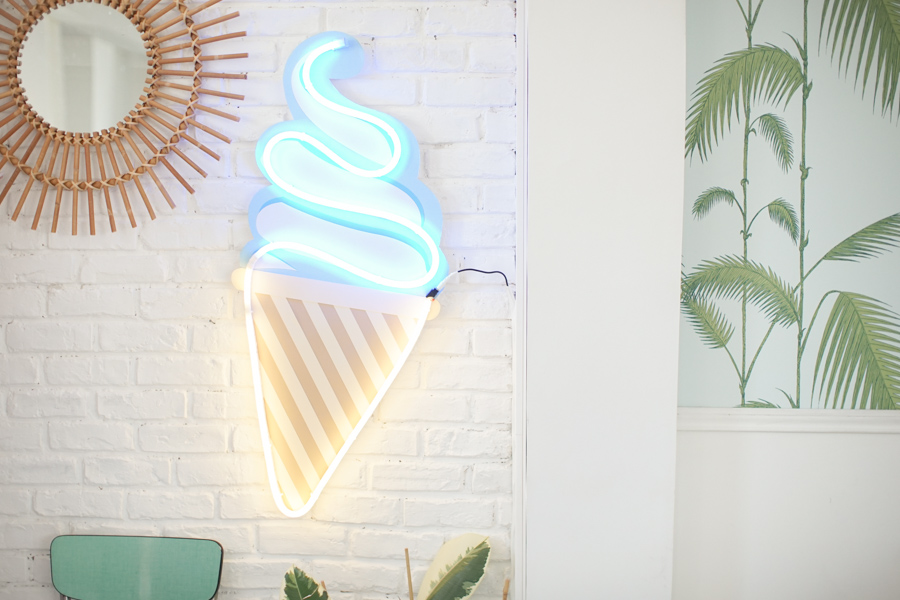
For the end, strip the wires to position the power supply, thread the connector (here too there's a +/- direction, so if it doesn't work in one direction, reverse the wires)! Thread the power supply and Ta-Da!