


DIY DU SOLEIL
My little cats!
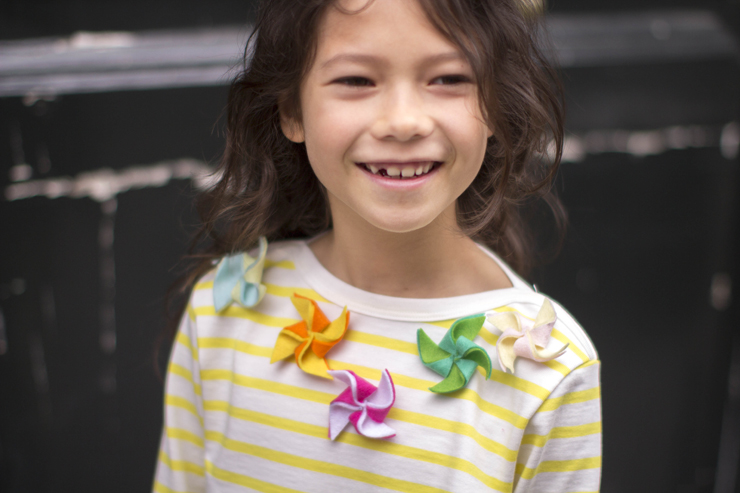
A little easy DIY today, a colorful tip to share with your children, your little brothers and sisters, your nephews, your neighbors... with kids, that is! I don't know if you remember the workshops Petit Bateau workshops "across" France, and today I'm re-doing the DIY star of this workshop for your amazed eyes. The kids were like crazy and much more skilful than their moms, so sorry ladies, but get your kids sewing urgently... It's a DIY for kids, but for grown-ups too, so I imagine that making these little leather windmills must be great... To be continued. If you're ever short of inspiration for this rainy weekend, go and buy some felt and snaps at your local haberdasher's. You already know you'll be able to keep your tribe busy for an afternoon. To test this workshop, children need to be 6 years old and know how to use a pair of scissors to really enjoy themselves; you'll see they'll be completely autonomous after a few windmills...
Duration: For the first windmills, allow 10 minutes...
Cost: less than 10€ (without the sailor)
Difficulty: Easy for adults, but also a good way to introduce children to sewing, so they can sew your buttons and darn your socks on Wednesday afternoons.
For this DIY you'll need :
- - Felt,
- - A pencil,
- - Thread and needle,
- - Scissors,
- - Snaps,
- - Small ruler,
- and a Marinière!
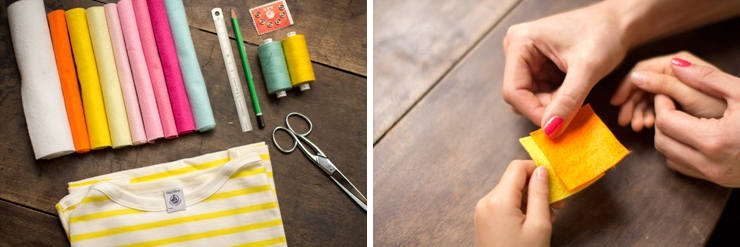
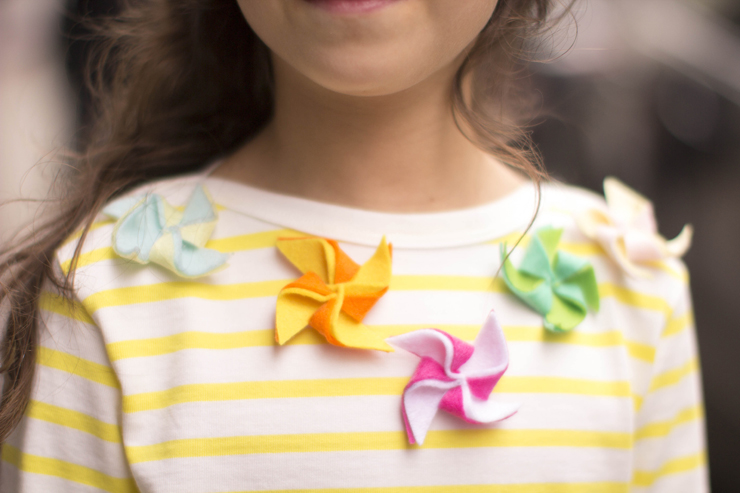
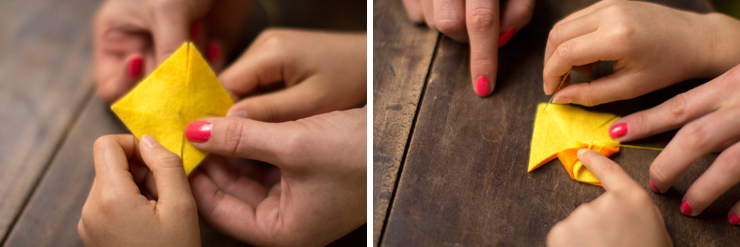
Trace squares on your felt, at least two of different colors per mill (here, the large mills are 10x10cm, and the small ones 5x5cm). A little tip: cut out your squares along the lines to remove any unsightly pencil marks.

For the little ones (or the bigger ones who are a little hesitant), you can trace the diagonals with your ruler to make the next steps easier. Don't trace them all the way to the center, just the ends.
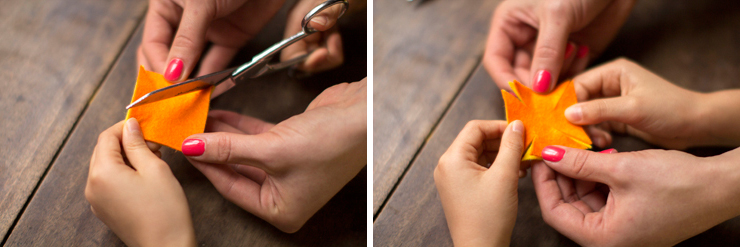
As before, cut along the pencil lines to make them disappear, stopping 1.5cm from the center of the square.
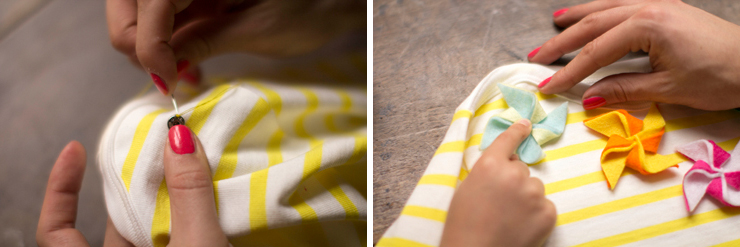
Grab some thread coordinated with your mill and a needle, double your thread, make a knot, start stitching in the center of your mill, bring out the thread and needle.
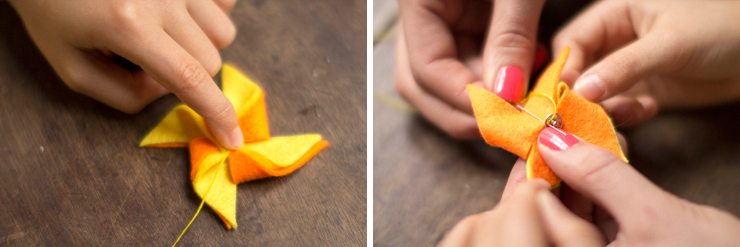
Fold every other corner over the center of the square to create your windmill, always the right side of your corner, or the left, but you don't have to change sides to make a windmill. Slide each of these parts onto the needle, and thread the needle back into the center of the windmill. If this is a complicated operation, you can always stitch each corner of the mill by hand. Work back and forth with your thread and needle to secure everything.
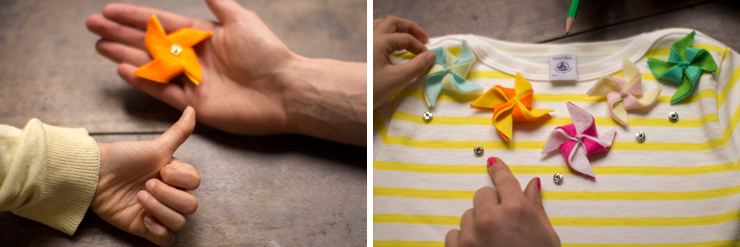
Once you've made your last stitch, turn over and don't cut the thread! Grab the male end of your presser and start sewing with the same thread. Make two passes through each hole in your snap to secure the whole. And there you are, with your first little windmill ready to adorn your marinière.
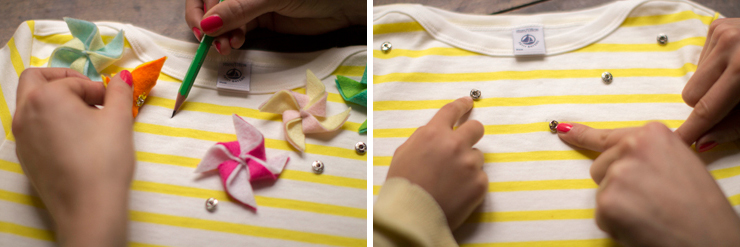
Now you can define the location of your windmills on your marinière. Draw a small dot with a wooden pencil to define the future place of the female pressure.
Now take the female part of your snaps, your thread and needle coordinated with the marinière this time, and attach the snaps to the defined location, two passes per snap hole. Clip on your windmills and feel free to play around with the locations, either as a necklace, a buttonhole or a cluster on the chest - have fun!
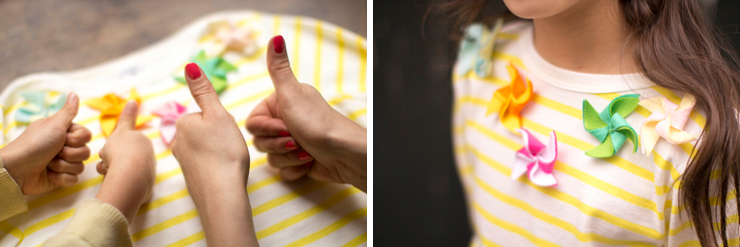
And TA-DA! Don't forget to unclip the windmills before putting the marinière in the washing machine!