CHERRY ME
Happy Monday, darlings!
I hope you're well... I'm delighted to tell you that I'm back! I'M BACK! And what's more, I'm so happy to be back on track with these cherry photos, which make me feel so good (I'm not getting any better...). I said to myself while preparing this article that it made me very happy to take photos of what I was experimenting with in my little kitchen... By the way, one day I'll have to show you the three square meters I use as a "laboratory", a real pocket handkerchief, I'd need a hell of a wide angle to take pictures of it, I feel like I spend my life cleaning this kitchen, in short... All this to say that it makes me very happy to make pastries, and to take pictures of them.
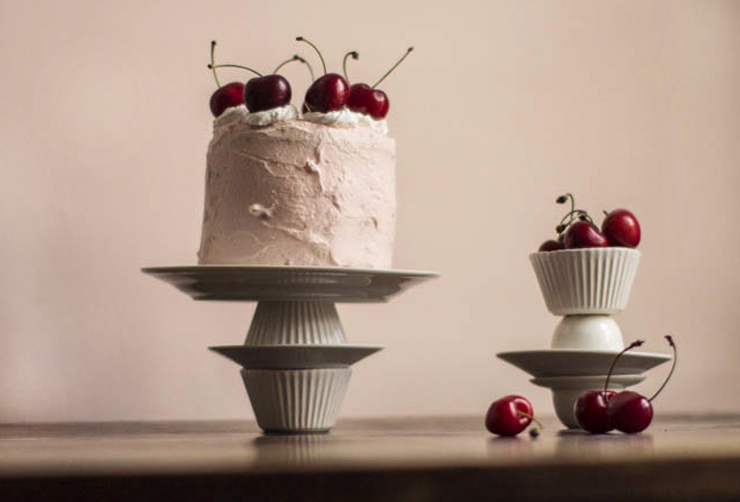
And to tell you the truth, I think that imagining the settings, making my little sets, my little lemonade in short, with these recipes makes me vibrate much more than eating them.
I think it also comes from the fact that I taste the recipe a little during all the preparation stages and that in the end I prefer to treat (or at least try to) others. It's a bit like giving presents. I'm completely hysterical and can't wait to see my loved ones discover the gifts I've made for them. All this to say that sharing and nourishing oneself with beautiful things is a hell of a lot of earthly nourishment too...
I wanted to experiment with a new, lighter, airier sponge cake recipe, so I found the base for this one in the petit larousse pâtissier, a good basic, a bit like a good white t-shirt, you need for two small retractable molds:
- - 140g flour,
- - 4 whole eggs,
- - 140g caster sugar,
- - 40g butter.
To begin, find a container that can be placed over a bain-marie. Crack in the eggs one by one. Stir in the sugar a little at a time. Place the bowl over a pan of simmering water and start whisking vigorously.
Stir until the mixture thickens. Remove from the water bath and continue whisking with your electric mixer until the mixture has cooled.
While the butter is melting, sift in the flour and pour it over the mixture, adding the warm butter gently and mixing with a spatula. Lift the dough, but don't overmix. Pour the mixture into the moulds and bake in a preheated oven at 180°C. Bake your sponge cake for around 25 minutes at 180°C, but check with the tip of a knife after 20 minutes.
For decoration and garnish, you'll need..:
- - 15cl water
- - 4cl rose syrup,
- - cherries, strawberries and raspberries.
- - 30cl very cold whipping cream,
- - 15g powdered sugar,
- - a little pink food coloring (optional).
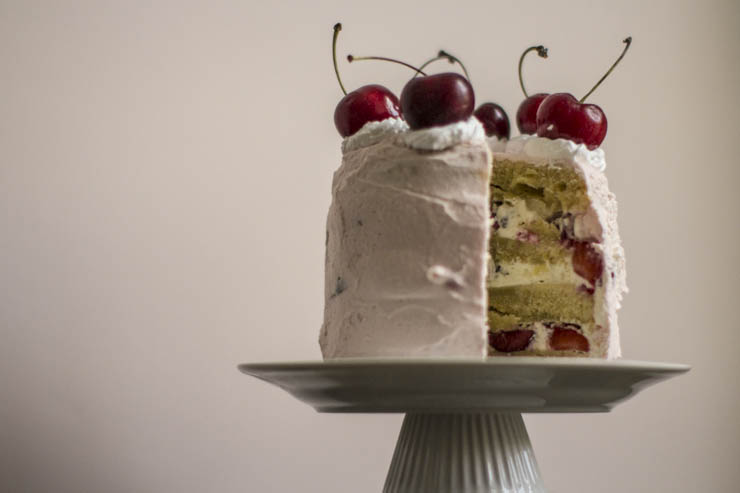
Once your sponge cake is cooked, cooled and unmolded, take a large serrated knife and cut your first sponge into 2 discs, then repeat the operation with the second sponge.
In a small bowl, mix the rose syrup and water, and using a silicone brush, coat the sponge with the rose syrup. Set aside.
As soon as the cream thickens, gradually add the powdered sugar. Transfer half the whipped cream to another bowl, and color it with a few drops of colorant.
Using your white whipped cream (keep your colored whipped cream cool in the meantime), you're going to build your cake, using it as a binder, a bit like cement between the different layers of sponge cake. Take your first disk, spread the chantilly generously and evenly distribute a handful or two of red fruit. Place the second disk of sponge cake on top, and so on, "building up the layers" of your cake. Try to save a little white whipped cream for the final decoration.
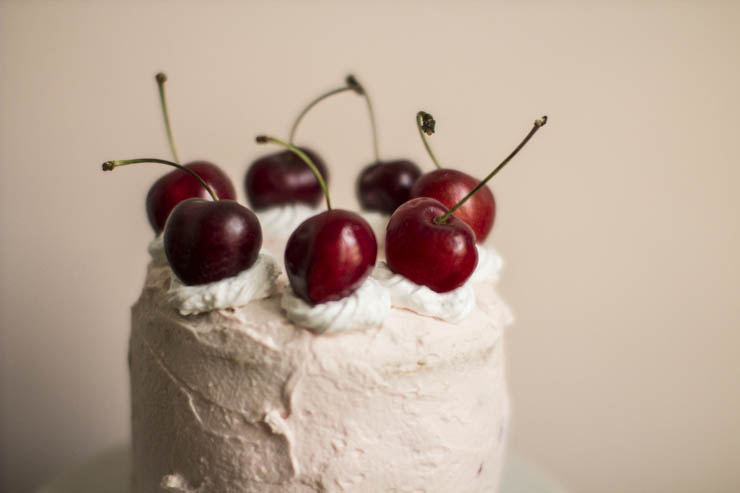
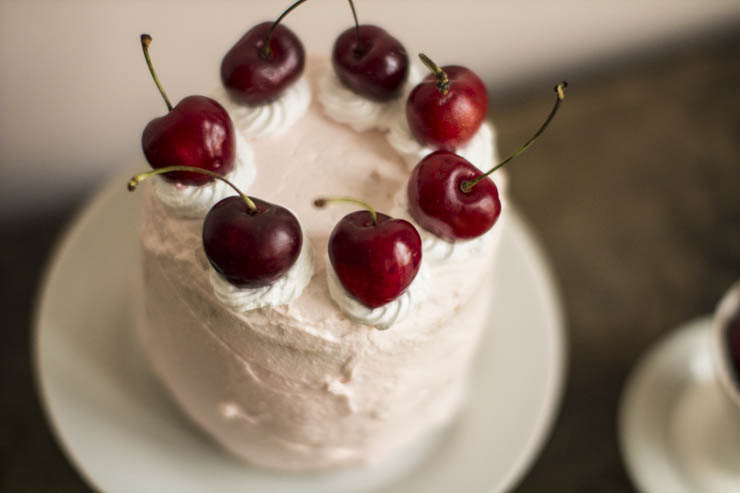
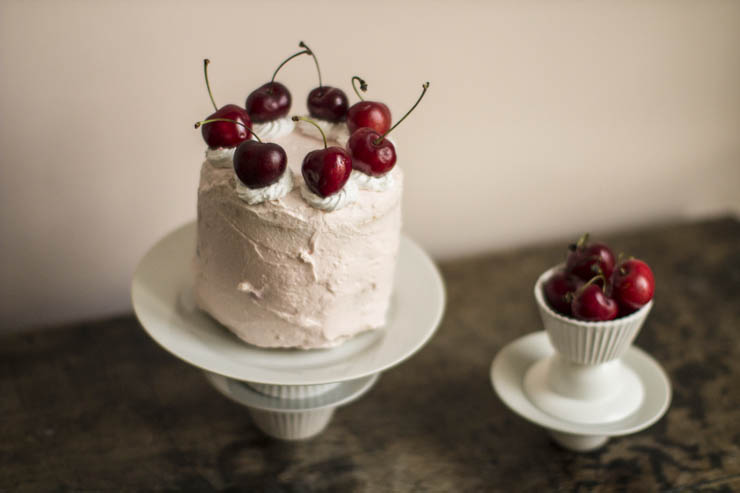
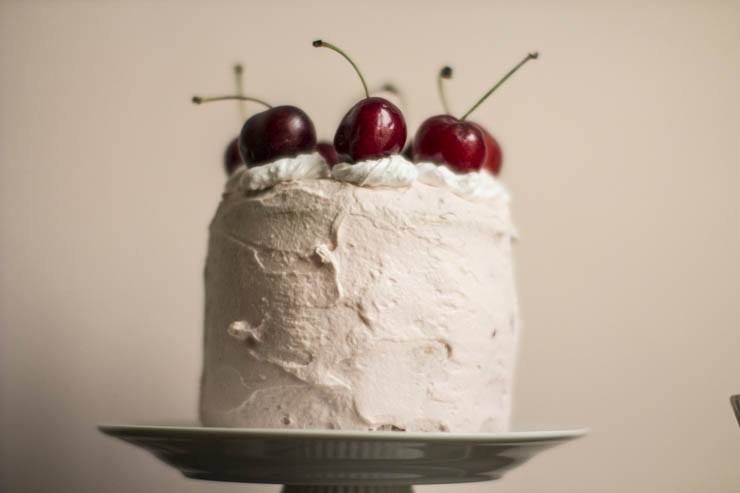
Then it's time for the "enduit", or "le crépis", as you call it - yes, I bake as if I were working in the building trade, to make it less dramatic. Using a spatula, cover the whole cake with the firm, colorful chantilly. Don't hesitate to apply a second layer to even out the appearance. Fill a piping bag with the rest of your white chantilly and form little peaks around the top of your cake. Place the cherries on top and enjoy!